Many photographers have the dream of selling their fine art photography and seeing their prints hanging in collector’s homes. I’m sorry to burst your bubble but that is probably the most difficult way to make money. Even the biggest names in photography don’t make a living solely by selling prints. Yet, it is conceivable to make a little bit of extra cash with your pictures and here is a realistic easy way to make money with your photography.
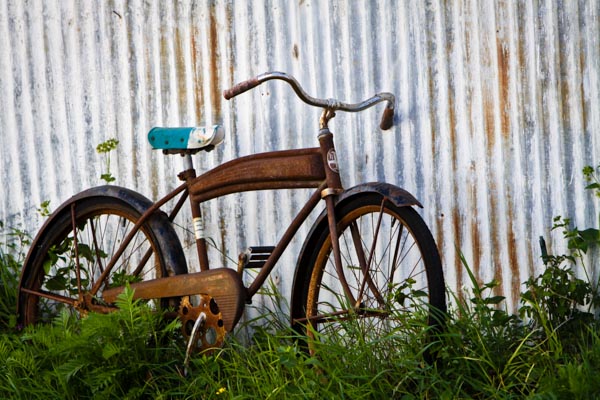
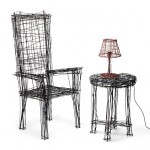
Everyone loves a card with an old rusty bicycle!
©Valerie Jardin
Think Locally!
Instead of trying to reach the world at large and compete with hundreds of thousands of other talented photographers trying to sell their work, think locally!
You could spend several weekends every year sitting in a booth at an art fair only to sell enough to break even and pay for your entry fee. Yes, art fairs are good exposure, but photography is not the biggest seller and there are usually several photographers trying to sell prints at the same event. Also, those art fair weekends are valuable days for any photographer, wouldn’t you rather be out shooting than selling?
Another option is to show your work at a restaurant or a coffee shop. If you do, make sure there is an opening party to create a buzz around your work and invite everyone you can think of. Do not leave your images on display for more than a month, no one will notice them after a few weeks.
I’m going to tell you a little secret…
Years ago, when I still had a little bit of spare time, I often teamed up with two or three other artists in different media forms and organized private art parties. We combined our contact lists and invited our friends and family to attend an ‘art open house’ for a few hours. We did this several times a year. We took turns hosting the event and split the cost of the snacks and beverages. We also urged people to bring a friend along. By combining our contact lists we would reach a large number of people and always end up with a minimum of 30 to 50 attendees.
Why is it better to have 50 people coming to your open house rather than hundreds walking by your booth during an art show? The people who come to your private art open house are there for the sole purpose of checking out your work, socializing and spending money! I used to sell hundreds of dollars worth of small prints and greeting cards in just one evening, while having the best time socializing with friends and other artists.
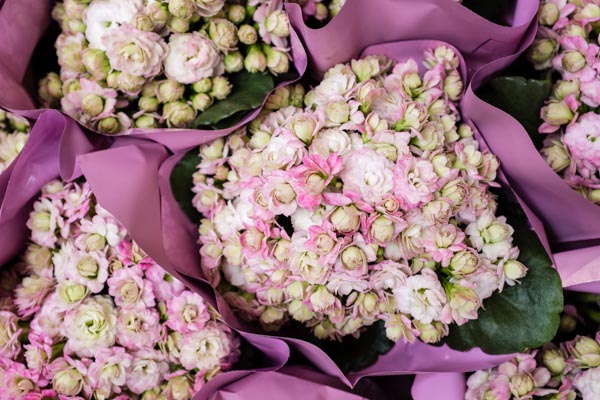
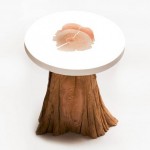
A card for Mother’s Day…
©Valerie Jardin
What sells?
Small ticket items! You can always have a few large, framed prints, on display for the wow factor and a possible sale or two – but small items, such as greeting cards, will sell! People are still very keen on greeting cards, especially in North America. I realize that different countries have different customs. You may think that, in this age of electronic mail, physical cards would disappear. On the contrary, e-cards and social media greetings are so common and impersonal, that receiving an actual card in the mail has become a novelty.
The advantage of selling cards is that everyone can afford them and has a use for them. Make sure you have a large variety of cards with your best images. If people can’t decide which ones to choose, they are more likely to buy all of them! Another tip: Display some as a pack wrapped with a bow, they make fun gift ideas for friends, co-workers, teachers, etc. Another tip: Offer a ‘bargain basket’ with a limited selection of discounted cards. Some people will only buy if they feel like they’re getting a good deal. Also, use this phrase as incentive “one free card if you buy ten”. It works!
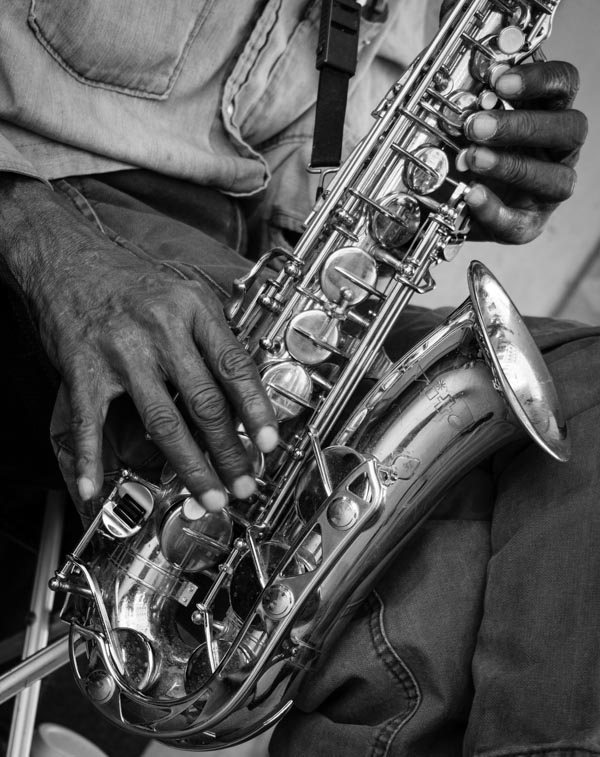
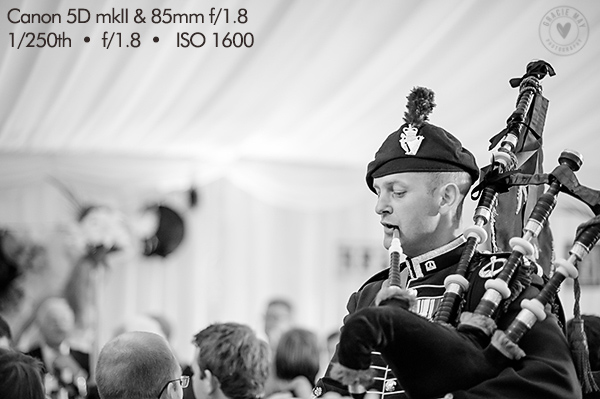
Everyone knows a musician who would enjoy receiving this card!
©Valerie Jardin
How do you make greeting cards?
It takes a little bit of time and effort to make those cards and there are several ways of doing it. You can certainly order your cards already made through a wholesaler. It’s the easiest way to proceed but also the most costly and your profit margin will suffer.
You can make your own! If you have a good quality photo printer, you can download a greeting card template and print them at home on some nice stock paper. Watch out for the high cost of the ink and figure out how much each card is going to cost in ink, paper and envelope. The goal is to make nice cards for as little as possible.
An inexpensive way to do it, but a bit more time consuming, is to affix photographs on stock paper. Pre-scored card paper with matching envelopes can be purchased in bulk quantities at a craft store for a very reasonable price.Your next step is to print your logo and contact info on the back of the cards. The tedious part is to place the photo on the front of the card with double sided permanent tape.
You can wrap each card in a clear sleeve to give them a more professional look. Or ‘go green’ and not wrap them at all. Ordering 4×6 prints online to use on your card stock is cheap, just pennies per print (usually cheaper than printing your own).
Remember, cards you buy at the store are expensive! Yours will be unique and you can easily sell them for $ 5 per card, which adds up when people buy them by the dozen or as a pack to give them as gifts… If you do it right, you can easily make a 300-400% profit on each card. Remember, the goal is not to make a living by doing this. But you can easily make a few hundred dollars during each party, and feel pretty good about yourself!
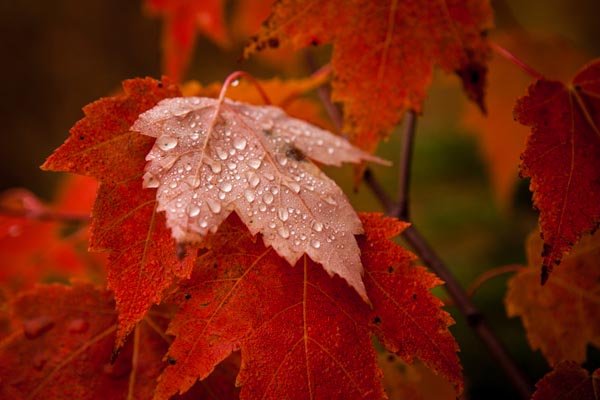
There is a card for every season!
©Valerie Jardin
The fun part and the bonus for you, the photographer!
Shooting for greeting cards becomes a great photography project. Think of all the different themes you can shoot for: Christmas, Hanukkah, Father’s Day, Mother’s Day, Birthdays, Valentine’s Day, etc. All of a sudden you become a stock photographer for your own little business needs. I used to spend a few hours each week shooting just for my greeting card collection. For example, if I was out shooting for a Father’s Day theme, I would think: golf, fishing, antique cars, etc. Every self-assignment becomes a treasure hunt. It was like shooting for a stock agency. The difference was that I made a lot more money and I had a lot more fun selling those cards than I did with iStock!
This little experiment was serving a dual purpose. I was having fun and learning a lot while working on a photography project that also brought extra cash for trips or photo gear!
Another advantage is that it spreads your name around. Many times people emailed or called me to place an order after receiving one of my cards for a special occasion. Hence the importance of having your contact information on the back of each card! Today I don’t make cards anymore but, ironically, I often get requests from greeting card companies to licence my images for that purpose.
If you love photography and, if you have a little bit of spare time, there is no reason why you can’t make some extra cash selling your pictures. Good luck!
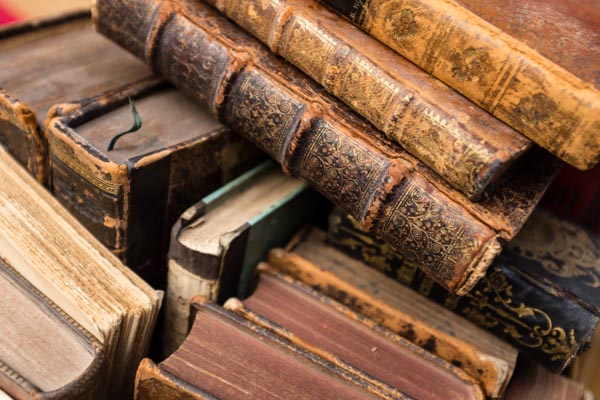
A card for the book worm? When you start shooting for your greeting card collection, opportunities will present themselves everywhere and your photo walks become fun treasure hunts with a purpose!
©Valerie Jardin
Do you have any other little tips that have worked for you to make money with your photography? If so please share in the comments below.
More articles on using your photography to make some extra cash:
- “Photography Business Secrets” – A Review
- 5 Things to Consider Before Starting Your Photography Business
- Top 10 Ways to Sabotage your Professional Photography Aspirations
The post A Quick and Easy Way to Make Money with your Photography While Having Some Fun by Valerie Jardin appeared first on Digital Photography School.

Digital Photography School

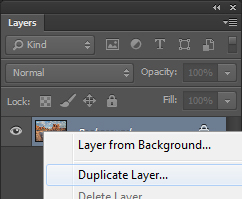
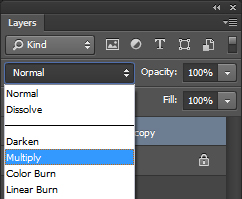


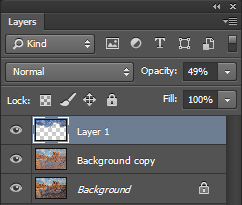


 Step 1. Duplicate the selected layer with a keyboard shortcut Ctrl+J (PC) or Command+J oP MAC
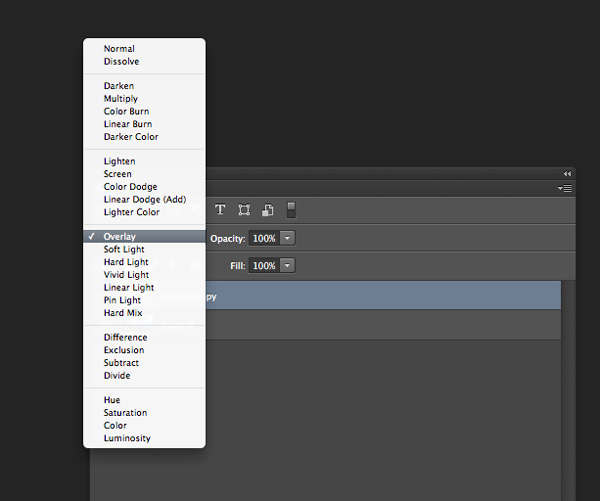


You must be logged in to post a comment.