I was recently invited on a photo tour called Vibe Israel by a non-profit organization called Kinetis, I wanted to share my experiences of the trip with you.
Who are Kinetis?
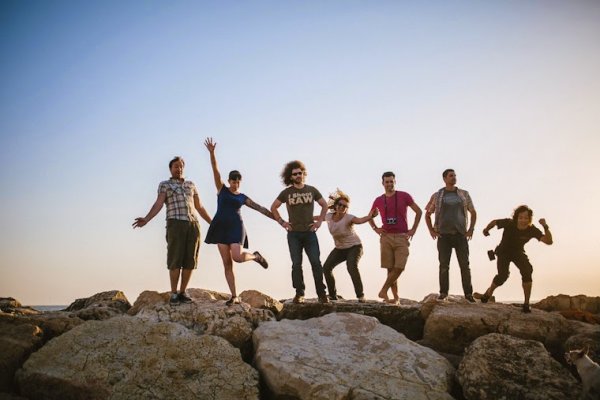
Six of us were on this tour of Israel, a tour to show what Israel has to offer to photographers, to show a different side to Israel compared with the one you might typically see in the news. The different styles and personalities of the six photographers on the tour made for a fantastically fun and inspirational few days.
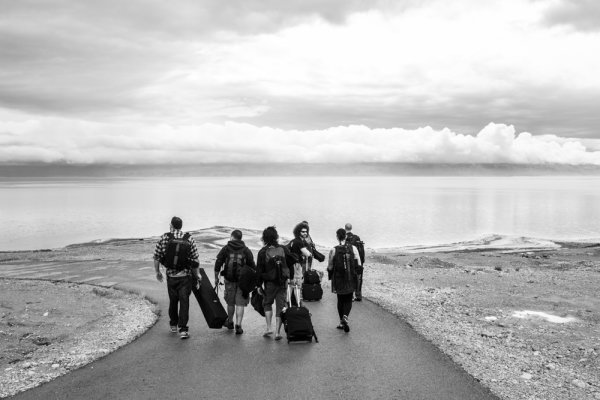
Heading down to the Dead Sea with the crew
Travelling with the specific purpose of photography can be a daunting thing, especially with the ever present fear of having your precious camera gear gate checked when you’re about to embark your flight. Is my bag overweight? Will ground crew single me out? Do I look like I’m struggling with this bag? All of these things play through my mind on every flight I’m about to catch, sometimes even when I’m not travelling with a heavy bag! I’ve been very fortunate thus far to have not been stopped for a heavy, or overly large, camera bag at the gate and this trip was no different (although I did have my backpack sent through the Xray machine four times).
I was travelling with a MindShiftGear Panorama camera backpack, the beauty of the Panorama is that you can use both the belt section and the top insert section to put your gear – if you get stopped and asked to gate check your bag, you can pretty much break it down into sections and nine times out of ten you’ll get it through, onboard with your camera gear. The few basic pointers for trying to get you and your camera onboard that I quietly recite to myself every flight are:
- Smile, but not so much that people think you’re up to something
- Don’t carry your bag like it’s about to rip your arms off – if it is, you should perhaps rethink anyway
- Have a plan to take your heaviest camera and heaviest lens out of your bag and hang it around your neck if asked to gate check due to weight – a camera, 99% of the time, will become a personal item and won’t be included in the bag weight
- Be polite – ground crew have a job to do, so don’t go off at them, it won’t help – I promise you this
- Insurance really is a good thing! (I’m insured with PPiB if you’re in Australia / were interested)
There’s a lot to be said for only packing what you’re going to need – will I need to take a 100mm macro lens to Israel? Will I use my 5.8mm fisheye? As it happens, I used both of those lenses and I’m glad I packed most of my gear, but I did use a two bag strategy/ Doug Murdoch, president of thinkTankPhoto camera bags writes about it on his blog, a quick interesting read. I had a small laptop bag with my Apple MacBook Air 13″, a WD My Passport Pro 2TB drive for content and all the cables, pens, paper, passports, tickets, etc. Then my camera backpack and my roller bag with my tripod, clothes and another flattened out camera shoulder bag (for short wanders down through markets where I didn’t want to take a backpack) and this combo proved to work really well for me.
So we’re packed, we’re flying, we’re there. I’ve been to Israel once before and was very excited to go back. Arriving into Tel Aviv quite late, then driven to Jerusalem to meet up with the others, we stayed at this great place called Abraham Hostel on the first night (if you’re travelling on a budget, it’s a great place to stay) before travelling across to the hotel we were all meeting at, Dan Boutique Hotel. Thankfully they were totally fine with us setting up Ben’s Broncolor and blasting away on the roof!
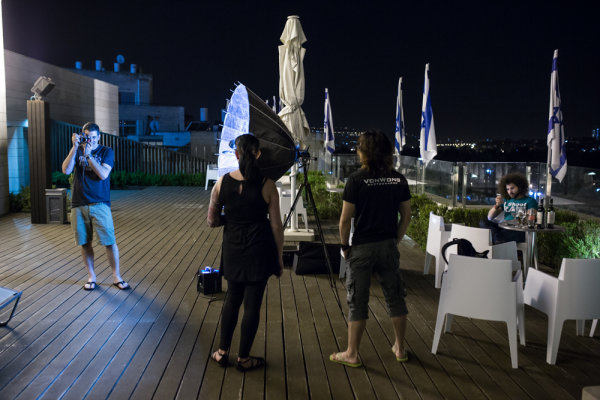
On the roof playing with light…
A quick introduction to the people on the tour: Adam Lerner, Mike Kelley, Rebecca Litchfield, Benjamin Von Wong, Jared Polin and Simon Pollock (me – Hi!). Mike isn’t in the photo above as he likes to go to bed at 8 p.m. every night hehe. The next day, after a tour of the old markets and surrounding area in the old city of Jerusalem, we headed for the Dead Sea, each of us with different ideas for what we wanted to do when we arrived there – fashion, portraits, landscape, it was set to be an epic adventure.
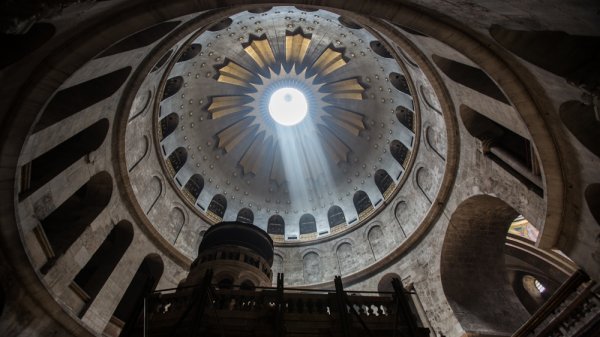
Church of the Holy Sepulchre at 16mm
Arriving at Ein Gedi, the rain was starting to set in and with a call time of around 4 a.m., it was pretty much a quick dinner and directly to bed – poor Eyal had to put up with my snoring, sorry Eyal! The rain hadn’t stopped the next morning, and we were told that with the Dead Sea clouded in, it was something people rarely get to see. As it turned out, the road was washed away in a couple of places and we had a pretty hard time getting the models, stylists and hair and makeup folks into the area of the Dead Sea that we were using for the shoot – thanks to some handy local wrangling and a police vehicle, we were all set to go once the weather cleared, and clear it did. Here’s a setup shot and a few photographs from the shoot day at Ein Gedi.
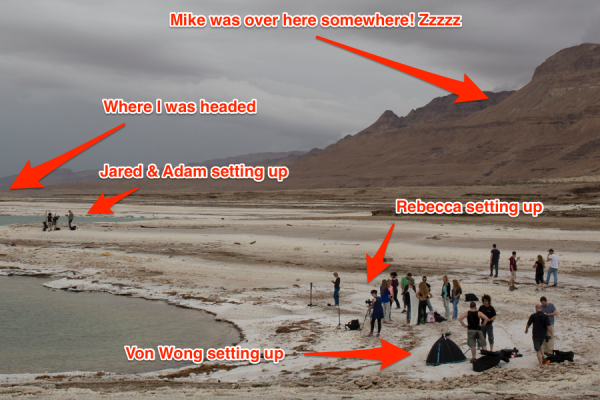
To give you an idea of where we were…
I was very fortunate to essentially have my own personal guide from epic photo tour company, PhotoTeva which was fantastic as I’m certainly no landscape photographer, but had an amazing time taking in the amazing scenery unfolding before me.
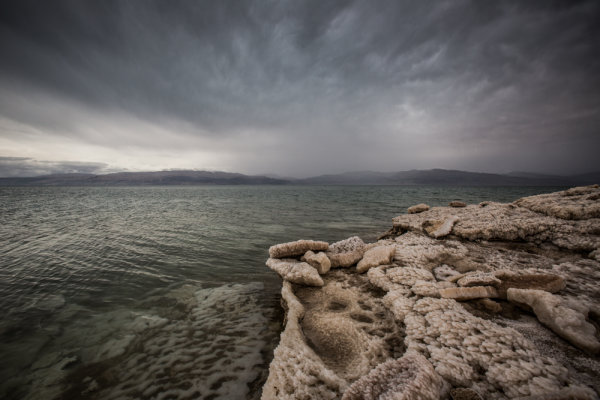
The storm rolled through…
Protecting your gear and keeping it off the deck was pretty important. The water is ultra salty (1/3rd salt, someone was saying) and the ground we were on was all salt – very sharp salt (see, I used the macro lens).
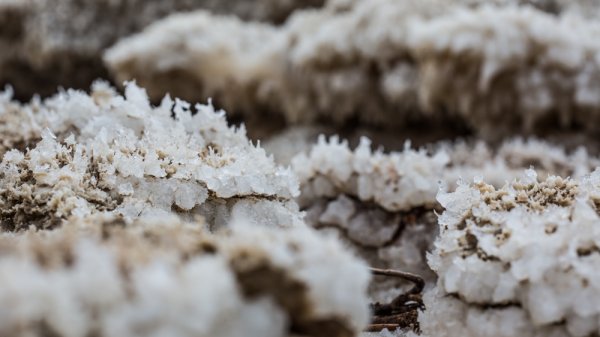
The salty residue was super sharp and happy to cut you up!
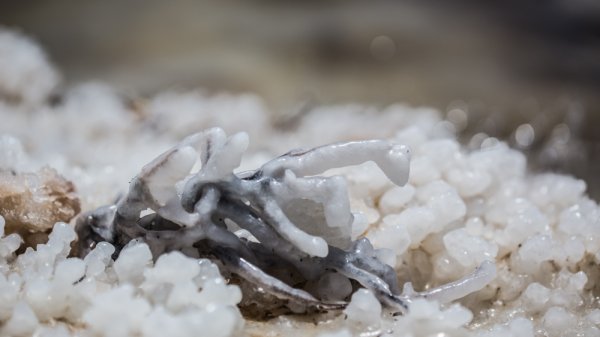
Anything that didn’t move fast enough was essentially ‘salted’
We only had a day at the Dead Sea and were supposed to head out into the desert to stay together in a big tent. The weather had other ideas and we all piled in the super bus and headed back to Tel Aviv for an impromptu camp out on our new friend, Adi’s floor. A highlight of the trip – impromptu awesome. When you’re travelling on a holiday, and things don’t go to plan, you do your best to make the best of the situation that you’re placed in – this was certainly the case and we had a fantastic evening before checking in to The Diaghilev Live Art Boutique Hotel (which I highly recommend if you’re travelling to Tel Aviv).
The next couple of days were filled with amazing food, adventures and people – rather than bore you with my musings, I’ll tell this part of the adventure in photographs.
Jared, Adam and I visited a fish market where the fish come off the boats and are snapped up by people waiting on the dock.
Adam Lerner, a portrait…
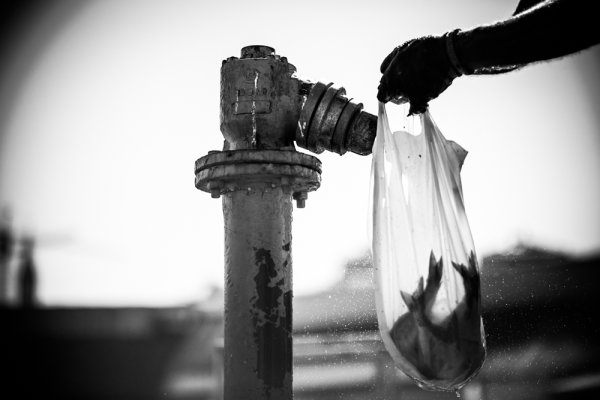
The fish market…
We managed a little beach time and happened across a great drum circle!
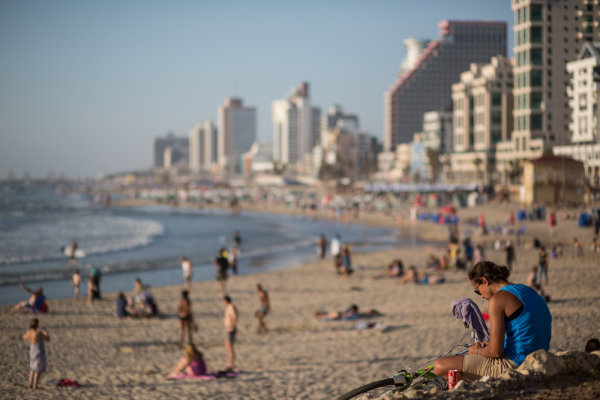
A Tel Aviv beach…
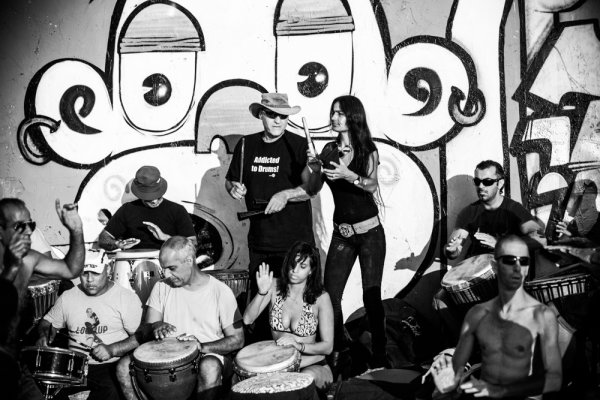
Addicted to drums…
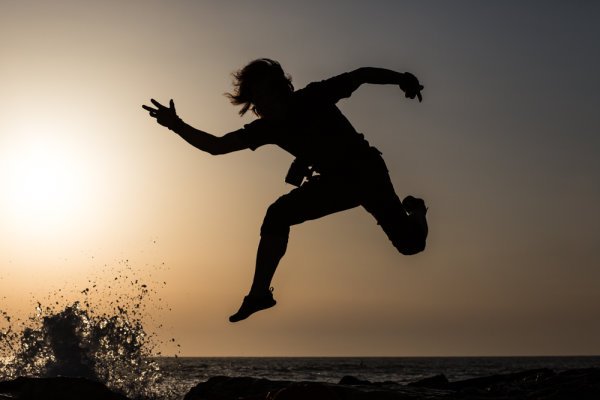
Von Wong takes flight…
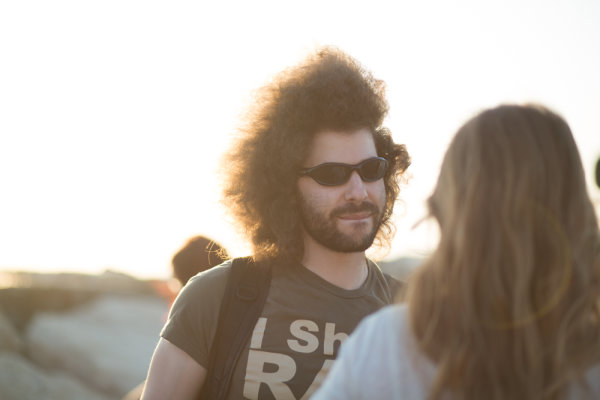
Fro Knows…
The fish market…
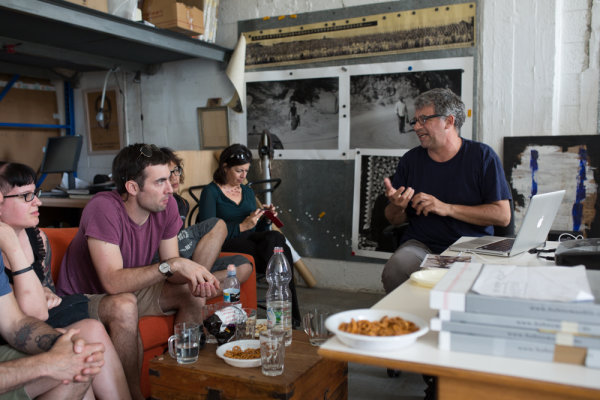
With only a day or two left to run, we had a load more to pack into our schedule, a visit to Israeli photojournalist and Canon Ambassador, Ziv Koren. We spent some time talking to Itzik Canetti, who has developed a nifty laser focus system for photographers, and we were hosted by Wix on our last evening, for drinks on the roof of their building – stunning.


That was essentially the tour
The point of the photo tour was for us to see a different side of Israel, a creative and vibrant side – and that was exactly what we saw. Lots of tech startup, lots of art and culture, some great coffee and amazing food. If you’re thinking about going somewhere on a photo tour, I’d certainly put Israel on your list! Big thanks to Kinetis and the whole team that made this trip possible. You can learn more about the not for profit work that Kinetis do on their website.
The post A Different Kind of Photo Tour to Israel with Vibe Israel by Sime appeared first on Digital Photography School.

Digital Photography School


You must be logged in to post a comment.