[ By Steph in Destinations & Sights & Travel. ]
Dangle thousands of feet above the bottom of a canyon, take in the Pacific Ocean from a human nest, view the Northern Lights from a transparent igloo or spend the night in a giant purple sperm. These incredibly creative (and sometimes terrifying) campers, tents and other open-air accommodations are far from your typical hotel experience.
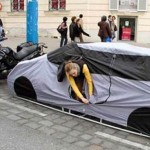
Urban Campsite: 6 Whimsical Capsules
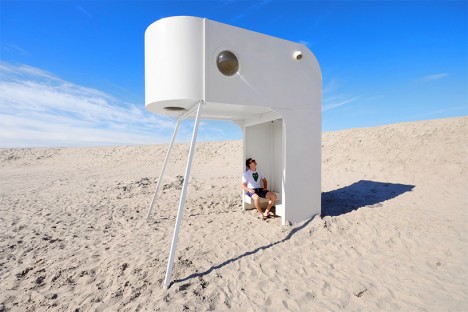
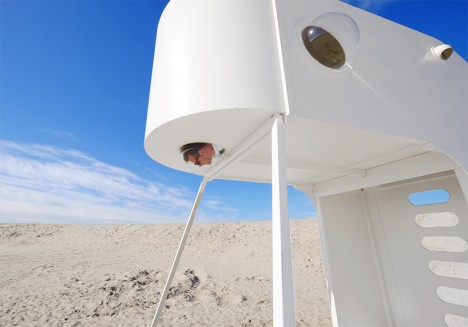
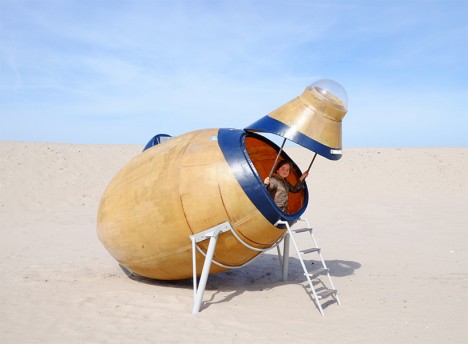
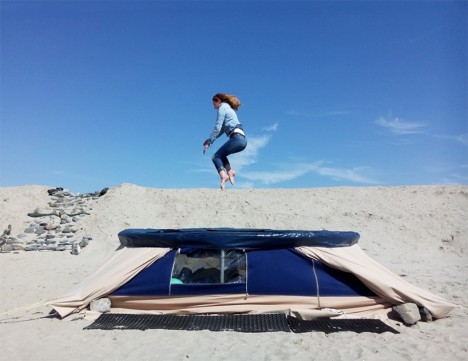
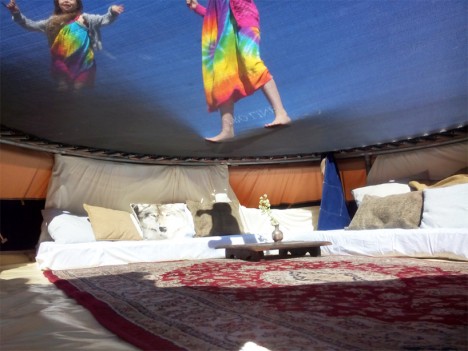
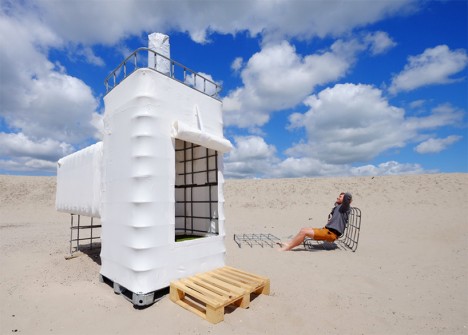
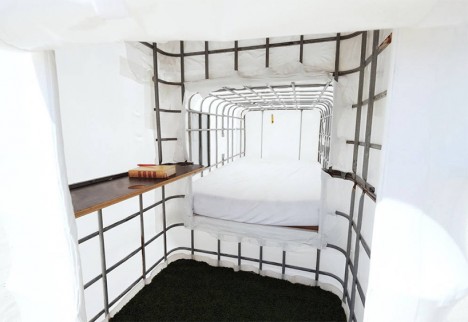
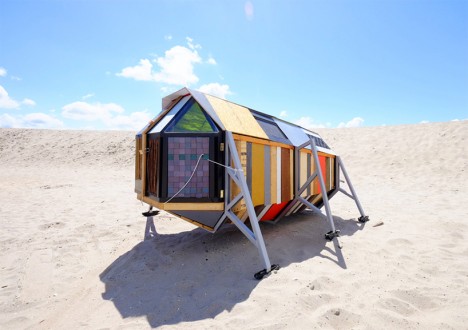
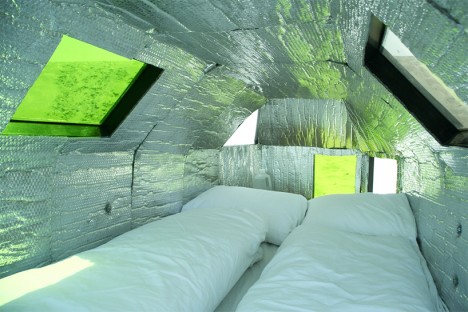
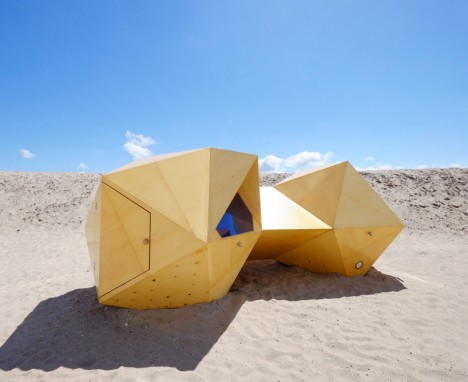
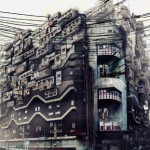
The ‘Urban Campsite’ in Amsterdam is an ‘art-sleep experience’ inviting guests to stay in 14 sculptural mobile camping pods on the beach, ranging from a sailboat-like modern white loft with spherical portholes to a lounge and sleep space built under a trampoline. The pods are all clustered together on the sand plains of Ijburg beside a communal kitchen and ‘tribal toilet tower.’ Some of the creations are more solid and permanent than others, like the wooden icosahedron structure by Boomhuttenfest or the bizarre bottle-shaped ‘Val Ross’ by MUD projects. A shrink-wrap house with a pallet stoop explores the value of waste materials, while the ‘Bedbug’ sits on adjustable legs to adapt to various urban camping environments. The pods can be booked on Air BNB.
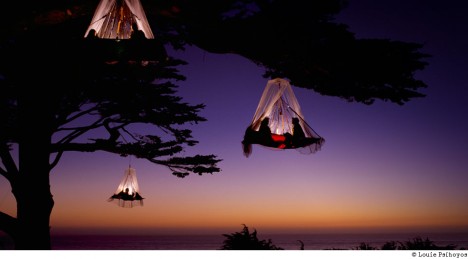
Hanging Tree Beds in Bavaria
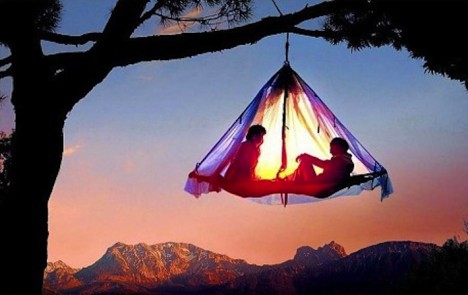
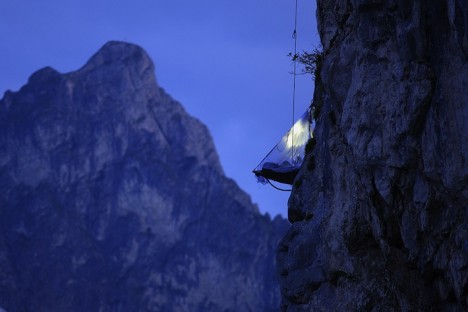
The Waldseilgarten resort in the mountains of Pfronten, Germany requires you to be just a wee bit adventurous with a series of tent platforms perched on cliffs or dangling from trees. All guests receive rope climbing training before spending the night, especially since you’ll have to do some climbing in the dark if you have to go to the bathroom in the middle of the night. The tree platforms offer relatively easy access to the ground, but the cliff platforms can be up to 6,562 feet above the valley floor.
Transparent Igloo for Viewing the Northern Lights
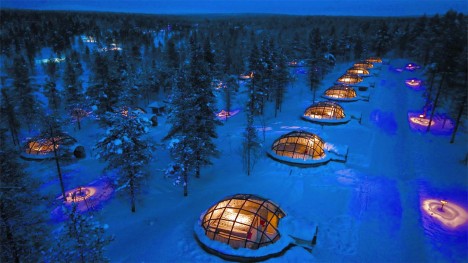
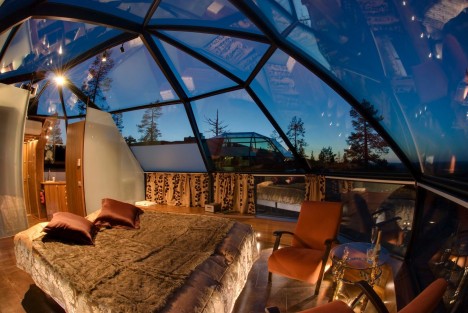
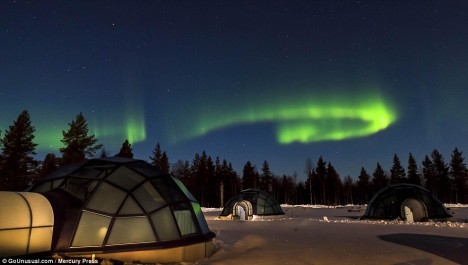
Maintain an uninterrupted view of the Northern Lights from the transparent ceiling of your igloo in Finland. The Kakslauttanen Hotel & Igloo Village boasts 40 igloos for two, each temperature-controlled and equipped with its own sauna. The complex is located near the Urho Kekkonen National Park, which has some of the Arctic Circle’s most impressive views of the Aurora Borealis.
Next Page – Click Below to Read More:
Creative Camping 16 Out There Open Air Accommodations
Want More? Click for Great Related Content on WebUrbanist:
Car Tents to Times Square: Bold Acts of Urban Camping
Urban camping means different things to different people, from living without a vehicle or electricity and plumbing to squatting in unused properties and more.
Click Here to Read More »»

Indoor Camping: Vintage RVs Reclaimed as Hostel Rooms
At Bonn’s Basecamp Young Hostel, travelers enjoy the quirky accommodations of cheerfully decorated vintage RVs, with views of the sea and an unchanging …
Click Here to Read More »»
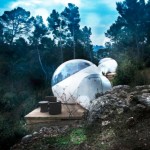
Bubble Hotels: Spacious Spherical Retreats Set in Nature
Somewhere on the scale between tent and cabin lies the bubble hotel, an optionally transparent or opaque plastic retreat that is roomier than normal camping …
Click Here to Read More »»
![]()


[ By Steph in Destinations & Sights & Travel. ]
[ WebUrbanist | Archives | Galleries | Privacy | TOS ]


--RESIZED.jpg")


 Want to learn more about macro photography? Check out Ed Versosky’s
You must be logged in to post a comment.