Dance and music have always been a part of my life, but work and my wife have kept me a bit busy lately. So when I had some photography assignments for a few dance concerts, I knew it was going to be a lot fun. It also made me realize that it can also be a bit challenging. In that split second, there is movement, emotion and a story to be captured. You need to anticipate that split second and capture the motion.

When it comes to your viewers, you want them to believe and see that motion for themselves. So here a few tips to get prepared for a dance portrait. Why would you shoot dance portraits and how would you plan for it?
- Dance concert – You are asked to take dance portraits as part of a dance concert.
- Promotion – You are asked to take portraits of the dancer to promote them or the upcoming event that they are currently working on.
- Head shots– You are helping the dancer to build their portfolio so that they can be represented by an agency or could be sent for casting calls.
- To fulfil your creativity – You just want to experiment, unleash your creativity, and add Dance portraits to your portfolio.
Whatever might be the reason for your dance portraits here are a few things that are common while planning and executing a dance portrait session:
1. Knowledge and research
It’s always good to know what dance form your model or dancer is learning or practicing. This would help you to do your ground work which includes researching the dance form, checking online for inspiration and creating your mood board.
Research the clothing that is required for that dance form. You can either find a stylist to source the clothes for you or even better just ask the dancer if they would have something appropriate and comfortable that they can wear for the shoot. If you are doing this as part of a dance concert you would not have much say in it, as that will be predefined.

Knowing the dance form can also help you choose music tracks for the shoot. Again your model can be a great help in this. Ask your model if they can bring along suitable music which you can play in the studio during the shoot. This helps to establish the environment.
2. Motion
The most important part in a dance portrait is motion or the sense of it. As a photographer you have to make sure that the viewer can visualize the motion. This can be done in a few ways:
- It can be as simple as capturing someone mid-jump to convey motion.
- Hair movement.
- Dress or costume movement.
Some techniques which can be useful for this are, to use a fast shutter speed. Fast shutter speed ensures that the movement is frozen. This can also be achieved by using a flash. At times having a motion blur can also help create a sense of movement.


3. Emotion
Dance is all about motion and emotion. It’s an art form that involves facial emotions combined with body language to convey the idea or concept.
Make sure that you chat with your dancer beforehand to confirm the look they are after. This helps in two ways; one, it tells you what to expect and second you can adjust your lighting to capture the desired mood or add some more drama.


4. Anticipation
If you understand dance this one is very easy to master. But if you don’t you might need to work with your instinct. As a dance concert photographer you are expected to anticipate the movement and capture it at the right time to emphasize the effect. If you are photographing a dance concert the best way to address this, is to attend the dress rehearsal. This gives you an idea as to what to expect on the day. What will the lights be like and most importantly what are the critical moments that you need to capture and the best location from which to capture them?

If you are doing dance portraits in a studio this factor won’t be of much importance as you have more one on one time to repeat a step or pose if you missed it in the previous shot.
5. Energy
Capturing the energy of the dancer can make the photo look lively. One thing that works for me is I tell them the camera can capture their voice along with the picture. So don’t let them just stand there and smile. Tell them to shout or do something that they can’t do with their mouth closed. This could be done at the end of the shoot when you have got all your shots and just want to take some fun shots.

6. Creative twist
As with any photography, adding that creative twist is always fun. You can experiment with many of different techniques.
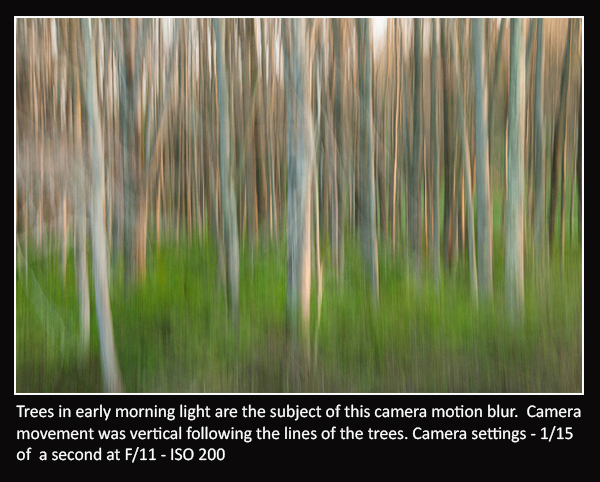
You can try panning where you follow the dancers’ movement, making sure that the dancer is in focus and blurring the background.
Drag the shutter (keep the shutter open for longer duration) and capture creative blur. Or try your hand at stop motion where the shutter is left open for a longer duration and a flash is fired at the very end to freeze the final movement.

A few tips for dance portraits:
- A fast shutter speed helps freeze the motion, but if you want a creative blur a slow shutter speed will do the trick.
- A faster lens, like f/2.8 or lower, is better suited to take photos of a dance concert where flash photography is usually not allowed.
- Do not be scared to use a high ISO for a dance concert, this will add grain (noise) to your photo, but you will be able to use higher shutter speed to freeze the motion. Sometimes grain isn’t all that bad.
- Most important have fun and enjoy what you shoot.
Have you done any dance photography? Share your experience and any other tips you might have in the comments below.
The post Tips for Creating Dance Portraits by Siddhesh Jukar appeared first on Digital Photography School.


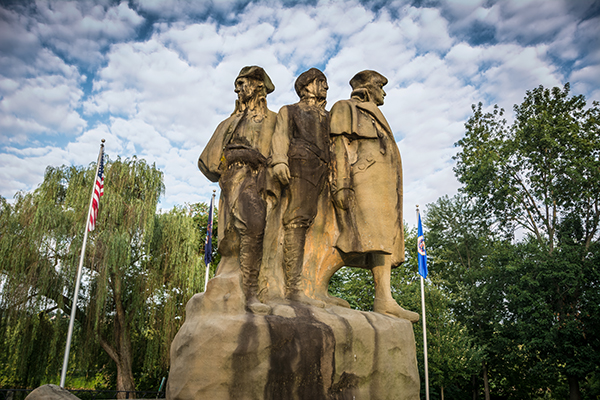
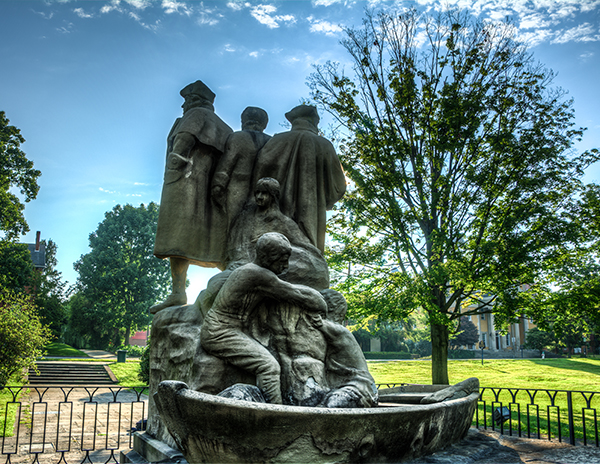


 Getting Real with HDR – a Step by Step Tutorial for Realistic Looking HDR
 Is the Death of HDR Photography Coming?
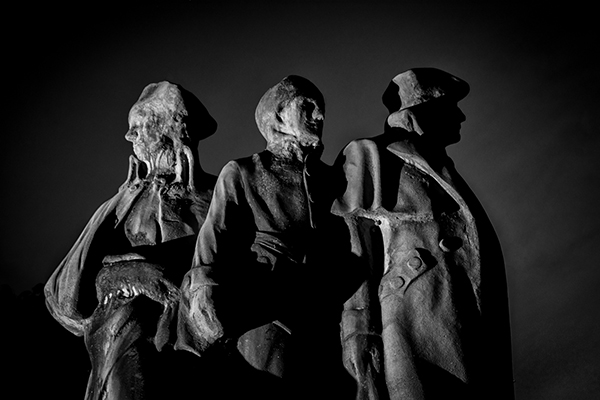

 Pick up Oded’s new Snapn Guide (a dPS sister company) Snapn Travel here for only $ 7. A lifetime of travel memories in a Snap.

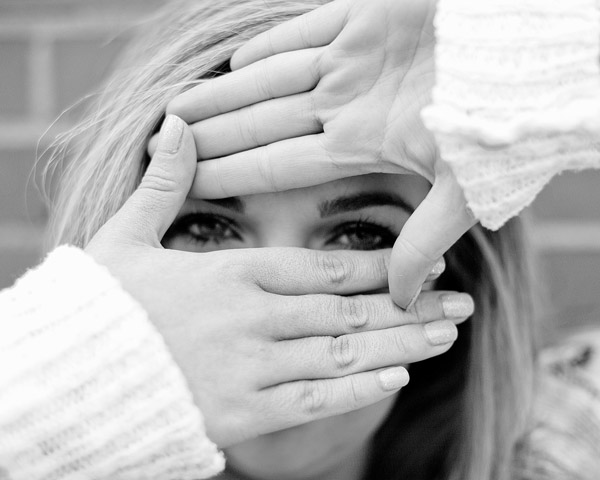
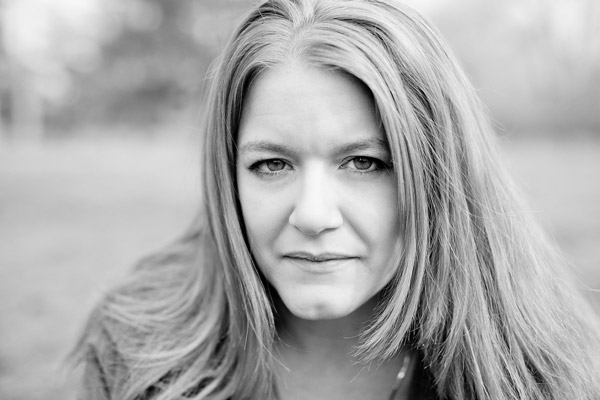
 But here is another fact: there is nothing like photographing someone from a close distance. The eyes, the feelings and the huge visual story potential within. Besides, when we work from a close distance while interacting with the person, we gain control of our tools as photographers: composition, background, the “decisive moment” and we also have that amazing ability to tell the photographed person: “you know what, let’s take one more shot”.
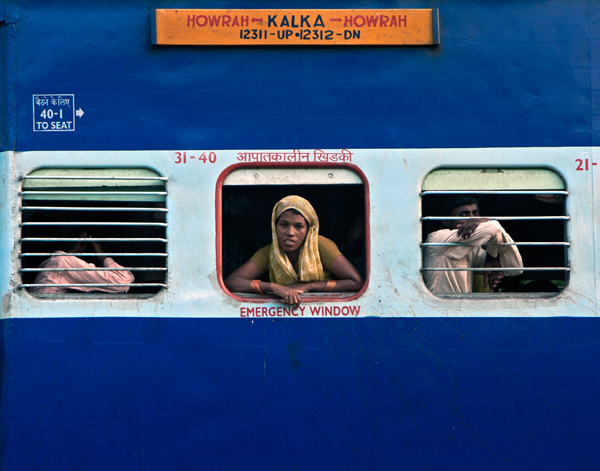


 Choose: choose a person you would like to photograph. Don’t use excuses like: “I can’t find anyone special”. Just make the shot, even if it’s only for practice. It is very important that you choose a person who is not on the move, because you need to get ready BEFORE approaching him, so it will be easier in a static situation (a seller in market stand, or someone relaxing at the park)


You must be logged in to post a comment.