Outdoor photographers are repeatedly taught to plan their scenic photography excursions early in the morning or late in the day. These magic hours we’re told, is the only light worth shooting in. Yet, what about those situations when being on location at sunrise or sunset isn’t possible? You can pack up your bags and go home with an empty memory card, or make the most out of every opportunity. Allow me to let you in on a little secret not found in most photo magazines. Some of the best landscape opportunities can be found at midday when the sun is high over head.
Here are five tips to help you create dramatic landscape photos at midday:

1) Work with the sun
Rather than avoiding the sun, use it to add visual interest in your composition. This technique is not overly complicated but does take a bit of trial and error to master. Start by setting a very small aperture opening such as f/22. Then, while looking through the viewfinder, position yourself so an object partially blocks the sun. It should not be entirely obscured, so you may have to rock back and forth ever so slightly to find the optimal point. When you see the beams of light spilling through the obstruction, take the shot. The results can be quite dramatic and potentially aided by subtle hints of colorful flare.

2) Give your wide angle lens a rest
The contrast found midday makes it difficult to hold the detail in the sky while properly exposing a foreground. Rather than resorting to an HDR shot, use the occasion to simplify your composition. Does that bright sky really add to the overall scene? If not, give your wide angle lens a break and switch to a medium telephoto lens.
Before pressing the shutter, check all four corners of the frame for any unwanted bright areas. The human eye tends to focus on these areas first. As you eliminate these distractions, the design of the photo will become more evident. Just remember, if you are hand holding the camera with a telephoto lens, opt for a slightly faster shutter speed to prevent camera shake. At these greater magnifications, even the slightest imperfections become more noticeable.

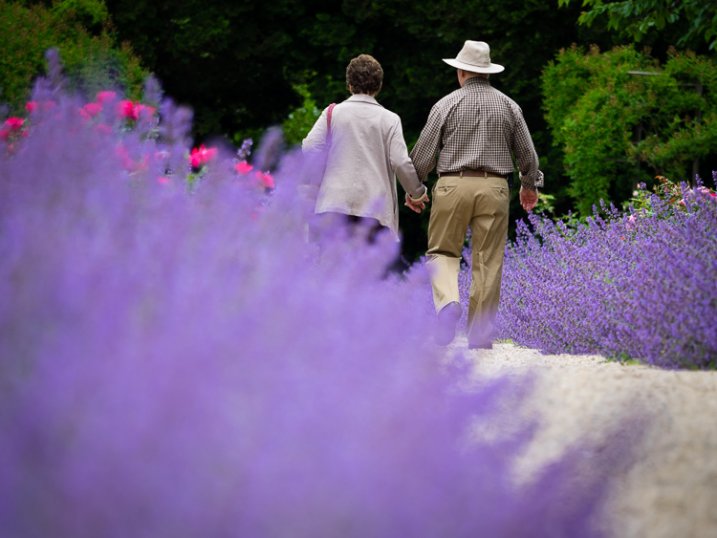
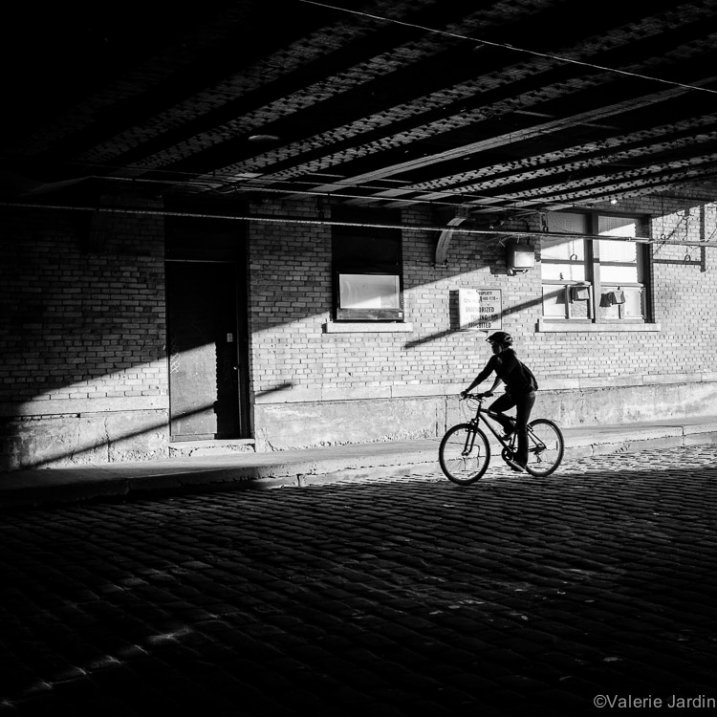
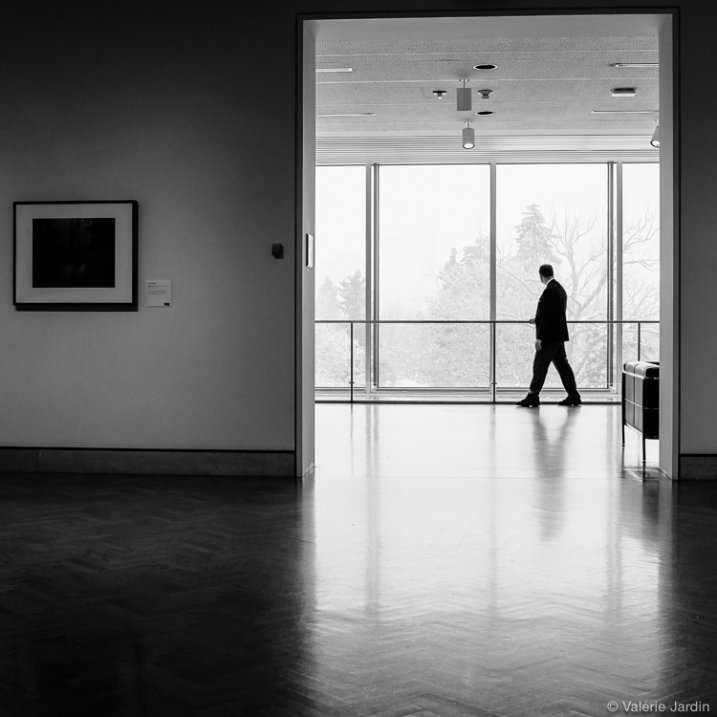
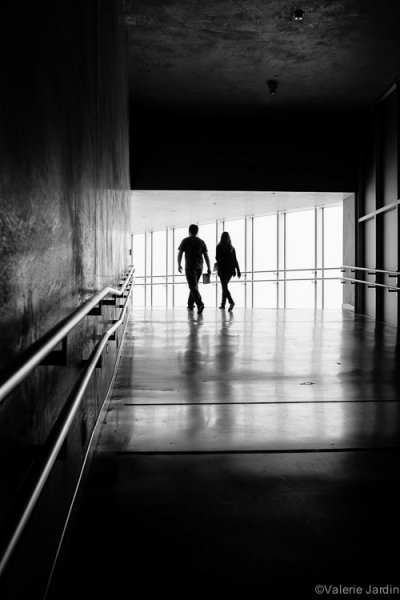
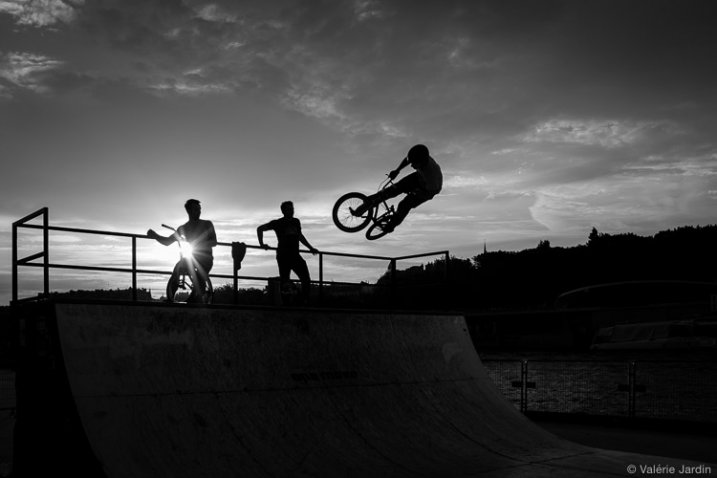
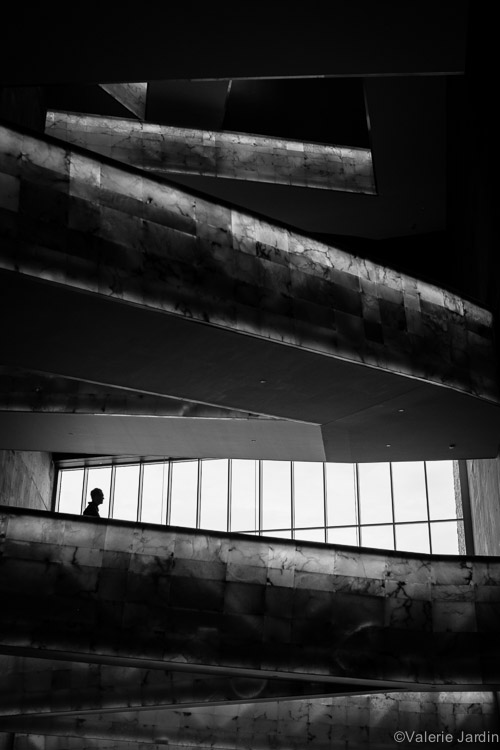
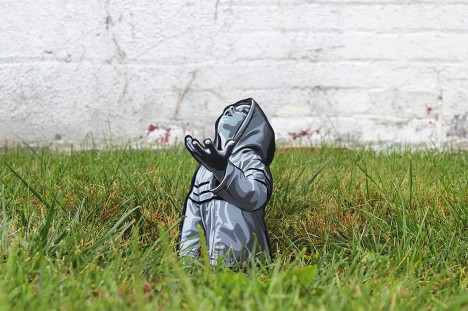
3) Find more people
Sunny days can also be useful for creating salable prints and stock photos. Images of people enjoying the outdoors are popular with a wide variety of clients; from those looking for home decor, or pharmaceutical companies, clothing lines, the parks department, etc. In the afternoon, you’ll find infinitely more people than you would at sunrise or sunset. This is a good thing, as it opens the door to a whole new series of photographic possibility. By including a human element, the image will have greater reach as viewers can relate to it personally.
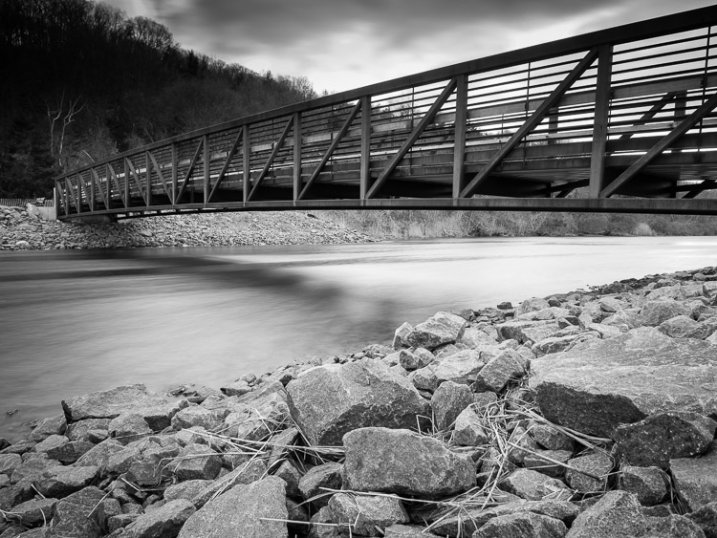
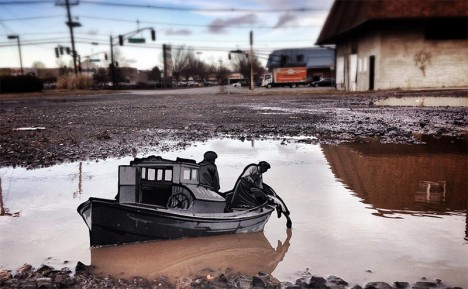
4) Slow the shutter speed down with black glass
Believe it or not, you can shoot long exposures even on a bright sunny day. The trick is add a round neutral density filter to your bag. Sometimes dubbed “black glass”, these dark screw-on options block a great deal of light from entering the lens.
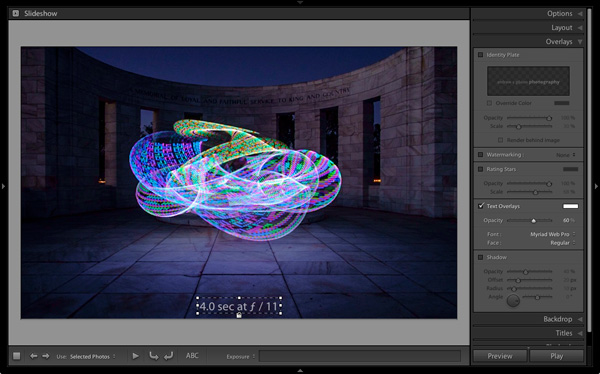
For example, if the proper exposure gave you 1/125, f/22, ISO 100, the water motion (below) would be largely frozen. By adding a nine stop ND filter, you can keep the aperture and ISO the same, but drop the shutter speed all the way down to four seconds. This will create that dreamy effect previously limited to low light situations.
5) Go easy on the polarizer
If you have a short layover in a distant location, you can use the opportunity to capture some of the sites mid-afternoon. Perhaps the most important tool will be the circular polarizer. Some may disagree here, but it does not need to be a multi-coated, super high-end filter. A basic model from Hoya or Tiffen will be just as effective. With it, you can take a pale blue sky and make it pop. This is especially true when the sky is dappled with clouds.
Be warned however, the technique is so powerful it’s easy to go overboard. As a tip, I’d recommend that you find the maximum strength of the filter, and then cut the intensity slightly. This will provide you with more natural results.

Do you have any additional tips for shooting at midday? Please share in the comments below.
googletag.cmd.push(function() {
tablet_slots.push( googletag.defineSlot( “/1005424/_dPSv4_tab-all-article-bottom_(300×250)”, [300, 250], “pb-ad-78623” ).addService( googletag.pubads() ) ); } );
googletag.cmd.push(function() {
mobile_slots.push( googletag.defineSlot( “/1005424/_dPSv4_mob-all-article-bottom_(300×250)”, [300, 250], “pb-ad-78158” ).addService( googletag.pubads() ) ); } );
The post 5 Ways to Create Dramatic Landscape Photos at Midday by Chris Corradino appeared first on Digital Photography School.


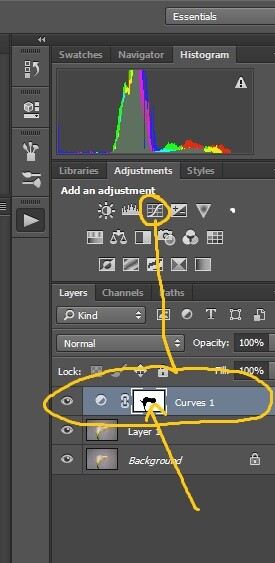
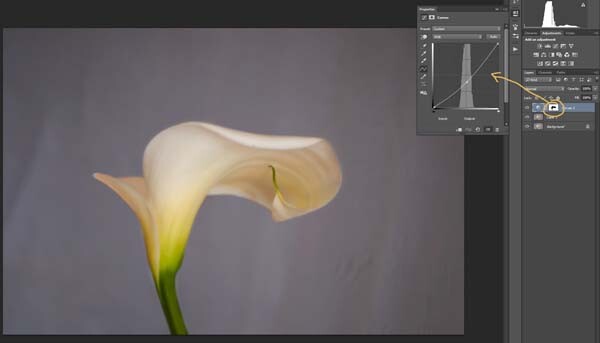
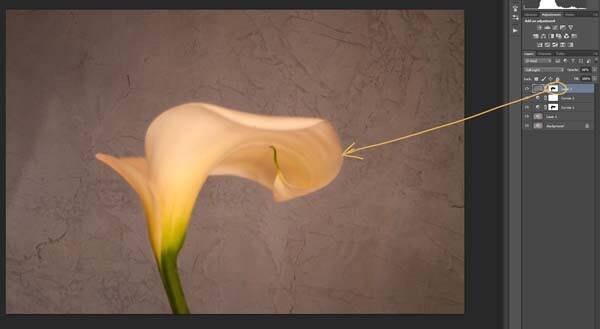
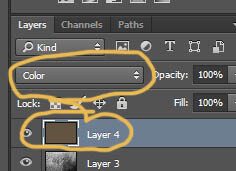
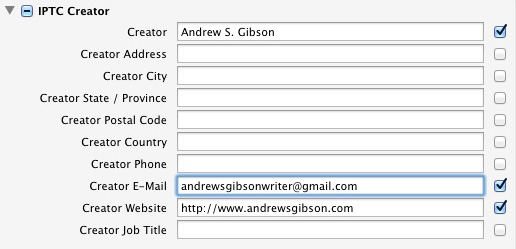
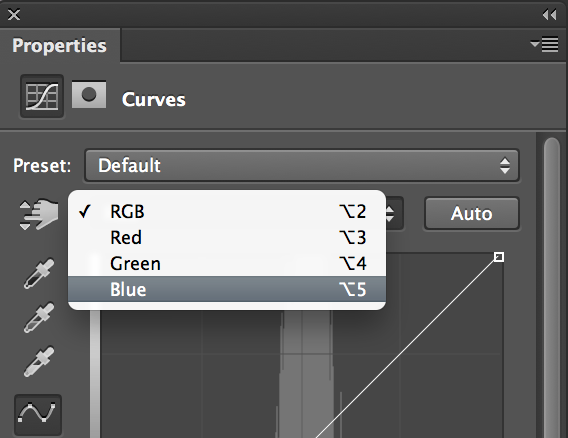 Next you are going to change the colour of the highlights. You don’t have to do this, but it is a nice touch and it helps create a warmer feel to the image.


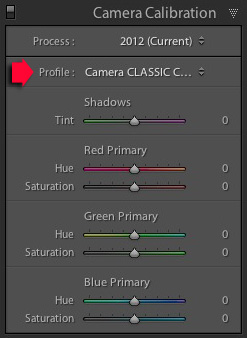
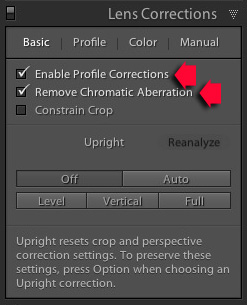 I don’t have to do anything here for the X-T1 as lens corrections are carried out by the camera, saved within the Raw file, and automatically applied by Lightroom.
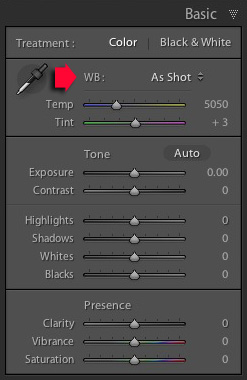
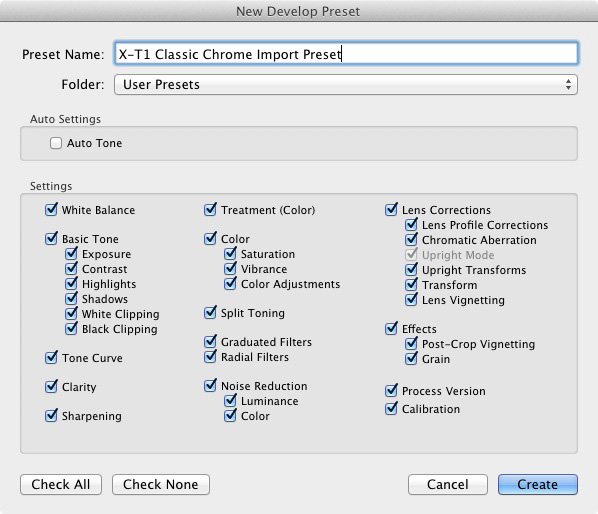
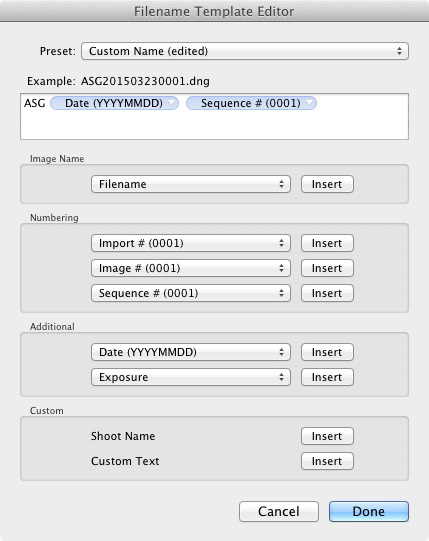
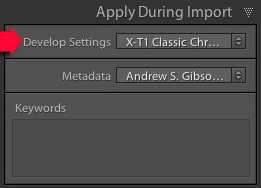 To apply the Develop Preset you just created, launch the Import Window and go to the Apply During Import panel. Set Develop Settings to the appropriate preset. This is where creating several presets helps saves time, as you can pick the most appropriate one for the photos you are importing. When you click the Import button Lightroom applies the settings in the selected preset, and renders a preview that includes those settings.
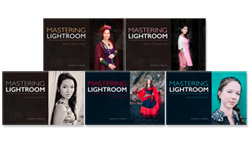 My Mastering Lightroom ebooks will help you get the most out of Lightroom 4 and Lightroom 5. They cover every aspect of the software from the Library module through to creating beautiful images in the Develop module. Click the link to learn more or buy.


You must be logged in to post a comment.