Have you ever “hit the wall” with your photography? Do you sometimes get the feeling your images aren’t improving as much, or as fast as you’d like? Have you ever thought about what you must do to cross that chasm from being a pretty good photographer to being a WOW photographer?
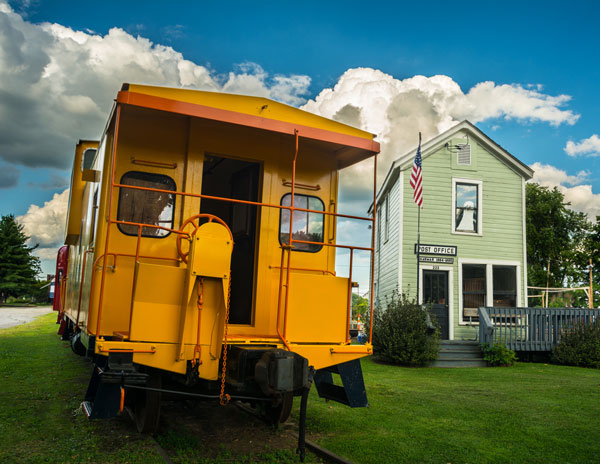
Is this a WOW shot or not? How do you know?
ONE SKILL FITS ALL
There’s really only one ability that you need to develop to help you advance your talents, and it will serve you well in any creative pursuit, not just your photography. This skill is reflection.
No, not THAT kind of reflection (although reflections in images can be captivating), I’m talking about introspective reflection, the thoughtful self-analysis of your work.
- What worked well in the image?
- What is not working?
- Was your vision translated accurately into your photo, did you achieve your goals?
- Is it a WOW shot?
- How can you tell?
- How can you be objective about your own photos?
Reflection is so important for improvement. Yet many aspiring and seasoned photographers alike, go out and shoot, come back to their computers and fire up Lightroom (or another image processor) and start editing. They edit until they have an image they like; save it, print it and share it. And that’s the end of the workflow. I’d like to encourage you to add reflection to your photographic post-processing methods.
IT’S CRITICAL TO BE CRITICAL
It’s not easy to be critical about one’s own creative work. Our hearts and souls are embodied in every shot we take and it can be difficult, if not almost impossible to be objective. But I have a handy and easy checklist, to help you critique your images. It’s fast, almost painless, and it works. You can use this checklist as well if your friends or other photographers ask you to critique their images. You can be objective, you can back up your opinion using the checklists items, it works for almost all genres of photography and it will help you fully absorb new information, and rapidly advance your photography skills.
BEING OBJECTIVE – THE CHECKLIST*
This checklist will help you evaluate your images, and those of other photographers in an objective way. It’s the prefect way to reflect on your shots and absorb those things you did well. It also allows you to understand why an image isn’t working.
Ask yourself:
Does the image have:
1) Impact
This is the immediate feeling the viewer gets when they first see the image. Compelling images evoke laughter, sadness, anger, pride, wonder or another intense emotion.
Reality Check: When you show someone your image, what is their immediate reaction? Do they instinctively take a breath, or inhale quickly? This is a good sign your image has made an impact.
2) Storytelling
Storytelling refers to the ability of the image to evoke imagination. One beautiful thing about art is that each viewer might collect his own message or read her own story in an image.
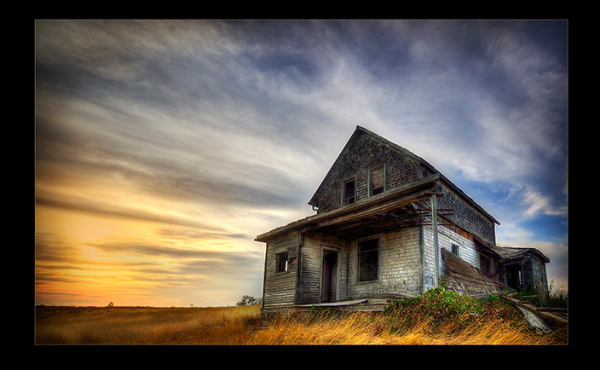
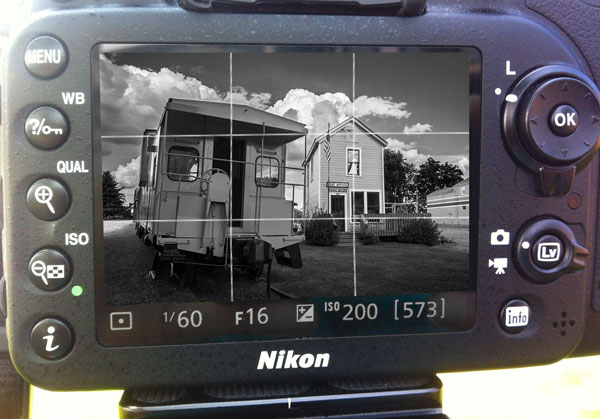
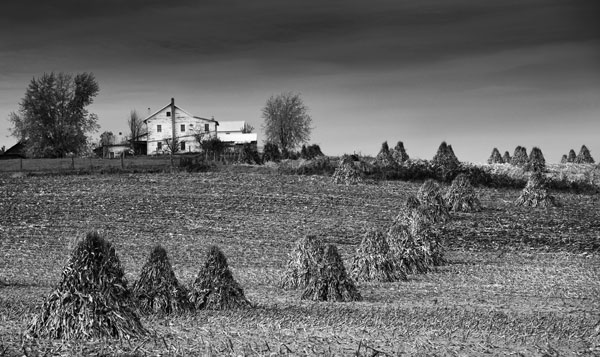
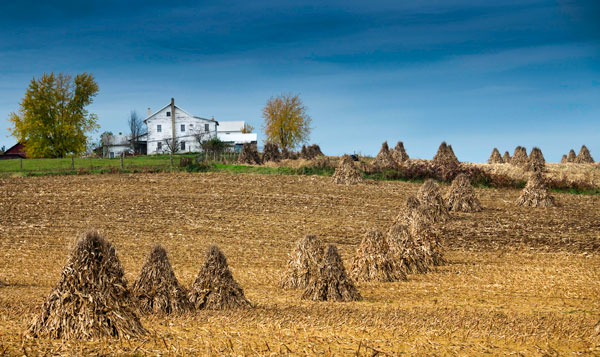
Reality Check: WHAT is the story your image tells? This need not be complicated but perhaps as simple as one sentence. For the image Prairie Sundown, the old house above, is there a story in that photo for you?
3) Creativity
This is the original, fresh, and outward expression of the imagination of the maker by using the photographic techniques to convey an idea, message, or thought. Does your image display something in a very creative and original way?
Reality Check: Have you ever seen an image similar to yours? Why is yours different and better than the similar one?
4) Style
Style is defined in a number of ways. It might be a specific genre or simply recognizable as the characteristics of how a specific artist applies light to a subject. It can impact an image in a positive manner when the subject matter and the style are appropriate for each other, or it can have a negative effect when they are at odds.
Does your image show a sense of YOUR style? Describe your style? Look at the works of famous photographers and see if you can identify the elements that make up their style.
Reality Check: What have you done in taking this image, or in post-processing it, that makes it uniquely YOUR image? Do you use a certain angle a lot of the time so people start to recognize certain images as being yours? This uniqueness is your style.
5) Composition
Composition is important to the design of an image, bringing all of the visual elements together in concert to express the purpose of the image. Proper composition holds the viewer in the image and prompts the viewer to look where the creator intends. Effective composition can be pleasing or disturbing, depending on the intent of the image maker.
Does your image have leading lines that help the viewer come into your image? Is there enough contrast, pattern, white space, repetition, or tension to keep them looking once they are there?
Reality Check: Have you used any rules of composition in this image (Rule of Thirds, Golden Triangle, etc.). Which one and why did you use this particular one? Have you purposely broken any rules? Which ones and why did you break them?
6) Center of Interest
This is the point, or points, on the image where the photographer wants the viewer to stop as they view the image. There can be primary and secondary centers of interest. Occasionally there will be no specific center of interest and the entire scene collectively serves as the center of interest.
Reality Check: There is a clear and obvious centre of interest with no distracting elements; or the viewer can tell you in a second what is the point of interest. If they can’t then you must score yourself lower.
7) Lighting (the use and control of light)
Light is how dimension, shape and roundness are defined in an image. Whether the light applied to an image is man-made or natural, proper use of lighting should enhance an image.
Have you used unique, or unusual lighting angles? Is the image taken at a time when the sun is NOT directly overhead or using flat light?
Reality Check: The light is a key component of this image. If the light were different would the image be better or worse? If this image had been shot at sunset it would be a better image? If you could do better, score yourself lower for use of lighting.
8) Subject Matter
The subject is appropriate to the story being told in an image.
Reality Check: Is your subject realistic for the story it is telling? Is the symbolism evident? Is there continuity between the logic of the elements you’ve used in your image?
9) Color Balance
Color balance supplies harmony to an image. An image in which the tones work together effectively supporting the image, can enhance its emotional appeal. Color balance is not always harmonious and can be used to evoke diverse feelings for effect.
Reality Check: The tones and colors you have used in your image are coherent with the type of emotion you want to convey. Dark, shadowy, purples, blues, deep reds etc., evoke a different emotion than whites, pastels and semi-saturate tones. Is your use of color consistent with your story?
10) Technical Excellence
This is quality of the image itself as it is presented for viewing. Sharpness, noise, pixelation, exposure, printing, mounting, and correct color all speak to the qualities of the physical print.
Reality Check: The extreme reality check for this is viewing your image at 100% in Photoshop or other image editor. Is your subject sharp at 100%? If so then it’s sharp. Is there visible noise in the shadows? If yes your exposure is off. Are there “blown-out highlights”, if yes your exposure is off. Check your histogram for clipping. If your images are of people, are the skin tones pleasing and natural?
11) Technique
Technique is the approach used to create the image. Printing, lighting, posing, paper selection (if printed) and other elements are part of the technique applied to an image.
Reality Check: Is everything you have done to create and make this image technically good?
CRITIQUE ME
To help you get the hang of this, I would be delighted to accept your objective assessment of the images in this article, using the points from checklist of course.
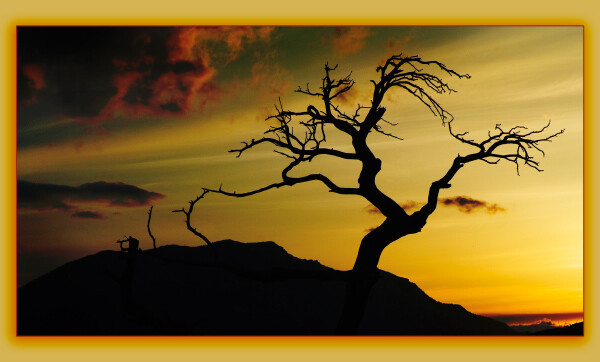
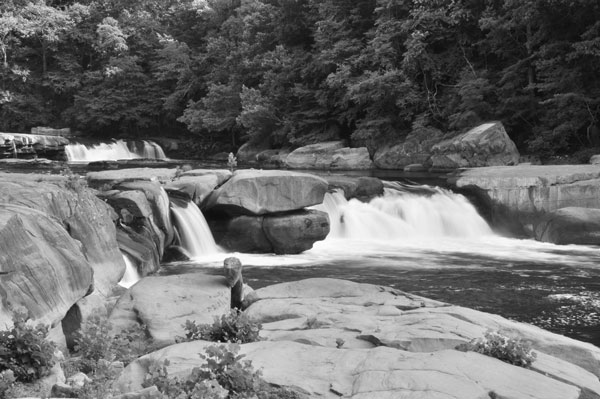
Here are a couple more for for you to reflect on, and critique:
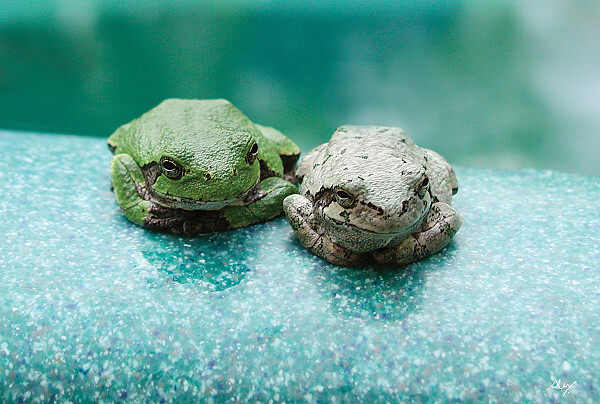
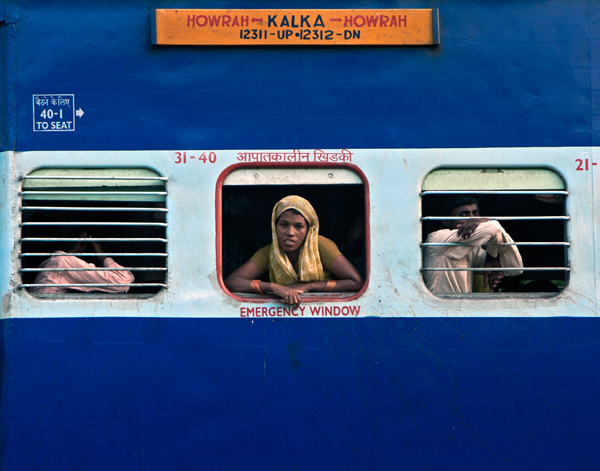
What’s working in this image? What’s not?
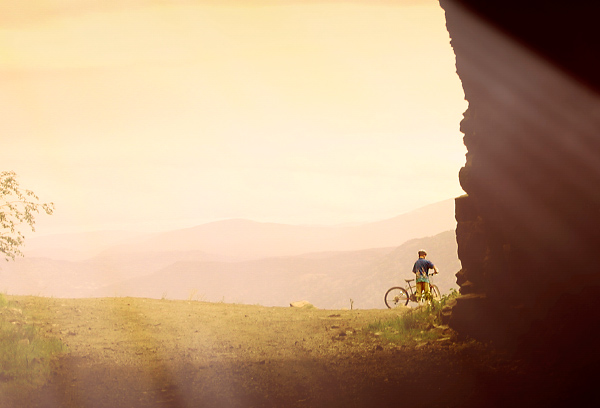
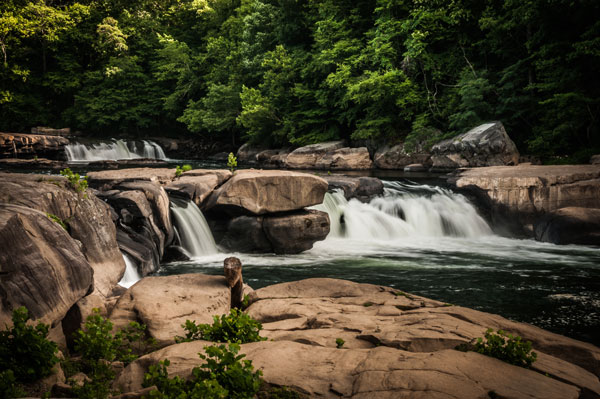
Does this image have impact, storytelling, anything else? WOW shot or not?
Once you have the “feel” for this, give the Reflection Checklist a try on some of your images, and feel free to share your self assessment with us here. You can post your checklist results and images in the comments section.
You can even download a PDF of the Photographer’s Reflection Checklist with a scoring guide here.
* This checklist has been adapted from the PPA’s 12 Elements of Merit Image and used with their permission.
The post How to use the Art of Self Reflection to Make Better Photos by Alex Morrison appeared first on Digital Photography School.


 Pick up Oded’s new Snapn Guide (a dPS sister company) Snapn Travel here for only $ 7. A lifetime of travel memories in a Snap.

 But here is another fact: there is nothing like photographing someone from a close distance. The eyes, the feelings and the huge visual story potential within. Besides, when we work from a close distance while interacting with the person, we gain control of our tools as photographers: composition, background, the “decisive moment” and we also have that amazing ability to tell the photographed person: “you know what, let’s take one more shot”.


 Choose: choose a person you would like to photograph. Don’t use excuses like: “I can’t find anyone special”. Just make the shot, even if it’s only for practice. It is very important that you choose a person who is not on the move, because you need to get ready BEFORE approaching him, so it will be easier in a static situation (a seller in market stand, or someone relaxing at the park)


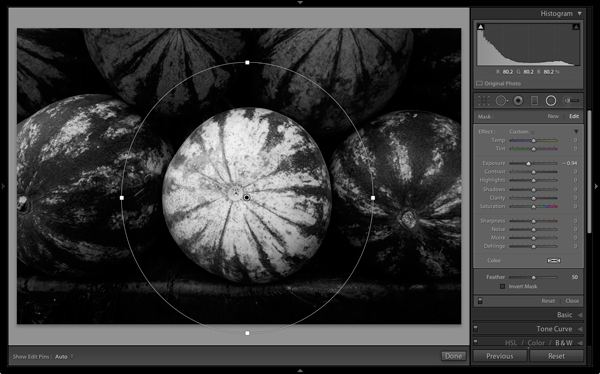
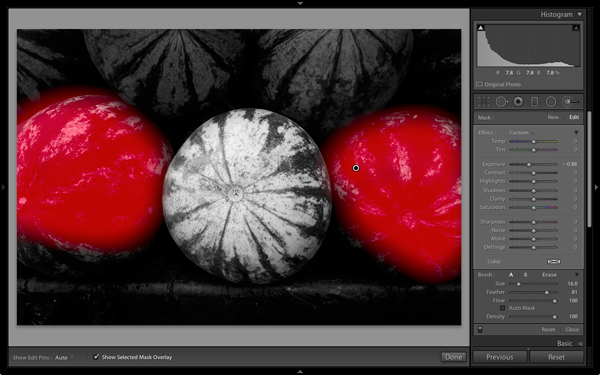
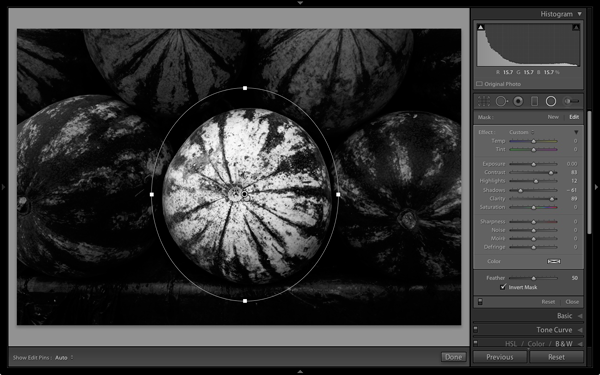
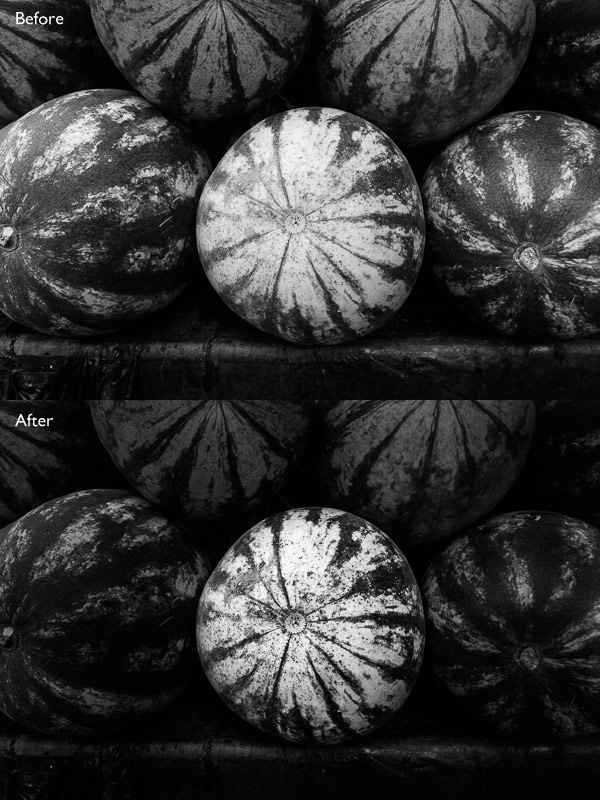
 My ebook Mastering Lightroom: Book Three – Black & White goes into the topic of black and white in depth. It explains everything you need to know to make dramatic and beautiful monochrome conversions in Lightroom, including how to use the most popular black and white plug-ins. Click the link to visit my website and learn more.


You must be logged in to post a comment.