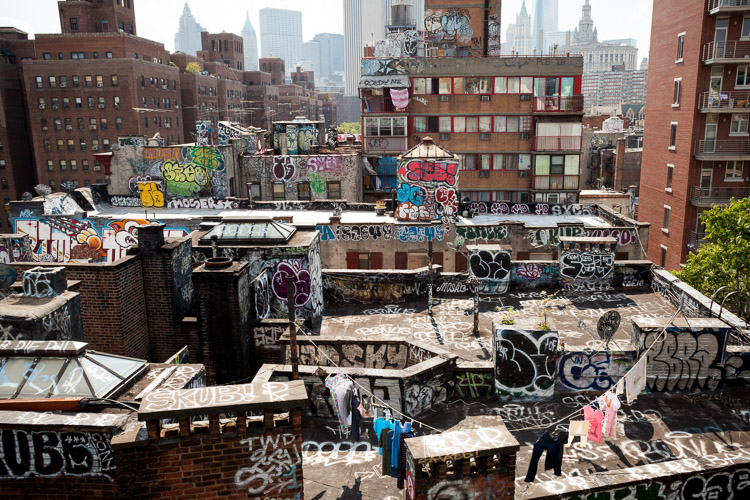
Picture this, you are about halfway through editing a beautiful urban landscape in Photoshop. You’ve already put hours into the image when suddenly you notice that a particular area of the image doesn’t add up. A wall you were working on has accidentally been Clone Stamped to look as if it were hanging at an unnatural angle. It just looks wrong. After repeatedly hitting the undo button you discover that Photoshop can only remember so much, and you are stuck with this disastrous looking edit. All you can do now is waste more precious time trying to fix the problem or close the program and start from square one. If only there was some other way – enter non-destructive editing in Photoshop.

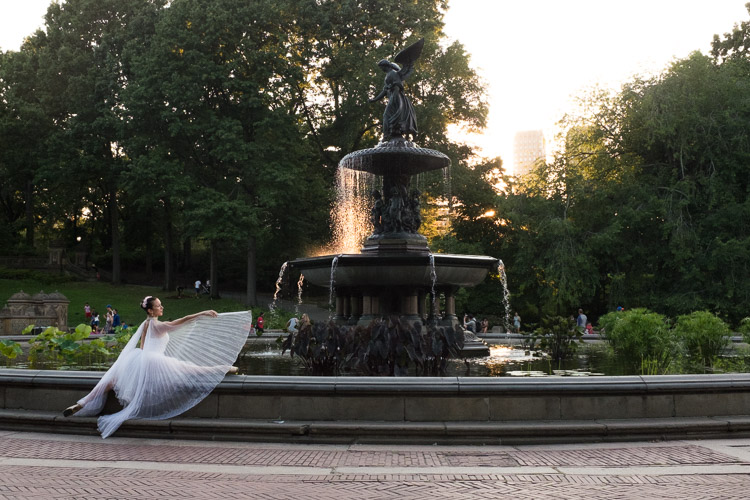
Now you see me…now you don’t! Editing with a non-destructive workflow means that you can edit your photos without leaving a trace on the original file.
What is non-destructive editing?
Fortunately, there is a better way! Non-destructive editing (sometimes called NDE for short) is a method of editing in Photoshop that allows you to make changes to an image without overwriting the original image data. This means that you will always be able to backtrack on adjustments made to an image as needed, retaining flexibility and keeping the resolution of the original image intact.
You may have already encountered non-destructive editing while following online tutorials that instruct you to use a particular adjustment layer to make modifications rather than editing the actual image.
Non-destructive editing is not one single technique. You can perform it in numerous ways in Photoshop depending on the desired outcome of an image. For this article, we will have a look at some of the most basic methods used by photographers for doing non-destructive editing .
Duplicating the background layer
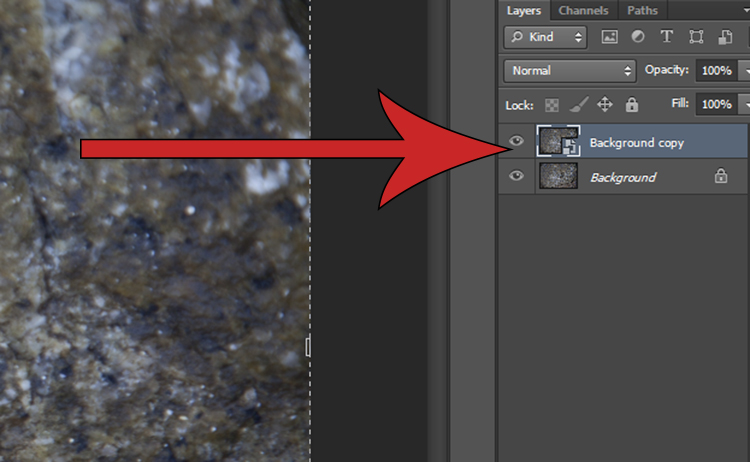
No matter what image you have opened in Photoshop, the first step is always to duplicate the background layer. If you do happen to make an adjustment directly onto the image the background layer will remain untouched. Then you can start afresh with all your adjustment layers intact.
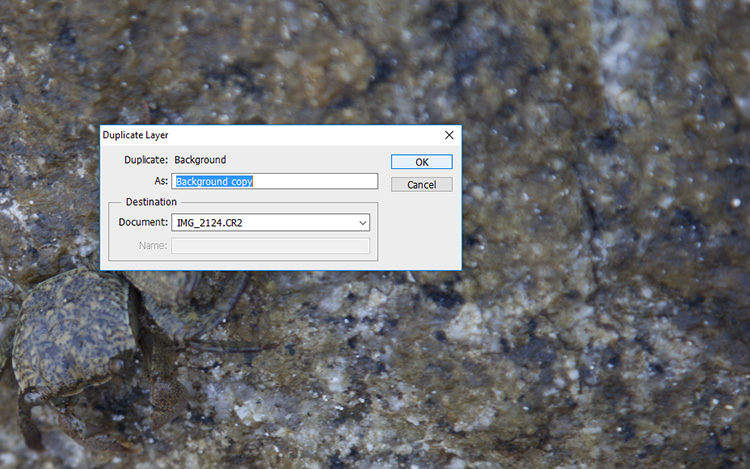
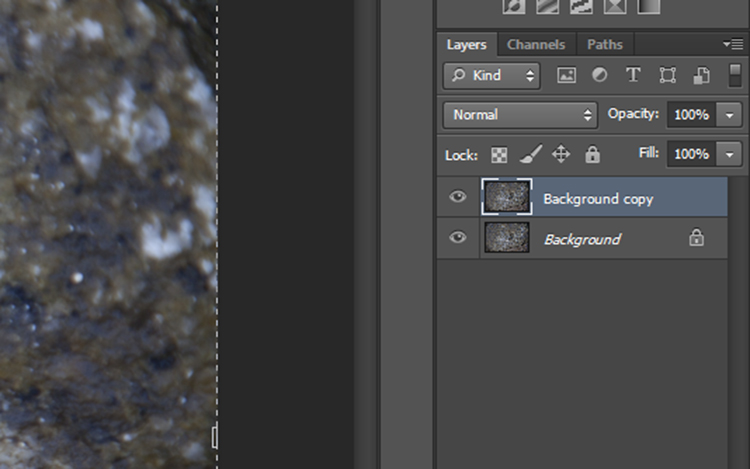
To do this, open an image in Photoshop. Move the curser to the thumbnail image in the Layers panel and right click on the shaded area that says Background. Now select the Duplicate Layer option and select OK at the screen prompt. A new layer will appear above the Background layer in the layers panel titled Background Copy.

Working with adjustment layers
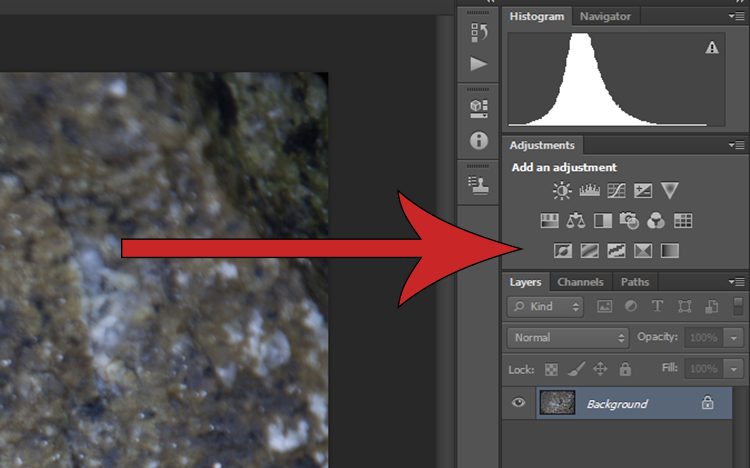
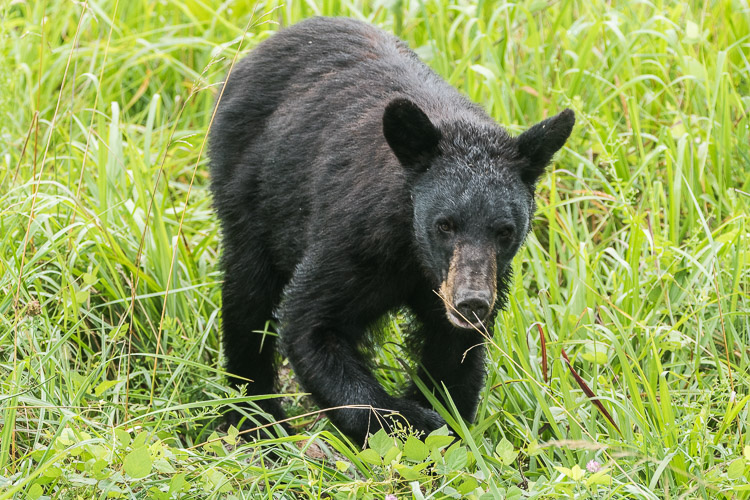
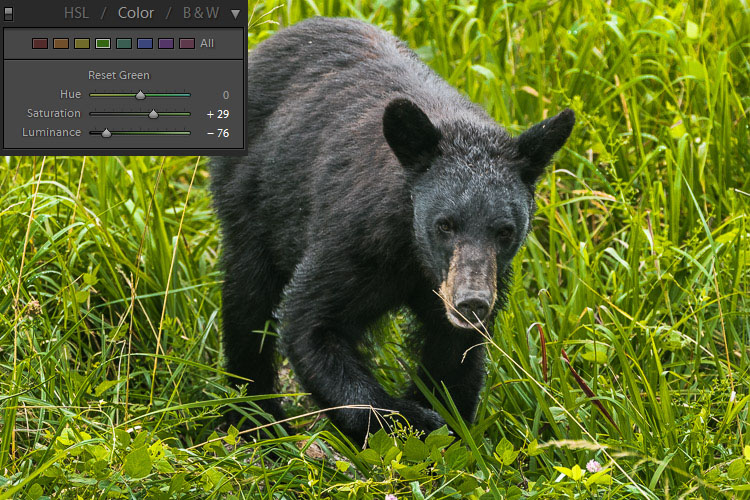
Simply put, adjustment layers apply colour and tonal adjustments to an image without permanently changing any pixel values. To activate the adjustment layers panel click Window on the top menu bar and select Adjustments. It will bring up a panel with lots of adjustment options such as levels, hue/saturation, brightness/contrast, gradient overlays and black/white. This is the go-to panel for digital editing and in most cases, it will provide all the editing tools you will need.

Select one of the adjustment layers by clicking on an icon. The name of the icon will appear if you rest your mouse on it for a moment. In this example, I have chosen Curves to adjust the contrast in my photograph. Clicking that icon will cause the Curves panel to pop up with the available settings within that adjustment.

Notice that there is now a new layer in the layers panel which is sitting above the one called Background. This means that any layers below the Curves layer will be affected by this adjustment. To limit the effect of an adjustment to a single layer only, right click on the adjustment layer and select Create Clipping Mask. A small arrow pointing down indicates that the adjustment layer will only affect the one that is sitting directly underneath it.

Using Smart Filters
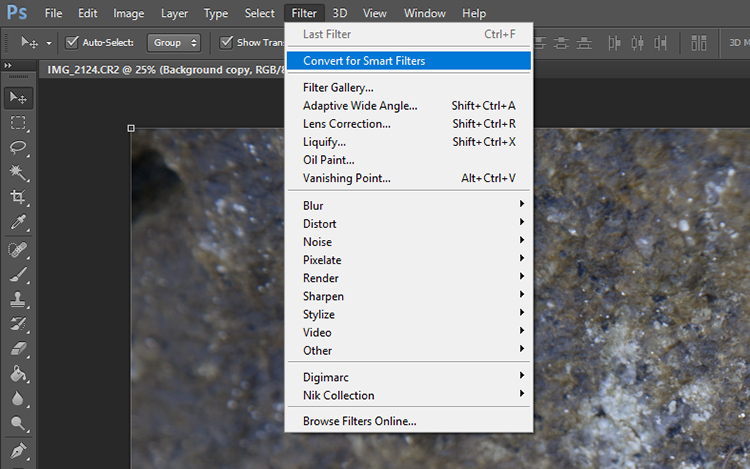
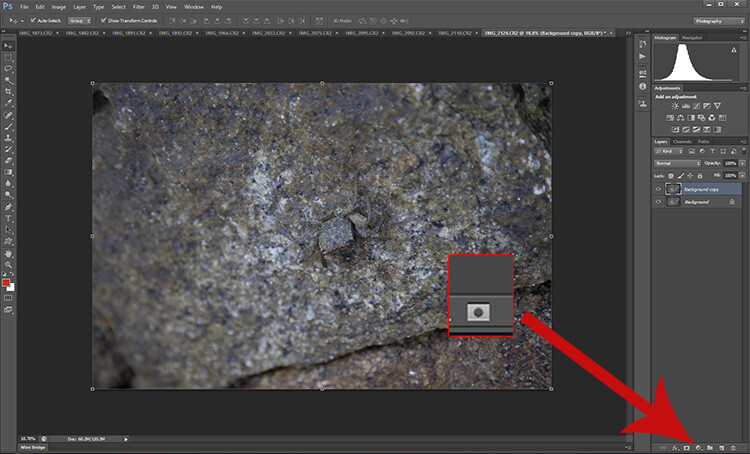
Adding a filter to an image can be done non-destructively and will allow you to undo the effects of it later if you change your mind. Click on the layer you would like to apply a filter to and click on the Filter drop-down menu located on the top main toolbar. Select Convert for Smart Filters and a pop-up will appear saying that you must turn the selected layer into a Smart Object. Hit OK and a tiny document shaped icon will appear in the bottom left-hand corner of the selected layer thumbnail image.
After you select a filter from the Filter Gallery (via Filter > Filter Gallery) and apply it to the image, you will see two new items beneath the selected layer. Clicking on the eye icon next to the Filter Gallery layer will toggle the filter on and off, and double clicking near the Filter Gallery text will open the Filter Gallery adjustments. Right clicking on the Filter Gallery Layer will bring up a menu. If you want to remove a filter altogether, select delete and the filter mask will disappear without degrading your image.

Use Layer Masks instead of the Eraser Tool
Masking is one of the more common tools in the Photoshop master’s kit. Using a layer mask allows you to you hide or mmask off parts of an image rather than using the eraser tool to permanently remove parts of an image. To apply a layer mask, open an image, select the layer you want to edit and click on the small icon at the bottom of the layers panel.
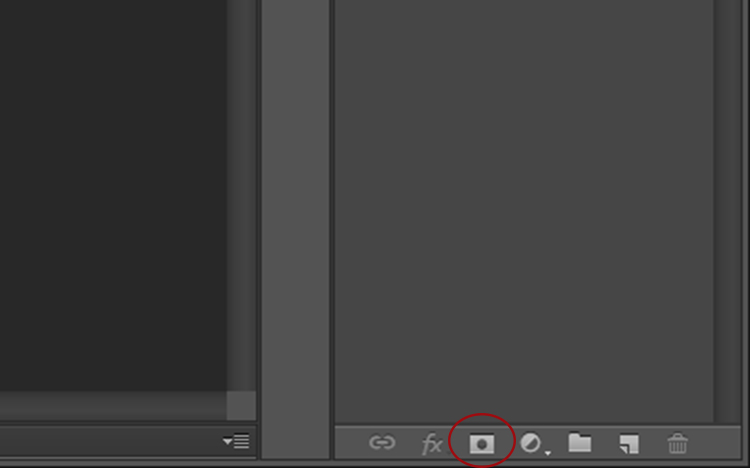
A close-up of the Layer Mask button.
A mask will appear next to the layer you have selected, with a small chain icon between the thumbnail and the mask. When you have the image icon selected any effects applied to the image will occur as normal. However, if you select the mask, you will find that painting onto it (with black) will hide parts of that layer.
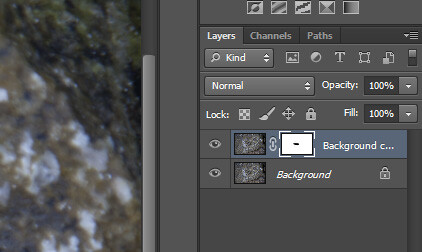
Close-up of the selected layer mask – note the white lines around the corners indicating which part is active.
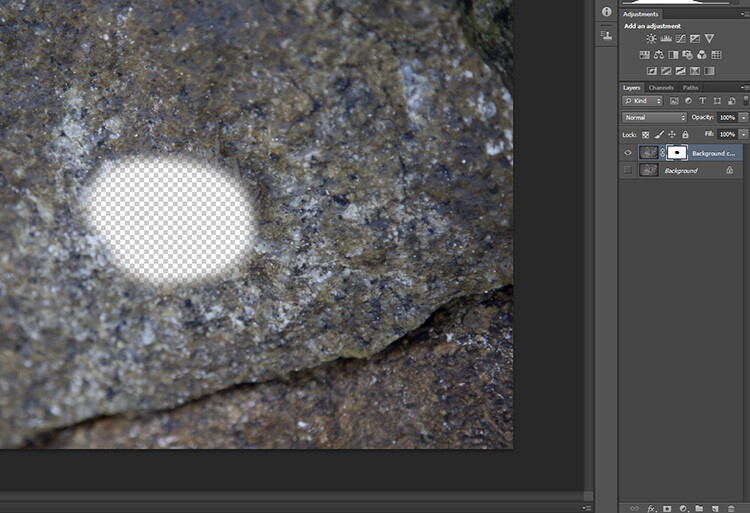
With the background layer turned off (not visible) you can see that part of this layer is missing, or hidden by the layer mask where it is black. Black conceals or hides, white reveals.
Now, if any hidden portion of the image is painted over in white on the layer, it will be visible again. If you then delete the mask all the hidden areas will reappear.
Dodging and burning non-destructively
The Dodge and Burn tools are used to lighten and darken areas of an image, but applying these effects directly to an image is destructive, preventing you from being able to edit the changes later.
To dodge and burn non-destructively, start by opening up your photo. Duplicate the background layer, then select Layer > New > Layer from the top menu bar. A dialogue box will pop-up, make sure your settings are the same as those shown below and hit OK. A new layer will be created.
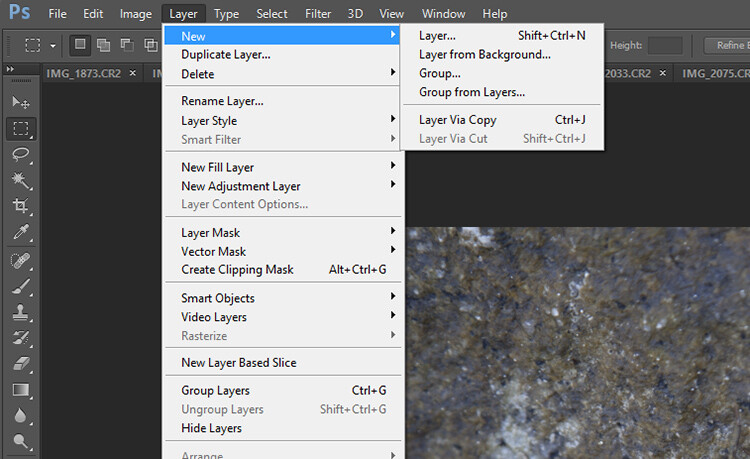
Create a new layer
Use the settings you see below. That will fill the layer with gray and change the blend mode to make it effective for dodging and burning.
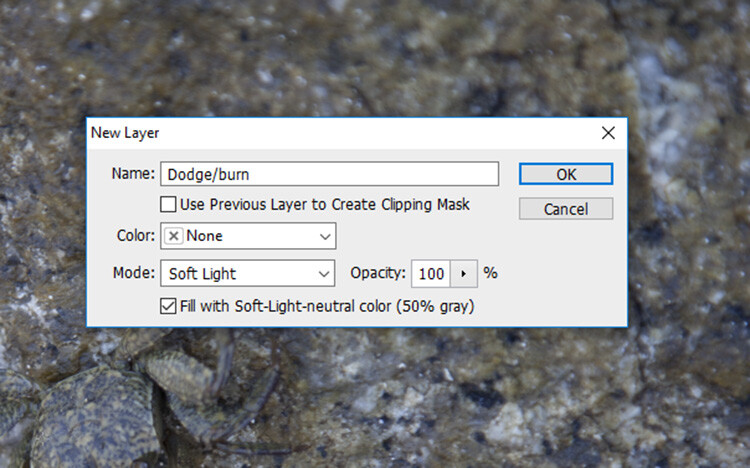
Use these settings for your dodge and burn layer.
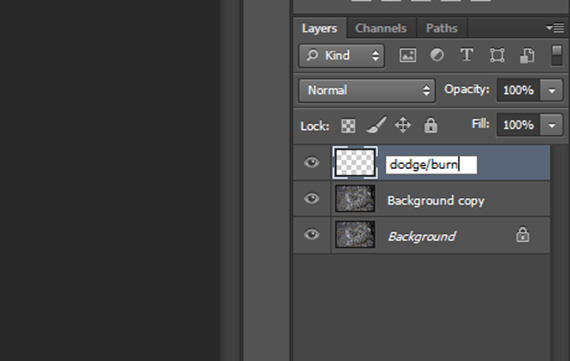
You can give this layer a nickname to help you remember what it is doing. You can always do it later if you forget, by double-clicking on the layer name. I usually call this layer “dodge/burn”.
Now simply select either the Dodge or Burn tool and apply any adjustments to this new layer. Though you are now editing one layer above the actual image, you have adjusted the blend mode so that the opacity of the grey Dodge/Burn layer is completely transparent, and any changes you make to this layer now appear to only adjust the image, without impacting the quality of the original pixels.
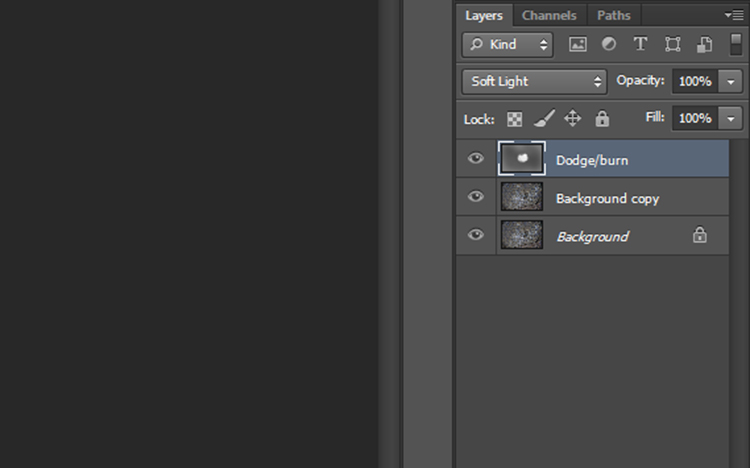
Result of the dodge and burn layer
Using the Clone Stamp non-destructively
The Clone Stamp is another great tool used to remove bits and pieces you may not want in an image. Normally it works by moving pixels in the original image around but, you guessed it, that is a very destructive technique!
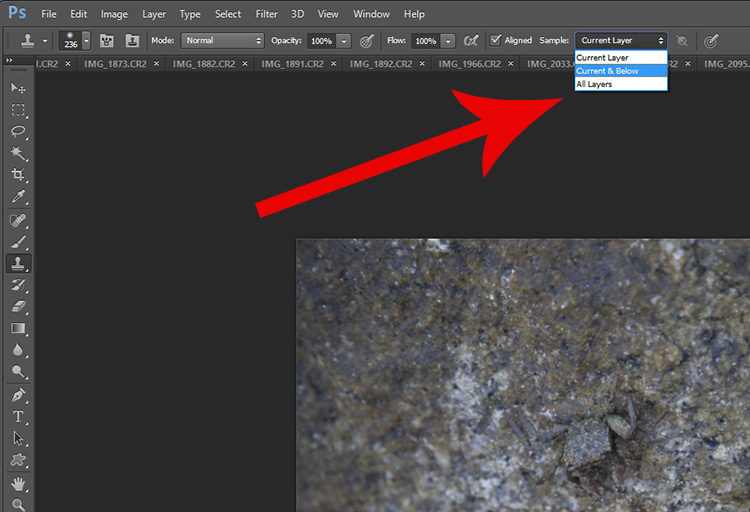
To use the Clone Stamp Tool non-destructively simply create a new layer as before. Next, select the Clone Stamp Tool and in the Sample drop-down menu select the Current & Below option. Now the Clone Stamp Tool will sample everything in the image but only apply any changes to the top most layer.
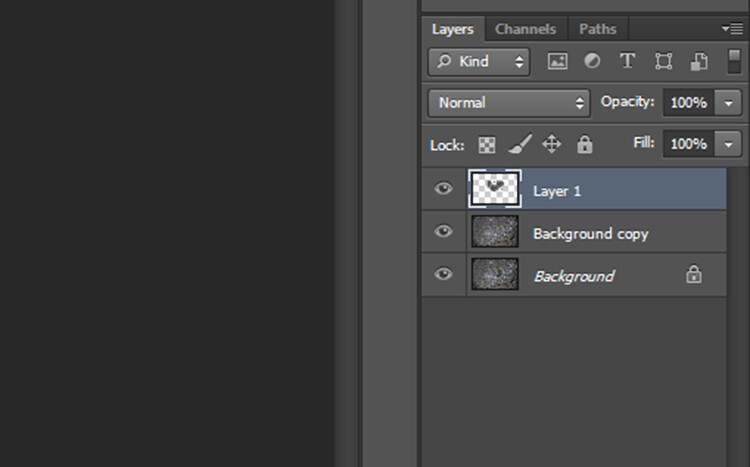
The clone layer looks like this.
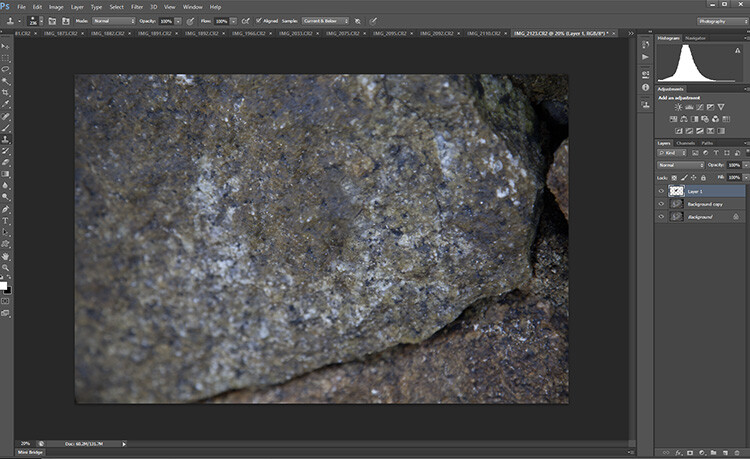
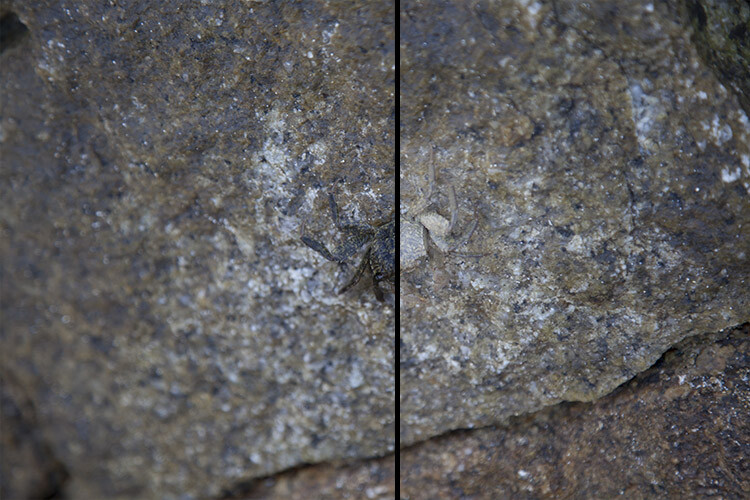
The result of the clone layer being applied looks like this.
Conclusion
There are plenty of other methods to edit non-destructively. But as the basics show, non-destructive editing is mostly about using new layers that are placed above the original image rather than adjusting the original image itself. It may seem clunky at first, but it will soon become an automatic part of your workflow. The next time you find yourself with an awkward edit you’ll be glad you can simply turn a layer off rather than starting all over again.
How do you use edit non-destructively in Photoshop?
googletag.cmd.push(function() {
tablet_slots.push( googletag.defineSlot( “/1005424/_dPSv4_tab-all-article-bottom_(300×250)”, [300, 250], “pb-ad-78623” ).addService( googletag.pubads() ) ); } );
googletag.cmd.push(function() {
mobile_slots.push( googletag.defineSlot( “/1005424/_dPSv4_mob-all-article-bottom_(300×250)”, [300, 250], “pb-ad-78158” ).addService( googletag.pubads() ) ); } );
The post How to do Non-Destructive Editing in Photoshop by Megan Kennedy appeared first on Digital Photography School.

Digital Photography School


You must be logged in to post a comment.