For many photographers, spending time behind a computer editing images, can be annoying. I personally enjoy the editing process, but I often hear photographers saying that they wish they didn’t have to spend time editing images. Of course, the image editing process has become the photographer’s responsibility since the advent of digital photography. In the past, the editing process was the domain of the lab that developed and printed your roll of film.
If you are one of the photographers that does not like the idea of spending hours editing your images, then this article might help you get out of the editing blues.
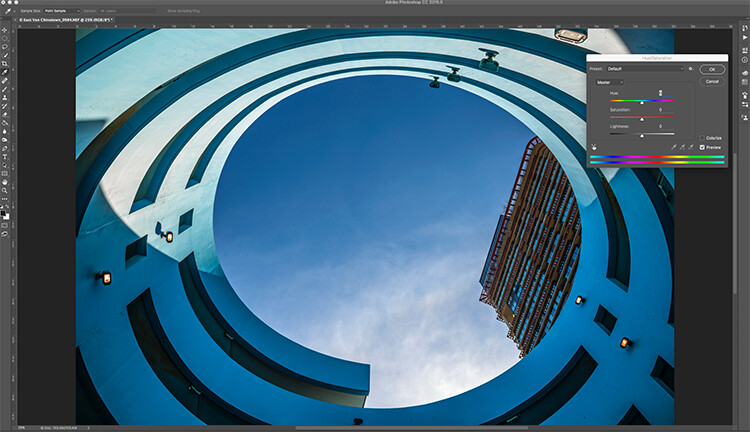
Image open in Photoshop with the Hue and Saturation tool open
Of course, you will always need to spend some time editing, but you don’t want to be spend hours trying to make an image look good. There is a quick way to get some good results from your images in Photoshop. But, before we talk about that, first there are some things that you need to do in-camera, which will save you time in post-production.
- Make sure your lenses are clean, you don’t want to spend time cleaning up dust spots on your images.
- Make sure your sensor is clean, get your sensor cleaned when you start to notice sensor spots on your images.
- Use a tripod, straightening images in Photoshop or Lightroom wastes your time.
- Make sure your image is in focus and sharp. Zoom in on your LCD screen to be sure, if not, retake the shot.
From there, you can be sure that your images are coming out of your camera in an edit-ready state. You don’t want to spend your time fixing photography mistakes made in-camera. The main goal with image editing is to take your good images, and make them look spectacular. So, here are some very quick edits you can do to your images (assuming the image is in good shape) in Photoshop, and in turn, spend more time behind the camera.
Quick Edit #1 – Levels or Curves?
This is something of an ongoing debate among photographers. Some have a preference for one or the other, the reality is that they are very different tools, and you can (and should) use both.
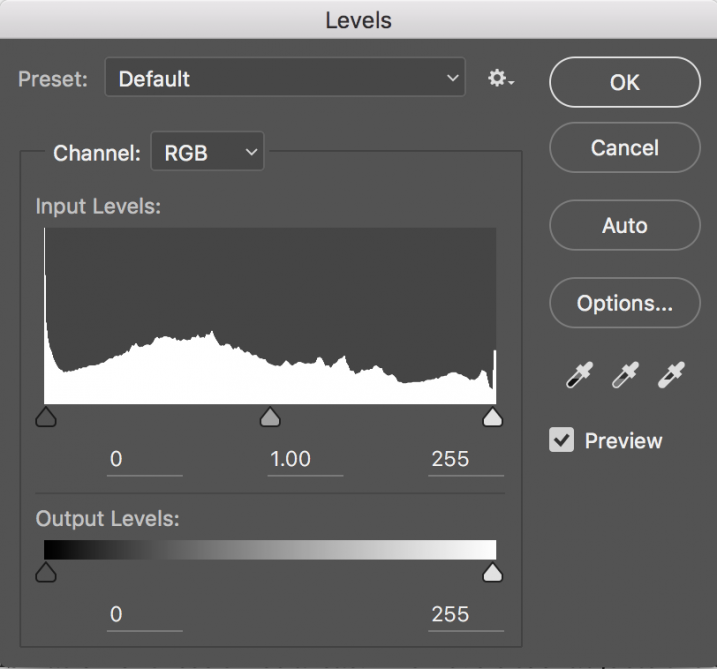 Levels is a great tool to quickly make exposure adjustments to your image. Curves gives you the same ability, but in much more detail. It also has some very powerful abilities in terms of specific adjustments. For a quick edit though, Levels is your tool of choice: IMAGE > ADJUSTMENTS > LEVELS, the keyboard shortcut is CMD>L on a Mac and CTRL>L on a PC, OR add it as an adjustment layer for non-destructive editing.
Levels can really make a difference to your image. Take a look at this article to help you with levels: 5 Photoshop Tools to Take Your Images from Good to Great, as well as some of the other tools available. The levels tool looks deceptively simple, but it has some really powerful functionality. It is best to adjust your image using Levels first, as this tool affects exposure on three areas of your image: the highlights, shadows and midtones.
All images are made up of a combination of these three areas. The Levels tool adjusts the exposure in each of them separately. The reason why this is important, is because exposure affects colour. For example, if you make your exposure in a scene darker, your colours will become more saturated, if you brighten the exposure, your colours will desaturate. So, making levels adjustments first, will also help your image’s colour.
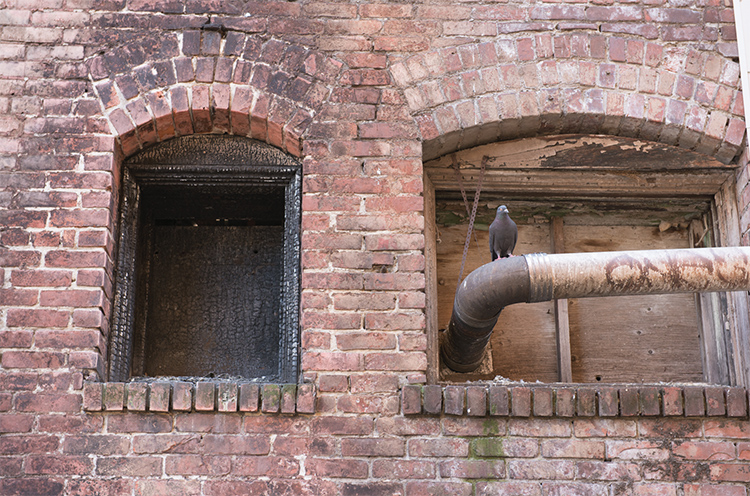
Image straight out of camera, no adjustments.
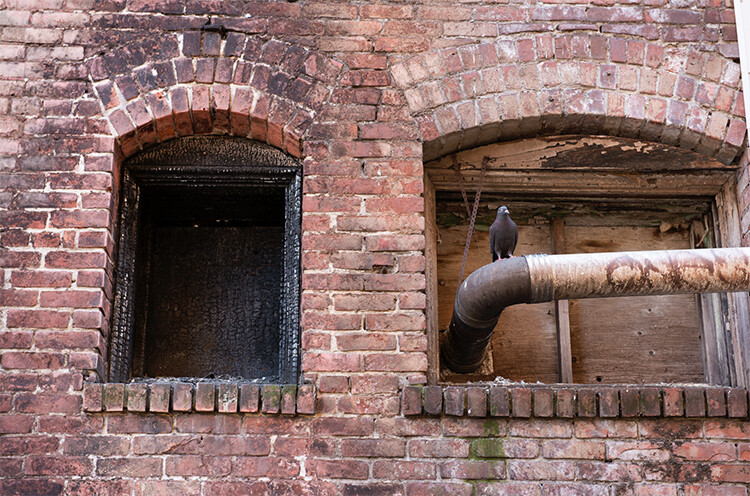
The same image after Levels adjustments
Quick Edit #2 – Hue and Saturation
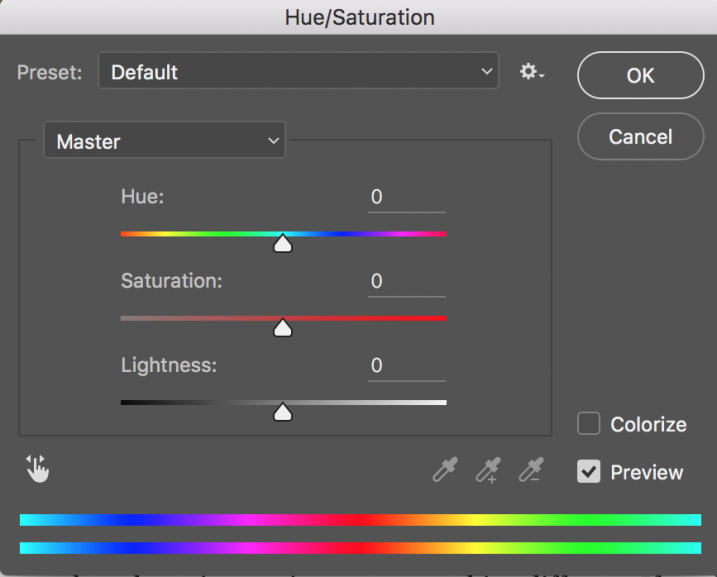 This tool is the next one in order. Start off with Levels and then move onto Hue and Saturation (IMAGE > ADJUSTMENTS > HUE AND SATURATION or the keyboard shortcut is CMD>U on a Mac or CTRL>U ON A pc). This also looks like a simple tool on the surface, but there is a lot more depth to it.
First of all, you will see three sliders, the top one is Hue, the middle one is Saturation, and the bottom one Lightness. You will also notice a pull-down box above the three sliders, it is set to Master as the default.
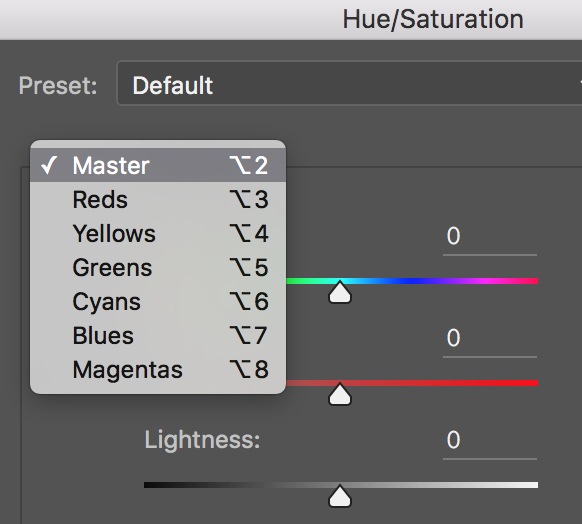 The Hue slider is used if you want to change the colours in your image to something different. If you leave the box at the top on Master and adjust the Hue slider, all the colours in the image will change, making your image look a little funky and weird, but this could be fun too! The real power of the Hue slide comes into play when you select a colour channel from the drop down box. If you click on the arrow next to Master, all the colour channels will drop down (see screenshot left). This is really useful if you want all the reds to look a little more orange in your scene. Bear in mind, this is a universal adjustment, it will select all the reds in your image and make an adjustment to them all.
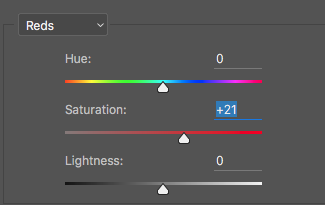 The second slider is Saturation which affects how rich your colours are in your image. If the reds in your image seem to be light or weak, you can select Reds from the list, and simply move the Saturation slider up (see screenshot right). Also, if some of your colours seem too bold, you can select the appropriate colour channel and move the Saturation slider to the left. You can select each colour individually and make the necessary adjustments.
The last slider is Lightness. I have almost never used this one. If you have done a good job on your levels adjustment, there is really no reason to use the Lightness slider, so I would recommend not using it.
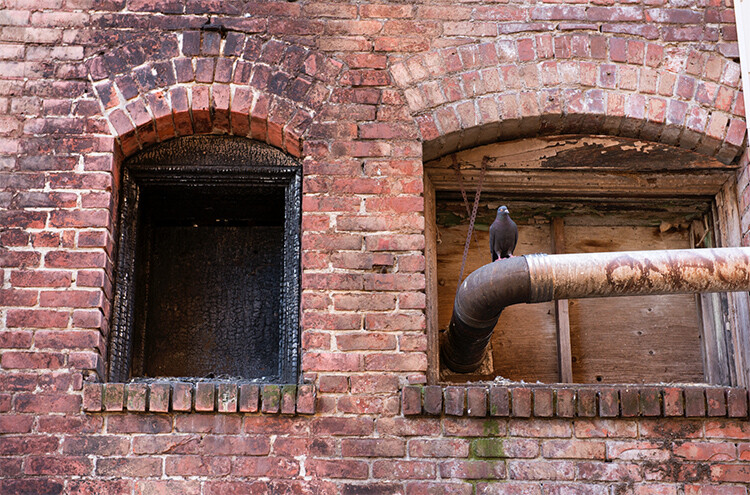
Image after Hue and Saturation adjustments have been made
Quick Edit #3 – Brightness and Contrast
Once you have made your colour adjustments using Hue and Saturation, you might need to boost the brightness a little. The Brightness and Contrast tool (IMAGE > ADJUSTMENTS > BRIGHTNESS AND CONTRAST, there is no keyboard shortcut to this one) should be used sparingly, do not make big adjustments using it.
You can simply nudge the Brightness slider to the right and give some pop to the image, then do the same for the Contrast slider. If you don’t feel that you need to use this tool, then don’t, it is only necessary if your image looks a little dark after your colour adjustments.
Note: if you’ve done each of these as an adjustment layer you can go back and tweak your levels again, after doing the others.

Final quick edits made in Brightness and Contrast
That’s it, you are done, in a manner of speaking. These quick edits may be good enough for you to get your image to a satisfactory point. If you are happy with your image, then great – you have not spent too much time editing it.
You can do these three quick Photoshop edits on images that you think might be printed. Then if you see that the edits give them the boost you want, you can then spend more time on each image. This cannot replace a good workflow and a good understanding of what is possible in Photoshop, but these three tools will give you the ability to quickly edit your images and get them into a print-ready state really quickly.
If you need to do some further edits, then take a look at this article about more detailed post production techniques or check out all the articles dPS has on image editing in Photoshop.
googletag.cmd.push(function() {
tablet_slots.push( googletag.defineSlot( “/1005424/_dPSv4_tab-all-article-bottom_(300×250)”, [300, 250], “pb-ad-78623” ).addService( googletag.pubads() ) ); } );
googletag.cmd.push(function() {
mobile_slots.push( googletag.defineSlot( “/1005424/_dPSv4_mob-all-article-bottom_(300×250)”, [300, 250], “pb-ad-78158” ).addService( googletag.pubads() ) ); } );
The post 3 Quick Photoshop Edits You Need to Know by Barry J Brady appeared first on Digital Photography School.

Digital Photography School


You must be logged in to post a comment.