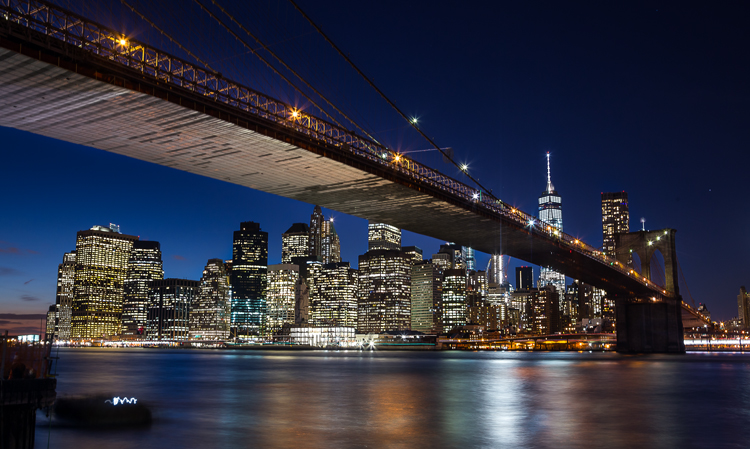
Brooklyn Bridge picture taken using a remote shutter release and a neutral density filter, which could be eliminated with camera improvements.
It is becoming almost cliche, but there has never been a better time to be a photographer. What we can do now with modern digital cameras, without spending that much money, is incredible. Without breaking the bank, you can now get an extremely high resolution digital camera, with low light performance and a dynamic range unheard of just a few years ago, that shoots at speeds measured in multiple frames per second. If that isn’t enough, it will also double as a video camera with HD quality as a bare minimum. It will even send the pictures wirelessly to your phone. It seems ungrateful to ask for more. Still, everything can be improved, can’t it?
And just to be clear – when I say improved, I don’t mean adding more megapixels. Or demanding even better low light performance and dynamic range. Or achieving even faster focus and shooting speeds. The manufacturers know everybody wants that stuff, and they seem to be putting all their energy into those areas.
But doesn’t it seem like there are features that could be added to cameras that wouldn’t require a technological breakthrough? Or that wouldn’t make your camera cost a fortune? It always seemed that way to me. So I started asking around to other photographers, then I started asking readers, and finally I asked my fellow dPS writers.
How would you improve digital cameras?
I got some good answers, and have combined them with my own to create a list of 10 new features (a wish list) that could be added to digital cameras to make them better. Here they are, in no particular order:
1. A Small LCD for the Histogram
The first improvement is a separate, smaller LCD on the back of the camera. Why? Let me explain.
We all know that the best way to evaluate exposure when you are shooting is to look at the histogram. Looking at just the picture on the LCD doesn’t work as well when you are trying to evaluate exposure. But look what happens to the picture on the screen when you add the histogram:
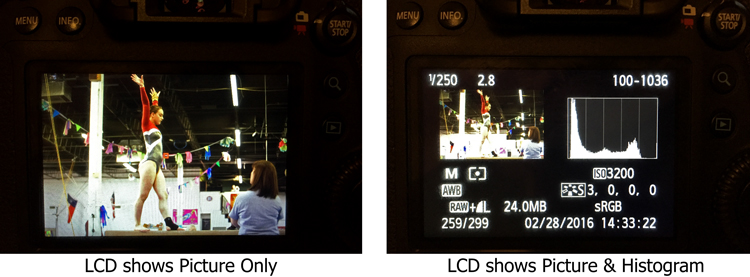
On the left, where you have the full picture, you can clearly see it. But once you add the histogram, the picture on the right becomes tiny. It is unusable and tells you nothing. We are essentially forced into a position of having to choose between a picture we can see, or just viewing the histogram (but not both). I’d like to do both.
To fix that, you could just put another very small LCD on the back of the screen. It would show only the histogram, so that you could still have a full sized version of your picture.
2. Three Dials
When you set the exposure level of your pictures, there are three controls: shutter speed, aperture, and ISO.
At the same time, how many dials do we have to set those three controls? Two – and that’s if we’re lucky. Entry level cameras often only have one. To change all three exposure controls with only two dials, means you have to press buttons while turning dials. It’s a rather cumbersome process, for the most important and commonly used functions of the camera. If we have three exposure settings, shouldn’t we have three dials to set them?
The odd man out is always ISO, and I personally think this is a hold-over from the days of film. Back then, you couldn’t change the ISO except by changing your film. When digital came along, everyone was pretty happy to be able to change the ISO at all, so having to press a button didn’t seem like a big deal. In addition, at that time, available ISO ranges were extremely limited and if you raised the ISO much then digital noise quickly became a problem.
But now? ISO ranges are huge! Even entry level cameras have ISO ranges up to 25,000. ISO is now truly a equal partner in the exposure triangle. It should be treated as such. That means it should have its own dial. You shouldn’t have to press buttons to adjust it.
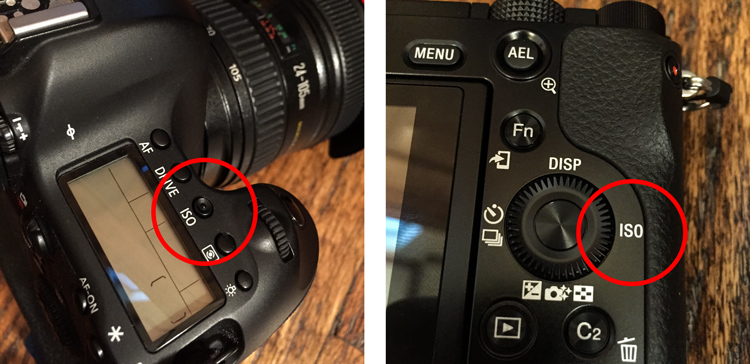
Stop ISO discrimination! Let’s make it an equal member of the exposure triangle by giving ISO its own dial!
Where would you put the extra dial? There are many places you could choose from, but one thought is to get rid of the mode dial. Having a dedicated dial to quickly change the mode is another hold-over from a time when there were fewer camera controls (and no menus). Who changes their modes so frequently that the most valuable real estate on the camera needs to be taken up with a dial for it? Don’t most people just pick a mode and use it most, or all of the time? Even those that change modes don’t do so often enough that it needs its own dial.
Note: It actually appears that this change might be on the way. There are three dials on most Fujifilm mirrorless cameras and one of them is dedicated to ISO. Perhaps others will follow suit.
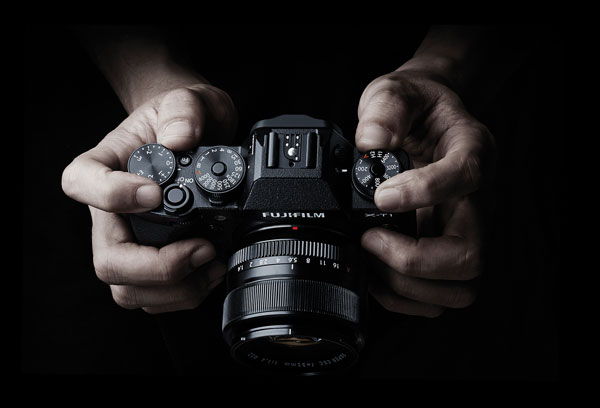
Supplied by Fujifilm
3. Lower ISOs
Speaking of ISO, in the rush to expand ISO values on the high side, the lower side of the ISO scale has been completely neglected. The camera manufacturers have worked very hard to make digital sensors more sensitive to light. It would seem like a simple thing to make the sensor less sensitive to light. Why couldn’t cameras have ISO levels of 50, 25, 12, and so on?
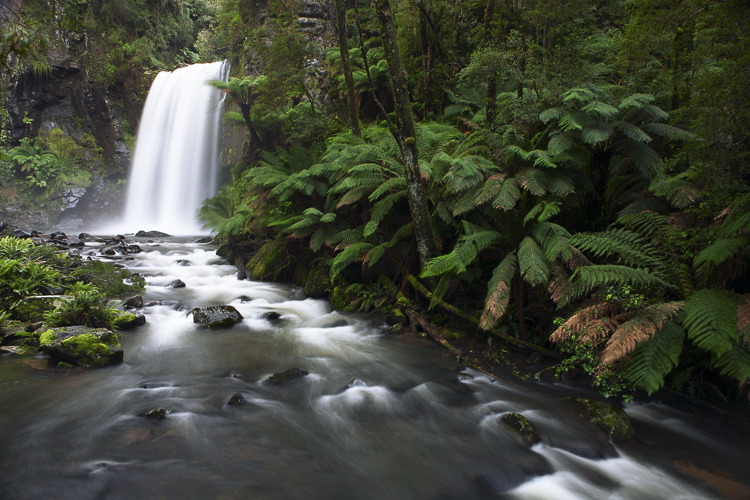
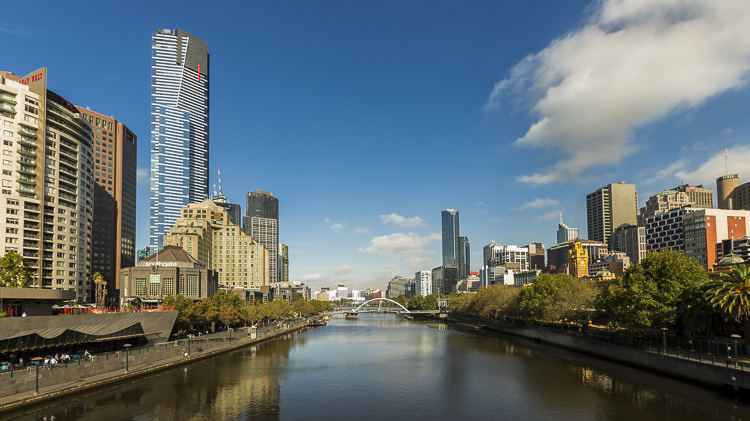
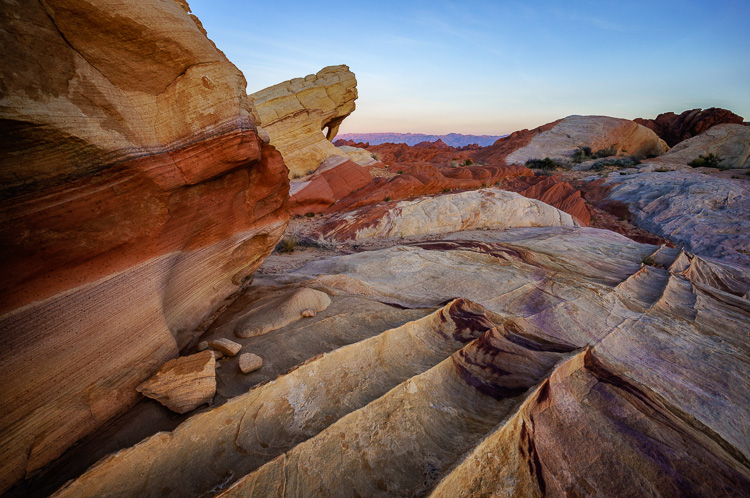
Why would that matter? It would put us in more control over shutter speed, and avoid the necessity of carrying around neutral density filters. Why do landscape photographers need to carry around a bunch of neutral density filters to slow down their shutter speeds? If we could lower the ISO, that would require a longer shutter speed for a proper exposure. It seems like that could just be built in, and would make it much simpler. Instead of adding a 3-stop neutral density filter to your lens, you could then just reduce the ISO from 100 down to 12 (3 stops).
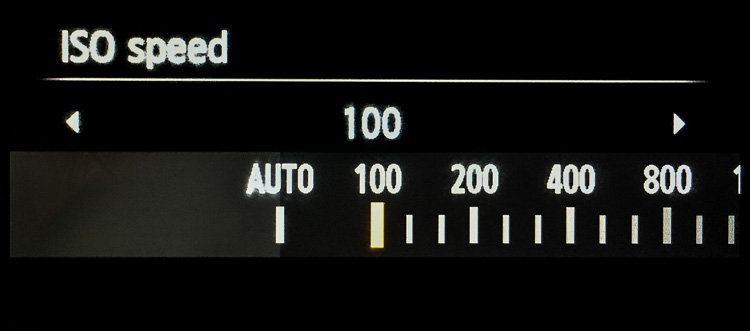
Why stop at ISO 100? We should see ISO 50, 25, 12, 6, 3, and so on.
Of course, we might need to talk about the numbering system for these low ISOs. Moving down 10 stops from ISO 100 would result in ISO .09 which may not work.
4. Retractable Remote Shutter Release
Speaking of landscape photographers, something every one of them needs is a remote shutter release, or an intervalometer. It seems like the shutter release could detach from the camera with a retractable cable. That way you could pop it out and trip the shutter, without moving the camera or risking vibration.
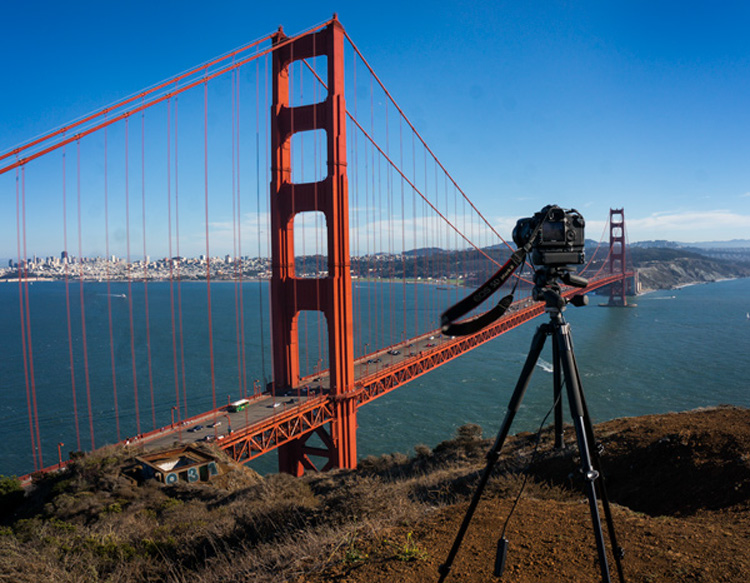
Note the remote shutter release hanging down. Wouldn’t it be nice to have a retractable unit?
It would mean that we wouldn’t have to carry around remote shutter releases.
5. Allowing Longer Shutter Speeds
Another improvement would be to allow longer shutter speeds without the need to switch over to Bulb mode. At present, most cameras limit the length of shutter speeds to 30 seconds. If you want to use a longer shutter speed than that you can, but you have to switch over to Bulb mode. It would be nice to be able to take exposures of a minute or longer without having to switch modes.
Why is this important? Largely because of bracketing (or Auto Exposure Bracketing, or just AEB for short). When you bracket, you are taking three (or more) exposures: one at normal exposure, one underexposed, and one overexposed. If you are starting with a long shutter speed, then the longer shutter speed required for the overexposed picture will often need to be longer than 30 seconds.
For example, if you are taking a bracket of three photos, with your starting shutter speed at 15 seconds, and you set the exposures 2 stops apart, the bracket won’t work as you hope. In this example, the overexposed picture of the bracket would need a shutter speed of one minute (starting at 15 seconds, adding one stop doubles your shutter speed to 30 seconds, and the second stop doubles it again to one minute). But your camera will only allow a shutter speed of 30 seconds, so that won’t work. Your camera will take the normal and underexposed photos, but the overexposed one will be limited to 30 seconds.
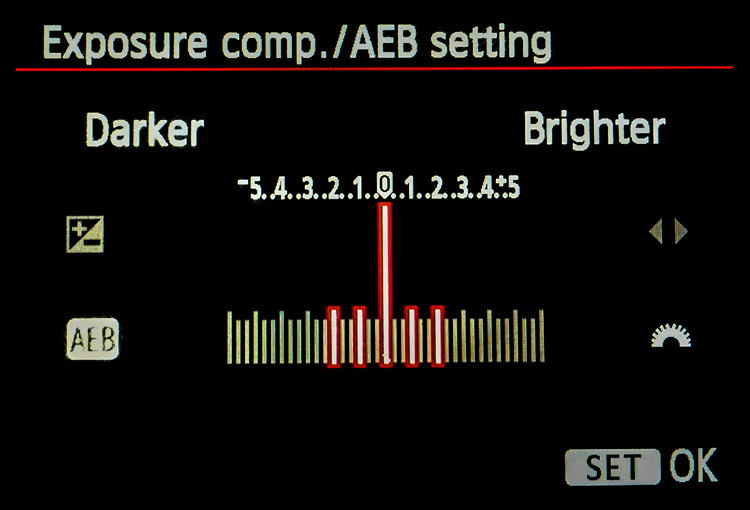
Here is a pretty common bracket: 5-shots, with each shot separated by 1 stop. If the original shutter speed is longer than 6 seconds, the camera will not capture the entire bracket because the most overexposed picture would need longer than 30 seconds to expose.
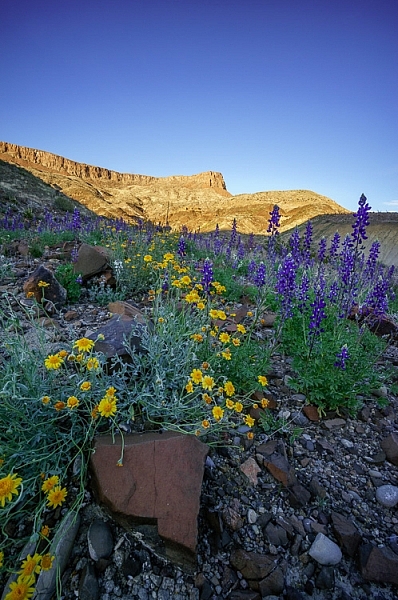
How often does this happen? A lot more than you might think. Landscape photographers are known for being out before the sun is up, and they all want to use a combination of a small aperture to maximize depth of field and a low ISO to minimize noise. The only way to get a proper exposure in these conditions is to use very long shutter speeds. These are the same people who have very little control over their lighting and often face dynamic range problems, so they are the most likely to bracket their photos.
6. Self-Timers
Why are self-timers on cameras limited to two and 10 seconds? A reader named Jeff Johnson wondered about this (as well as raising some of the other improvements mentioned in this article). Every $ 10 digital watch in the discount store will allow you to set timers of different ranges, why not our digital cameras?
This is another one that seems to be a hold-over from a prior era. Timers were mechanical devices at one time, and it may have made a lot of sense to limit the options. Now, it doesn’t make sense. It seems like we ought to be able to set whatever length of timer we want, or at least have a few more options.
7. Improved Wifi
One exciting recent development in cameras has been the introduction of Wifi. It allows you to transfer your pictures to your phone or other device wirelessly. But it is usually clunky. You have to turn off your phone’s data connection to connect with your camera. Some have raised the idea of using bluetooth for connection to phones, tablets, and laptops (in addition to wifi). dPS writer John McIntire echoed that, and pointed out the smartphone and tablet control for things like timelapse and long exposures.
8. Hyperfocal Distance Calculator
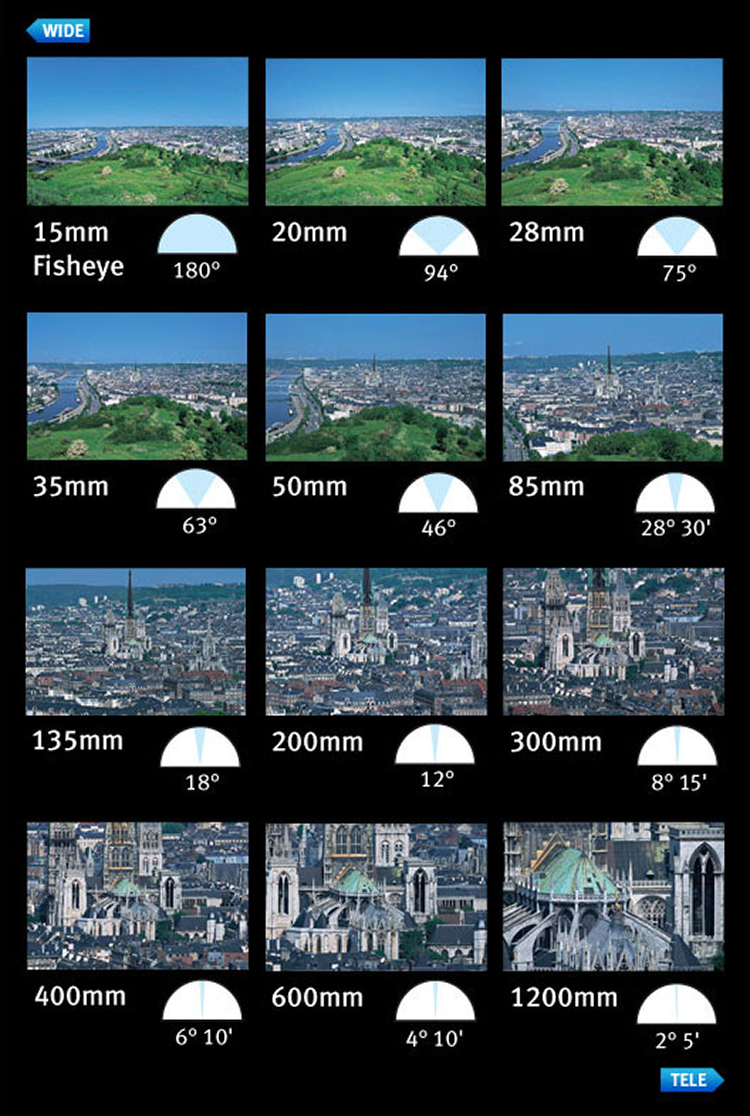
Despite its name, the concept of hyperfocal distance is not that complicated. It is just the closest point at which you can focus, and still keep your entire background acceptably sharp. It depends on only three factors:
- The sensor size of your camera
- The focal length you are using
- Your aperture setting.
There are charts and apps that will help you calculate the hyperfocal distance for your shot.
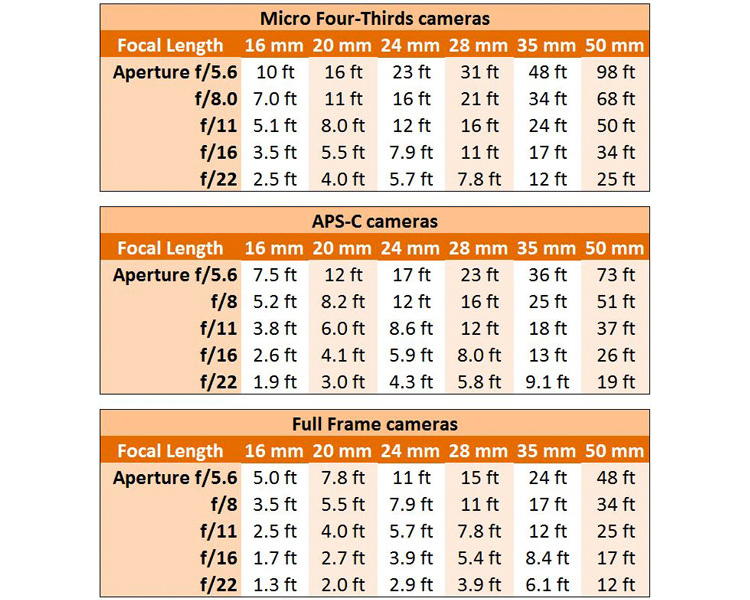
Hyperfocal Distance Charts
But why should you be forced to calculate it at all? The aforementioned Jeff Johnson had another great idea of having the camera calculate it for you. After all, the camera is a computer. It already knows all three of the variables involved. Why couldn’t the camera just tell you the hyperfocal distance? It could be part of the camera’s display.
Note: Once again the Fuji cameras lead the way, as the X-T1 and possibly others, do indeed have a hyperfocal distance display inside the viewfinder.
9. Internal storage
Storage has changed remarkably fast in a short period of time. Just a few years ago, you might have been carrying around a bunch of 4 GB memory cards with you. After a couple hundred pictures, you’d swap it out for another. But now, the sizes of memory cards are huge. 128 GB is commonplace, and not all that outrageously expensive. There are even 256 GB cards or even 512 GB cards available as well. As a result, most of us just buy a large card and leave it in the camera. We download the pictures periodically, and resume shooting with the same card.
That’s already a better situation than what we had a few years ago, but doesn’t it seem weird that there is no storage at all in digital cameras (at least not in the mirrorless cameras and DSLRs we tend to use)? It did to Leanne Cole, who wondered why we are fooling around with memory cards at all at this point. Given how much storage can fit in a small place, haven’t we reached the point where storage should be built-in to the camera? Why not have a 500 GB drive already added?
10. Your Changes
These are some items we’d like to see. I think some of these are good ideas, but I suspect there are better ideas out there. So what would you change? Are there things you would add? Are there features you’d like to see put on the digital camera wish list?
Please let us know in the comments below.
googletag.cmd.push(function() {
tablet_slots.push( googletag.defineSlot( “/1005424/_dPSv4_tab-all-article-bottom_(300×250)”, [300, 250], “pb-ad-78623” ).addService( googletag.pubads() ) ); } );
googletag.cmd.push(function() {
mobile_slots.push( googletag.defineSlot( “/1005424/_dPSv4_mob-all-article-bottom_(300×250)”, [300, 250], “pb-ad-78158” ).addService( googletag.pubads() ) ); } );
The post The Top 10 Camera Features Wish List of dPS Readers and Writers by Jim Hamel appeared first on Digital Photography School.

Digital Photography School


 Outdoor Action and Adventure Photography by Dan Bailey is a refreshing change of course in this digital age we live in – it’s actually a paperback book. It is a good thing that Dan had decided to go hardcopy with this book, because it is filled with information, and as a result I feel like many people will want to jot things down, highlight paragraphs, and refer back to it time and again.
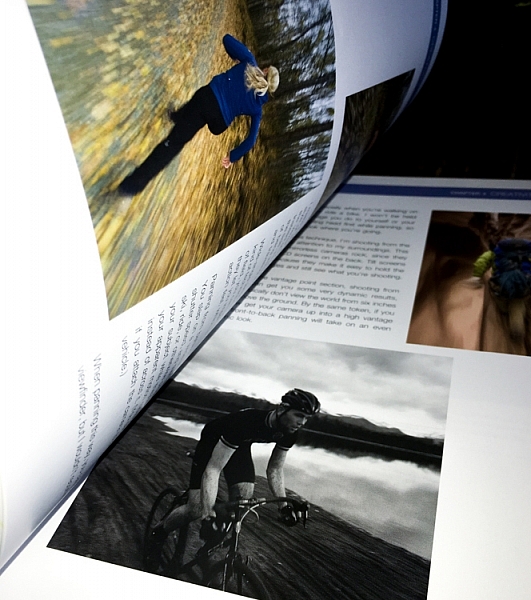


You must be logged in to post a comment.