It’s no secret that being a photographer, amateur or professional, can be quite expensive. We both travel and we want the latest and best equipment but we can’t always afford it all. Being selective with the equipment we choose to purchase can be wise as it’s better to spend a few dollars extra purchasing something of quality. A lot of the gear we have isn’t essential and can easily be done inside the camera itself. Let’s look at using a remote shutter release versus the delayed timer built into the camera.
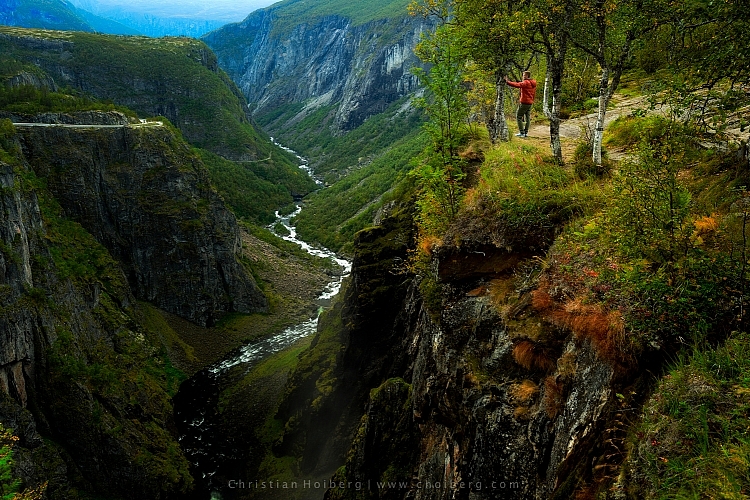
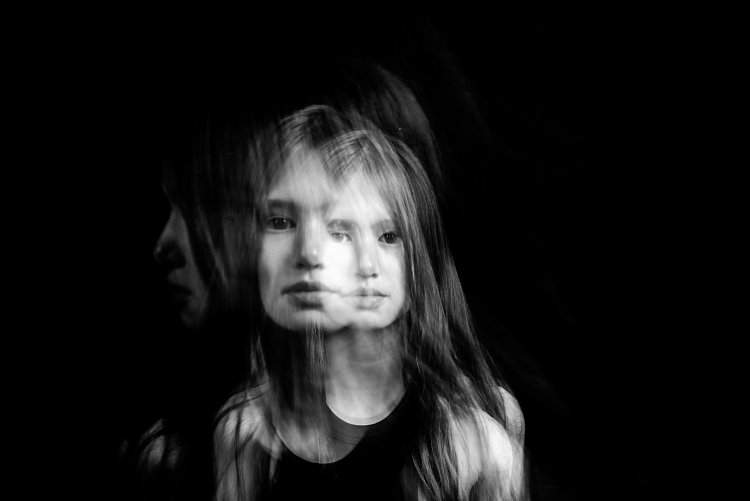
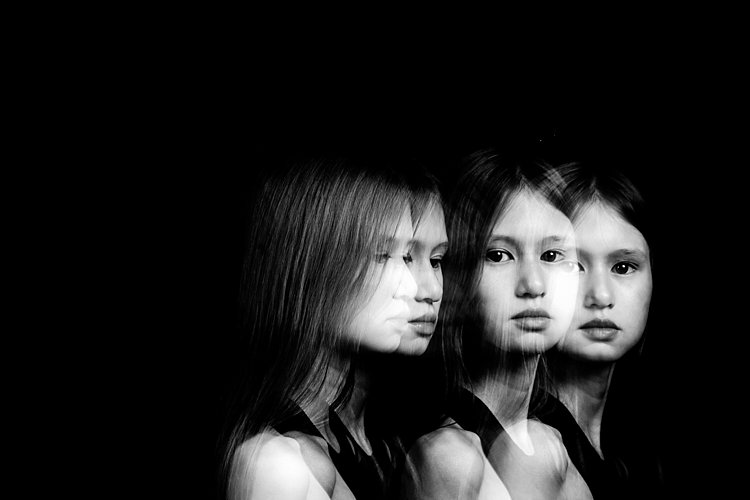
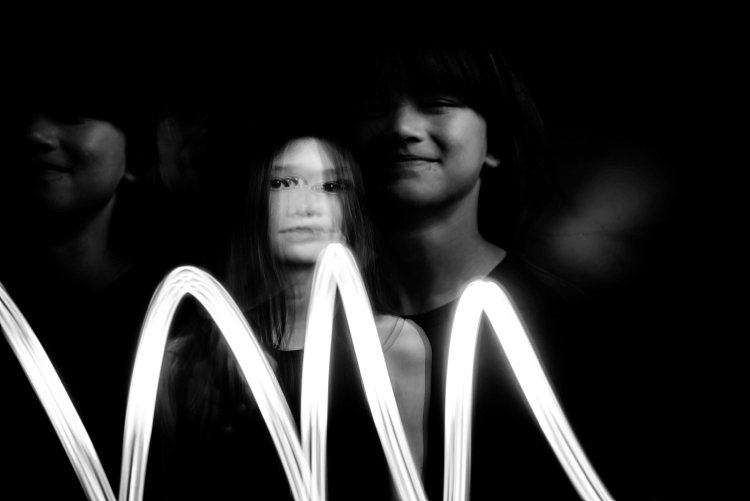
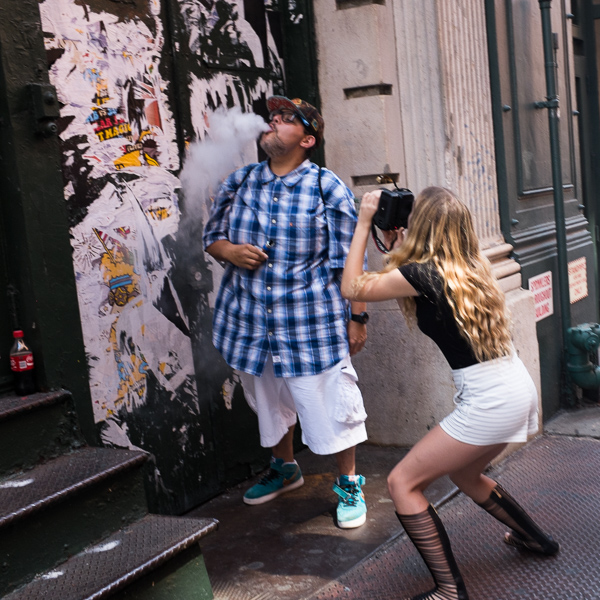
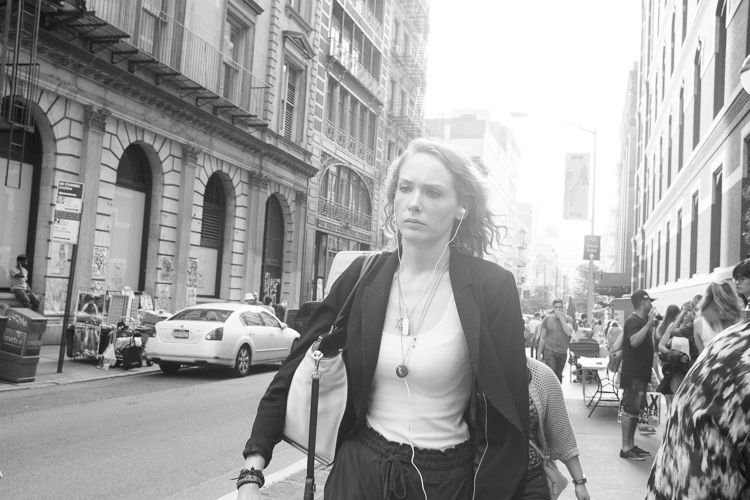
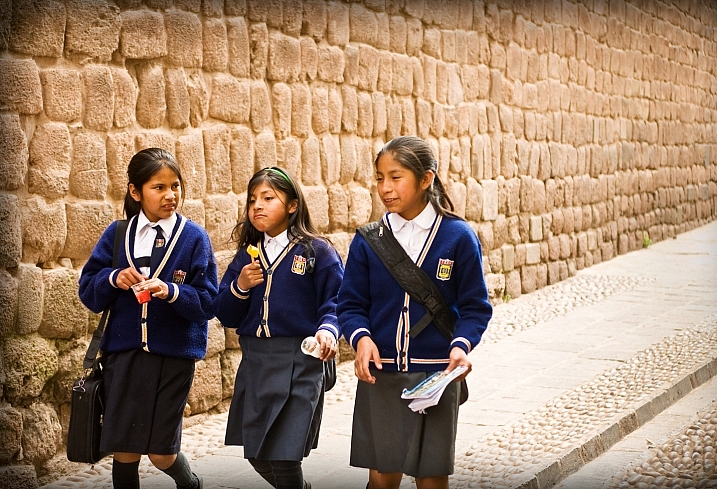
A self portrait captured by using a remote shutter
A remote shutter is something you may have heard repeatedly that you need to purchase, especially if you’re into landscape photography. One of the main uses of a remote shutter is to minimize the vibration when taking a image to get a sharper result. What you also may know is that your camera has a delayed shutter function, typically of 2 and 10 seconds. So do you really need to purchase a remote shutter when you can do it in the camera? Let’s look at some pros and cons of using each – a remote shutter release and delayed shutter.
Delayed Shutter
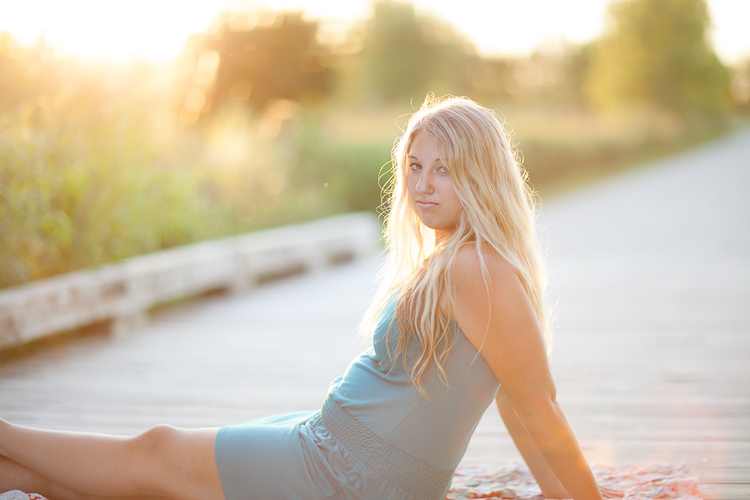
Most digital cameras have a Delayed Shutter function. In fact, even smartphones have it.
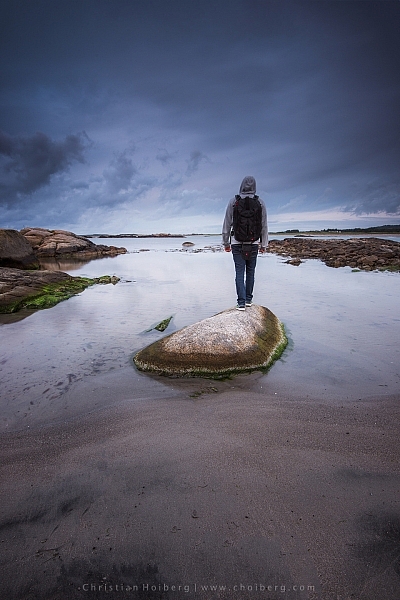
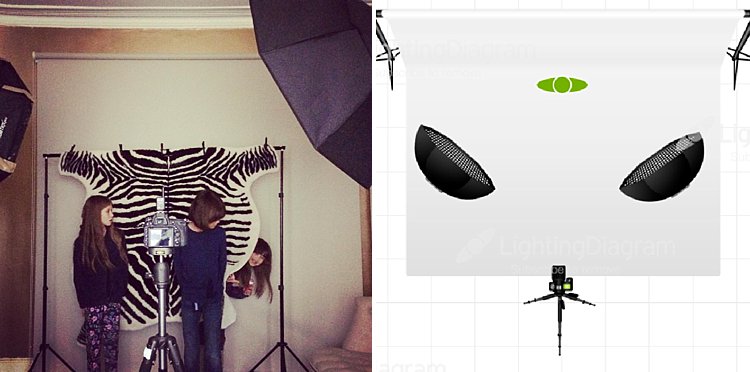
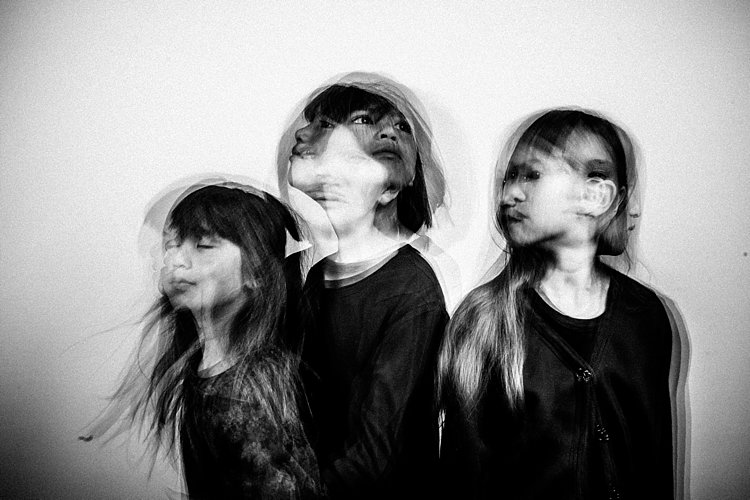
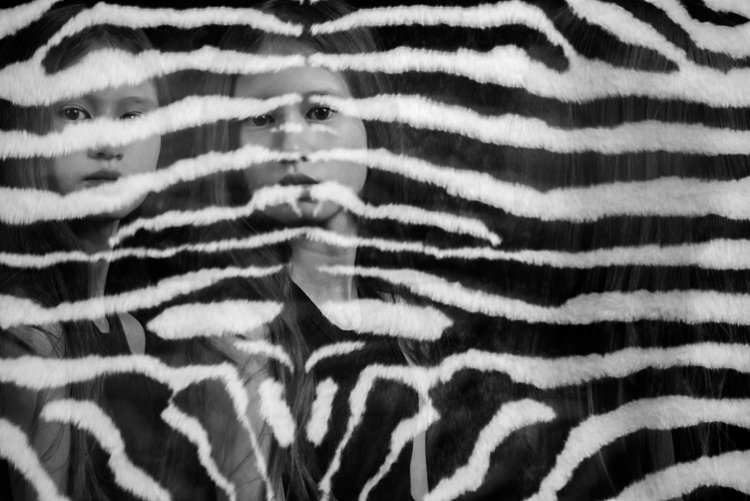
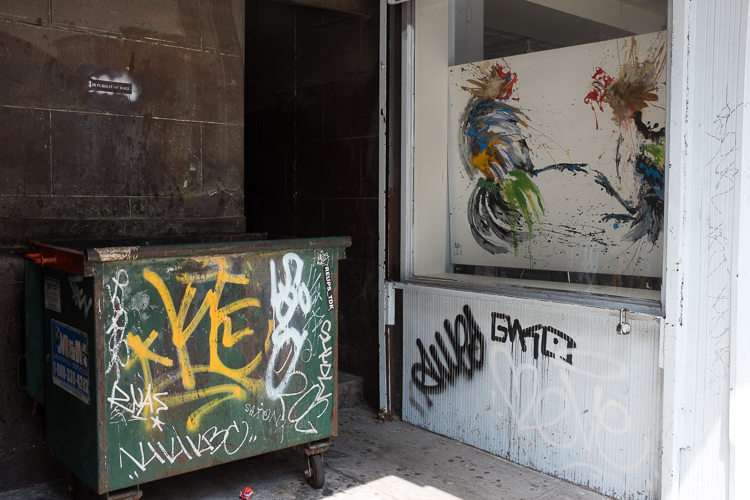
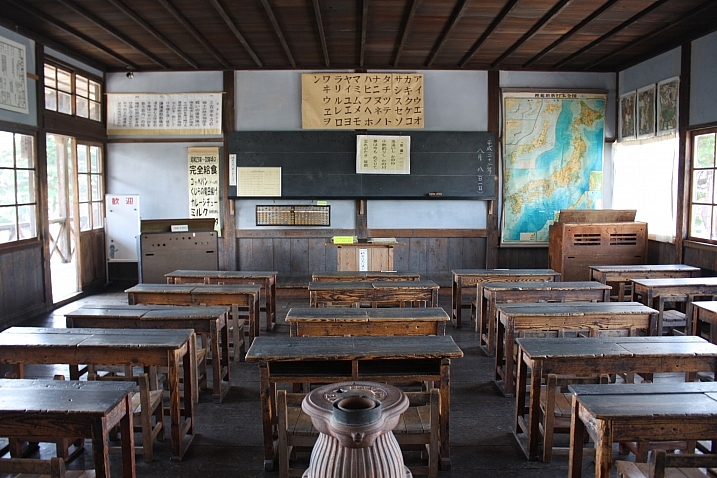
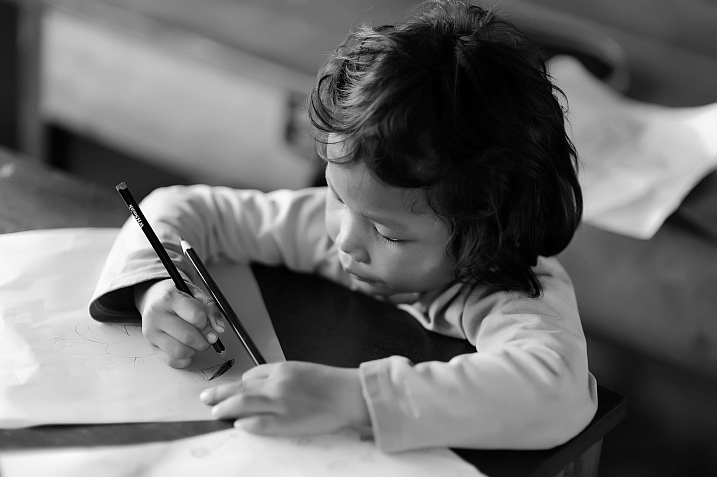
Since I was close to the camera I could use a delayed shutter
A delayed shutter is, in simple words, a function that tells the camera to wait a few seconds after you push the shutter before it takes the picture. This allows you to either run in front of the camera and take a selfie or reduce the amount of vibration. This function is especially useful when you’re using a slow shutter speed and have your camera mounted on a tripod. If you use a shutter speed of 0.5 seconds and press the shutter you’ll see that the image will come out less sharp than if you use a delayed shutter.
Pros of the Delayed Shutter:
- It’s a standard function in most digital cameras and smartphones.
- It’s free.
- It reduces vibration and leads to a sharper image.
- You can choose between a short delay or a longer delay.
- You have the time to position yourself in the image after pressing the shutter.
Cons of the Delayed Shutter:
- It’s not flexible.
- If you’re photographing something with motion it’s hard to time the shutter release perfectly and you might miss the shot.
- In some cameras, the function is found deep in the menu.
Remote Shutter Release
Remote shutter release can vary in form, shape, and price. Some are tiny and inexpensive, while others are larger, with more options but also a less attractive price tag.
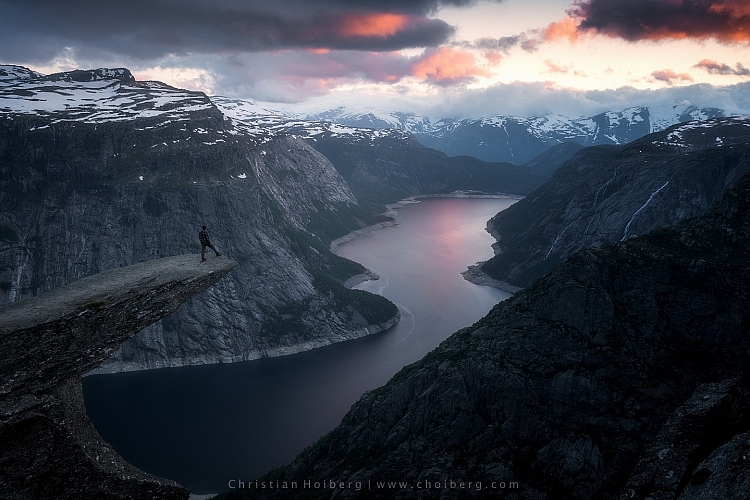
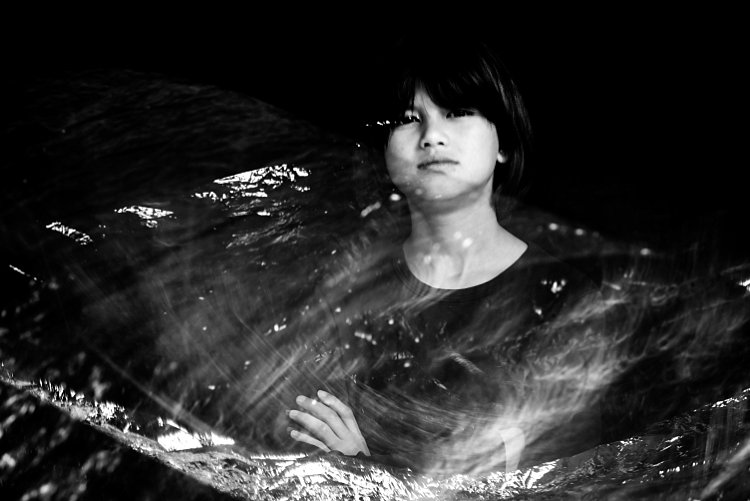
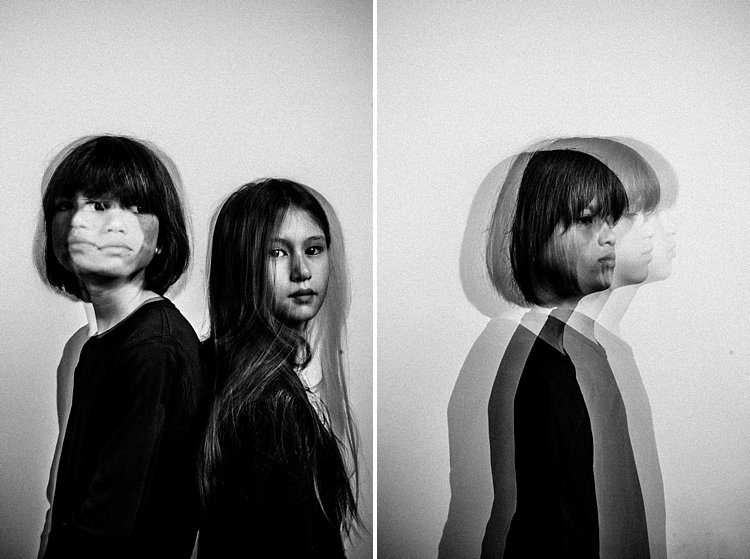
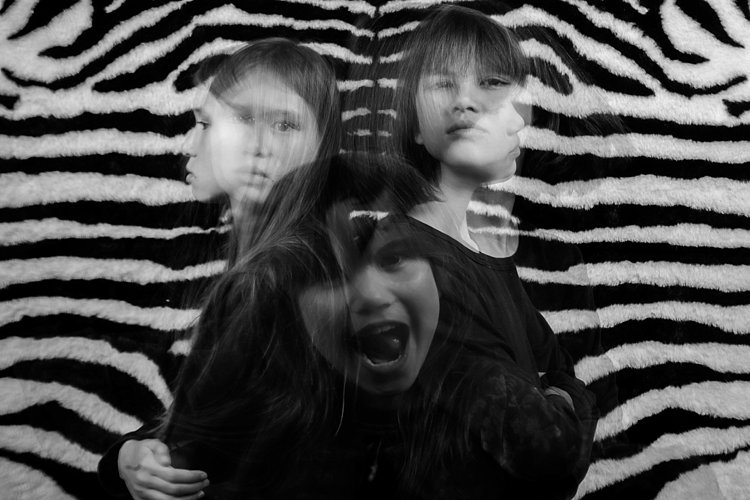
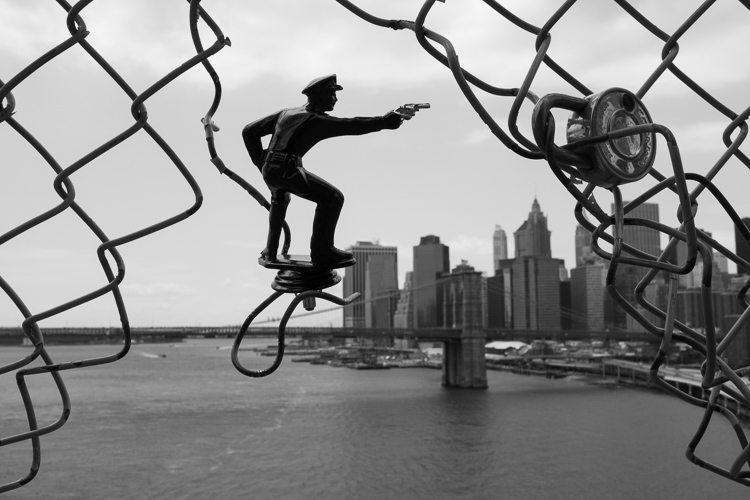
I used a remote shutter and interval timer to photograph myself on the edge.
Choosing the right remote shutter release can be a hassle sometimes as you may not know your needs. You may only need a simple one to avoid any motion when taking the image, or may need something more advanced that lets you do interval timing or perhaps something that has a “Bulb lockup”.
Once your needs are established, you have to sort out if you want a cable release or wireless. I won’t get into the topic of which is better, but again you need to consider your needs for a remote.
Pros of remote shutter releases
- Wireless remotes allow you to stand far away from the camera and take pictures.
- Advanced models have many options such as interval timers.
- You can use “Bulb Mode” without having to hold the camera’s release button and cause vibration.
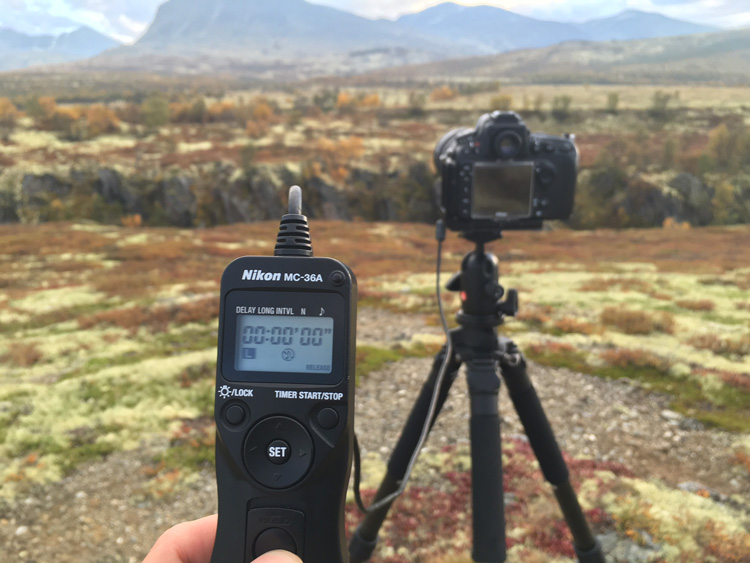
- Many models have LCD screens with a timer.
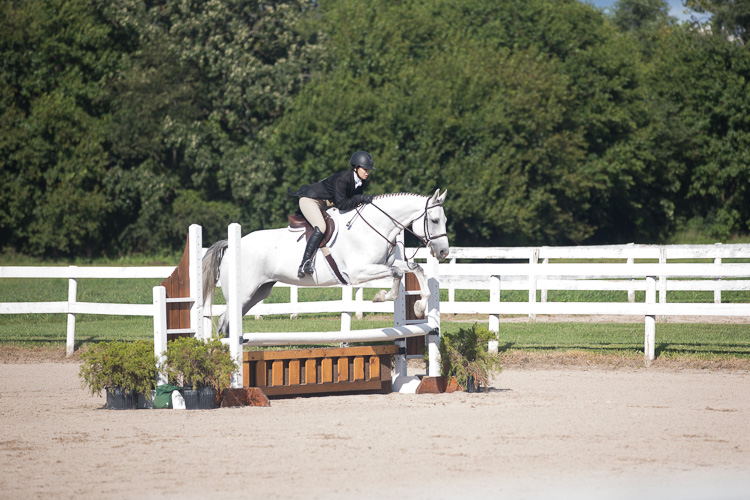
- Take a picture at the exact moment you need.
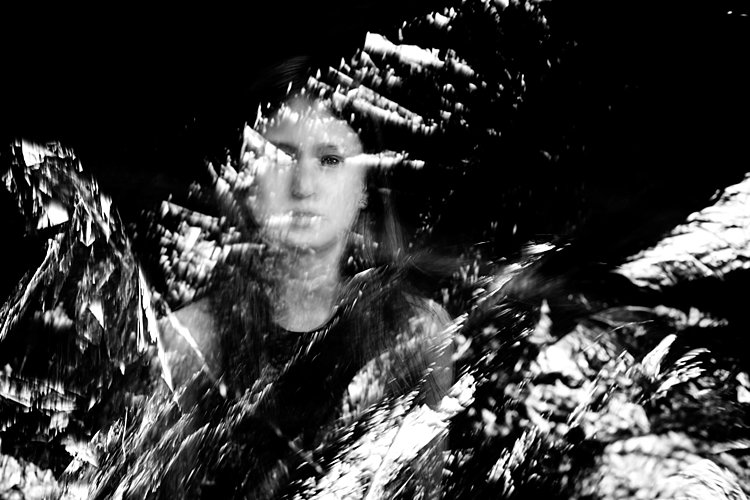
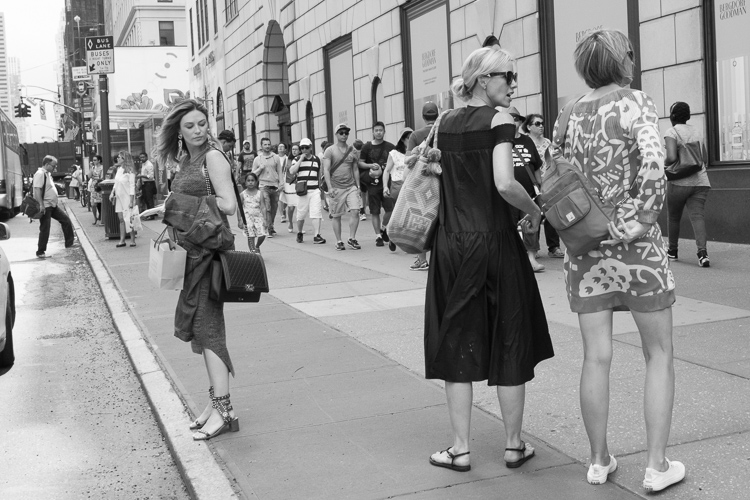
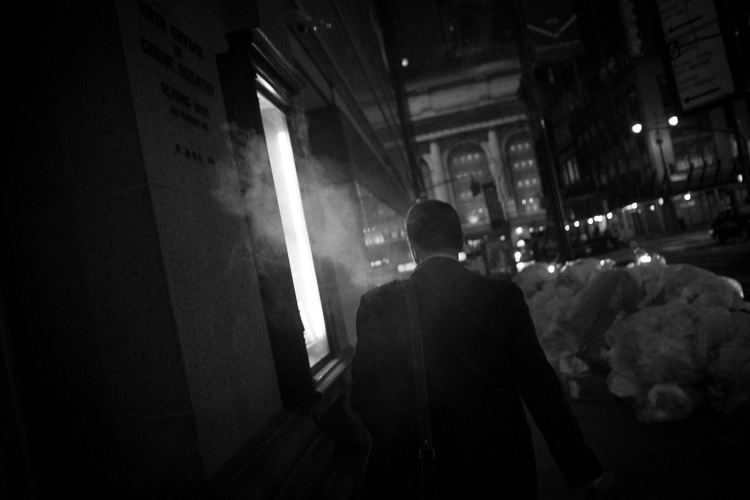
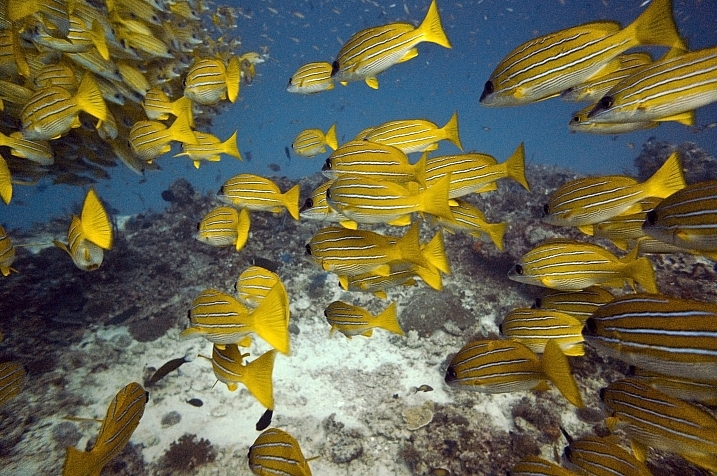
Freezing the exact moment with a cable release
Cons of remote shutter releases
- More advanced models can be very pricey.
- It takes extra space in your bag.
- It might be hard to choose the right model.
- Cables break quickly on low-end cable releases.
- Small, wireless remote shutters are easy to loose.
What is best?
To be honest with you, they both have their advantages. It would be wrong to say that one is better than the other in any case.
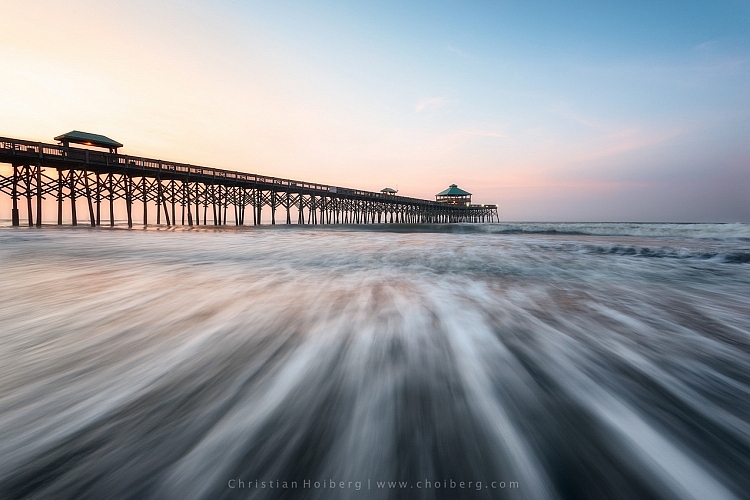
That being said, as a landscape photographer, I am dependent on my remote shutter. A lot of the time I can’t wait the extra two or three seconds before the image is taken, as the moment is gone by then. When I’m photographing rushing waves I need to capture the image at the exact moment I want, ergo I need a remote shutter. If I’m in the woods and not photographing anything that might move, I don’t need the remote shutter (even though I use it by habit).

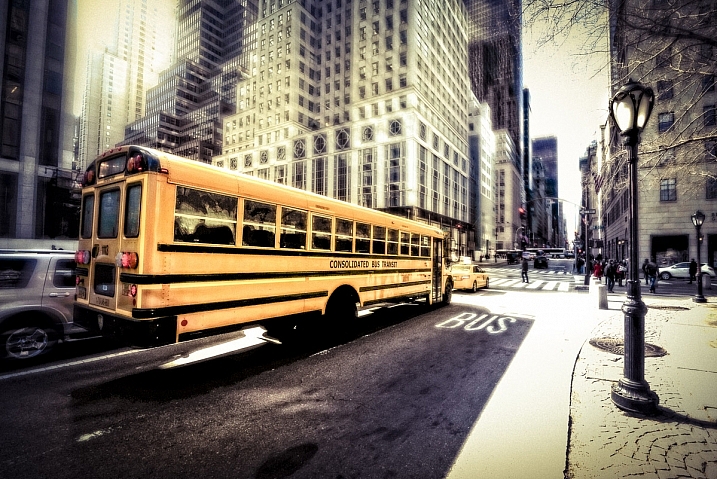
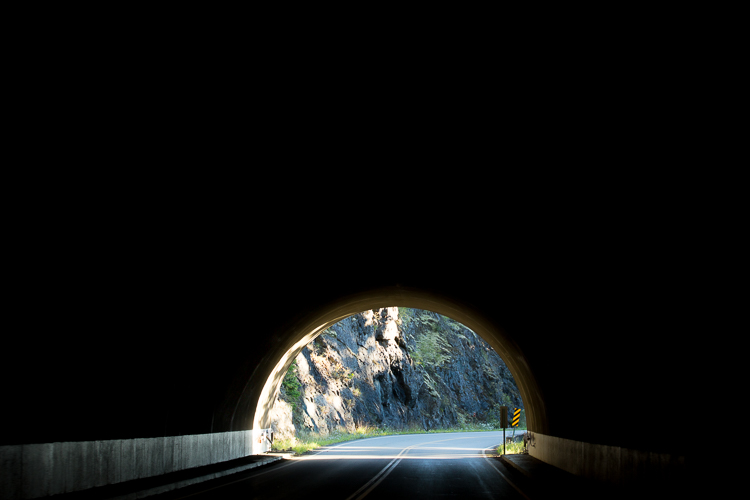
Shutter speeds over 30 seconds require a remote shutter
If you only photograph still landscapes and you don’t need a shutter speed of more than 30 seconds, I don’t see a reason to purchase a remote shutter. If you photograph anything with motion or need a shutter speed of more than 30 seconds I recommend you to purchase one.
googletag.cmd.push(function() {
tablet_slots.push( googletag.defineSlot( “/1005424/_dPSv4_tab-all-article-bottom_(300×250)”, [300, 250], “pb-ad-78623” ).addService( googletag.pubads() ) ); } );
googletag.cmd.push(function() {
mobile_slots.push( googletag.defineSlot( “/1005424/_dPSv4_mob-all-article-bottom_(300×250)”, [300, 250], “pb-ad-78158” ).addService( googletag.pubads() ) ); } );
The post Remote Shutter Release Versus the Built-In Delayed Shutter by Christian Hoiberg appeared first on Digital Photography School.


You must be logged in to post a comment.