A few years ago when I purchased my first Canon dSLR I took a free 2-hour class on digital photography from a local school. They offered free seminars as a way to market their series of intensive 6-week photography courses. I was new to digital photography at the time, having learned on 35mm film. During the class I scribbled away in the notebook the instructor handed out. I was given several photography rules to follow, but is that the best advice?
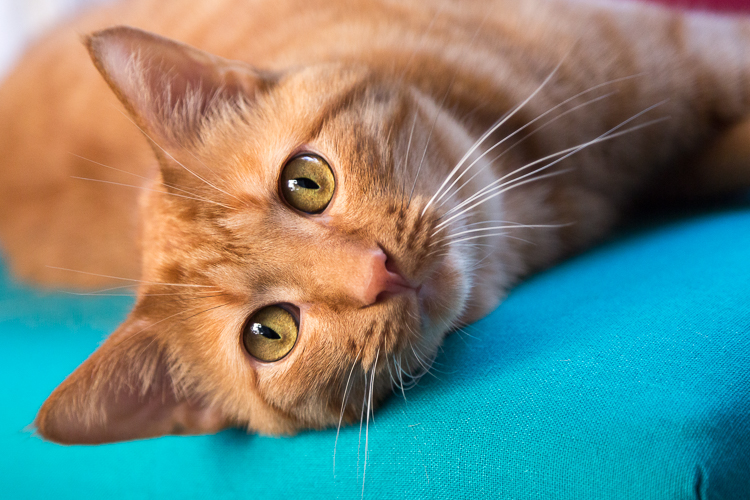
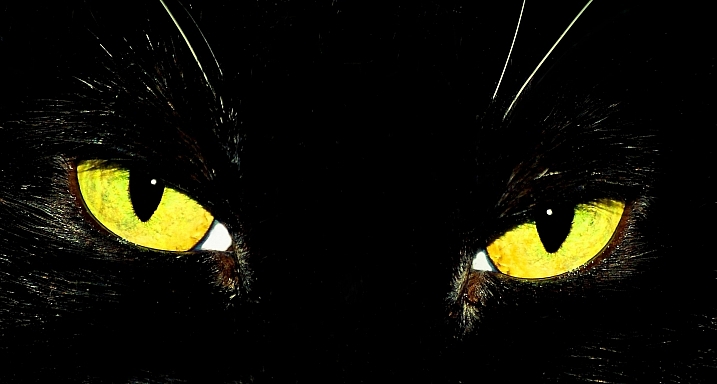
My camera-loving orange tabby Carter, shot in low light, requiring a relatively high ISO of 1600 to get a fast enough shutter speed to hand-hold. ISO 1600, 1/125th, f/4 @ 105mm.
The thing about photography is that it’s a series of decisions starting with the brand of gear you choose and it funnels down to your favorite subject, your preferred shooting mode, your shutter speed, aperture and ISO. By applying popular advice to all situations, you eliminate too many of the key creative decision about how your images look. Go ahead and disagree with or ignore rule-of-thumb photography advice. The choices you make allow you to create images that feel right to you – and that’s the real sweet spot.
So let’s look at five supposed photography rules and see if you agree or disagree with them.
1. Set the ISO at 400
One of my instructor’s key points was to set the ISO at 400 and forget it.”
Since I didn’t know anything about digital photography, it like pretty good advice, so I tried it. I also made a lot of blurry images. Set at ISO 400, and limited by a wide open aperture of f/3.5 on my kit lens, I often couldn’t gather enough light for a shutter speed fast enough to prevent motion blur. I flipped back to Auto Shooting Mode (Full Auto or Program) and suddenly my images were sharp again.
I dissected the settings on the Auto Mode shots and – you’ve probably guessed this already – the main difference while in Auto Mode was that the ISO was higher, enabling a faster shutter speed and reducing motion blur.
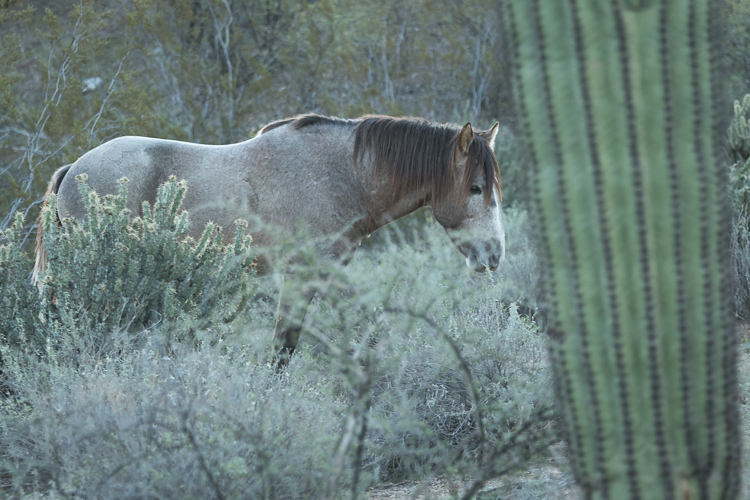
While this image wouldn’t have made the cut because of the awkward composition, the horse is also a bit blurry because my ISO was too low, allowing my shutter speed to lag. It wasn’t fast enough to freeze the motion of the moving horse. ISO 800, 1/160th, f/5.6, 176mm.
Increasing your digital ISO makes your camera’s sensor more sensitive to light, meaning you can shoot at smaller apertures and/or faster shutter speeds in low light conditions. Like film, increasing your ISO can create a grainier, noisier image. But unlike film, digital cameras have extraordinary ISO capacity. High-end cameras like the Canon 1Dx Mark II have an ISO capability of 51,200 expandable to 409,600! Sticking to ISO 400 is like pretending you’re still shooting film and disregarding all the recent digital technology advances.
Earlier this year I was in Mesa, AZ photographing the Salt River Wild horses at dawn. During blue hour, I started with my ISO too low, my shutter speed lagged, and I shot a whole series of blurry images (see image above). Purely by luck, at ISO 800, only this one didn’t have motion blur.

ISO 800
The next day, I started at ISO 12,800 to keep my shutter high enough to prevent motion blur, gradually decreasing my ISO was the sun grew brighter.

ISO 12,800

ISO 1250
While these images might be noisier than those shot at ISO 400, noise is almost always preferred to motion blur. Digital noise can be managed, while an unintentionally blurry picture can rarely be saved.
Setting your ISO to an unrealistically low value and leaving it there is the sort of advice or rule I’d encourage you to ignore.
2. You never need to shoot faster than 1/500th of a second
There’s a famous teaching photographer (I mentioned him here too) who says that you never need to shoot faster than 1/500th of a second. I ignore his advice too. Here’s why.

Shutter speed 1/500th
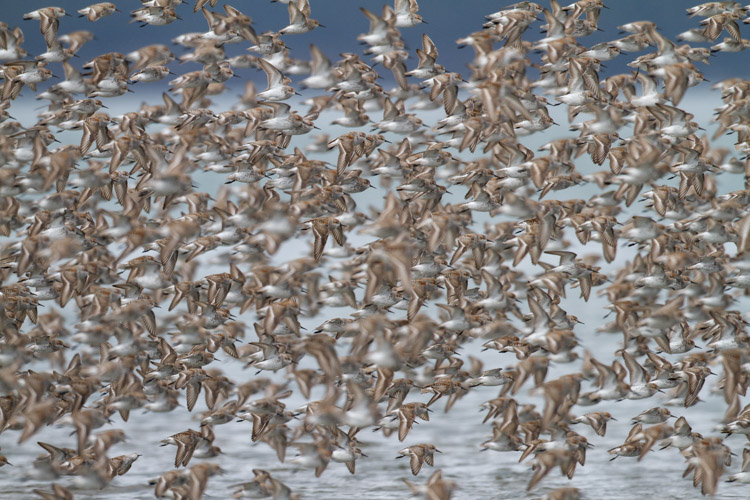
This image, shot at 1/500th of a second, shows motion blur in the horse’s legs. Sometimes you may want to intentionally include motion blur in your images because it shows speed in a dynamic way, and in this case, that’s what I wanted. If I wanted no motion blur, I would need to have chosen a faster shutter speed.

Shutter speed 1/640th
This image, shot at 1/640th of a second, is sharper. It has very minimal motion blur in the legs but again, it still shows motion blur.

Shutter speed 1/1000th
If you shoot at 1/1000th and above, you can get crisp, blur-free images of fast-moving objects or animals in motion. In this image, even the water droplets are frozen in time.
Depending on your creative goals, you may want to experiment and shoot from 1/100th, all the way up to 1/8000th of a second. That’s the reason to ignore this rule. Adhering to 1/500th of a second as your maximum shutter speed takes too many of your creative choices away from you.
3. Serious photographers always use tripods
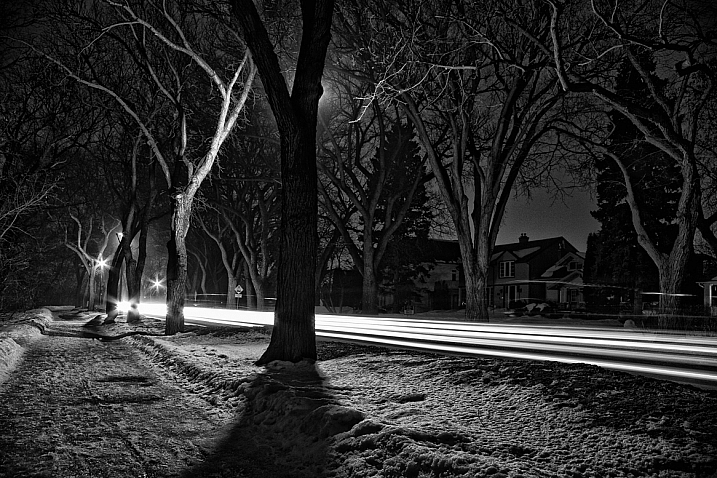
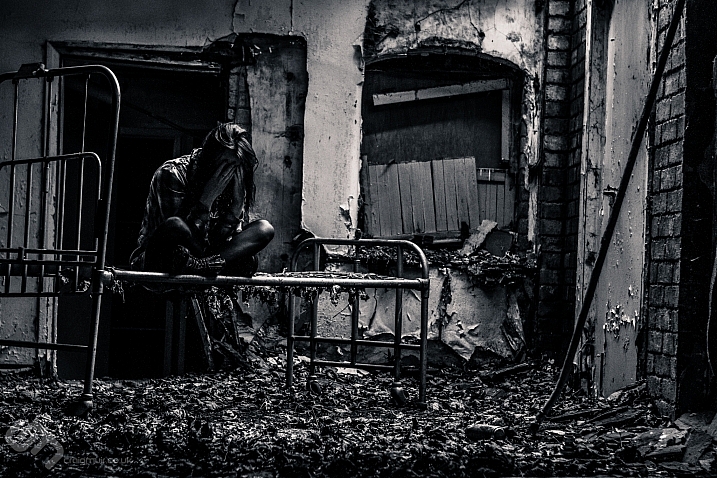
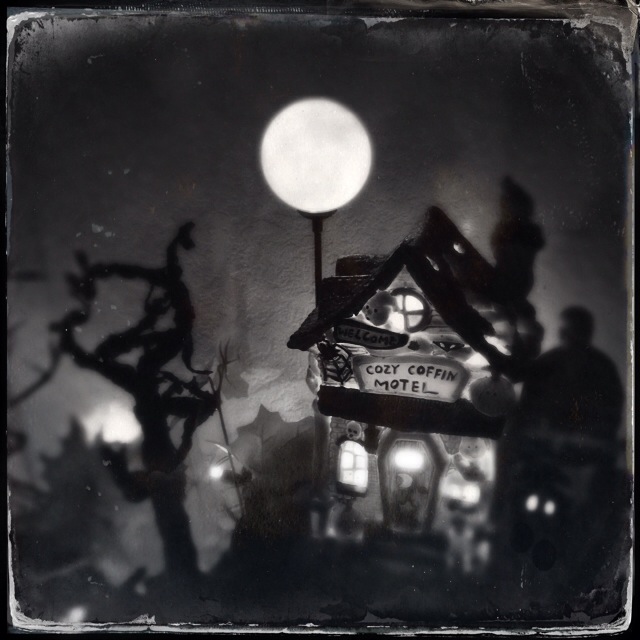
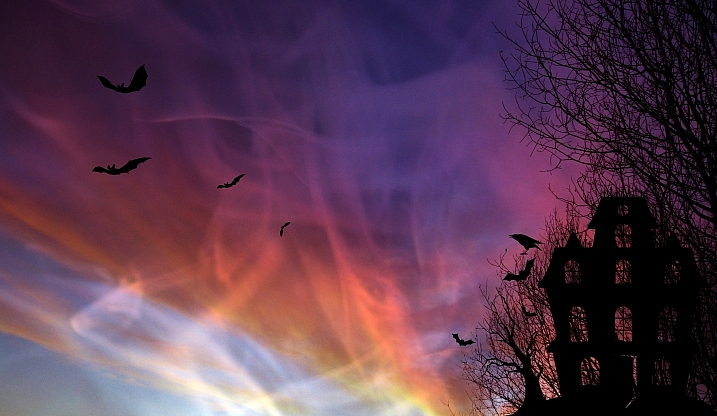
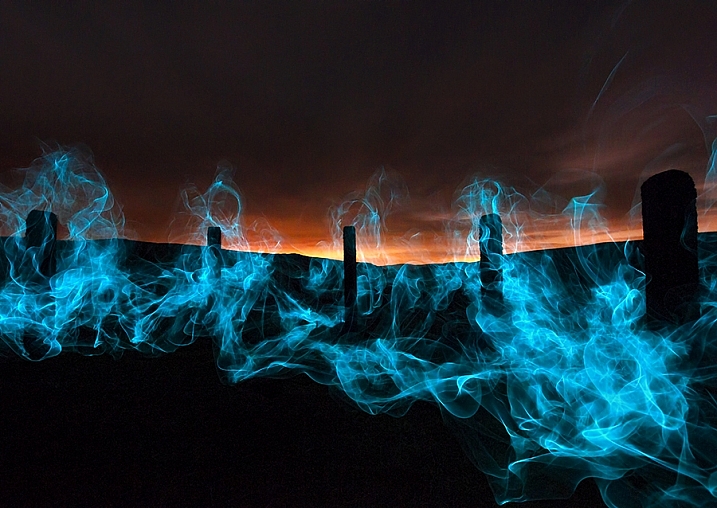
Has your instructor or mentor told you that to be serious about making images, you must always use a tripod? That’s another piece of advice you might want to ignore, unless the type of work you make truly requires a tripod. Night photography, for example, typically requires a tripod because of the longer shutter speeds.

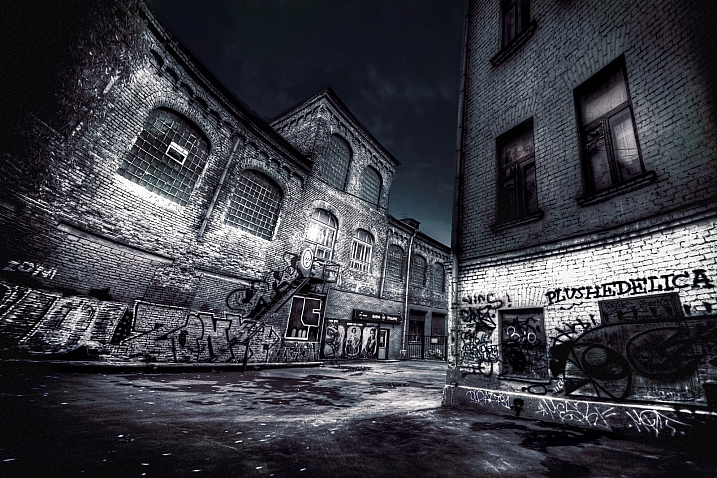
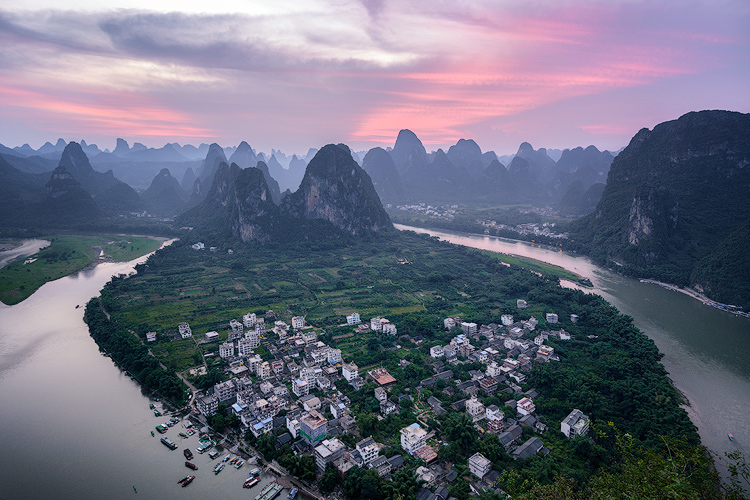
Night photography – with a tripod
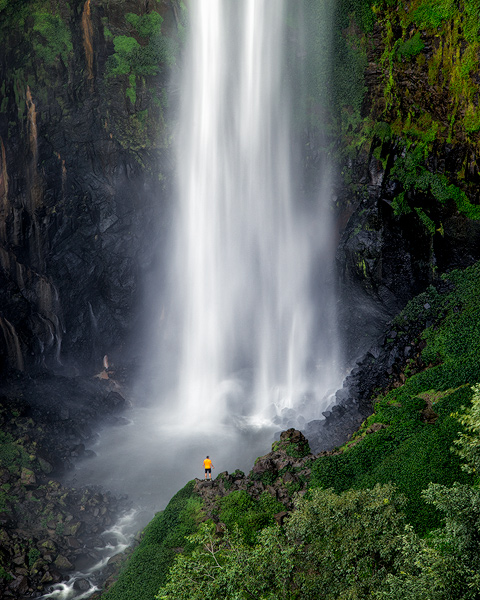
Long exposure photography, astrophotography and shooting landscapes at dusk or dawn are all good examples of when to use a tripod in order to make excellent images.
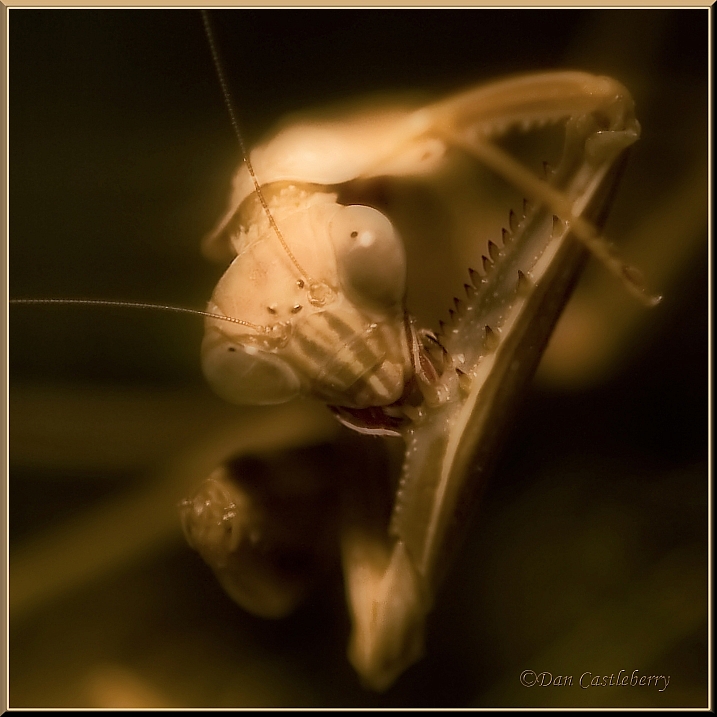
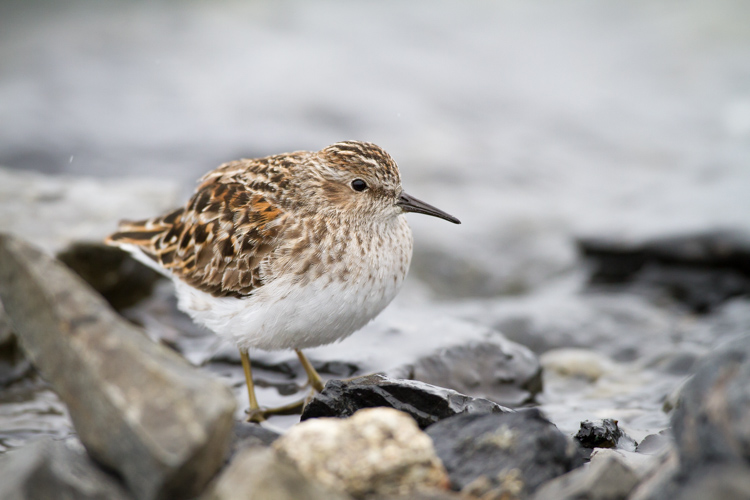
Macro photography often requires a tripod but sometimes doesn’t. This image was made hand-held.

Macro photography – handheld
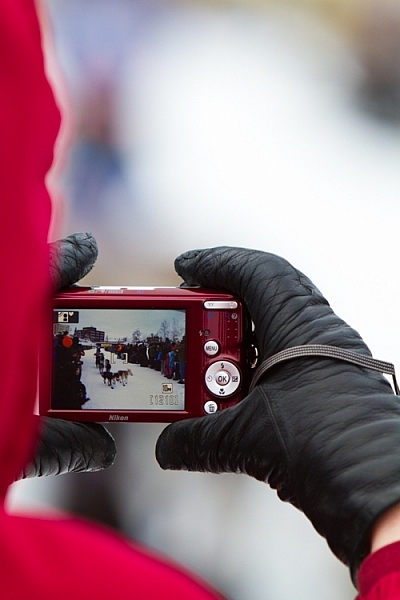
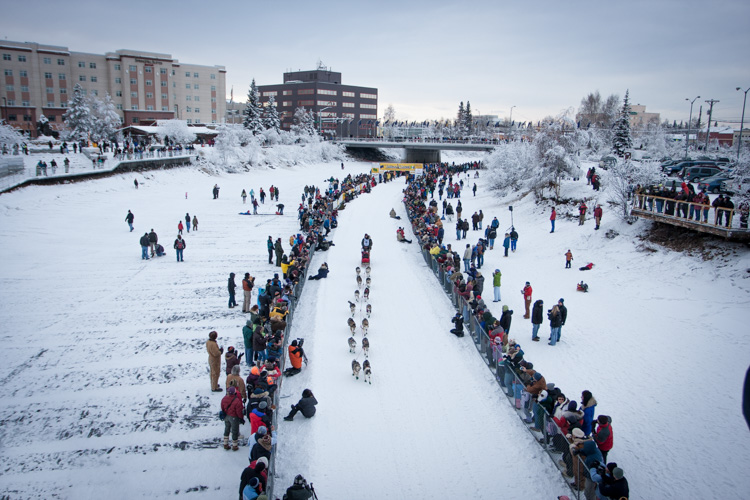
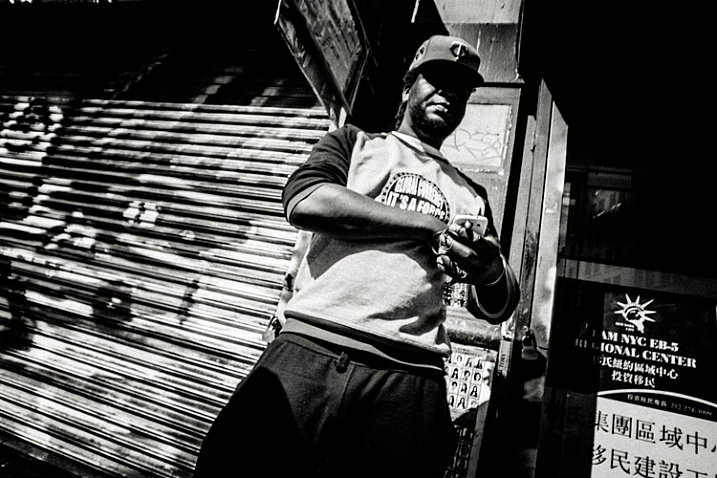
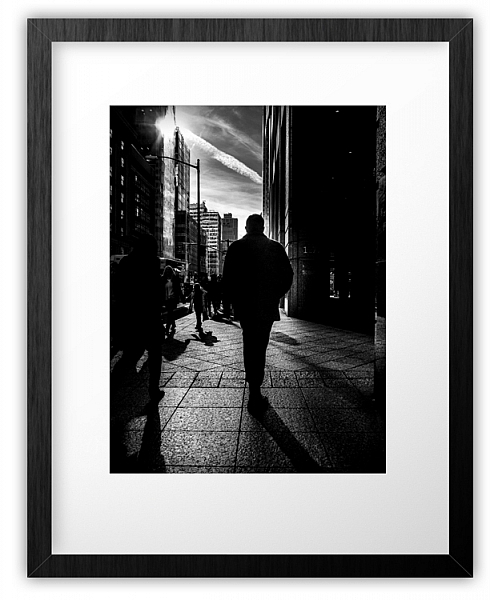
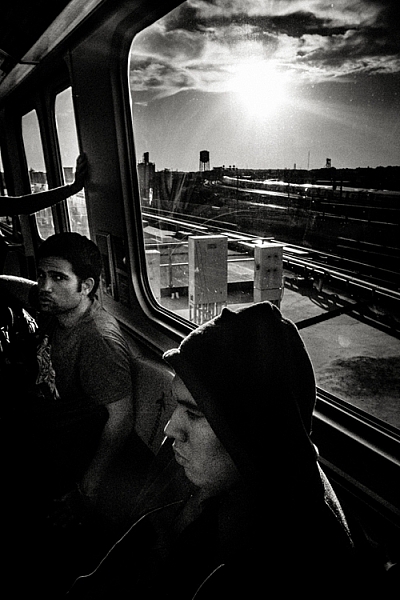
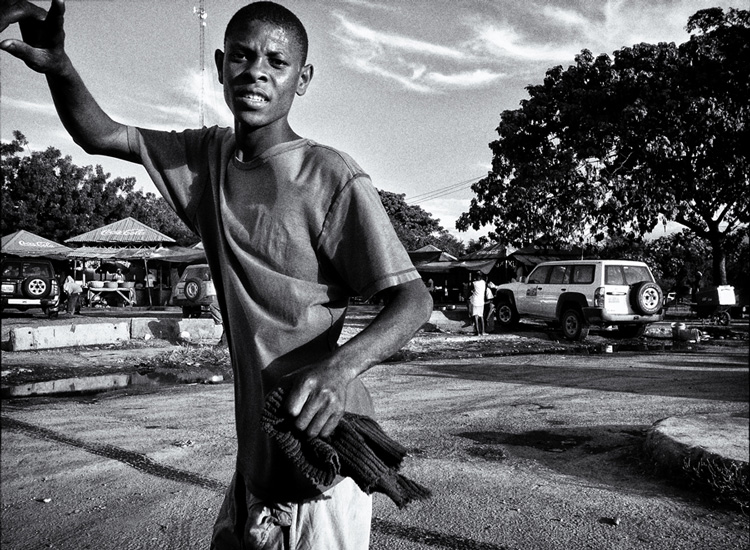
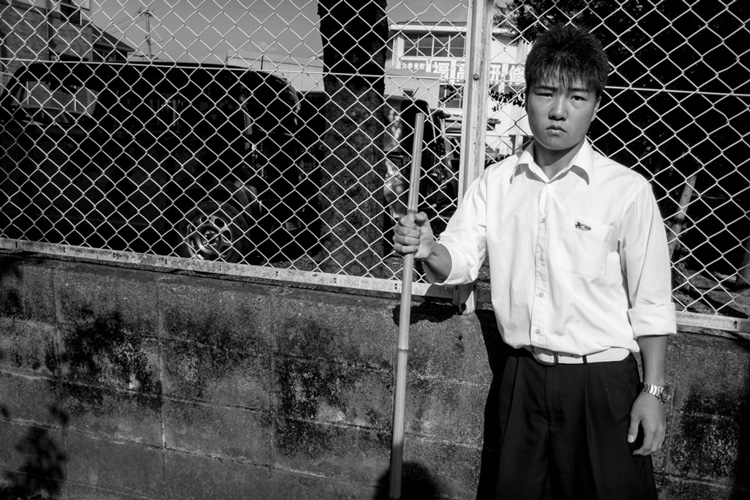
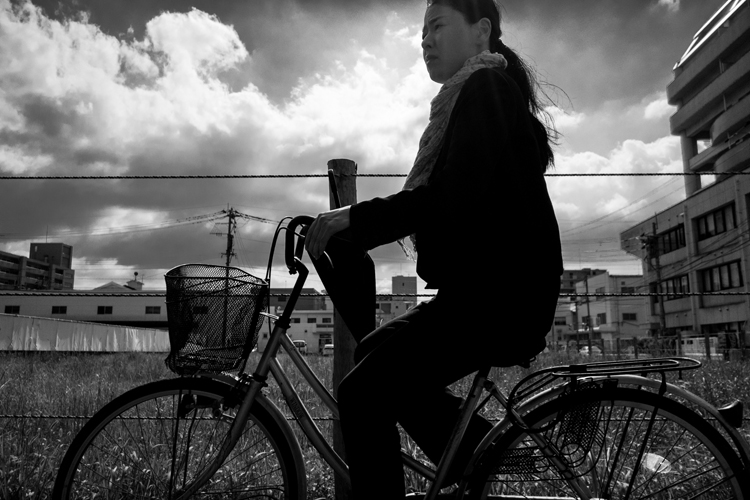
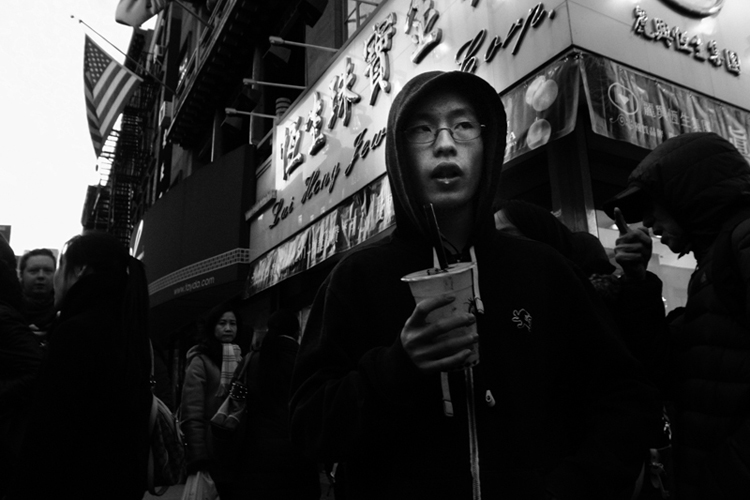
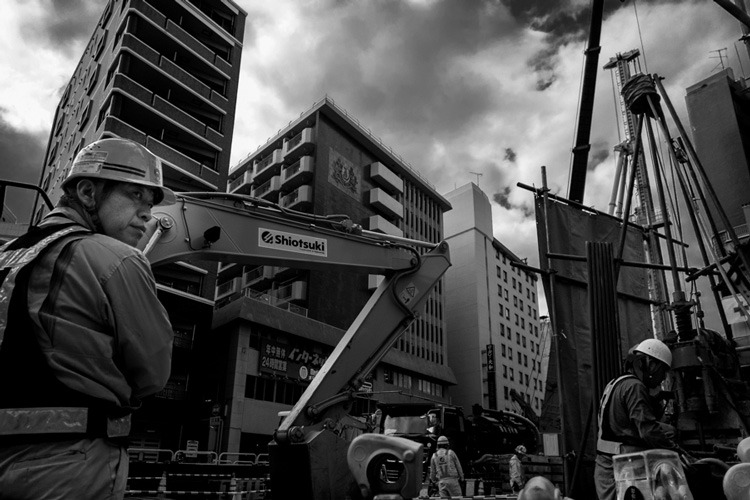
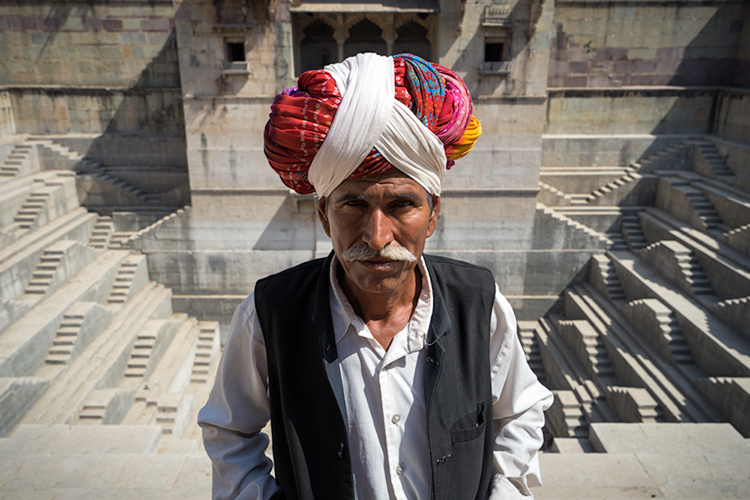
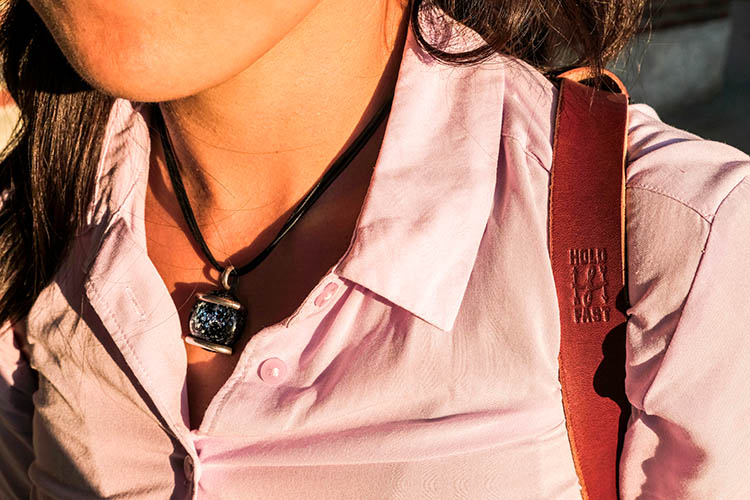
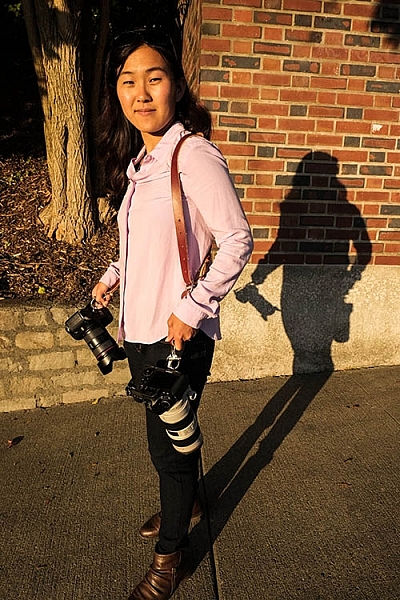
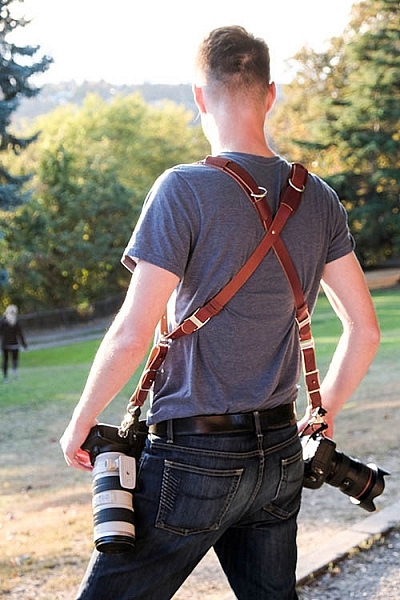
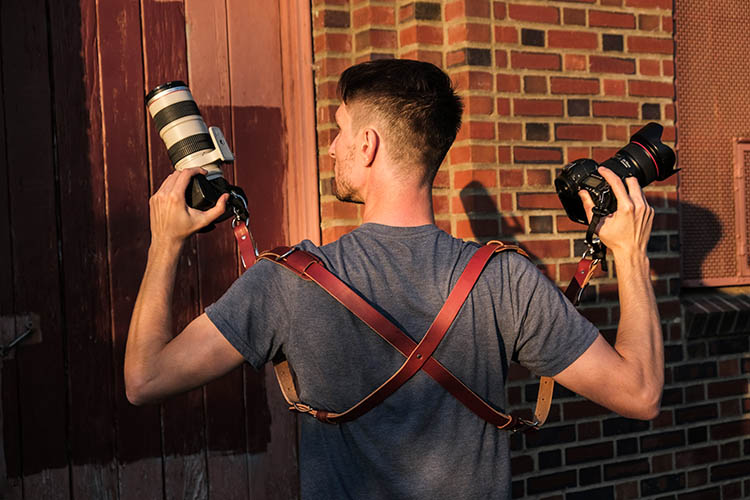
Street photography never requires a tripod. The most serious street photographers I know use small camera bodies with prime lenses. What makes them serious is that they carry their cameras all the time and are always ready to shoot. For a street photographer, lugging around a tripod actually seems a little ridiculous, doesn’t it?

Street photography – handheld
I’m a very serious photographer and I almost never use a tripod. I have two: a Travel Flat Benro tripod and a Gitzo with a Really Right Stuff BH 40 Ball Head. I always have one in the car or in my suitcase, but I rarely use either one anymore.
Does that mean I’m no longer a serious photographer? No, of course not. I travel all over the world to photograph horses and wildlife. I’m very serious about the images I make. The thing is, my images don’t usually require a tripod. Using one is sometimes even counterproductive when photographing fast bursts of action.
When two wild stallions start to fight out in the desert, I begin to shoot while adjusting my body position to look for the best angles for the scene to improve my composition. Sometimes a wild stallion spat can last for mere seconds. If you had to pause to adjust your tripod, you’d likely miss the action.

Wild stallions – hand-held. ISO 250, 1/800th, f/8 @ 98mm
Being a serious photographer isn’t about the gear you choose to use or not use. Being serious is about making images with intention. Your intention might be totally different than the photographer using the tripod. If it is, ignore his advice to use one.
4. Only shoot in Manual Mode
Most of the professional, money-making photographers I know actually shoot in Aperture Priority so I think this rule is more the advice of old-fashioned, learned-on-film photographers. These photographers grew up using Manual Mode since that’s the only option that was available. They didn’t have the choice of Auto, Aperture or Shutter Priority Modes.
So that’s the rub. You do have a choice. You also have stellar gear that is going to make the right exposure choice 90% of the time. Why not learn to use all the modes on your camera?
At a cocktail party for your bestie’s 40th? Use Auto Mode to make sure you get the shot. Shooting fast action? Use Shutter Priority. Shooting in quickly shifting light? Use Manual Mode and set your ISO to Auto. Shooting a portrait? Experiment with Aperture Priority and then give your camera’s Portrait Mode a try.

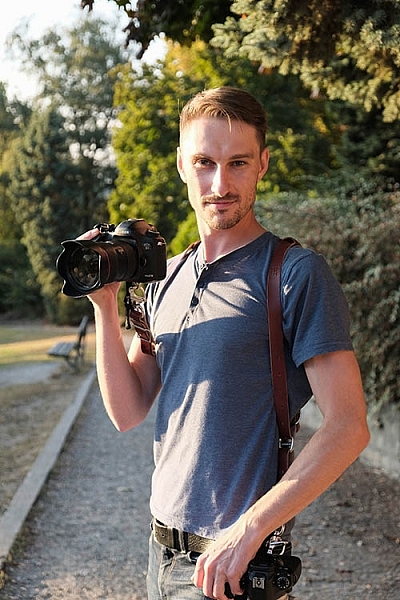
Self-portrait shot in Portrait Program Mode. 100, 1/100th, f/3.5 @ 50mm
Cameras today have amazing functionality. Anyone telling you to exclusively use Manual Mode may have different photography goals than you do. If your goal is to make sure you make the best images possible, ignore their advice and learn all of your camera’s capabilities backwards and forwards.
5. Only shoot in your lens’s sweet spot
If you’re keeping track, by heeding all of this well-intentioned advice, your camera is in Manual Mode and attached to a tripod. Your ISO is set at 400 and you’re using a maximum shutter speed of 1/500th. There has to be a rule about aperture and focal length too, right? There is.
The sweet spot is a combination of the aperture and focal length where your lens functions at its absolute best. If you’ve read reviews about zoom lenses you may have read something along the lines of; “Wide open at f/5.6 at the maximum focal length of 400mm, the corners get soft and there’s a noticeable loss of sharpness throughout.” Photographers write reviews like that so that you can avoid shooting in the so-called soft end of your lens and gravitate towards its sweet spot.
You can evaluate the sweet spot of your lens by making a series of images of the same subject, in the same lighting conditions, using each aperture at every focal length and comparing the results. (Read: How To Find Your Lens’ Sweet Spot: A Beginner’s Guide to Sharper Images for a full description of how to do this.) That sort of evaluation sounds soul-crushing and unnecessary to me. If you buy a zoom lens, you’re buying it because you need that focal length in your bag. Why run a test on your lens that might make you hesitate to use it at its maximum focal length?

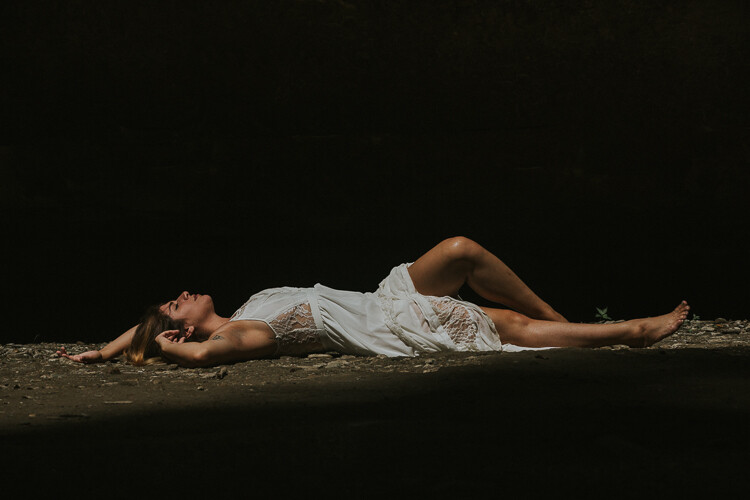
The real sweet spot is making images that feel right to you. ISO 2500, 1/80th, f/4.5 @73mm
Instead how about learning the capabilities of your lens by truly using it? Over time, you may gradually learn that the sweet spot is 100mm at f/8, because every image you shoot at that aperture and focal length is amazing. Rather than avoiding the rest of your lens’ focal length range and aperture combinations, you can shoot a second image using the sweet spot. If there isn’t time to shoot a second image, that’s okay. Just be grateful you had a lens capable of capturing the image at all.
Bottom line
The bottom line is that as you progress in your photography journey, you get to make the decisions. What advice and rules will you follow, and which will you toss out?
Be disagreeable with me! What photography rules have you been taught that you ignore now? Please share your experience in the comments below.
googletag.cmd.push(function() {
tablet_slots.push( googletag.defineSlot( “/1005424/_dPSv4_tab-all-article-bottom_(300×250)”, [300, 250], “pb-ad-78623” ).addService( googletag.pubads() ) ); } );
googletag.cmd.push(function() {
mobile_slots.push( googletag.defineSlot( “/1005424/_dPSv4_mob-all-article-bottom_(300×250)”, [300, 250], “pb-ad-78158” ).addService( googletag.pubads() ) ); } );
The post Five Photography Rules You May Want to Ignore by Lara Joy Brynildssen appeared first on Digital Photography School.

Digital Photography School


 It’s not just about getting close. There are far away images that are great and very close images that are the epitome of boring. If anything, you might NOT want to get too close to people, so that you can include them and their surroundings. All of this to say what? Street photography is an art form, it’s about images, and getting closer sometimes has no bearing on the final results!
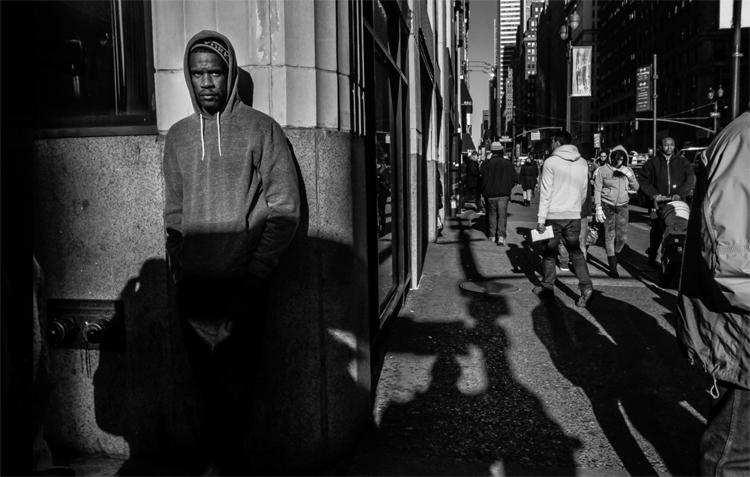


You must be logged in to post a comment.