Combining two or more exposures into a single image is a technique that almost certainly began as an accident (much like photography itself). When using early film cameras, it was all too easy to press the shutter button while forgetting to change the plate – a faux pas that was generally rewarded with an overexposed jumbled mess. When roll films became popular, camera manufacturers thought it prudent to build a mechanical interlock into the film advance mechanism to prevent accidental multiple exposures (unless you used a special override button).
Most digital cameras carried on the tradition of discouraging such mischief by simply not providing the facility at all. As a consequence, a distinctive style of this sometimes serendipitous art began a steady decline – until recently. Today, the thirst for retro styles is gaining popularity and many photographers are once again experimenting with this old technique.
Traditional multiple exposure methods
If you cannot do the electronic equivalent of resetting the shutter without winding the film, how can you achieve this effect? Unless your camera offers you special multiple exposure options, you’re limited to doing everything during one long exposure so that your image can accumulate on the sensor.
One method is to build up your image by firing a flash several times during a long exposure, under low ambient light. This technique is often used by cave photographers as it allows them to create what appears to be a floodlit underground chamber by popping off a number of flashes in different parts of the scene. The disadvantage is that you need a dark environment, but the technique can be effective – particularly when using a flashgun set to produce a rapid burst of flashes in strobe mode to capture fast-moving action.
In normal daylight conditions, the only way to achieve a long exposure is to employ a neutral density filter, which will allow you to achieve an exposure time of ten seconds or more. During this time, you can cover and uncover the lens as needed to superimpose a series of still images.
Since both of these methods rely on accumulating more and more light on the sensor from different subjects during a long exposure, it’s easy to produce a result that’s overexposed unless you carefully compensate by underexposing each shot in the sequence. It’s also somewhat tricky to see how your composite image is turning out until the exposure is complete.
New possibilities
Some digital cameras now offer a multiple exposure function, that not only provides a simple means to recreate the traditional effect but also extends the creative possibilities by using more sophisticated blend modes. In addition, the technology is not limited to just high-end DSLRs. Now even smartphone users can enjoy making multiple exposure images using apps such as Multiple Exposures for the iPhone or Photo Blender for Androids.
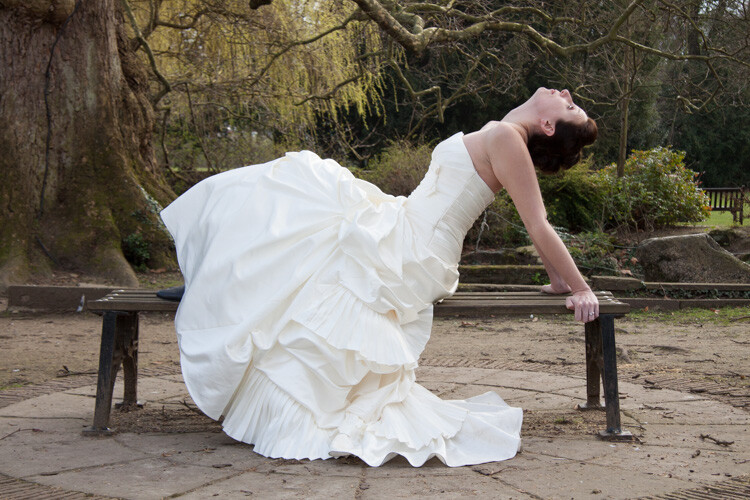
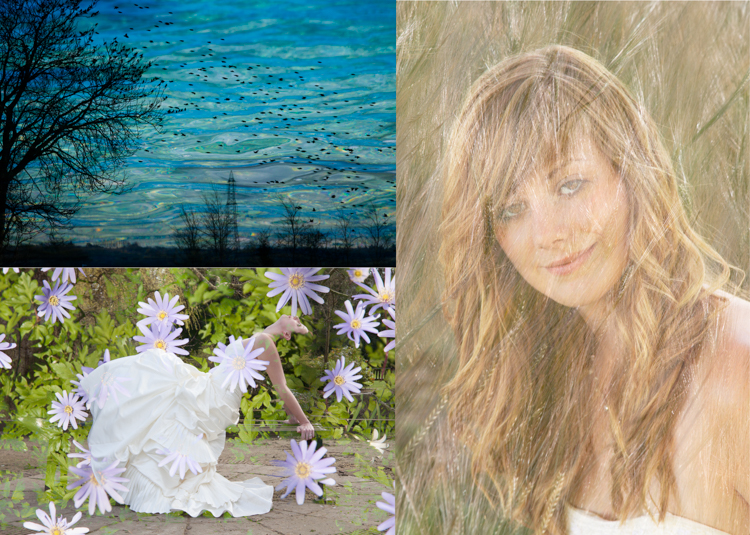
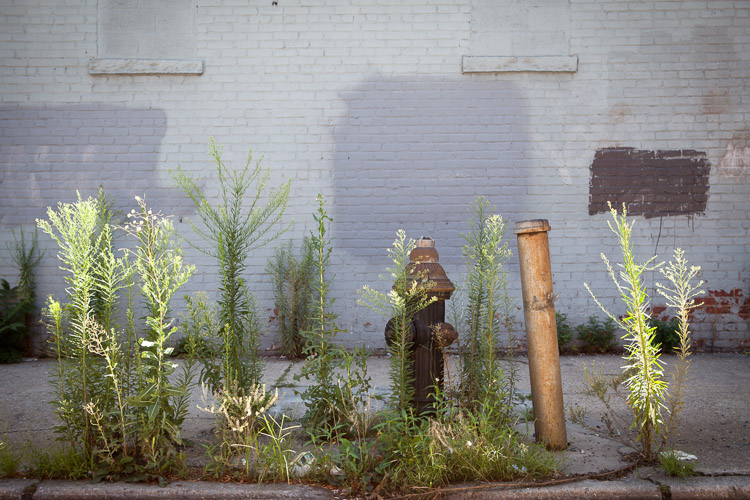
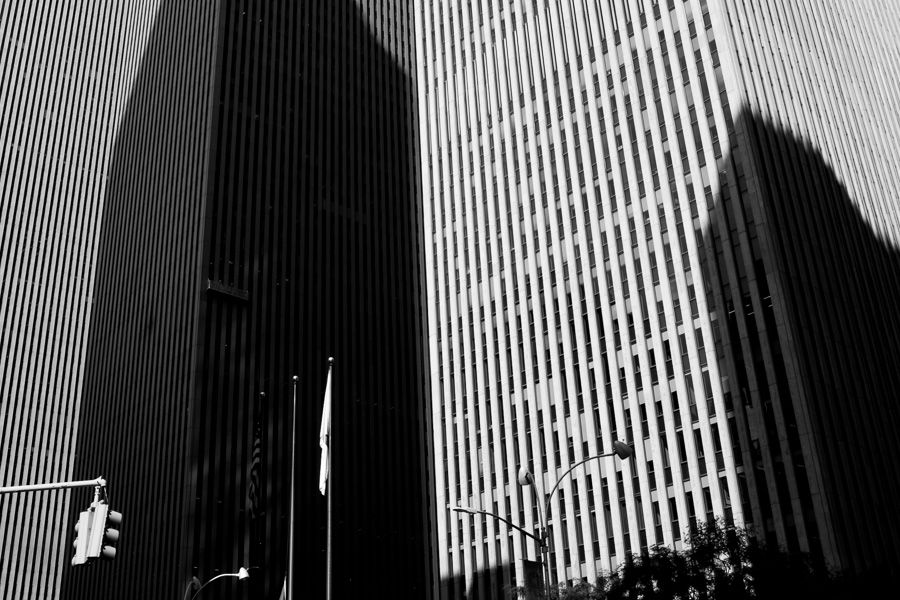
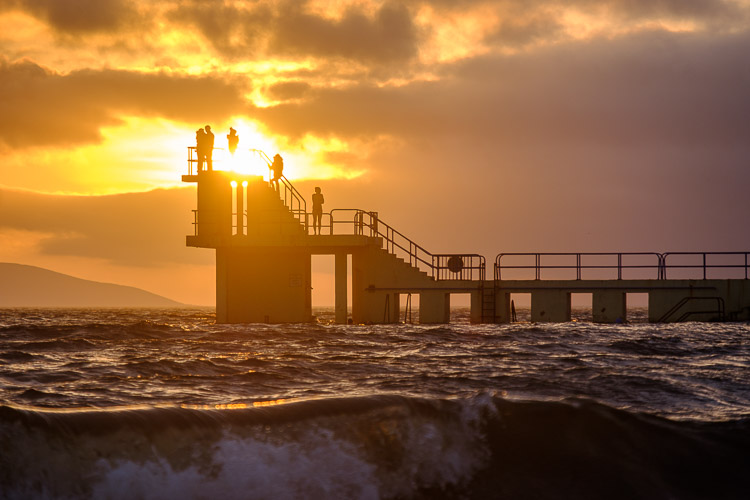
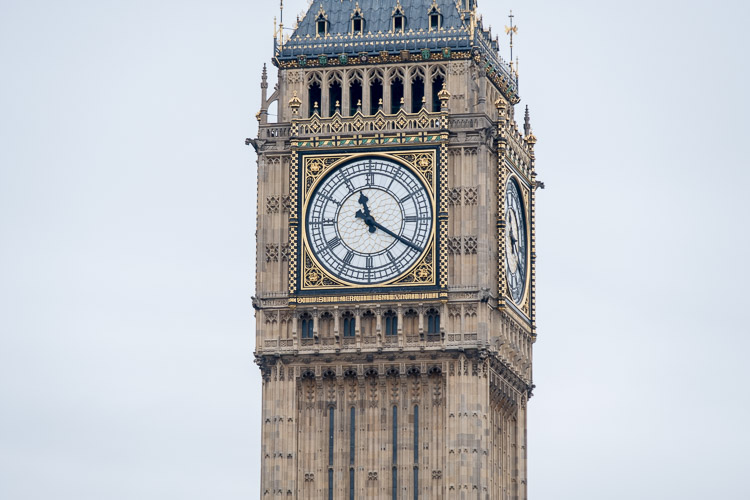
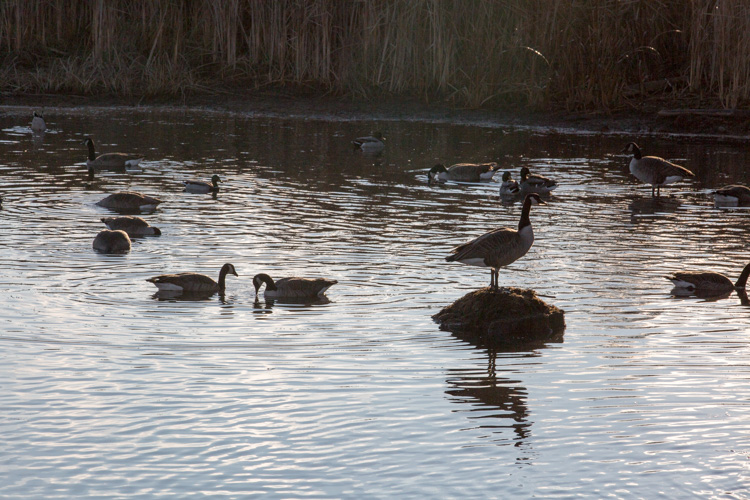
Photo #1
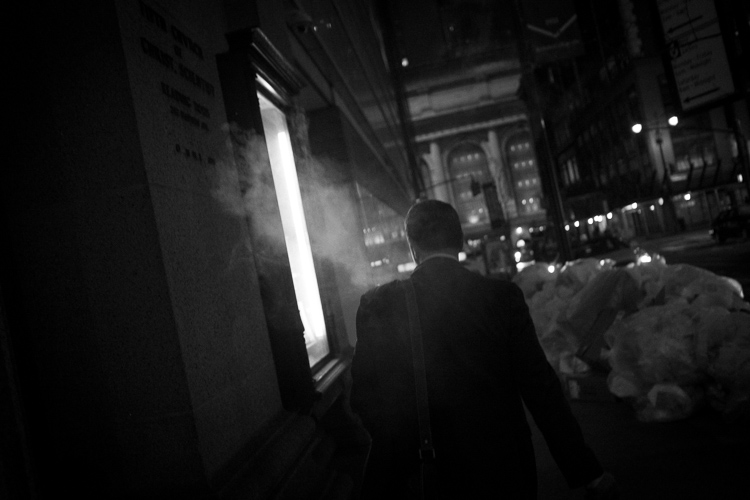
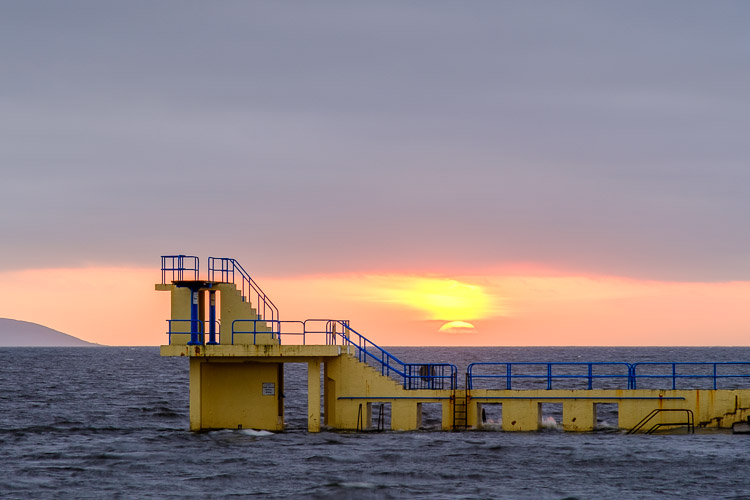
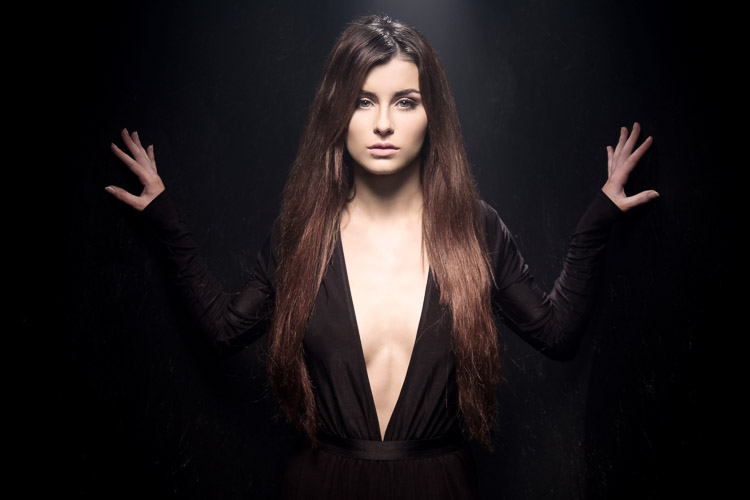
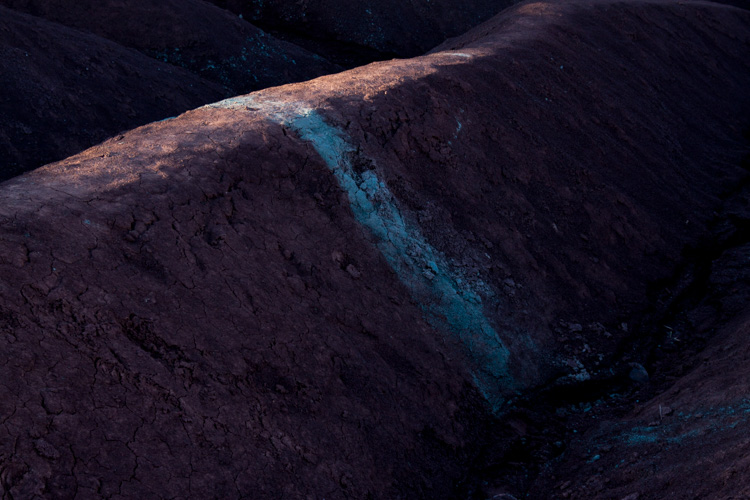
Photo #2

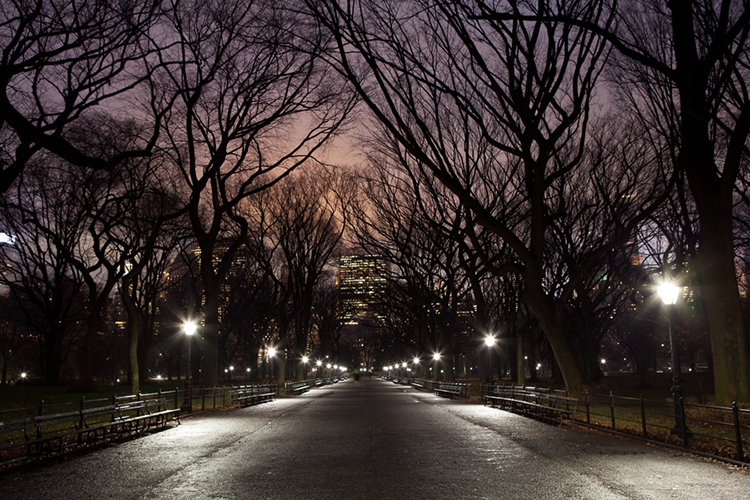
Combined using the Photo Bender app.
If you have a recent camera model, it’s increasingly likely that it will sport some form of multiple exposure feature. Check your camera user manual for details. The specific facilities on offer will vary from one camera model to another, but all those that have this feature will be able to simulate the original technique. So let’s start with a simple double-exposure example using a Canon 5D Mark III.
Double-take
In this technique, both images are exposed normally and then added together. This means that the brightest parts of the final image will be made from the brightest parts of either of the two component images, a fact which can effectively be used to make each image cut out the other. Set the camera’s multiple-exposure setting to take two photos and blend them in the Additive mode, as shown here for the 5D Mk III:

Shooting the images
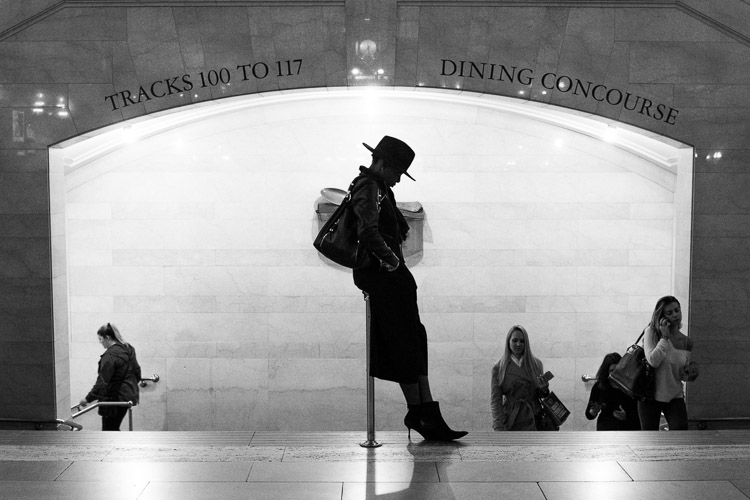
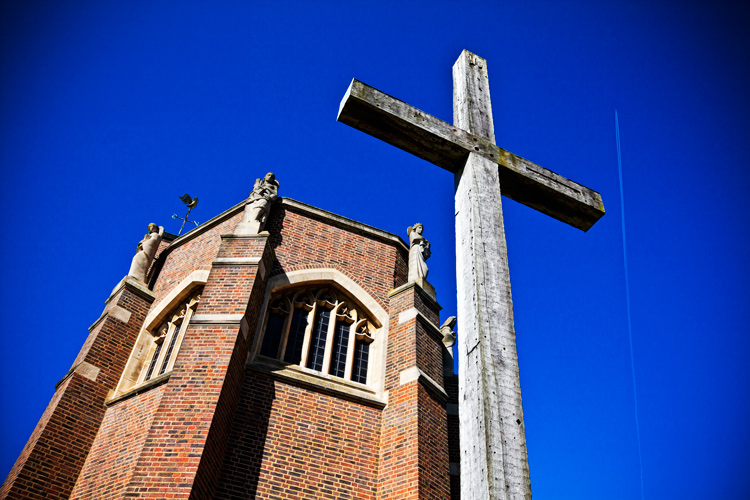
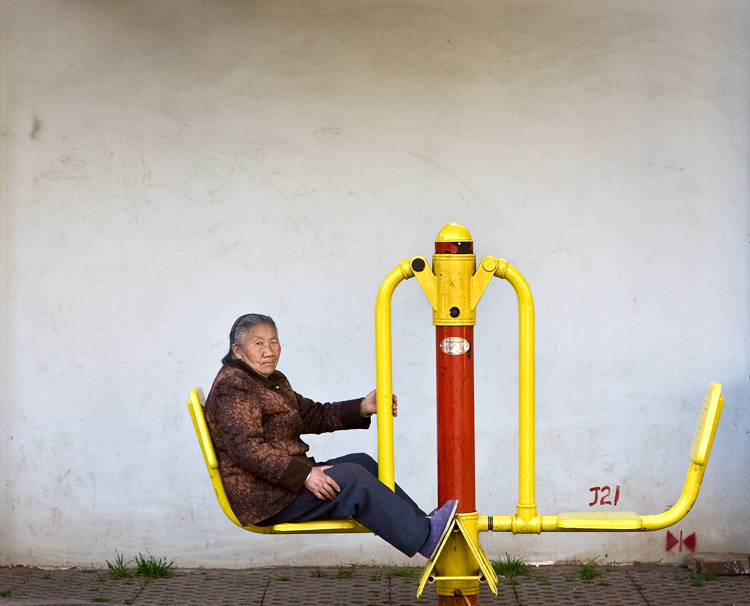
For the best results, you will need two images with light backgrounds. In this example, my subject was photographed indoors against a fairly light background (below left). If your subject is outdoors, it’s often useful to position yourself low down so that your subject is against the sky.
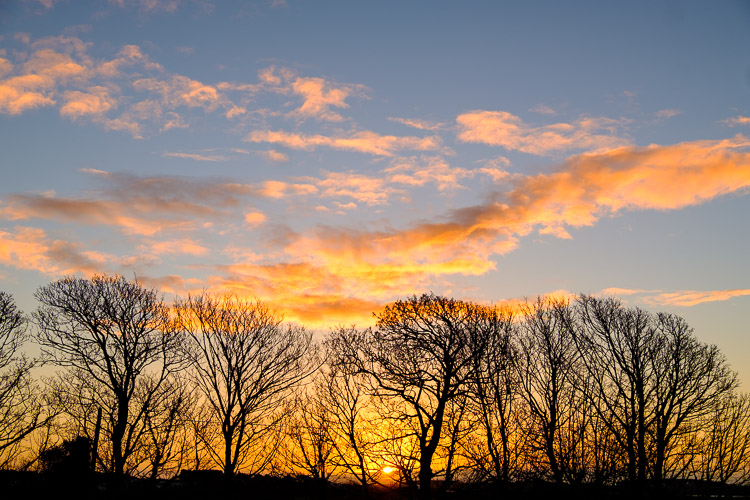
For the second image, look for a high contrast subject that has white areas where you want the first image to be cut-out. In this case, I chose to photograph a tree against the sky (above right), remembering to use the camera in portrait mode but rotating it such that the tree was inverted.
When the images are added in the camera, the light pixels around the subject’s head overwrite the dark pixels from the tree. In the same way, the light pixels from the lower left and right corners of the tree image overwrite the pink feather boa in the first image. Depending on how light the background is in each image, this pixel addition will produce something between a faint high-key effect to a full blown-out white wherever the two subjects don’t overlap.

Camera settings
By default, the multiple exposure setting is disabled. When it is activated on the 5D Mk III, it can be set to either allow you to review and change some settings between exposures or just fire away continuously without slowing down to review images. For this example, I chose the “On:Func/ctrl:” option to allow me time to compose the next shot. One big advantage of selecting that option with Canon cameras is that it enables you to switch to “LiveView where you can see an overlay of your previous shot to help you line up the next one.
Using a previous image
Canon cameras allow you to combine a photo taken the conventional way, with an exposure taken in the multiple exposure mode. To try this, choose the “Select image for multi.expo” option. If you’ve set the total number of exposures to two, you now only have to shoot one extra exposure in multiple exposure mode to complete your composite.
Nikon cameras take this a step further by allowing you to select any two images from the camera’s media card and combine them using a feature Nikon called “Image Overlay”. This is particularly flexible because you can simply keep combining pairs of images and applying exposure adjustments as needed to make your composite raw image.
Auto exposure compensation
If you shoot in this Additive mode and don’t want to exploit the cut-out effect, then you need to reduce the exposure of the individual images according to the number of shots you include in your composite. For example, you should underexpose each shot by one stop if you’re combining two images, or by two stops if you’re combining four images. Alternatively, you can leave the adjustment to the camera. Since you’ve already told the camera how many exposures you wish to combine, it can work out how much exposure compensation to apply in order to create a composite that still retains details in the highlights.
To apply this compensation automatically, simply select “Average” instead of the “Additive” option and set your camera to either aperture or shutter priority mode. If you want to experiment with overlaying textures and making abstract patterns, Average is a good initial blend mode.
Bright and dark
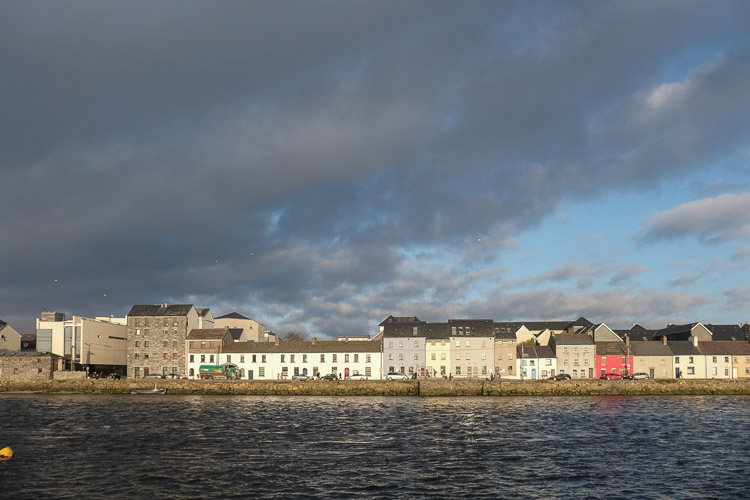
Both the Additive and Average options effectively just accumulate one image on top of another with optional exposure adjustment, so these modes are not that different to conventional film multiple exposures. However, thanks to the increased computing power on some DSLRs, you’re no longer limited to just overlaying images by simply adding their brightness values. Images can also be combined by taking pixels from either one source image or the other, based on which one is brightest (or darkest). To show how this works, consider this combination of window and clouds.


Selecting the Bright mode gives priority to the clouds, which will appear in front of the window at the top of the composite. The dark trees will be excluded in favour of the brighter parts of the window at the bottom of the composite.

If you select Dark, then the darkest pixels win and the clouds appear behind the window in this rather more subtle version.

Other creative techniques
Having tried out the various blend modes your camera has to offer, it’s worth considering what changes you might want to introduce between shots. As long as you don’t turn the camera off, you could swap lenses, filters or even countries between shots so that you could combine, for example, a macro image with a landscape. Since cameras invariably allow you to combine a live image with one previously stored on the card, there’s a great deal of scope for creatively combining images. Here are two simple examples you might want to try.
Layering a landscape
Zoom lenses provide a very convenient way to create a layered effect from a simple skyline. In this example, I combined four shots of different parts of the horizon and also adjusted the camera’s white balance for each exposure to simulate a distance haze.

To produce this effect, follow these steps:
1. Set up your camera to take four exposures in Average multiple exposure mode using either aperture or shutter priority.
2. Set the white balance to 2500ºK to produce a strong blue tint and zoom out for a wide-angle shot. Position the horizon in the top quarter of the viewfinder and take the first photo in the sequence.
3. Turn on LiveView and zoom in slightly so that you can see the magnified overlay which will become your next nearest line of hills. Pan the camera to a different part of the horizon to create some topographic variety and tilt the camera up to position the next horizon just below the previous one. Set the white balance to 4000ºK to create a less intense blue bias and take the second photo.
4. Reposition the horizon lower still on the LiveView screen. Zoom in a little more and with the white balance set to 5500ºK, take the third photo.
5. Finally, zoom in fully, pan the camera again for some foreground interest and position the horizon near the bottom of the screen. Increase the white balance to 7000ºK and take the final photo.
Focus effects
Most of the time, we strive to achieve a sharp focus in our pictures, perhaps with some creative background blur. Shooting multiple exposures enables you to combine a pin-sharp image with a soft out-of-focus one of the same subject to smooth out highlight details or make it glow with an unusual soft-focus effect. Here are the steps used to make a highlight-smoothed image:
1. Set the camera on a tripod and set the multiple-exposure blend mode to Dark.
2. Take a sharply focused photograph of the subject. In this case, some roses were set against a dark background to give them more definition in the final image.

3. Defocus the image (set the lens focus to manual to stop it refocusing on the next shot). In this example, I’ve defocused rather drastically to illustrate the effect.

4. Take the second photo.
Since the highlights are blurred, they become darker. In the Dark blend mode, these darker tones make it to the final image instead of the original highlights. The dark background from the sharper image also takes priority over the fuzzy edges in the defocused image, resulting in a composite image that’s well defined against the dark background but with highlight details smoothed out.

For a more traditional soft-focus effect, it’s necessary to preserve the highlight detail and add the highlight blur around it. You can achieve this effect by simply selecting the Bright blending mode to produce a soft glow, as shown here.

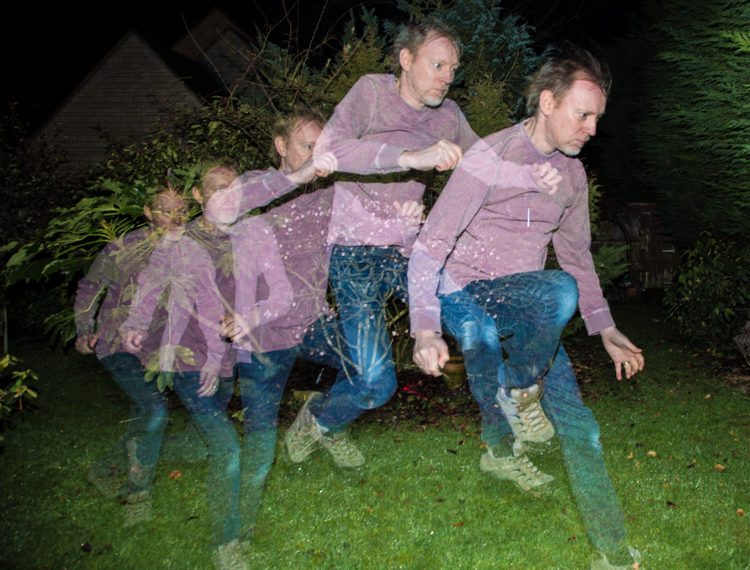
Action shots
In the techniques considered so far, the camera has been set up to review the image after each shot in the sequence and if your camera allows, to store each component image to the media card. This is useful to help line up each new image with the previous one.
But for fast-action shots, this takes too much time to process in-camera. If you want to take a composite photo of someone jumping over a fence, (then apart from arranging for a bull to be located in the same field as the subject) these are the basic steps to follow:
1. Set the multiple exposure mode such that it doesn’t display the image after each shot or write to the card. On the 5D Mk III, this is achieved by setting the Multiple Exposure menu item to “On:ContShtng” for continuous shooting.
2. Set the number of exposures according to the speed of the action you’re anticipating (more exposures for faster action) and set the shutter speed and aperture to values that will be able to capture a sequence of sharp images.
3. Set the camera on a tripod and pre-focus at the distance where the action is to take place. Set the lens focus to manual to ensure the focus doesn’t change during the shoot.
4. Set the drive mode to continuous high speed burst.
5. When the action takes place, press and hold the shutter button to ensure that all the individual exposures are taken.
Blend modes
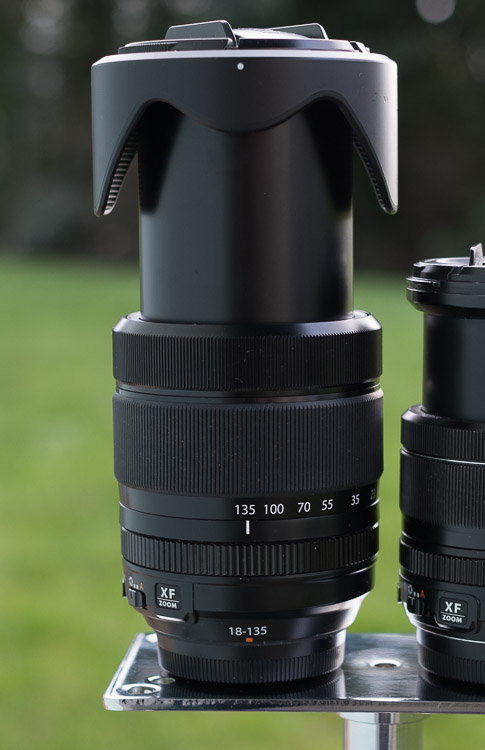
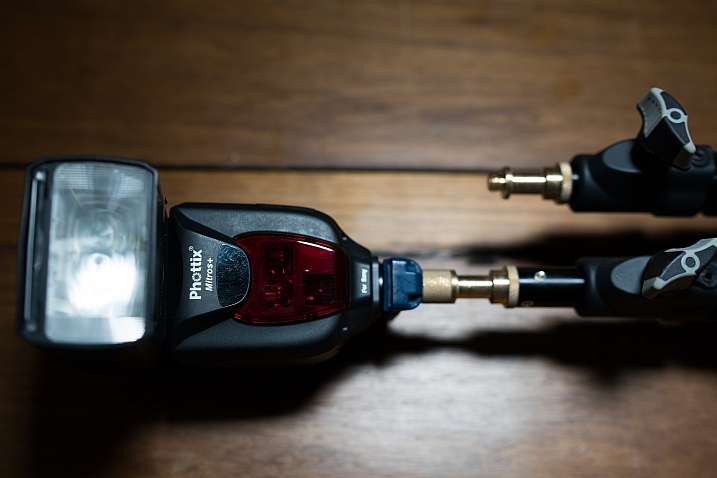
If you leave the blend mode set to Average, you’ll get a solid background with a number of ghostly overlays corresponding to the various exposures. This is because the exposure of each image in the sequence is automatically reduced to prevent the accumulating image from becoming too bright, but the results can be rather thin and disappointing, like this shot of a Canon camera swinging against a light background.

If you set the blend mode to Dark when using a light background, the results will be much more defined like this:

It follows that the converse is also true. When you are shooting a lighter colored object moving against a darker background, the best results are obtained by selecting the Light blend mode:

Slowing down
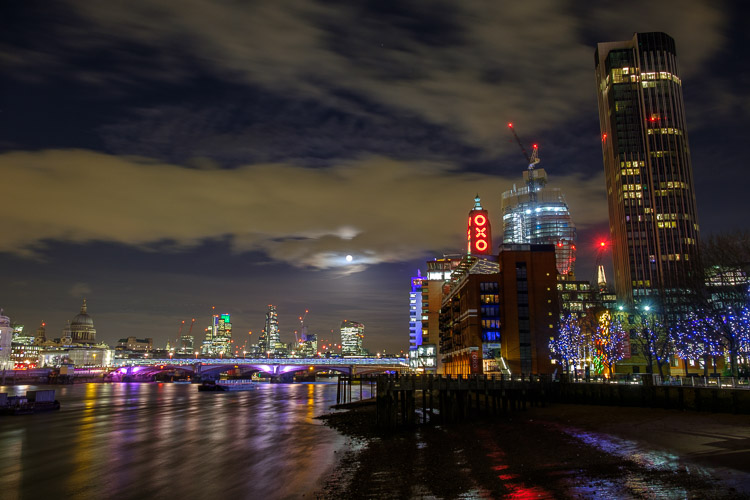
Not all multiple exposure action shots need to be frantic. This image was made using an EOS 6D in multiple exposure mode set to take nine exposures in the Bright blend mode. One image was taken every two minutes.

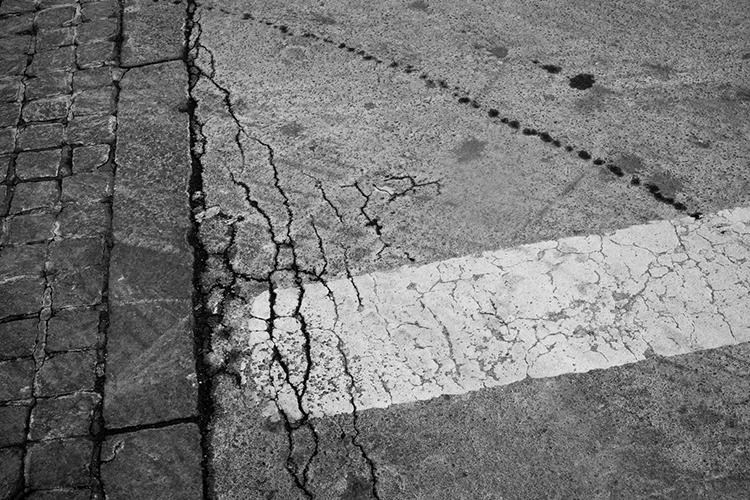
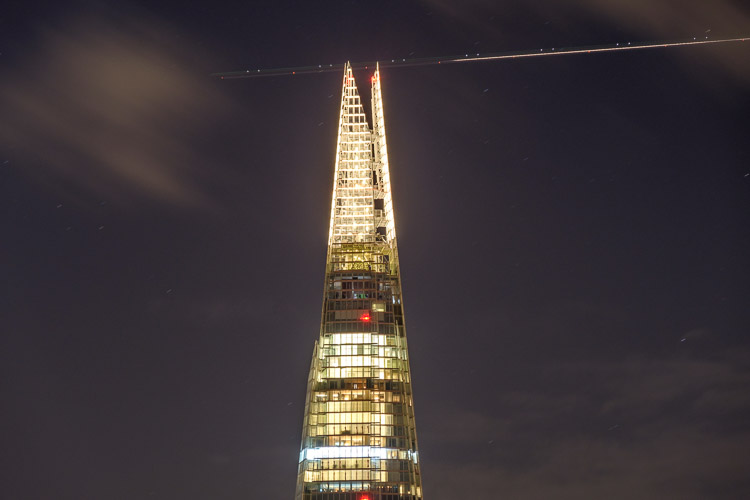
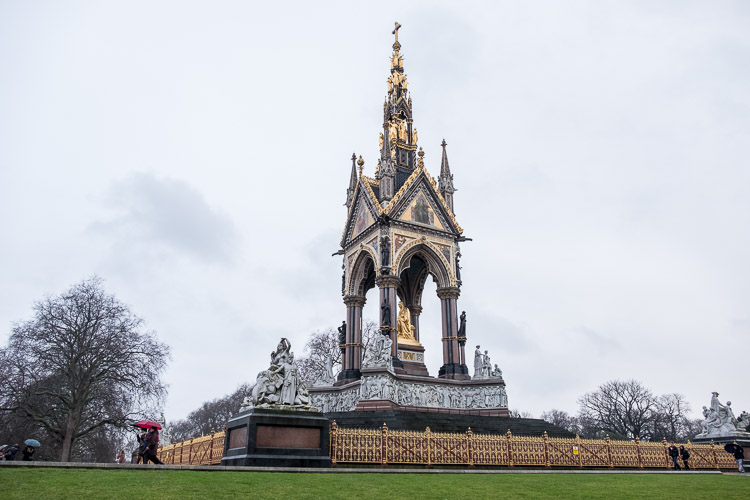
Look for future image material
Much more sophisticated multiple exposure techniques can be achieved by using dedicated editing software such as Adobe Photoshop. At the moment, you may only be interested in combining some images in-camera, but bear in mind that you might want to experiment on your computer in the future. Even if you’re not familiar with powerful desktop editing software just yet, it’s always worth getting together the raw material you can process on a rainy day.
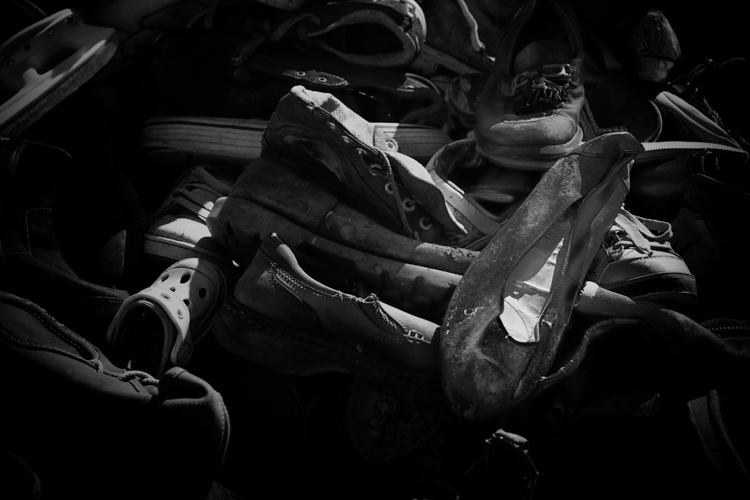
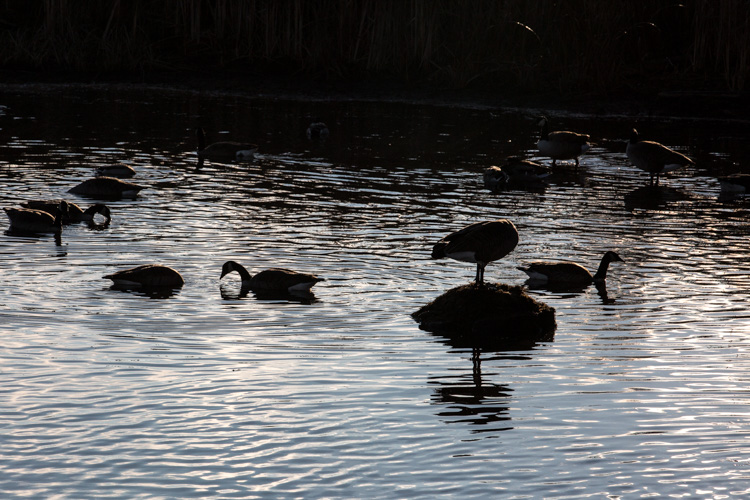
The next time you’re out and about with your camera, think about photographing interesting textures, silhouettes, and fast-action sequences, instead of just taking single photos. You’ll soon be on your way to creating some eye-catching multiple exposure photos.
googletag.cmd.push(function() {
tablet_slots.push( googletag.defineSlot( “/1005424/_dPSv4_tab-all-article-bottom_(300×250)”, [300, 250], “pb-ad-78623” ).addService( googletag.pubads() ) ); } );
googletag.cmd.push(function() {
mobile_slots.push( googletag.defineSlot( “/1005424/_dPSv4_mob-all-article-bottom_(300×250)”, [300, 250], “pb-ad-78158” ).addService( googletag.pubads() ) ); } );
The post How to do Multiple Exposures In-Camera by Dave Baxter appeared first on Digital Photography School.

Digital Photography School


You must be logged in to post a comment.