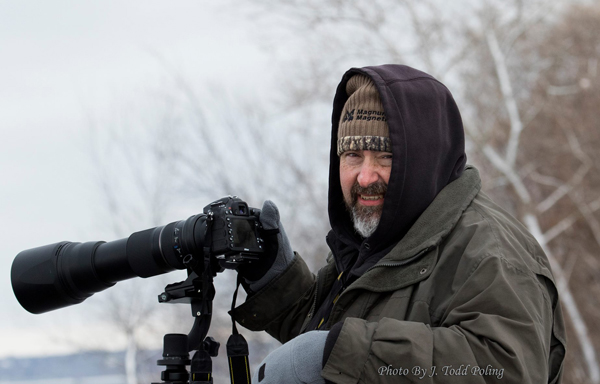
Writer Bruce Wunderlich with Tamron 150-600mm on his Nikon D7100 in Le Claire, Iowa. Photo by: J. Todd Poling
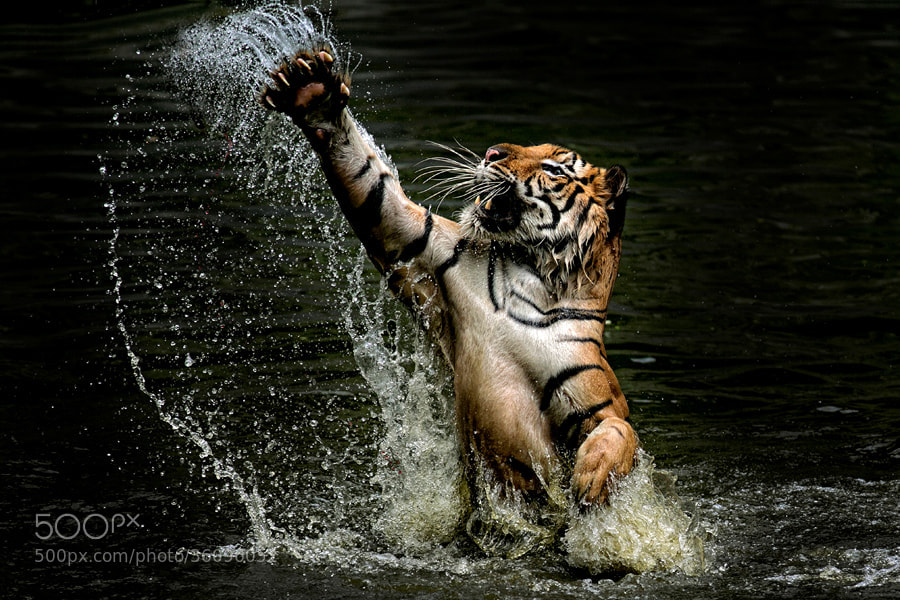
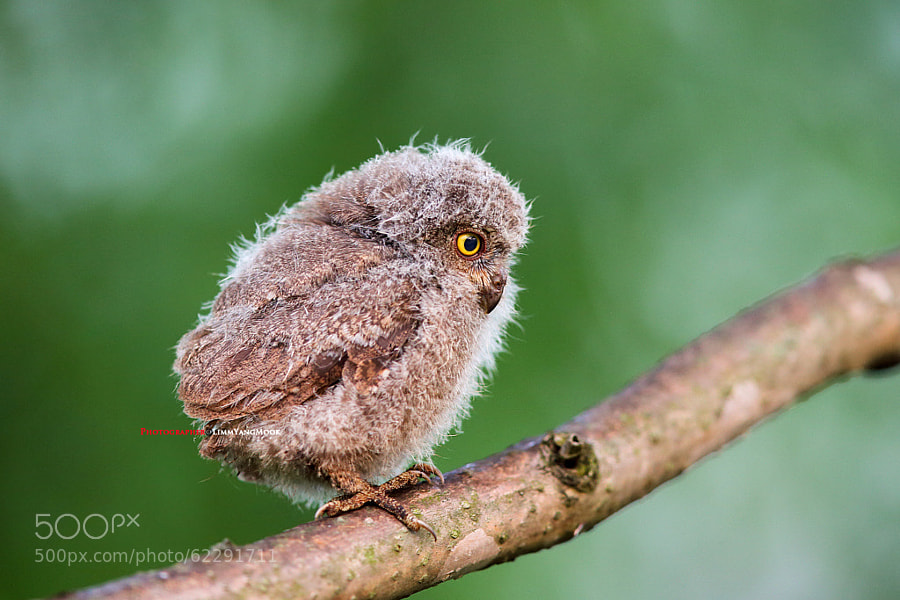
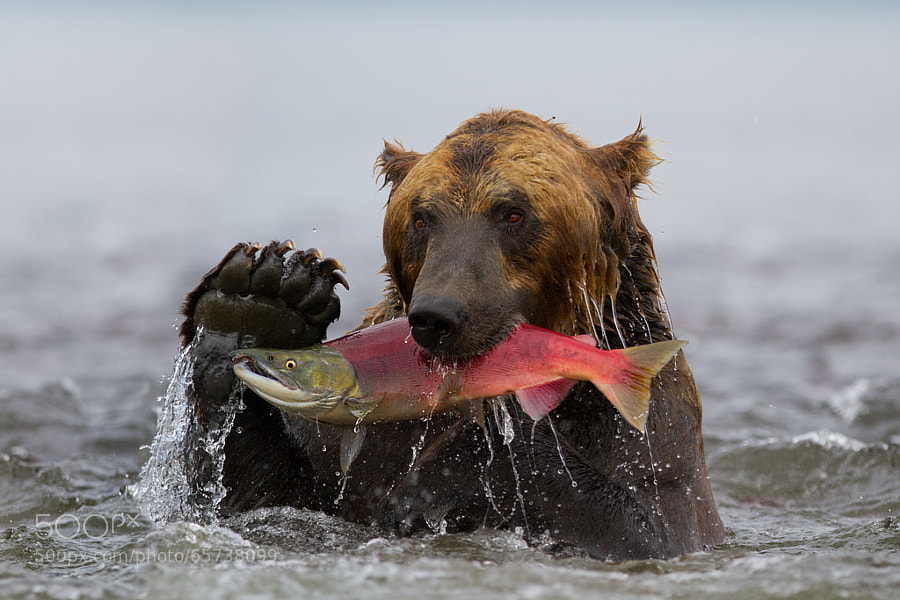
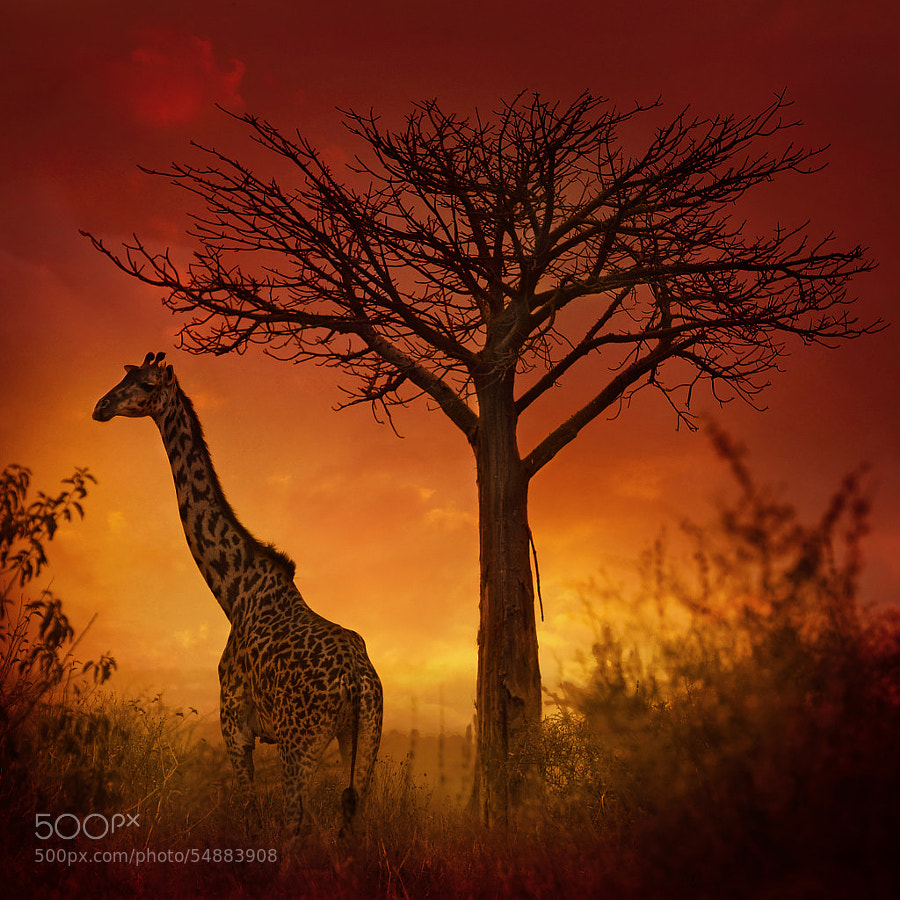
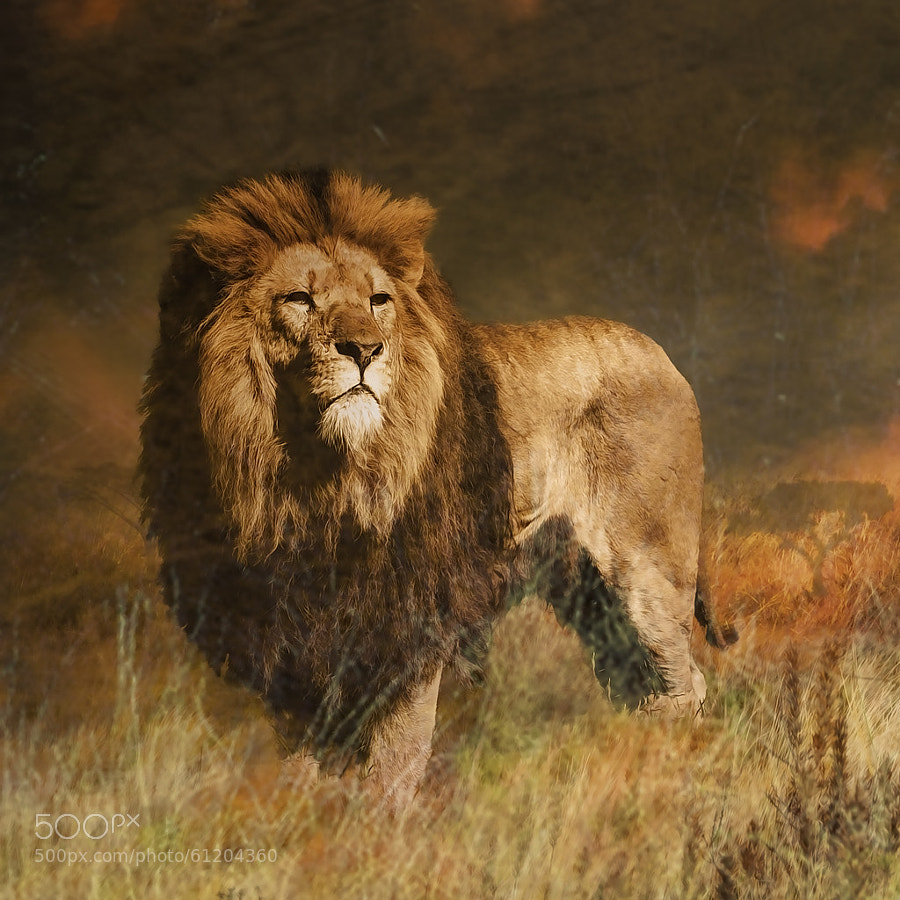
One of my favorite subjects to photograph is wildlife. In the past, great wildlife images were very difficult for me to shoot because my close presence usually meant disturbing the wild creature I had my eye on. I began looking for a longer lens with plenty of reach that wasn’t going to break my piggy bank. So, after much patient and thorough research, I purchased the Tamron 150-600mm SP F/5-6.3 Di VC USD zoom lens for my Nikon D7100.
The reach of this lens gave me some great results right out of the box, but I will have to admit that it takes some practice to photograph moving subjects, such as birds in flight, with this lens. Tamron 150-600mm does have some limitations, but one thing you will find with any telephoto lens is that no matter how much you have, you will always want more.
Technical Specifications:
- Focal length: 150-600mm (equivalent to 225-900mm on a cropped sensor)
- Maximum aperture: f/5- f/6.3
- Available mounts: Nikon, Canon and Sony
- Minimum focus distance: 8.86′ (2.7 m)
- Weight: 4.3 lb (1.95 kg)
Compared to Prime lens
Of course, this lens I purchased doesn’t match the quality of a prime lens like the Nikon 6oomm f/4. But besides costing around $ 8000 less then the Nikon lens, it has a few other advantages over its prime equivalent. Besides the heftier price tag, the Nikon prime weighs in at over 11 pounds compared to just over 4 pounds (1.95 kg) for the Tamron. Unless you are a body builder, hand-holding the prime for an extended period of time is nearly impossible. The Tamron 150-600mm can easily be hand-held, though I recommend using a Gimbal head on your tripod for smoother panning. While the Nikon Prime is a fixed 600mm focal length, the Tamron zooms from 150-600mm, great for those opportunities when you unexpectly get very close to the wildlife, and you can quickly adjust and zoom back.
Be Prepared
The best way to get great wildlife images is to always be prepared. This lens is small enough that I leave it on my camera all the time in my camera bag, so if I happen onto a sudden wildlife encounter I don’t lose time switching out my original lens to the Tamron and miss the opportunity to get the image.
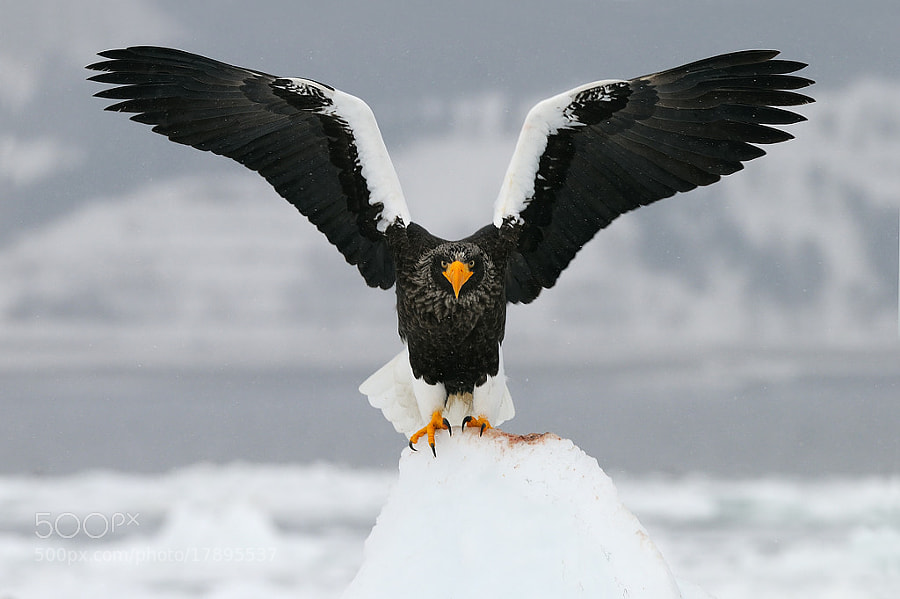
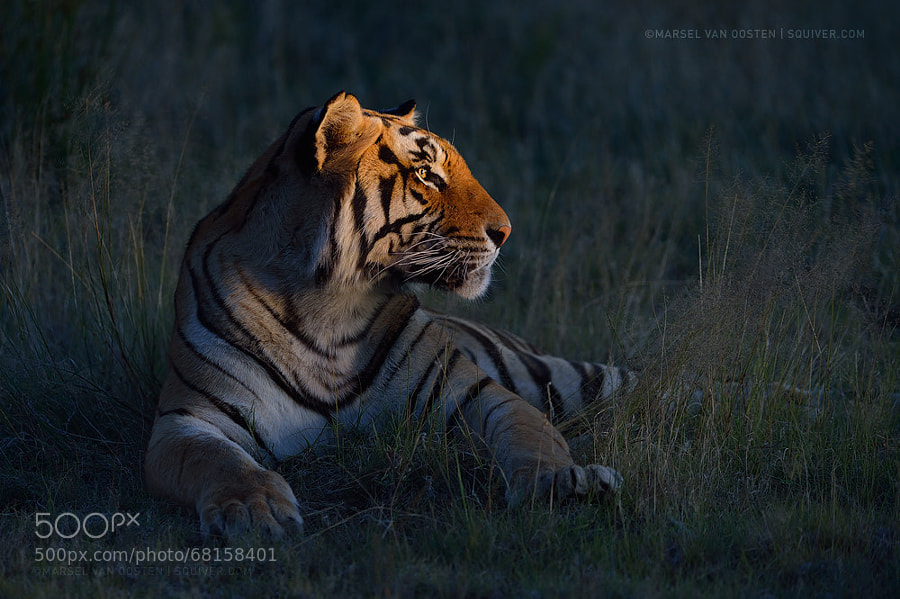
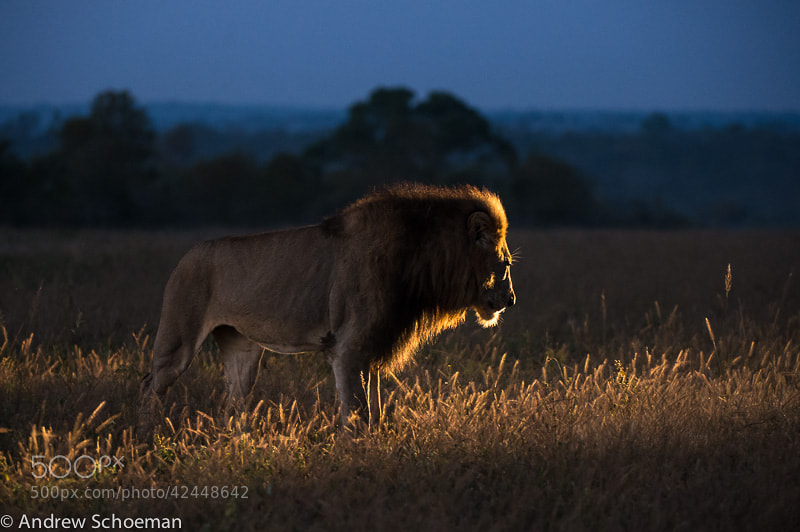
Eagle Shoot in Iowa
Recently, I had the opportunity to take a road trip with friends to Le Claire, Iowa, to photograph bald eagles on the Mississippi River. This was the perfect chance for me to put my Tamron 150-600mm to good use. Here are a few of my favorite images captured with the Tamron on the trip.
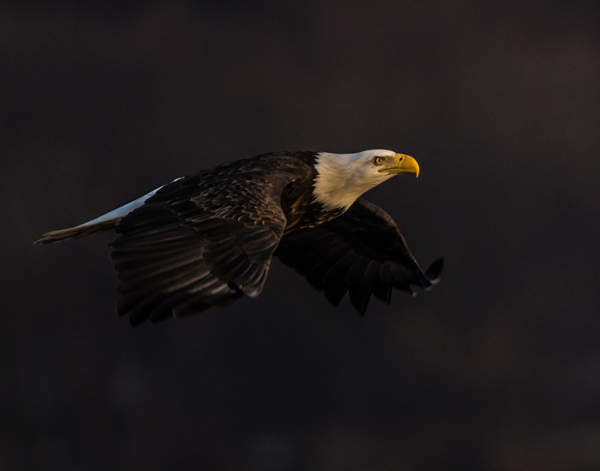
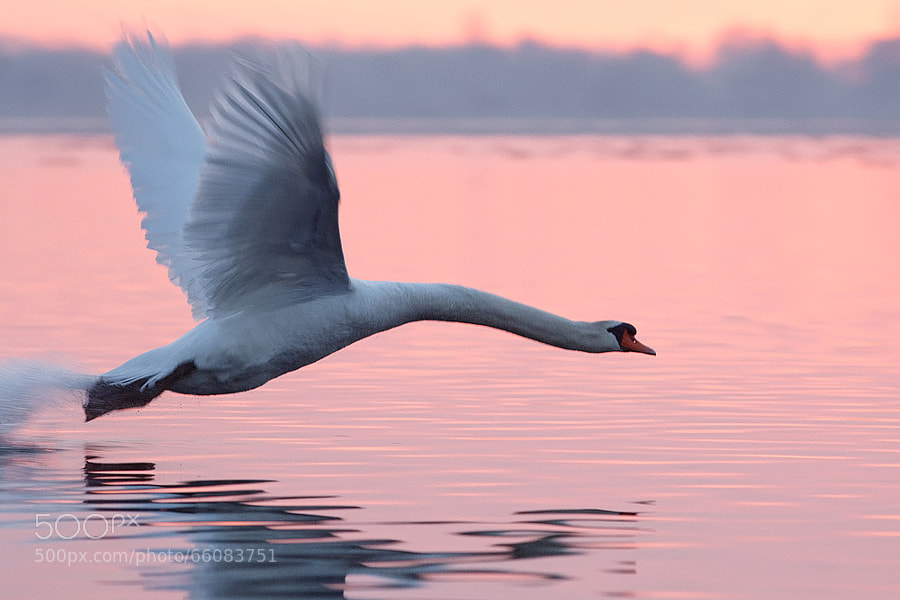
Flying into the Sunset
Focal length: 600mm, 1/1000th of second, f/6.3, ISO 400
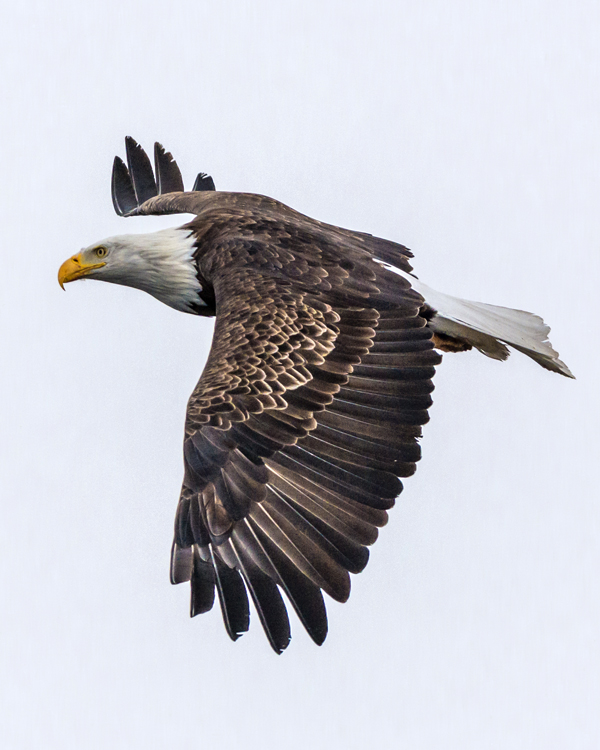
Focal length 360mm, 1/2500th of a second, f/6.3, ISO 1000 in aperture priority mode.
Sweet Spot
From 150-450 mm, images shot with this lens are really sharp. From 450-600 mm, the results are a little softer, but in most cases it still captures very useable images. In good light the autofocus performs quickly and accurately, while in low light it is some what slower. But for the price, this is a very nice lens.
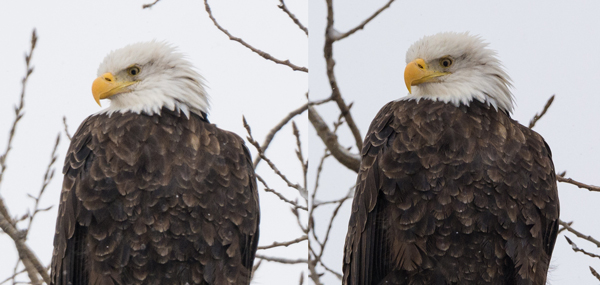
Image of the eagle on left was captured at 600mm and image on right was captured at 450mm. Image on right has a little more detail in the feathers.
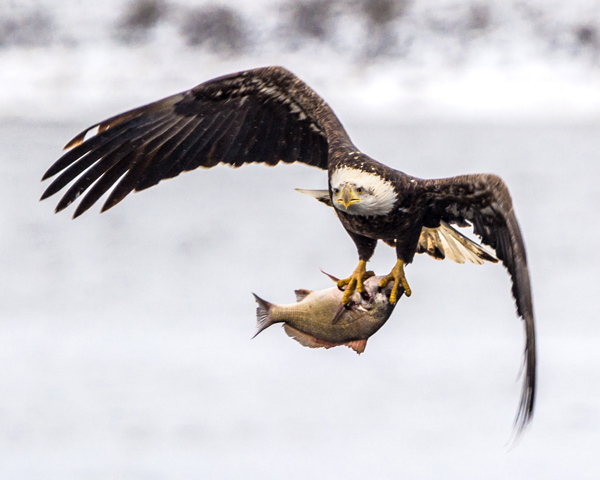
Focal length: 600mm, 1/800th of a second, f/6.3, ISO 320
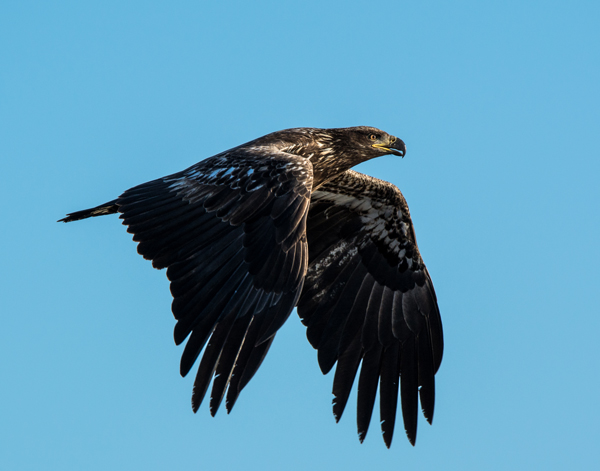
This juvenile bald eagle was captured in bright midday light. Focal length: 450mm, 1/1000th of a second, f/6.3, ISO 320
Conclusion
In my opinion, if you are in the market for a versatile wildlife lens and are on a budget, the Tamron 150-600mm would be a very good choice. I’ve been pleased with the wildlife images I’ve captured with mine, and am looking forward to getting even better ones with practice. That’s why it’s my favorite wildlife lens.
What is your favorite wildlife lens?
googletag.cmd.push(function() {
tablet_slots.push( googletag.defineSlot( “/1005424/_dPSv4_tab-all-article-bottom_(300×250)”, [300, 250], “pb-ad-78623” ).addService( googletag.pubads() ) ); } );
googletag.cmd.push(function() {
mobile_slots.push( googletag.defineSlot( “/1005424/_dPSv4_mob-all-article-bottom_(300×250)”, [300, 250], “pb-ad-78158” ).addService( googletag.pubads() ) ); } );
The post Writer’s Favorite Wildlife Lens – Tamron 150-600mm by Bruce Wunderlich appeared first on Digital Photography School.


You must be logged in to post a comment.