RSS
 

Posts Tagged ‘Wedding’

Trashing the Dress: The anti-bridal wedding photography of John Michael Cooper

01 Nov

John Michael Cooper is not your standard wedding photographer. Credited with starting the ‘trash the dress’ trend, his portfolio of high-fashion bridal photography contains the standard bread-and-butter wedding portraiture alongside more experimental images. Read more

Articles: Digital Photography Review (dpreview.com)

 
Comments Off on Trashing the Dress: The anti-bridal wedding photography of John Michael Cooper

Posted in Uncategorized


On top of the world: Photographer faces fears to capture rare wedding photos

24 Jul

Photographer Brian Rueb was approached by two friends to shoot their wedding – a familiar proposal for many photographers. However, there was a slightly unusual twist in this case, as the couple planned to tie the knot on top of Half Dome in Yosemite National Park. Read more

Articles: Digital Photography Review (dpreview.com)

 
Comments Off on On top of the world: Photographer faces fears to capture rare wedding photos

Posted in Uncategorized


10 Fantastic Natural Wedding Posing Tips

16 Jun

It’s been a long time since the 80s and 90s formal wedding portraits in studios, that have given wedding photography a bad name in some circles. Nowadays there are really amazing wedding photographers creating images that look like art and capture true emotion, not staged photos. If you are thinking about getting into wedding photography or want an insiders look at how some of that beautiful, natural wedding posing is created, here are 10 tips to help keep it real.

1. Stay in Touch

There is something very intimate and powerful about seeing people touching. This might seem obvious to you, but I think a mistake can be made by leaving space between couples or groups. Tell your groups “Get real close- don’t be afraid of each other!” Or something silly like “Pretend you like each other!” with a big smile on your face. With the groomsmen, I love getting them in a line for something formal, and then telling everyone to “Harass the groom!”

digitalphotographyschool-1-6

Standard photo of groomsmen.

digitalphotographyschool-1-7

Look at the difference in a photo when you have people connecting physically. It doesn’t always have to be romantic to get a great photo.

digitalphotographyschool-1-9

Telling the bridesmaids to get as close as possible, and then lean towards me, gets them connecting physically with each other and elicits natural smiles.

2. Walk Away and Come Back

This is my go to wedding posing instruction for most brides and grooms. I tell them to “Walk away, talk about what you’re going to do tomorrow.” Then after a few good shots I tell them to “Come back.” It’s the easiest thing for them to do, they aren’t thinking about themselves or me because I’m far enough away, and it looks natural because it is natural.

digitalphotographyschool-1-10

digitalphotographyschool-2-3

digitalphotographyschool-1-11
digitalphotographyschool-1-12

3. Look at Your Shoes

This is a fun one that I’ve discovered makes for a very pretty glamour shot with the brides. Often I’ll see them look over their side at their shoes or the bottom of their dress, and the moment always seems fresh and natural and pretty, especially showcasing their profile. If they aren’t doing that naturally, you can always say “Look over your shoulder at your shoes.” Be ready to click in a moment!

digitalphotographyschool-1-13

digitalphotographyschool-1-14

4. Button Up

There are some great natural wedding posing moments with the groom as he is getting ready. As the title suggests, tell the groom to unbutton and button his jacket up. Or put on his cufflinks. Or adjust his bowtie/tie. This gives him something to do, the moment looks natural and masculine, and if you are near some nice window light, you’ve got your money shot.

digitalphotographyschool-1-17

digitalphotographyschool-1-21

5. Help the Groom Get Ready

This also involves the groom, but is a slight variant on the last tip. Have the groom’s father or best man (or anyone, really) help adjust something on the groom. Ideally his bowtie, tie, or boutonniere. If they aren’t doing it already, ask a groomsman if he can “make sure the groom’s tie is on right.” This creates a natural moment that looks great, and also involves tip #1, Stay in Touch.

digitalphotographyschool-1-18

digitalphotographyschool-1-20

6. Spin

If the bride has got the dress, use it! With the right personality and dress combination, you can bring out your bride’s inner child with this fun wedding posing tip. Ask her to spin! Slow down your shutter speed for a fun movement photo.

digitalphotographyschool-1-22

7. Something with Personality!

I like doing this during photos with the wedding party. I typically will take a photo with the groom and each of his groomsmen separately, and the bride and each of her bridesmaids separately. To make it fun for them (and if the group seems like the type to do it) after each standard photo I’ll tell them to give me “something with personality!” This is typically what comes out, completely on their own:

digitalphotographyschool-1-24

digitalphotographyschool-1-52

digitalphotographyschool-1-25

digitalphotographyschool-2-5

There are always lots of laughs during this time, and everyone enjoys something that could potentially be a bit tedious.

8. Look Away, Look at Me

Good portrait photographers know there is a fleeting moment that occurs half a second before a person focuses their vision on something. It’s a completely natural moment that is entirely unselfconscious. The person is busy deciding where to look and in that moment they are truly themselves, unaware of the camera or how they look. Take advantage of that moment. You can create this moment by telling your bride or groom to “look away…now look at me”, then *snap* you’ve got it.

digitalphotographyschool-2-6

digitalphotographyschool-1-54

Bonus – looking away is also a nice photo moment that is unselfconscious.

9. Compliment

Don’t be afraid to compliment your brides – or their mothers, sisters, grandmothers, etc. – this one is mainly for the ladies. I use this wedding posing tip at the beginning of the day, usually when makeup is being applied. Nothing brings out a natural smile like a genuine compliment. “You look amazing!” “So beautiful.” I’ve heard married guys say they have a hard time doing this, but it doesn’t have to be creepy and I’m never overstepping any boundaries when I tell someone I think they look fantastic. Doing this turns a bored getting-makeup-done look, into a lovely smile.

digitalphotographyschool-1-55

digitalphotographyschool-1-56

digitalphotographyschool-1-57

10. The Almost Kiss

A little secret in the wedding photography industry is something called the “almost kiss.” This is used to create fantastic natural wedding posing. Kisses are fine but can sometimes be sloppy, maybe too intimate, and they give it all away. You can create palpable tension by telling a bride and groom to “get close for a kiss, but you are not allowed to kiss. Don’t do it!” This creates the best photo moments ever. In the end, give them what they want and let them kiss.
digitalphotographyschool-1-15

digitalphotographyschool-1-16

Hopefully some of these tips have given you some inspiring ideas! Feel free to add your own awesome natural wedding posing tips in the comments below. I know there are many more great ways to make your wedding photos fantastic. Thanks for reading- Phil

googletag.cmd.push(function() {
tablet_slots.push( googletag.defineSlot( “/1005424/_dPSv4_tab-all-article-bottom_(300×250)”, [300, 250], “pb-ad-78623” ).addService( googletag.pubads() ) ); } );

googletag.cmd.push(function() {
mobile_slots.push( googletag.defineSlot( “/1005424/_dPSv4_mob-all-article-bottom_(300×250)”, [300, 250], “pb-ad-78158” ).addService( googletag.pubads() ) ); } );

The post 10 Fantastic Natural Wedding Posing Tips by Phillip Van Nostrand appeared first on Digital Photography School.


Digital Photography School

 
Comments Off on 10 Fantastic Natural Wedding Posing Tips

Posted in Photography


Wedding Couture: How to Shoot Brides

04 May

Ok, I must admit, I’ve been shooting weddings for the past 22 years, but I can’t say that they’re my favourite thing to shoot. It’s a lot of pressure, there are a lot of emotions, my feet hurt at the end of the day, and I shoot pretty heavily, so it means a lot of work after the shoot, but Continue Reading

The post Wedding Couture: How to Shoot Brides appeared first on Photodoto.


Photodoto

 
Comments Off on Wedding Couture: How to Shoot Brides

Posted in Photography


Wedding Photography Infographic: Everything You Need to Know

10 Apr

Wedding Photography is one of the most important things to consider before your big day. Wedding photos are something you will cherish for the rest of your life so it’s vital that you are completely satisfied with them. Take the time to choose the right photographer for your needs as well as communicating effectively with them during the process is Continue Reading

The post Wedding Photography Infographic: Everything You Need to Know appeared first on Photodoto.


Photodoto

 
Comments Off on Wedding Photography Infographic: Everything You Need to Know

Posted in Photography


5 Tips for Doing Candid Wedding Photography

30 Mar

Weddings have changed drastically in the past few years. Couples want more from a wedding these days, they don’t want the traditional, normal photography anymore. They frequently ask for documentary or candid wedding photography because it captures the emotions of not only the couple, but also the guests enjoying themselves without lining them up in front of the camera.

IMG 0072

But, candid photography is so much more than just pointing your camera at people and shooting away to glory. You, as a photographer, need to know and understand the finer nuances involved in candid wedding photography; you need to know how to get good candid shots without people noticing you. Here are five tips to shoot a wedding in a lovely, unobtrusive and candid way which would make the entire task much easier for you.

1. Always be ready

The prime tip for candid wedding photography which I can give is, to be always ready. By that, I mean you must always keep an eye out for moments, and keep that camera ready. Your camera needs to be in your hands and ready to shoot at a moment’s notice. You must set the camera according to the light conditions (settings like the aperture, shutter speed, ISO, white balance, etc.) so that you don’t need to fiddle around with the settings while things happen in front of you. (IMG_7211)

IMG 7211

2. Know your equipment

I cannot tell you how many times I’ve seen photographers miss the shot while they are trying to change the camera settings. You must know the equipment that you are using, inside out. It helps to gauge the light conditions and set the camera accordingly, so that you don’t miss the events that would warrant a picture. It might very well be helpful to have a smaller camera handy, in addition to that big bulky DSLR, just incase.

IMG 6243

3. Use a telephoto zoom lens

Candid photography is all about taking pictures of the bride, groom, guests, etc., from a distance without them noticing you. Nothing will be more helpful in achieving this than a fairly long telephoto zoom lens. I regularly use lenses like a 100mm, 70-200mm or even a 100-400mm when I need to capture those emotions, those candid moments. You can, of course, use any lens you want (something like a 50mm could be helpful too!). But, since candid photography is all about being unobtrusive and capturing those emotions in a natural way, I would suggest using a zoom lens. What it essentially does is helps maintain the intimacy of the picture being taken, which is so important in wedding photography.

IMG 7210

4. Do not use flash

One sure-fire way of getting people to notice you is to use a flash (whether it be the onboard one, or an external flash gun). Not only this, light from a flash can be so unflattering and boring, to put it simply. If there is a dearth of light, you as a photographer need to find other ways to brighten up the scene that you are photographing, either by opening up the aperture, increasing the ISO, slowing up the shutter (to an acceptable range), etc. I understand that by increasing the ISO a little too much, you might include a fair bit of noise into the picture, but the idea is to capture the moment, and there are times when noise is actually a good thing.

IMG 2346

5. Foresee or plan ahead

As a candid wedding photographer, it is your job to foresee what is going to happen, or at least take your best calculated guess. If possible, I’d suggest you visit the location before the wedding so that you can scout out some good locations for taking pictures. If you are unable to go visit the location beforehand, then at least reach the venue well before the function is to start. That way you can scout out not only some great locations to take pictures from, but you can perhaps even scope out the main rooms that will be used for the wedding and the reception. A little bit of planning goes a long way in getting some great shots.

I hope these top five tips will help you the next time you are out photographing a wedding in a candid, documentary style.

googletag.cmd.push(function() {
tablet_slots.push( googletag.defineSlot( “/1005424/_dPSv4_tab-all-article-bottom_(300×250)”, [300, 250], “pb-ad-78623” ).addService( googletag.pubads() ) ); } );

googletag.cmd.push(function() {
mobile_slots.push( googletag.defineSlot( “/1005424/_dPSv4_mob-all-article-bottom_(300×250)”, [300, 250], “pb-ad-78158” ).addService( googletag.pubads() ) ); } );

The post 5 Tips for Doing Candid Wedding Photography by Bobby Roy appeared first on Digital Photography School.


Digital Photography School

 
Comments Off on 5 Tips for Doing Candid Wedding Photography

Posted in Photography


6 Steps to Edit and Deliver Wedding Photographs in One Day

23 Mar

This is exactly how I process every wedding that I photograph. I am now on my fifth year of shooting weddings and have shot roughly 70 of them. I am a big fan of working smart and not hard. Every step of my workflow is thought out, and belongs for very specific reasons. Most of the time I am finishing and delivering my wedding photos within four to five days. If it wasn’t for attention span and the internet, I should be able to finish wedding photographs in 24 hours every time.

digitalphotographyschool-1-31

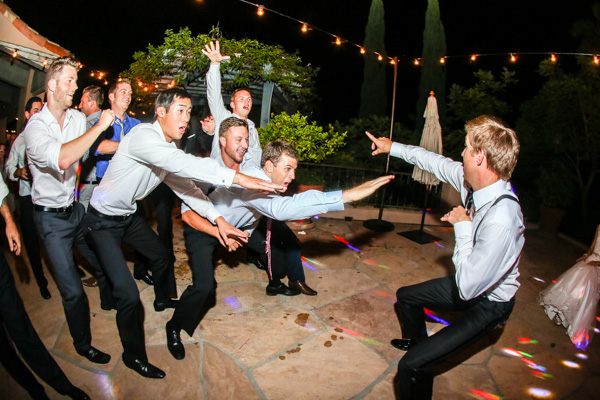
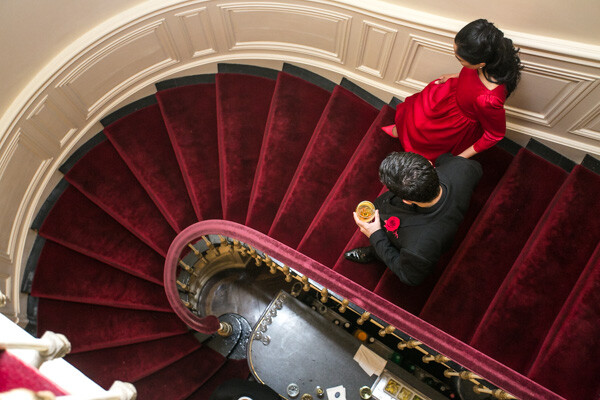
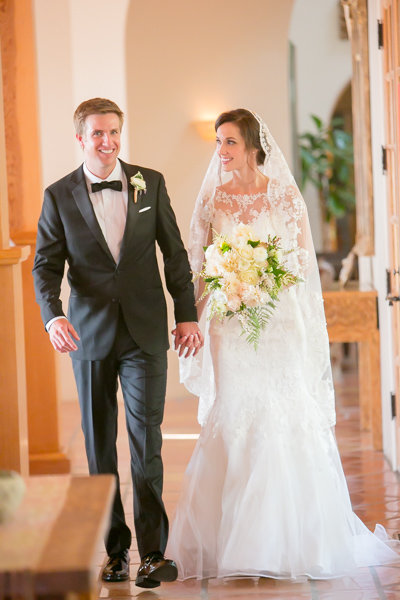
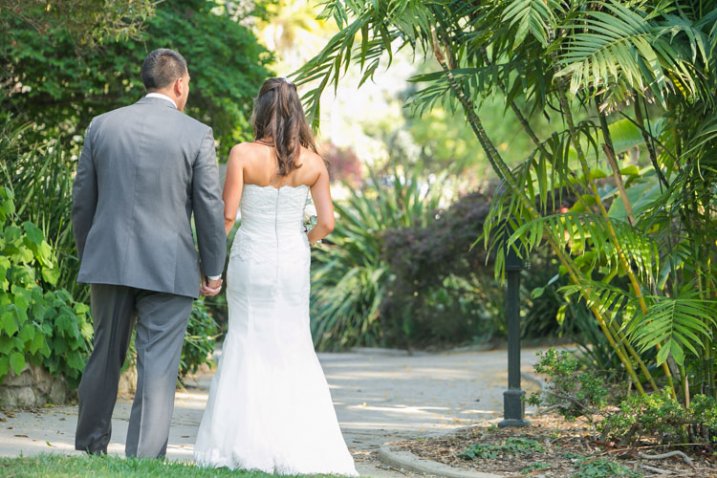
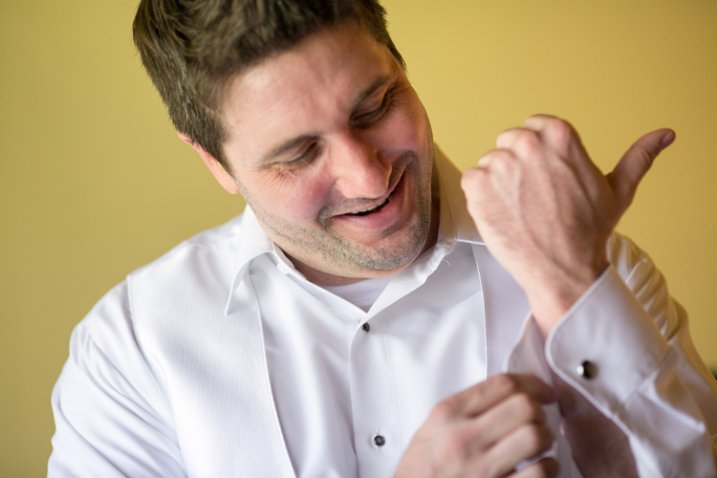
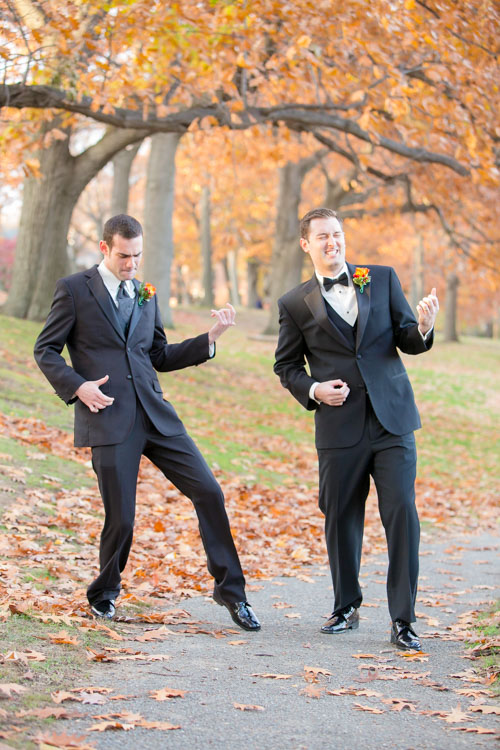
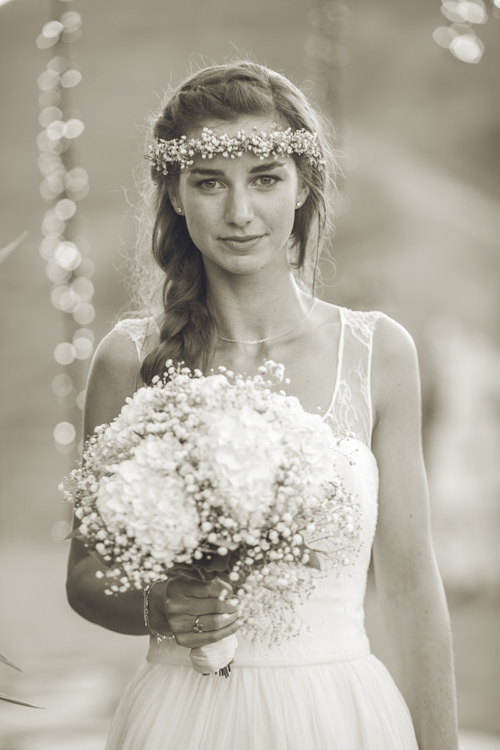
1/100, f/5.0, ISO 2000, 15mm fisheye

 Step #1 – Import and backup (1-3 hours)

I first import all images (1500-2000) via Lightroom into a folder (titled bride’s name and groom’s name, in alphabetical order) on my 1TB portable Lacie Porsche drive.

I work on the go a lot, and I am often editing in a coffee shop, friend’s place or co-working space, so I have my 13 inch Macbook Pro (retina display) and portable drive to work from. The drive currently holds about six months of images, or 80,000 photos.

I have a big gripe about people who organize their photos by date. In my opinion, it’s a terrible system when it comes to finding photos at a later date. When your bride Tiffany asks for a change in a photo from color to black and white, how do you find that folder with her wedding? On my drive it would be under “Weddings,” and in a subfolder titled “Jeremy & Tiffany.”

digitalphotographyschool-1-12

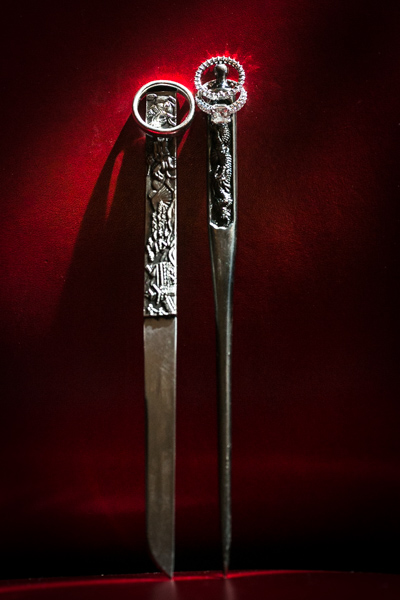
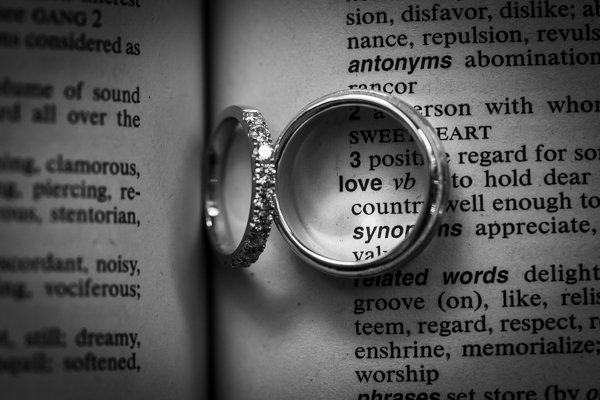
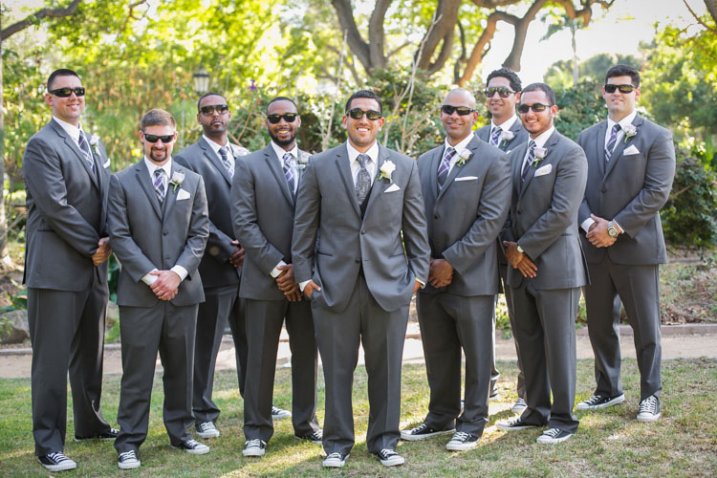
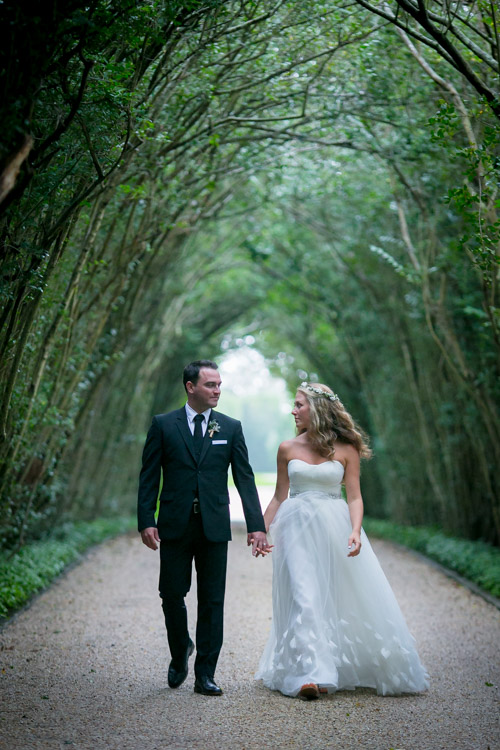
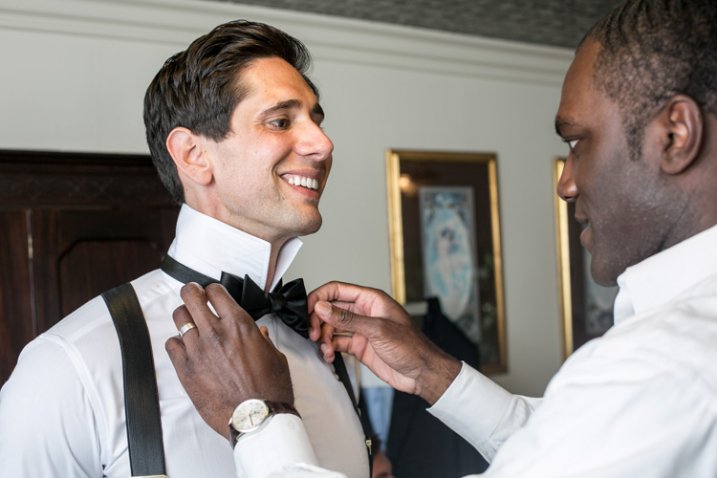
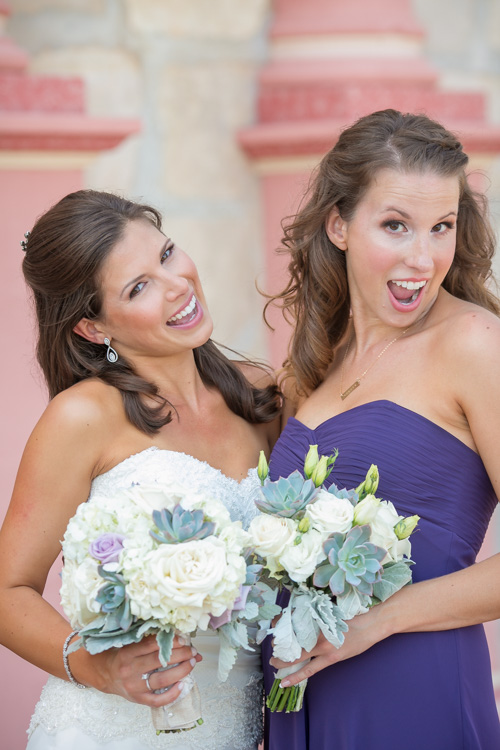
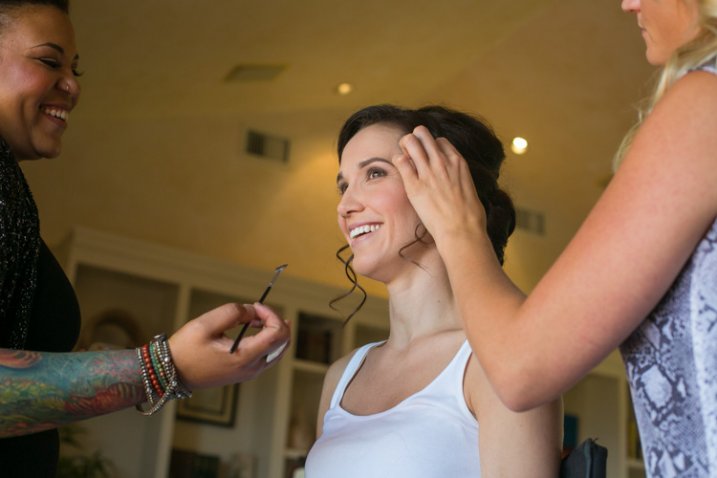
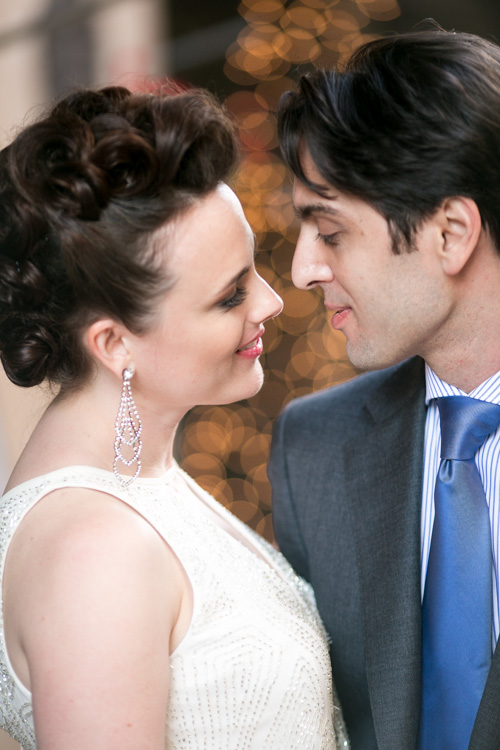
1/400, f/6.3, ISO 2500, on a Canon 135mm f/2

While my images are uploading I will be posting a Facebook album of the same day slideshow that I produced at the wedding, and tagging the bride and groom in it. This is usually 30-50 images that I’ve edited during dinner or during any sort of down time, like the end of cocktail hour.

Note: This means I have already added the bride and/or groom on Facebook, which is standard practice for me. Being friends with my clients is probably one of the greatest perks of my job, and it also guarantees tons of referrals. I have a competitive side that always wants to post the pictures faster and better than any friend, uncle or cousin at the wedding. Whoever posts first on Facebook will get the most attention. 

digitalphotographyschool-1-36

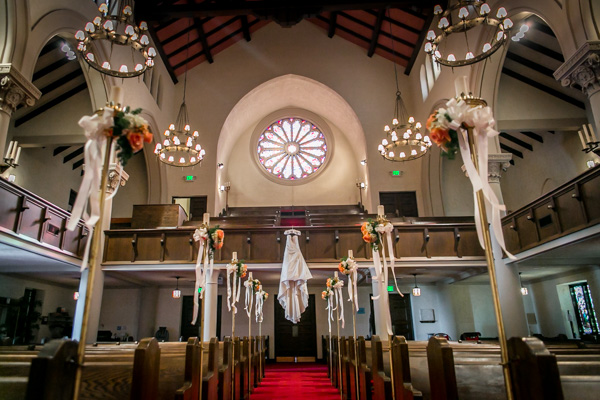
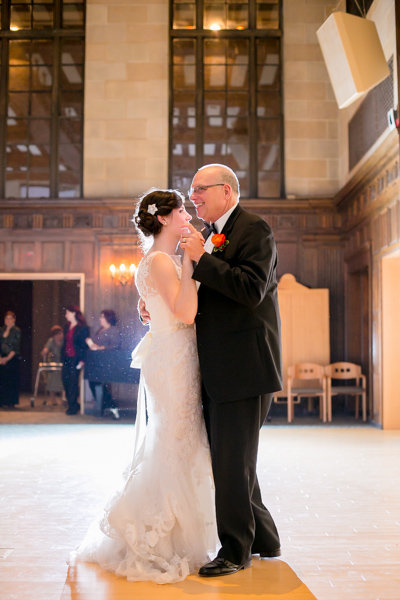
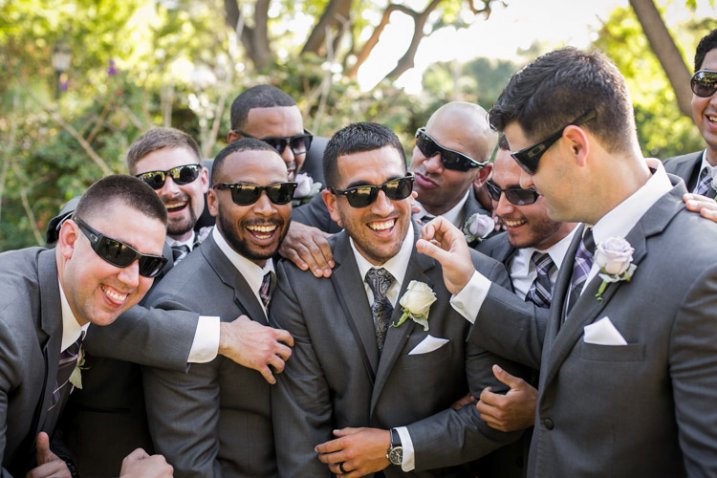
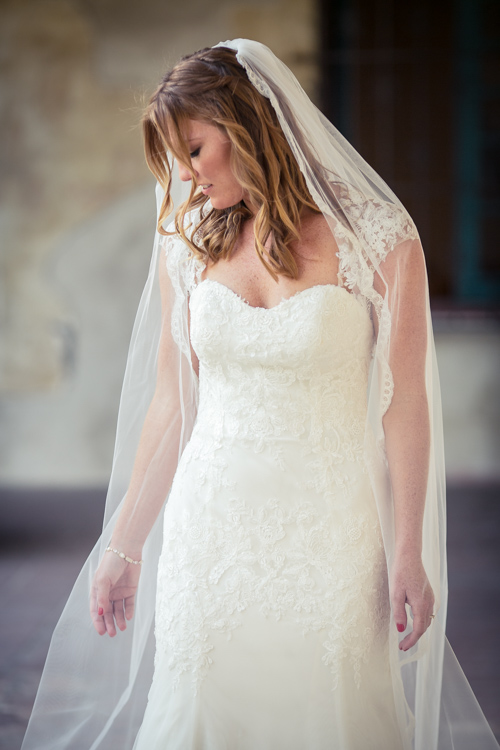
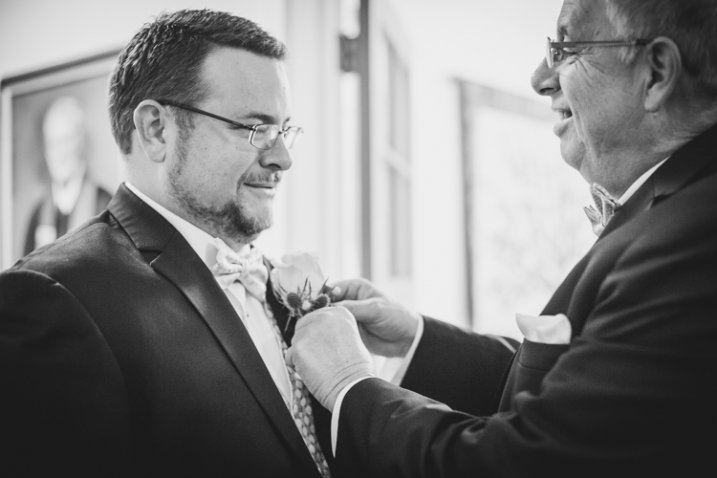
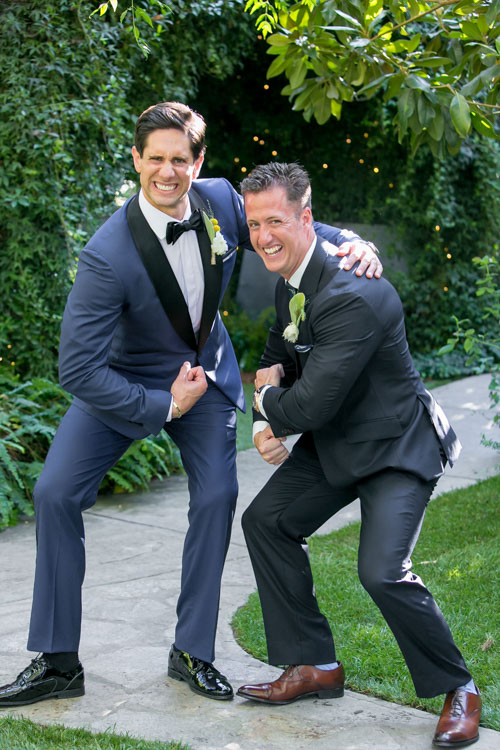
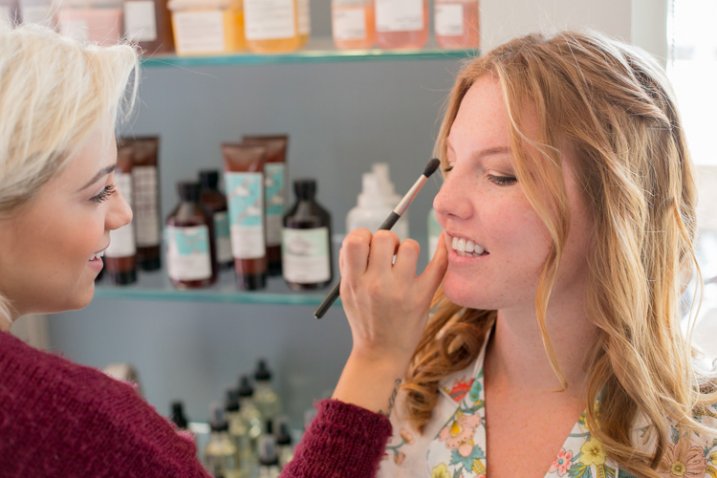
1/50, f/2.8, ISO 2500, 24mm with the Canon 24-70 2.8

I then plug in my backup 3TB drive, go to sleep and let my computer backup via Time Machine overnight.

Losing photos is the greatest fear of most photographers, and for that reason alone many professionals have multiple backup systems in place. I don’t usually format my memory cards until the wedding has been delivered or backed up, if I can help it. I also use Backblaze, a cloud-based backup system that constantly backs up files whenever I am online.

digitalphotographyschool-1-23

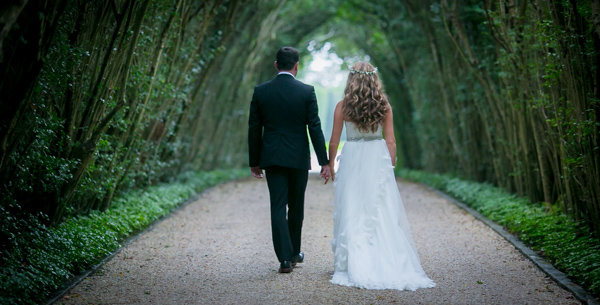
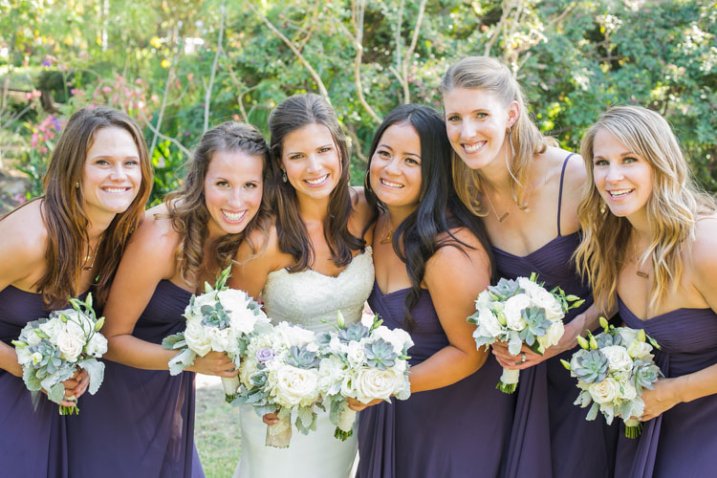
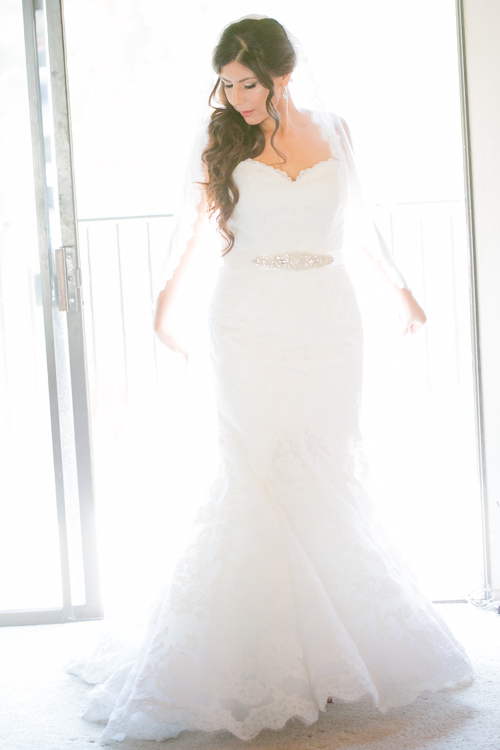
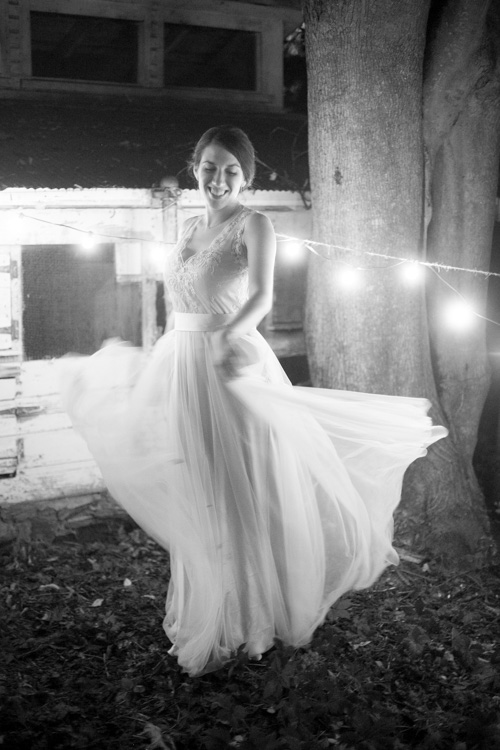
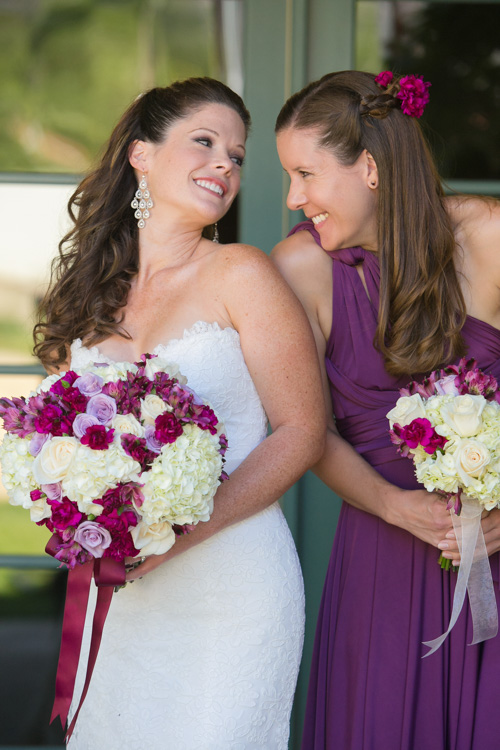
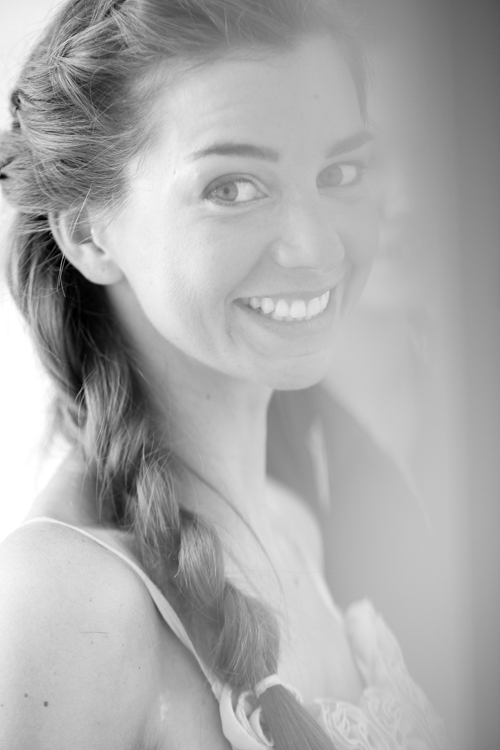
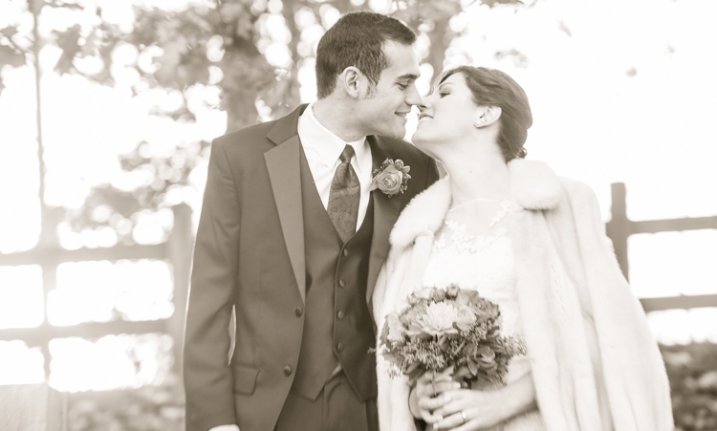
1/400, f/2.5, ISO 400 with the Canon 135mm f/2

Step #2 – Culling (30 min an hour)

In Lightroom I go through all 1500-2000 photos and select every photo that looks good, unique, and usable. I use the star rating system in Lightroom, by pressing the “1” key on the photos I like. I usually end up with about 800 photos after this. If you focus and know what you are looking for, this should only take about 30 minutes to an hour, maximum. No agonizing over which photo is best between two very similar ones. Just trust your gut and go.

One “trick” I’ve unconsciously been doing is usually selecting the last photo in a series of similar photos. If you’re like me, you take two or three photos of each thing you are photographing. I move on when I think I’ve got it, and that means the second or third photo in a series should be my selection.

digitalphotographyschool-1-17

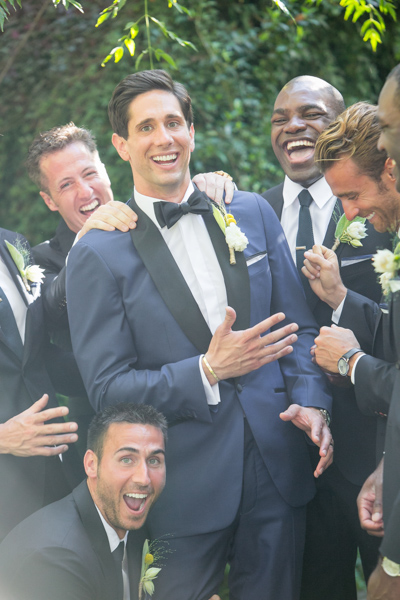
To get photos like these, I usually have the guys grouped together in a friendly way, and then I tell them to “harass the groom.”

Next I go through and do my two-star selects. These are the best photos from the day that tell a clear story from beginning to end. They are images that would likely end up in a photo album (besides family photos). I almost always end up with 100 photos, give or take a few. This should take about 10-15 minutes, since you are selecting from a much narrower field of photos. Also, you really have to trust your gut on which photos are winners here.

Step #3 – Editing and retouching (three hours)

After I’ve selected my favorites, I edit them first. I actually enjoy editing these ones, because I am proudest of them, and they are all different. I edit everything in Lightroom. I never open photoshop unless I’m making a diptych or doing heavy changes to a photo. Sometimes I start with a base preset in Lightroom, one I called “Typical Phil.” I hand edit all of these photos. This should take about an hour or two tops. These are then exported at 2500px, 300dpi, 88 quality, (and also renamed Highlights-0001.jpg, Highlights-0002.jpg, etc.), into a folder called Highlights which has been created inside the the main folder of images. I upload the Highlights into a PASS gallery, and deliver this immediately, so the clients don’t have to wait any longer to see some of their wedding images.

Never spend more than 30 seconds on a photo. If you do, you are editing for yourself and other photographers, not the client. Most clients won’t be able to tell the difference between good, great, and perfect. Aim for great.

My export settings make each of my images only about one or two megabytes in size, but they are able to be printed up to 11×14″. Anything larger and I’m happy to provide a specific file to my client directly. I do this in the interest of hard drive and cloud storage space. Also, clients are usually only printing at most one or two photos extra large, so I don’t see the need to make every photo 30 inches on the long edge.

PASS is a phenomenal application that is incredibly intuitive and easy to use for delivering digital photos to clients. Pixieset is another popular competitor. PASS charges per album of photos; Pixieset charges for bandwith/storage.

digitalphotographyschool-1-13

This next part is the secret to my rapid editing and turnaround of images. Take each of the favorite images that you’ve edited (two-star images), and copy each edit onto surrounding photos with a similar light source. If your exposure is consistent in this range of photos, the edit you do for one image should look great for every other image in that scene. This should take about two hours straight through.

Lightroom speed tip

Here is a Lightroom secret to make the copying and deselecting of images extra fast. With your main image selected, hold down Command and select all the other images you want to copy the edit to. In Develop mode, hold down the option key and press sync. This automatically copies the edit onto all the other photos (to make sure you are copying the appropriate edits across all photos, you can simply press sync and a dialogue box will pop up showing which edits are going to be copied).

Now that the edits are synced, you can deselect each image and check for consistency by pressing “/” which is the shortcut for deselecting the current image. I do this to make sure I’ve seen and checked each image for perfect exposure.

digitalphotographyschool-2-3

Remember, you’re not retouching every face, every sky, every element of a picture. You can spend a little more time doing that on the favorites, but chances are your couple isn’t going to be printing every single photo from their wedding, so why are you retouching random shots from the reception?

Step #4 – Exporting (45 minutes)

Export all images from each section of the wedding into their own folders. Folders and images can be named according to which part of the wedding they belong to (Getting Ready or Pre-Ceremony, Ceremony, Family, etc.). These can all be exported with these settings: 88 Quality, 2500 px long edge, 300dpi. This should take about ten minutes to start doing, and maybe an hour for the computer to finish (depending on number of images and your computer’s power and speed).

digitalphotographyschool-3-6

Step #5 – Uploading (one hour)

Upload all your files to your photo sharing service of choice (PASS, Pixieset, Zenfolio, Pixifi, etc.). Ideally, the first gallery that a viewer will see is the Favorites, or Highlights gallery. No need to overwhelm them with every photo from the Getting Ready series. Your top 50-100 photos makes for an excellent opener in an online wedding gallery, like this.

That should take about 10-30 minutes (up to an hour or so), depending on how fast your internet connection is.

digitalphotographyschool-1-15

Step #6 – Delivery (10 minutes)

Email the bride/groom the following:

“Hi! How is everything going? I know I said it would be a couple of weeks until the photos are finished, but I have good news for you! I’ve finished and edited ALL the photos and they are ready for you to see and download in this gallery here.

Simply click on the download button to create a zip file with all of the high resolution images to your computer. This will save you time having to wait for me to mail you a disk or thumb drive, which would have all the exact same files in it.

As a special surprise, I am gifting you $ 50 of print credit! Simply put in “bridegroomname” in the checkout section of ordering prints under coupon code. This should buy you up to X amount of 8×10’s, or X amount of 5×7’s.

Let me know if you have any questions about anything! Enjoy the photos :)

-Phil”

digitalphotographyschool-1-34
I recognize this doesn’t involve an in-person sales meeting, delivery of albums, or anything of that nature. This is simply the fastest way you can do business and work smart, not hard. I regularly book weddings between $ 3000-4000 doing exactly this. I have sold wedding albums, and that’s room for more profit, but also more headache and work. Write to me and I’ll let you know how to make album making a painless, quick process as well. It’s all about guiding your clients’ expectations.

digitalphotographyschool-5-2

Do you have any other workflow tips for weddings?

googletag.cmd.push(function() {
tablet_slots.push( googletag.defineSlot( “/1005424/_dPSv4_tab-all-article-bottom_(300×250)”, [300, 250], “pb-ad-78623” ).addService( googletag.pubads() ) ); } );

googletag.cmd.push(function() {
mobile_slots.push( googletag.defineSlot( “/1005424/_dPSv4_mob-all-article-bottom_(300×250)”, [300, 250], “pb-ad-78158” ).addService( googletag.pubads() ) ); } );

The post 6 Steps to Edit and Deliver Wedding Photographs in One Day by Phillip Van Nostrand appeared first on Digital Photography School.


Digital Photography School

 
Comments Off on 6 Steps to Edit and Deliver Wedding Photographs in One Day

Posted in Photography


Winter Wedding Photography Tips: All You Need to Know

12 Jan

Winter weddings bring a lot of photography challenges because of weather, chilly winds and dark skies even in the day time. But still, many couples decide to have a winter wedding to enjoy the special discount on venues, catering and inexpensive honeymoon. The first thing that comes to our mind with winter weddings is bad weather– snowfall, temperatures below zero Continue Reading

The post Winter Wedding Photography Tips: All You Need to Know appeared first on Photodoto.


Photodoto

 
Comments Off on Winter Wedding Photography Tips: All You Need to Know

Posted in Photography


Some Wedding Photography Tips with Two Different Perspectives

16 Nov

Today I wanted to share these two videos with you that offer pretty my completely opposite ways to do wedding photography; candid storytelling and posed shots.

In this first video 19 year wedding veteran  photographer, Joe Buissink, talks about his philosophy on shooting weddings in a storytelling style. He says he started in 1995, I actually have him beat on that one – 1990 for me. Unlike Joe however, I started off doing the more traditional posed style which was popular at the time. Eventually I became a bit bored with it and moved towards using 35mm cameras with high speed b/w film and I got the same reaction Joe talks about in the video. Other photographers would gasp and tell me how wrong that was, that the images would be grainy and it wasn’t quote, “professional”. Like Joe, I did it anyway and my clients loved it because I was able to capture more of the storytelling he talks so passionately about.

While you’re telling their story, your story is also in there (your images) as well. – Joe Buissink

See what else Joe has to say and be inspired by his moving images:

In this second video, Moshe Zusman talks about creating poses rather than capturing moments. This is a different approach to wedding photography. Often many photographers use a mix of both candid storytelling images and posed. See if you can grab some tips from Moshe on posing in this video:

I don’t think either style and philosophy is right or wrong, just different. So which style do you relate to more? If you were getting married which would you want your photographer to shoot?

Want more wedding photography tips? Try these dPS articles:

  • Are you Ready to be a Wedding Photographer?>
  • Wedding Photography – 5 tips for the Speeches
  • How Connecting with Vendors Can Help Skyrocket Your Wedding Photography Business
  • Wedding Photography 101 (Part 1)

The post Some Wedding Photography Tips with Two Different Perspectives by Darlene Hildebrandt appeared first on Digital Photography School.


Digital Photography School

 
Comments Off on Some Wedding Photography Tips with Two Different Perspectives

Posted in Photography


Top 10 Blogs Wedding Photographers Must Follow in 2014

13 Jun

There are a lot of wedding photographers, or just amateurs who shoot weddings, but there are also many who would like to brush up their photography skills. Along with skills and photography level, that would be awesome if a photographer may give some tips their clients on floral arrangements, invitation designs, wedding dress ideas, wedding color palettes, poses, and more. Continue Reading

The post Top 10 Blogs Wedding Photographers Must Follow in 2014 appeared first on Photodoto.


Photodoto

 
Comments Off on Top 10 Blogs Wedding Photographers Must Follow in 2014

Posted in Photography