
The 3Pod P5CRH tripod is a reliable option for photographers looking for an affordable carbon-fiber tripod system.
Sitting down to write a review of a tripod is actually more difficult that it sounds. When a new camera model hits the market, it often boasts significant changes over the model it’s replacing. Faster read and write speeds, or higher capacities set new memory cards apart from the old. These differences give us something to write about, and gear-heads something to argue about in photography forums. But when you’re staring at a row of new tripods standing on the other side of your desk, you realize that you have to take a closer look. After all, it’s a pretty basic concept, right? Three sturdy legs and a place to put your camera. Can it do that? Great. End of story.
Except we all know that’s not really the end of the story. If it was, companies like Manfrotto, Induro, Benro, 3 Legged Thing, and others would not be continuing to innovate the humble tripod year after year, elevating it beyond the simplicity of its three sturdy legs, and a place to put your camera.
3Pod by Flashpoint, a recent newcomer to the Tripod Wars, has a new line of six different tripods, designed around the needs of professional and hobbyist photographers and videographers. For this review, we are taking a look at the P5CRH Carbon Fiber Outdoor/Travel tripod with the K3 BallHead.
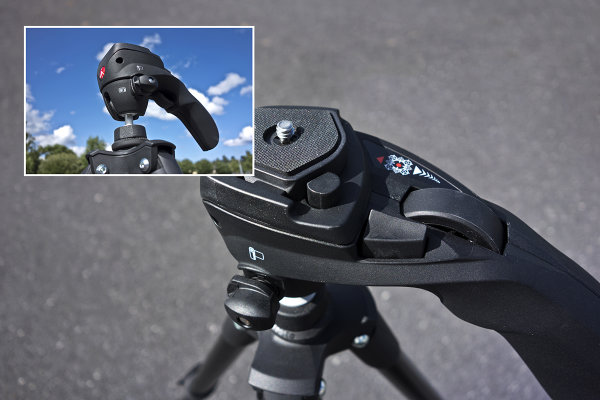
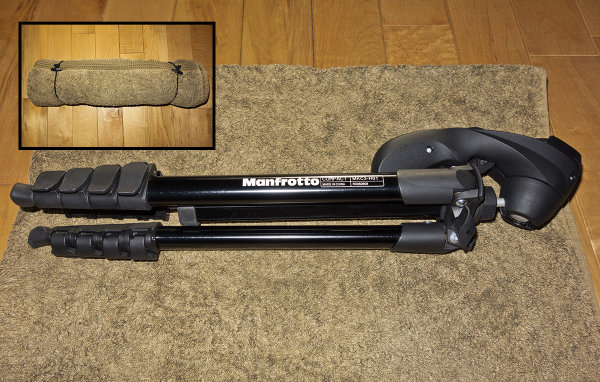
The Legs

On the left, legs that adjust to three different angle positions. On the right, a retractable ballast hook for adding weight and extra stability.
The best thing I can say about any product I review is that it does what it says it is supposed to do, and it does it well. That statement definitely applies to the P5CRH. It is a full-featured camera support, balancing streamlined design with carbon fiber construction to provide a great combination of strength and portability.
Carbon fiber tripods have become the gold standard for many photographers over the past several years. They are strong, generally well-made, and are so lightweight that traveling with them, or taking them on location, are no longer the hassles they once were. The only drawback to virtually every high-quality carbon-fiber tripod system on the market today is the cost. An outdoor/travel tripod from any of the other companies listed above will set you back anywhere from $ 250-$ 400 (USD). The P5CRH from 3Pod, however, comes in at only $ 125, including the K3 BallHead.
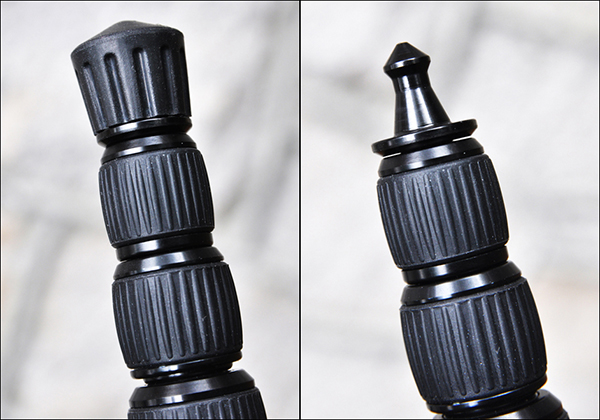
Unlike some tripods that make you swap out the rubber feet for the spikes, the 3Pod leaves the spikes on, covered with rubber grip caps.
I can practically hear the outcry. “$ 125?!? Are you insane? Don’t you know that you get what you pay for?”
Slow down– I was skeptical, too. Thankfully, though, there are exceptions to every rule. Let’s take a look at some of the specs and what comes in the box.
- CNC forged carbon fiber construction
- 3 independently adjustable,lockable leg angles
- Height: 56″ fully extended, approximately 12″ folded
- Load bearing: holds 22 pounds, weighs 2.6 pounds
- Extendable, detachable dual-section center column
- Outdoor-ready spiked feet with removable rubber grip covers
- Metal-jacketed, wear-resistant twist locks
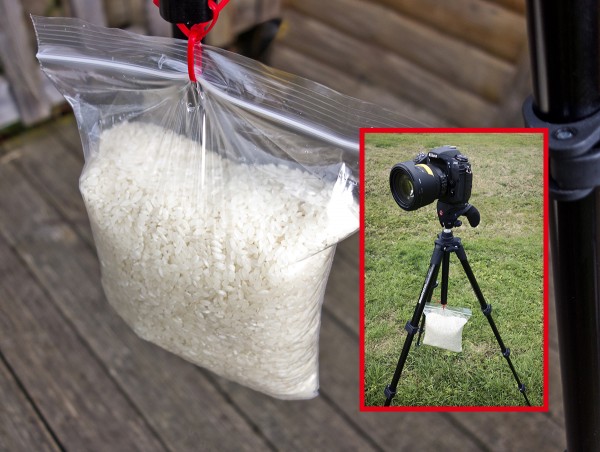
- Retractable hook under the center column, for adding weight
- K3 hydraulic ball head with built-in bubble level
- Allen wrench set for tightening connections
- Padded carrying case
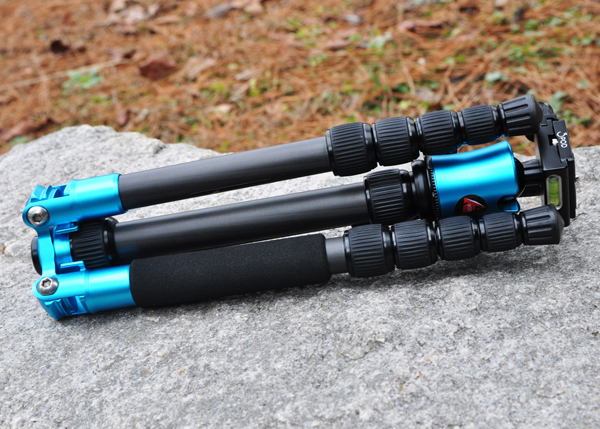
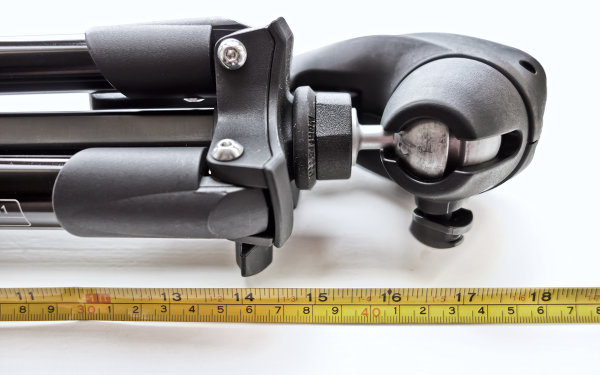
The P5CRH folds up to approximately 12 inches – ideal for travel!
This tripod is able to fold up so small because the legs fold back 180 degrees, coming up around the center column. In addition to the packing and travel convenience of this feature, it also provides easy configuration for a variety of camera angles and positions. Trying it with several different Think Tank camera bags, I was able to pack it comfortably inside, or tether it securely to the outside of the bag.
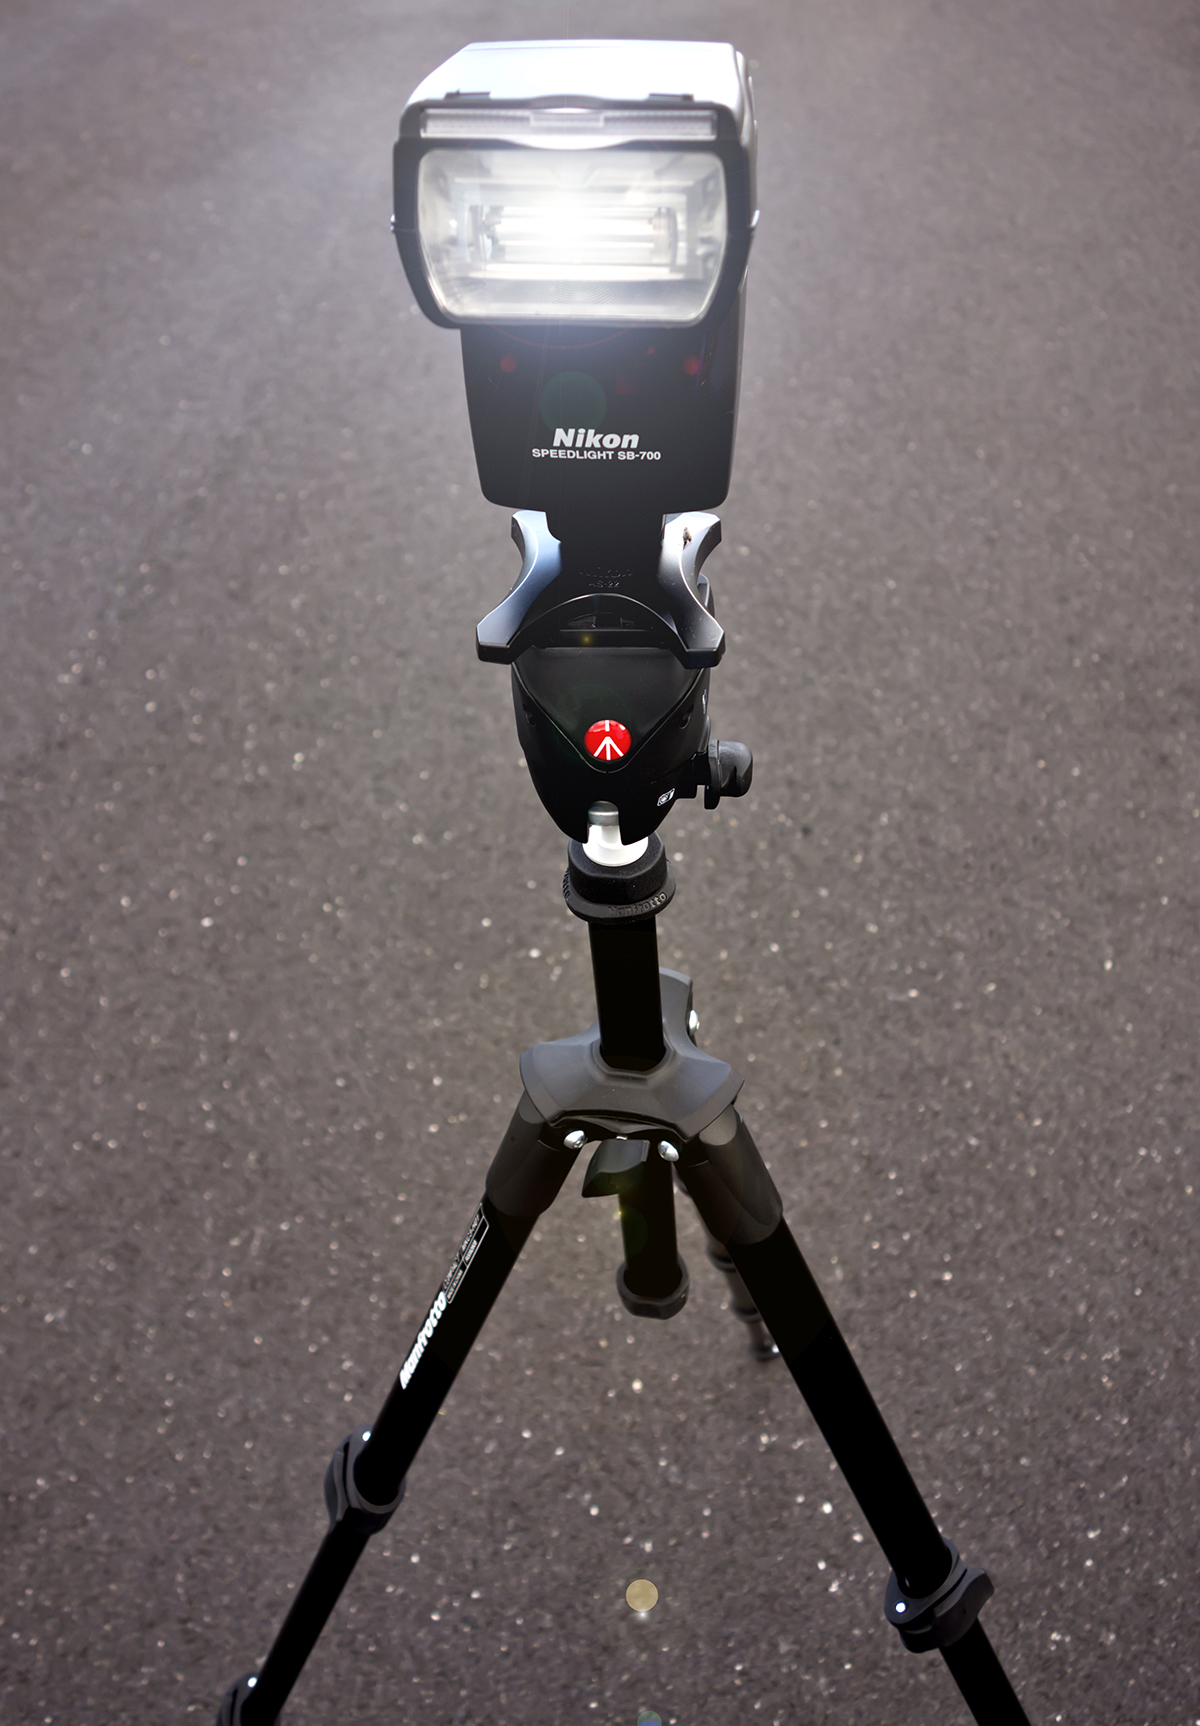
The BallHead
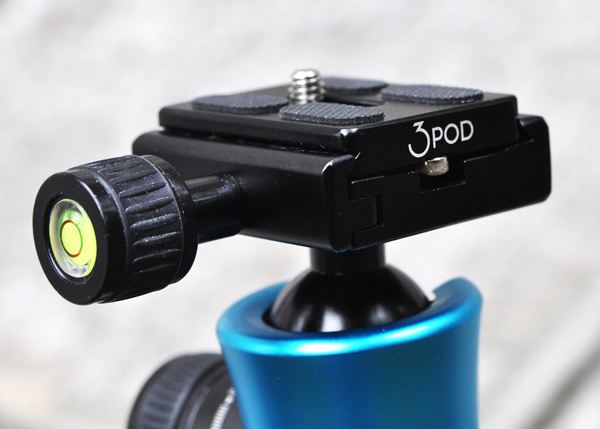
The K3 BallHead provides a secure, sturdy platform for mounting your camera
The K3 BallHead is an Arca-Swiss compatible tripod head with a sliding quick-release plate and universal 1/4″ mounting screw, and appears to be well designed for optimal weight distribution. It’s made of scratch-resistant carbon, with a hard, protective finish for a (hopefully) wear-free appearance. Hydraulic damping for smooth, 360-degree rotation, and two bubble levels are features which are particularly helpful when shooting landscapes and panoramas.
Wrap-up and Recommendations
I haven’t been using this tripod for very long, but it appears to be sturdy, secure, and light-weight, with built-to-last, high-quality construction. I’m not sure how much more you can ask of a tripod, regardless of budget or price. I’m not trying to tell you that the 3Pod is a feature-for-feature match of the comparably sized tripods you’ve been lusting after from the big-name companies. What I can tell you with absolutely certainty, however, is that if you’ve been looking for a reliable, affordable, and compact carbon fiber tripod, the 3Pod P5CRH might just be that tripod.
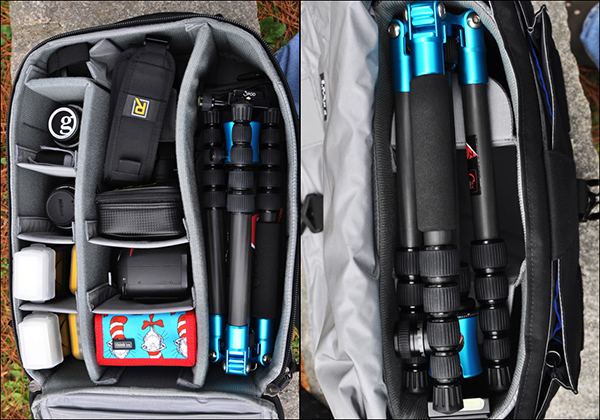
The P5CRH fits comfortably inside the Think Tank Airport Commuter backpack, and the Think Tank City Walker 30 shoulder bag.
The post The 3Pod P5CRH Tripod – A Review by Jeff Guyer appeared first on Digital Photography School.


You must be logged in to post a comment.