
Each year, I spend many weeks guiding, and exploring, in the mountains and rivers of Alaska. The trips are a mishmash of different adventures; base-camp trips, mellow canoe trips, backpacks over rugged terrain and high peaks, or multi-day whitewater rafting trips.
One thing that always plays a part, no matter what type of journey I’m taking, is photography. The gear however, varies. Different types of trips demand different kinds of equipment, and there are a number of things that need to be taken into consideration. For me, photo equipment decisions are a multi-step process, and there are a few things to consider. Here are three and my tips at the end for packing a kit.
#1 – Weight Limitations
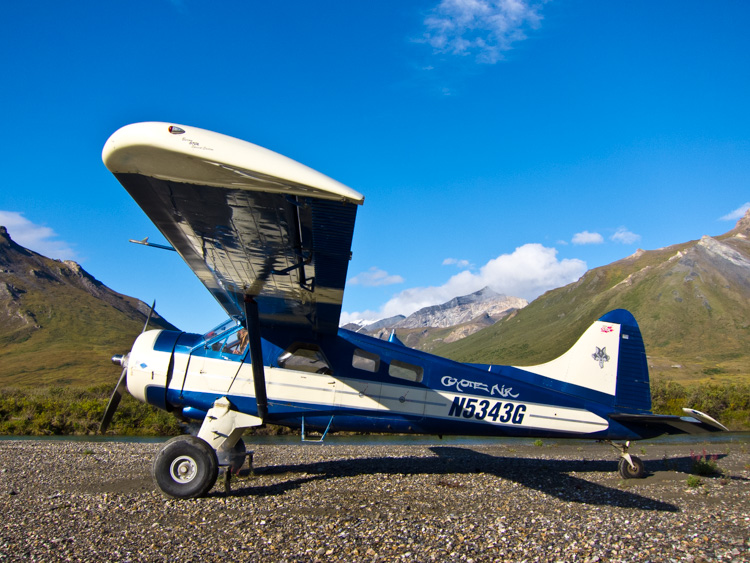
A DeHaviland Beaver, the classic Alaska bush plane, on a riverside gravel bar in the Brooks Range of northern Alaska.
This is a constant in the backcountry. Weight is always, ALWAYS an issue. On backpacking trips, every ounce of camera gear has to be added to clothing, tents, food, cookware, and safety equipment that cannot be left behind. When I’m guiding backpacking trips in Alaska’s wilderness, this can mean that on top of my usual backpacking gear, I also have an expedition first aid kit, satellite phone, ground to air radio, and more than my own share of food. My pack is heavy, long before I add camera gear. Making sure that anything extra is as light as possible, is my priority.
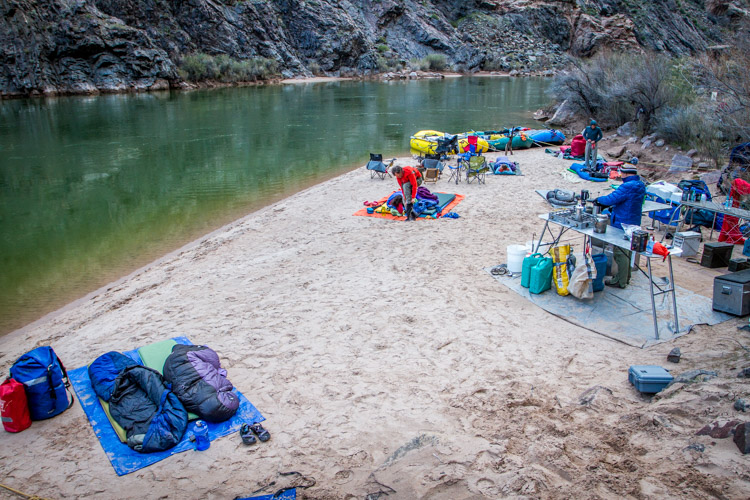
Sometimes you can carry a lot of gear, as you can see from this camp along the Colorado River in the Grand Canyon, but even here every pound has to be loaded and unloaded daily.
Other types of trips are not as restrictive, but weight is always a concern. Most of the trips I lead involve small bush planes to get to and from our start and end points. These tiny aircraft have limits on the amount of weight that be carried. So even it’s a rafting trip where there is plenty of space in the boats, the number of pounds of excess gear is still a concern.
Even photography-specific trips are limited. Any time you are in the backcountry, you will have to carry your gear, so it’s got to be compact and light enough that you can get it where it needs to go, quickly, and without fuss.
I often find it helpful to run the numbers. How many pounds of total gear can I handle? For example, on backpacking trips I know that the most weight I can carry comfortably for extended periods without risking injury is around 70 lbs (31.75 kg). If non-photography gear weighs 60 (27.2 kg), then I’ve got 10 (4.5 kg) to play with (though I’m always happier with less!). For the guided trips I lead, we set a weight limit on our clients which is necessary to keep our cargo under the required limit of the small airplanes we use. Usually that number is around 50 lbs (22.7 kg) per person, less for backpacking. Start there, weigh your mandatory clothes and equipment, and then figure out what is left over for camera stuff. Safety first!
#2 – Photographic Priorities
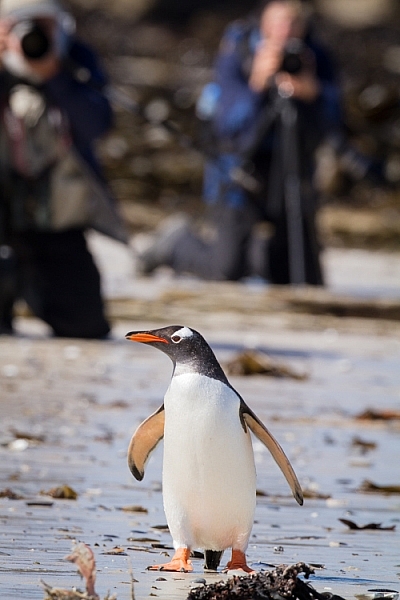
Are you hoping to shoot primarily wildlife or landscapes? Do you plan to make formal portraits along the way? Will you need a flash or light modifiers? Ask yourself these questions, and know about the trip you are making.
On the night before, I get together with my clients to talk about the upcoming trip. I’ve been surprised how often photographers really don’t know anything about where they are going. Since they don’t know what to expect, they are often carrying far too much gear. Do your research, find out your likely photo subjects, and make educated decisions about your equipment. If you are primarily expecting landscapes, but may have a chance at shooting wildlife, then consider a compact telephoto rather than a monster 600mm f/4. If wildlife is a major target, then by all means, take that big lens, but consider cutting out some of the smaller glass. Maybe you can get by with a single wide-angle zoom?
#3 – Trip Types
Base-camps:
Photography trips that I lead into Alaska’s wilderness are often based out of single site. We set up a comfortable camp somewhere beautiful, where we can explore the surroundings for a few days. These kind of trips (keeping in mind airplane weight limitations), usually permit a broad array of gear, and few special precautions are needed. To haul your equipment around, a standard camera backpack or daypack with a rain cover, is all that is needed. If the weather is really sour, we are usually drinking hot chocolate and playing cards back at camp.

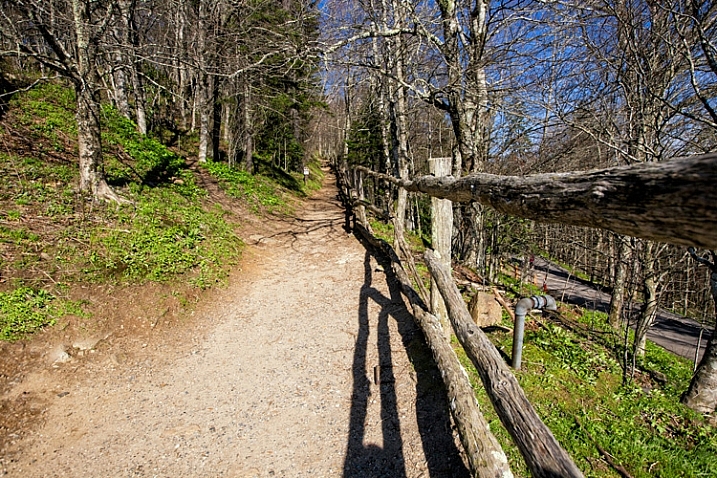
Backpacking means every piece of gear needs to be carried, so think light.
Backpacking:
On most backpacking trips, weight limitations will keep you to the bare minimum of gear. My standard kit is a lens or two, and a single body. I attach a holster style case to the chest straps of my pack with small carabiners. My camera is always there when I need it, and I don’t have to take the pack off every time I want to make a photo. Any extra gear is placed in convenient outside pockets.
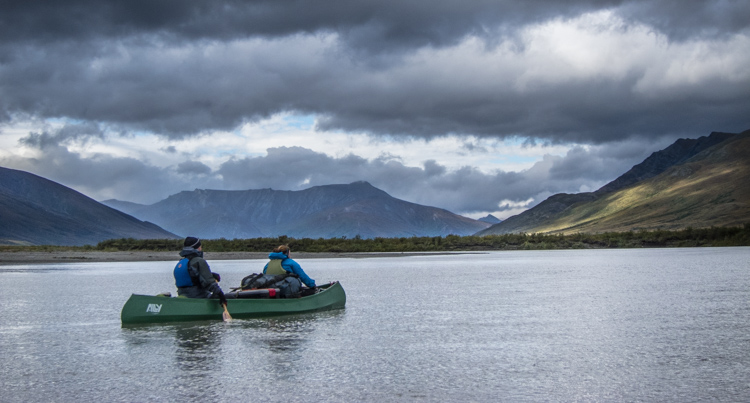
Mellow River Trips:
Even on the quietest of rivers, accidents happen. A camera, left carelessly on the seat of a canoe can slip into the water with an unexpected wobble of the boat. Splashes from riffles can soak an unprotected camera. Your gear needs to be protected from these threats. On an easy river, where the risk of a flip, or rock-induced swim is small, I usually store my gear in soft-cases, placed inside a larger, roll-top dry bag. Such protection is sufficient to fend off splashes, or even short dunks, as long as the seals on the bags are closed tightly.
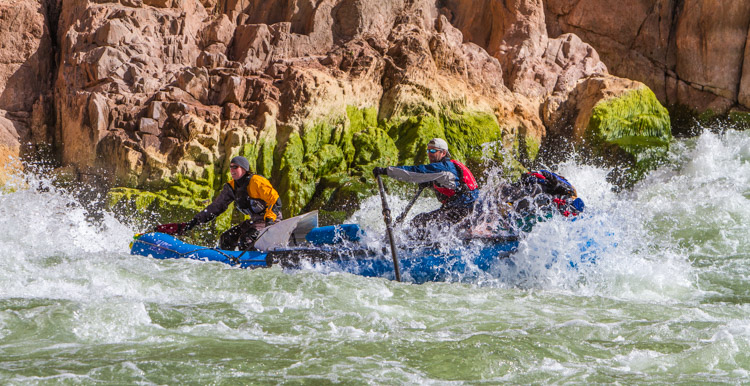
Whitewater:
In big rapids, bad things can happen. Boats hit rocks and canyon walls, tipping, or flipping over entirely. Big waves routinely flood boats. No matter how perfectly a rapid is navigated, you and your gear will get wet, and may be submerged. This is not the time to mess around with ziplocks and cheap dry bags. If you are headed out on a whitewater trip, invest in a hard-sided water-tight case like a Pelican. Not only will these keep your gear dry, they will also protect your delicate electronics from impacts and the inevitable jarring they will receive in rough water.
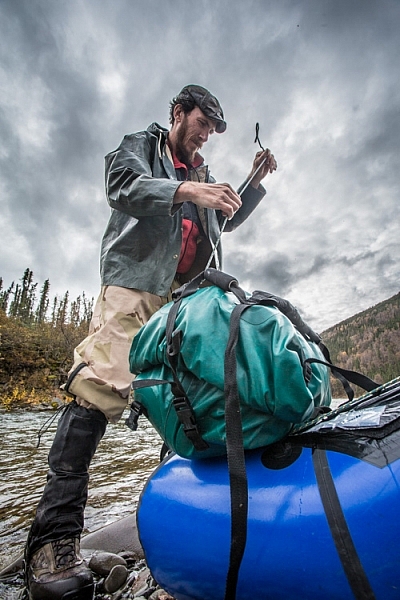
Securing well-sealed dry bags to the front of a packraft, a daily chore on a remote river trip.
Sample Gear Kits
Base-camp: DSLR (or two), wide angle zoom, mid-range lens, telephoto (even a big 500mm or 600mm f/4), backpack, tripod, and accessories.
Backpacking Heavy: DSLR, wide angle zoom, telephoto zoom like a 100-400mm, soft cases, ultralight tripod, and ultralight nylon dry bags.
Backpacking Light: DSLR, wide-mid range zoom (24-105mm), case, and an ultralight nylon dry bag.
Mellow River: DSLR, wide angle zoom, fixed mid-range lens (40 or 50mm), telephoto zoom (100-400mm), tripod, second body or backup camera, dry bags. (If wildlife is a top priority, I’ll replace the 100-400 with a 500mm f/4).
Whitewater River: Same as mellow river with the addition of a suitably large pelican case.
Conclusion
If you pay attention to your photography gear choices at the beginning of your trip, you are unlikely to have any troubles along the way. Think about the limitations of your journey, what it is you are planning to photograph, and how you are going to protect and transport your gear. When those decisions are made, actually selecting what to take gets easier.
A final note of warning from someone who as been there: Please don’t overpack. It’s happened too many times to count, when have I stood around with clients at a pre-trip meeting and been forced to ask them to remove some of their precious gear due to plane, boat, or pack, weight limitations. Too much gear is just as bad, maybe worse, than too little during a wilderness trip, so pack thoughtfully.
googletag.cmd.push(function() {
tablet_slots.push( googletag.defineSlot( “/1005424/_dPSv4_tab-all-article-bottom_(300×250)”, [300, 250], “pb-ad-78623” ).addService( googletag.pubads() ) ); } );
googletag.cmd.push(function() {
mobile_slots.push( googletag.defineSlot( “/1005424/_dPSv4_mob-all-article-bottom_(300×250)”, [300, 250], “pb-ad-78158” ).addService( googletag.pubads() ) ); } );
The post How to Decide What Gear to Pack for a Wilderness Trip by David Shaw appeared first on Digital Photography School.

Digital Photography School


You must be logged in to post a comment.