The MIOPS Smart Trigger is many things you’d want in a photography accessory; small, rugged, and multipurpose. It may not be the perfect answer to any solution, but its range of modes and really cool connectivity options, make it a very useful and intriguing tool nonetheless.
At the time of this writing, the MIOPS Smart Trigger is available for $ 199.99 at Amazon (for the standard versions), which makes it a bit pricey for its size, but a great value when you consider the depth of its functionality. The trigger features seven different modes of operation, all available with various sensitivity settings, they include:
- Lightning mode
- Sound trigger mode
- Time lapse mode
- Laser mode
- HDR mode
- DIY mode (experts only)
- Scenario or custom mode
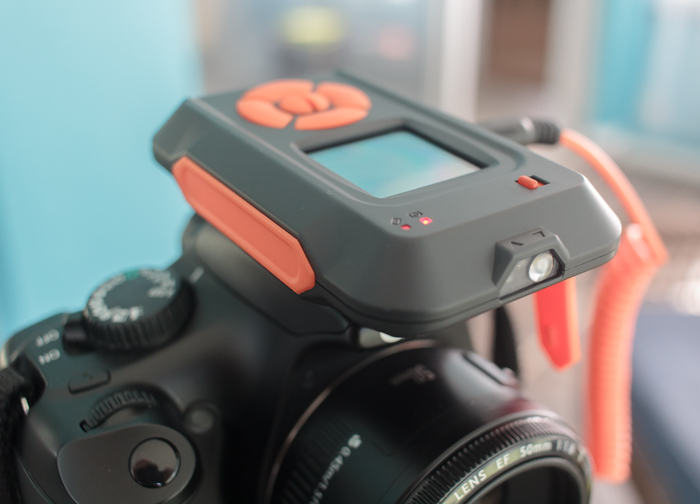
The exterior of the unit is very rugged and appears it would be extremely durable. You definitely get a feeling of solidness when holding it. A 128×128 pixel, full color display, is mounted just above the large buttons, used for operation and selecting menu options on the front of the trigger.
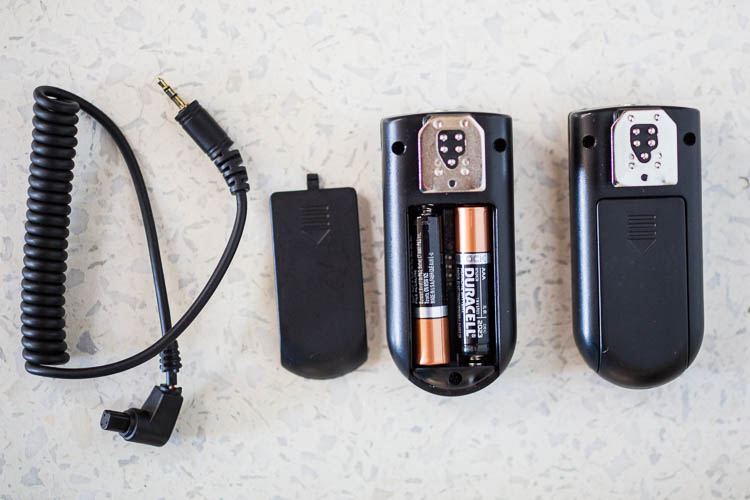
The device is powered by a 3.7 volt/1020 mAh lithium ion battery, which is rechargeable via the provided USB cable. It is also possible to provide power through the USB connection, with no battery in place.
This new trigger kit from MIOPS is an evolution (and apparent replacement) to the Nero Trigger previously available from the company. The newer version was reworked, inside and out, to be a more rugged and competent accessory. Versions of the kit are available for Canon, Nikon, and Sony camera systems, as well as other brands including Olympus, and certain smartphones.

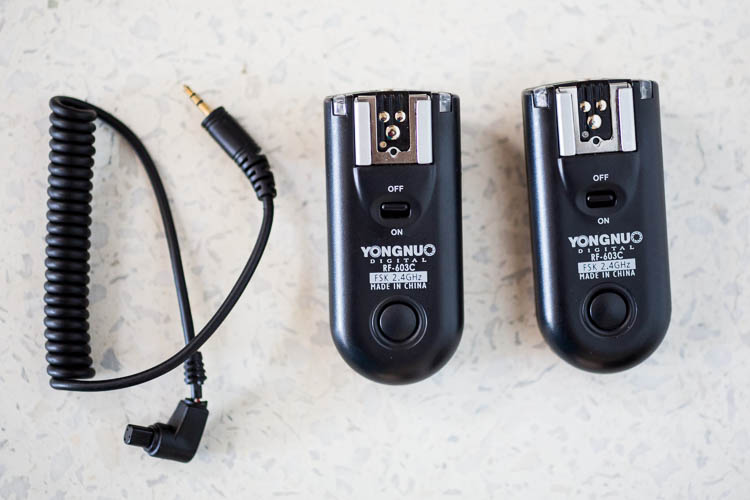
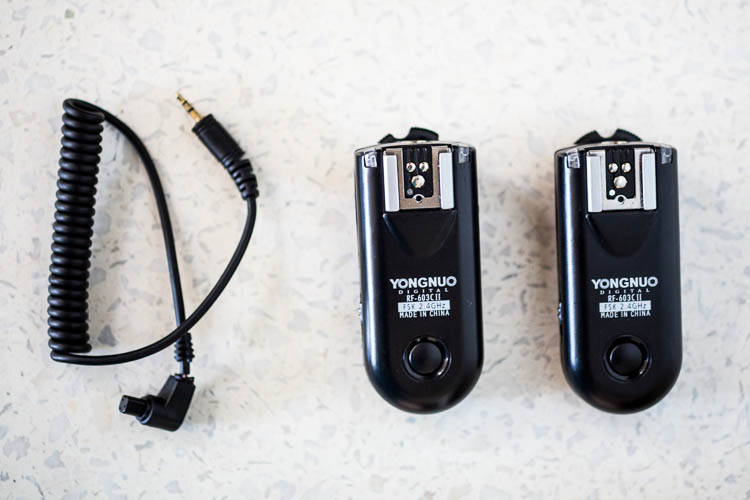
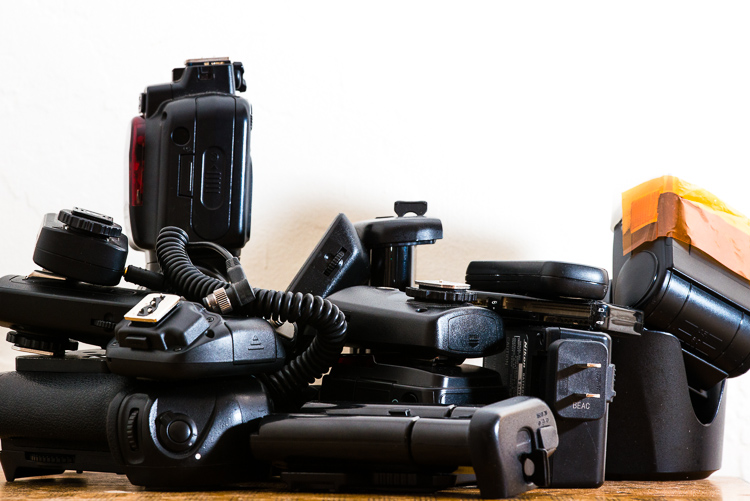
The various camera connection cables mean that one unit can operate with many different camera makes and models, and extends the usefulness of the accessory.
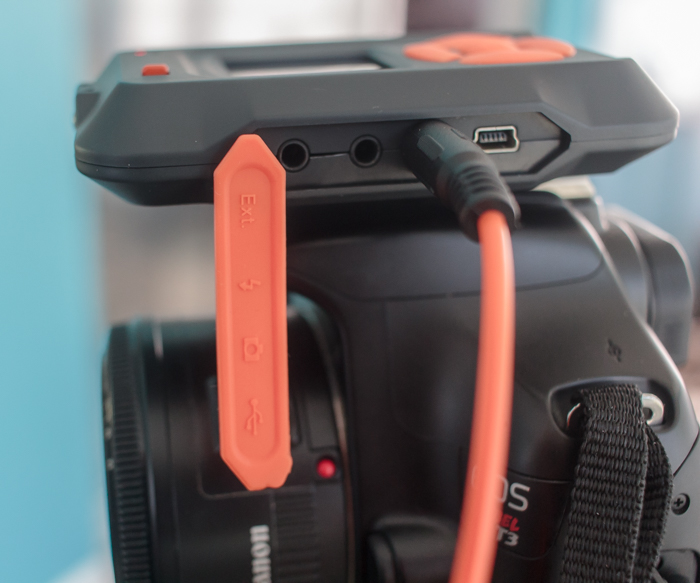
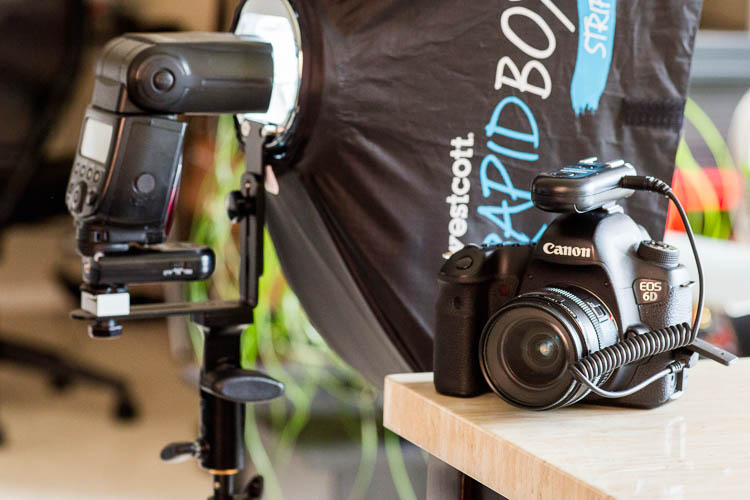
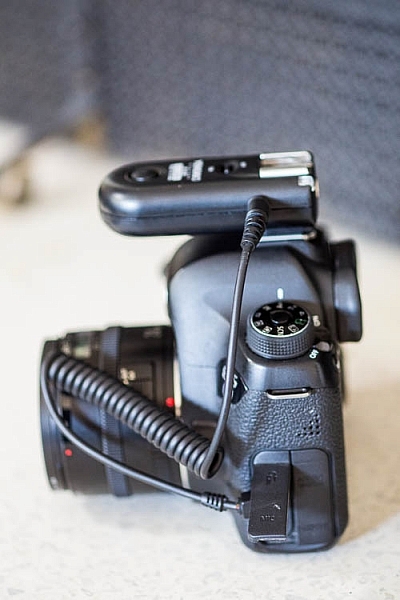
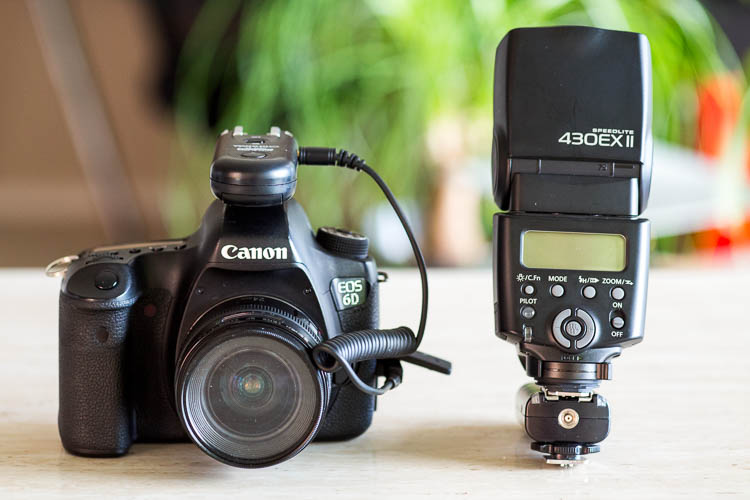
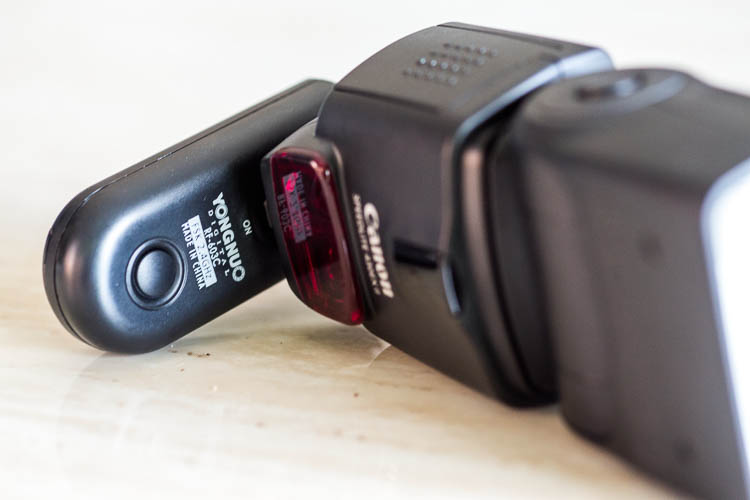
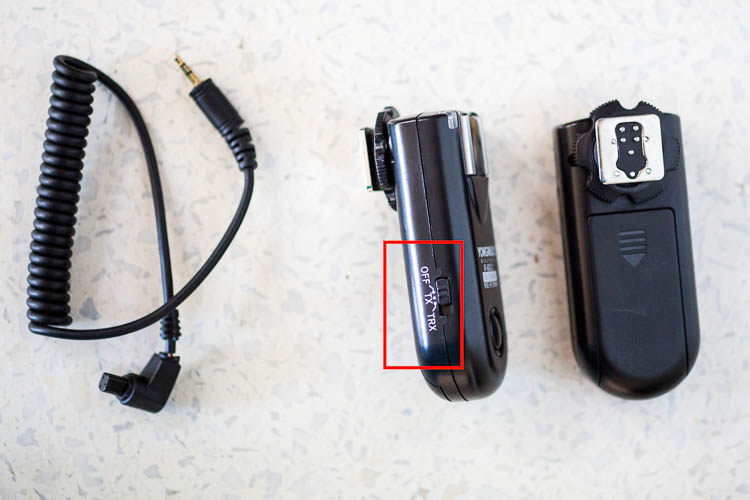
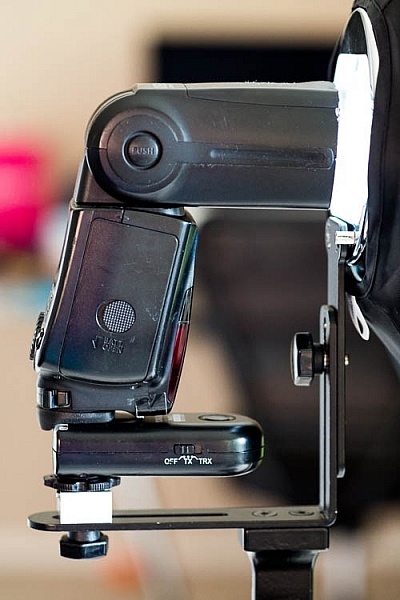
The trigger unit itself is connected in one of two ways, either to an external flash unit, or to the camera itself. Cables for each are included with each unit. This allows the trigger to sync and fire, either the flash system, or the camera shutter itself. Flash units are connected via the PC sync jack, and cameras are connected through the remote shutter release jack, meaning any camera or flash unit with these common connectors can be potentially be paired with the MIOPS trigger.
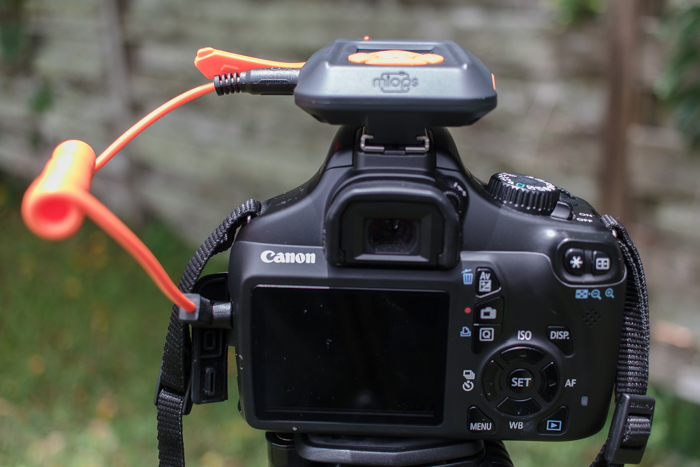
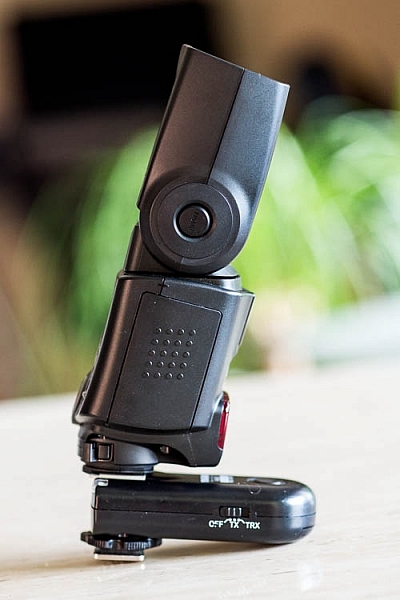
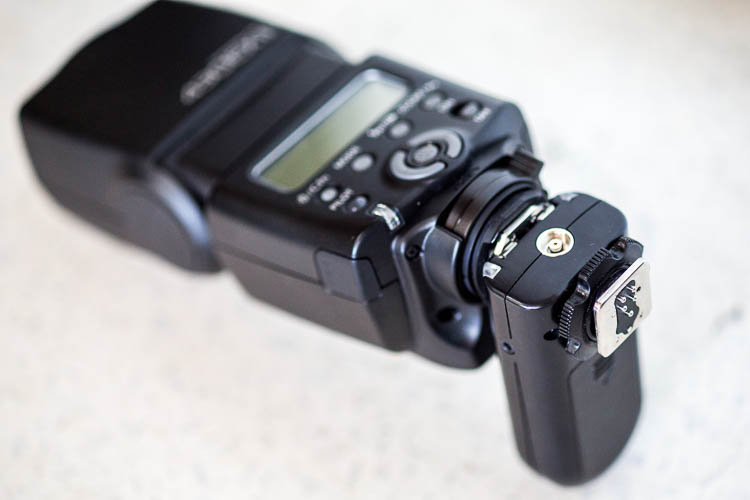
The MIOPS trigger can either mount on your DSLR’s hotshoe connector, or on your tripod or light stand, via a standard screw-in connection.
The unit can be connected for charging via a micro-USB cable, which basically means most smartphone charging cables, which are readily available. The trigger housing is rugged plastic, with raised, easy to press controls and features a large color screen for displaying information, a microphone, and a light sensor that is used for the Lightning and Laser modes. Lastly, an additional port is available for connecting various external sensors in DIY Mode.
The trigger slides on a standard camera hot shoe, but also has a screw mount for placement on a separate tripod or light stand.
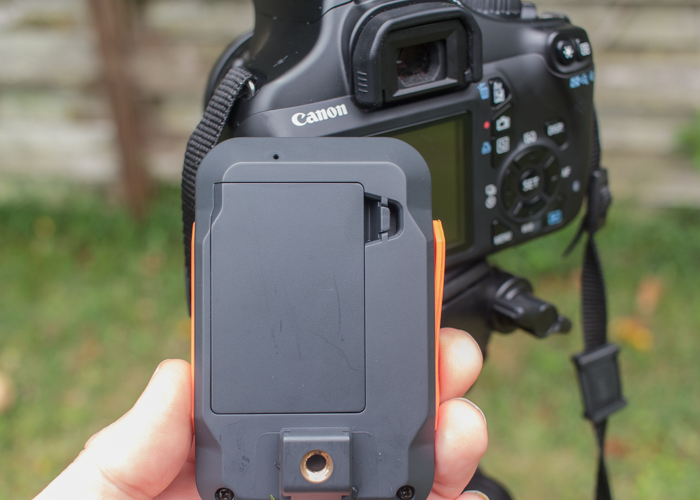
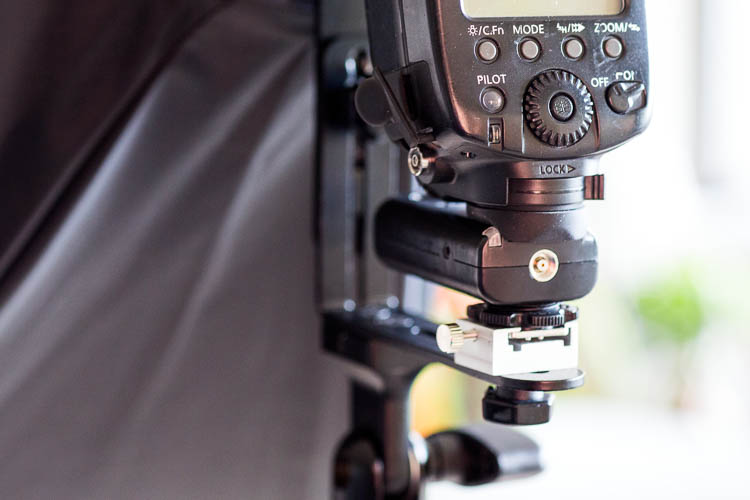
The trigger will accept a standard screw-in type connection for mounting on a tripod.
To me, one of the best features of the unit is its available remote connectivity via the MIOPS smartphone app. The app is free (available for Apple and Android phones), and allows you to access and control all modes offered by the trigger. After downloading the app, I found it connected to the unit without issue, and I was able to access all modes and modify the settings quickly, without having to even look at the unit mounted on top of my camera.
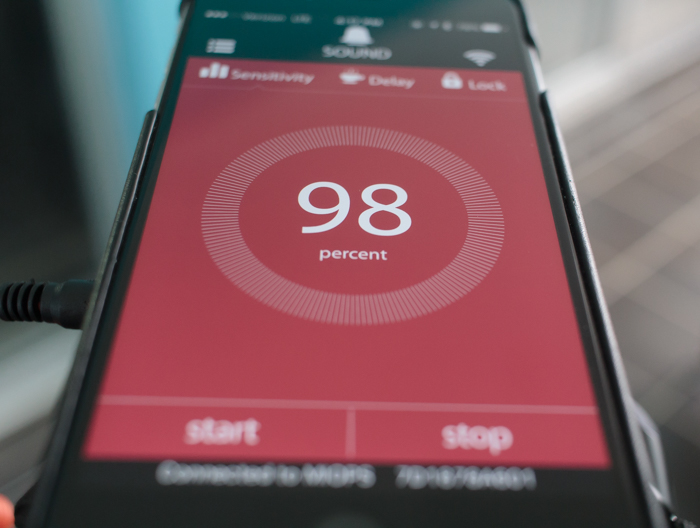
The accompanying MIOPS smartphone app is a highlight of the system, and allows you to control everything remotely.
1 – Lightning Mode
Lightning mode is intended to allow you to capture flashes of lightning with your camera, without having to run series of long exposures or using bulb mode. You can set the sensitivity from 1 to 99, and start the sensor to capture the event. This mode is also sensitive to other types of light, such as fireworks, sparks, as well as artificial light, widening the gamut of possibilities. I didn’t get an opportunity to test the unit in a lightning storm, but I did attempt to trigger the MIOPS with a burst from a flashlight, and found that it picked up the light immediately and accurately.
As with several modes on the product, you’ll need to have your camera’s lens in manual focus in order for it to work.
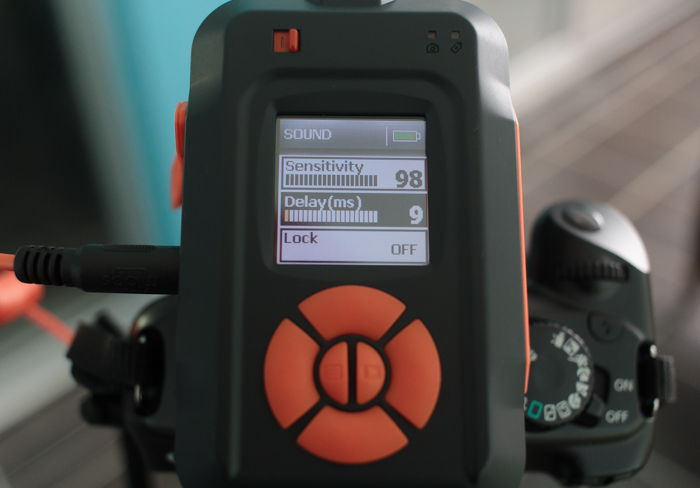
2 – Sound Mode
Although this is the mode you’d expect to be the most useful, (and the biggest draw to the device) I found this one less intriguing due to the way it works. Without using the device, I’d expect it to allow me to trigger the shutter (cables are included to hook the MIOPS unit up to either your camera shutter, or an external flash unit), and capture the image, such as a balloon being popped, for example. This isn’t possible however, due to a slight lag, and the ridiculous shutter speeds necessary.
Each mode features several customizable parameters, each adjustable on the unit itself as well as the smartphone app.
Instead, you have to perform any captures of this type in total darkness, a pretty big drawback in my book. The idea is to leave your camera shutter open (which is why darkness is needed), and use the MIOPS unit to trigger a separate flash and capture the action.
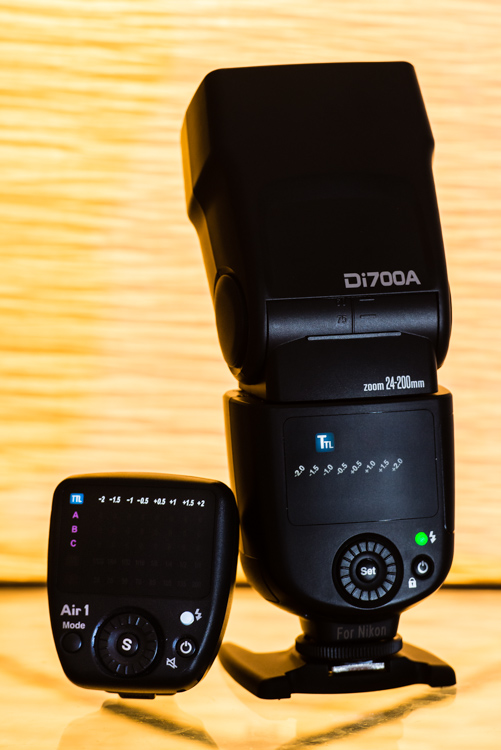
As a natural light landscape photographer, I don’t have external speedlites available to me. The one I was finally able to get ahold of ended up not being a TTL enabled flash, and didn’t have the connection port I needed to use it.
In the end, I became frustrated and gave up. But of course, this isn’t the trigger’s only feature, and there were plenty of other modes to keep me busy and satisfied.
Editor’s note: I actually had a chance to try out the Miops trigger as well and was playing with sound mode. My friend and I had the same issues – we realized we had to fire the flash with it, in total darkness and somehow pop the balloon. We tried it on a balloon and smashing a light bulb. This is all we managed to get:
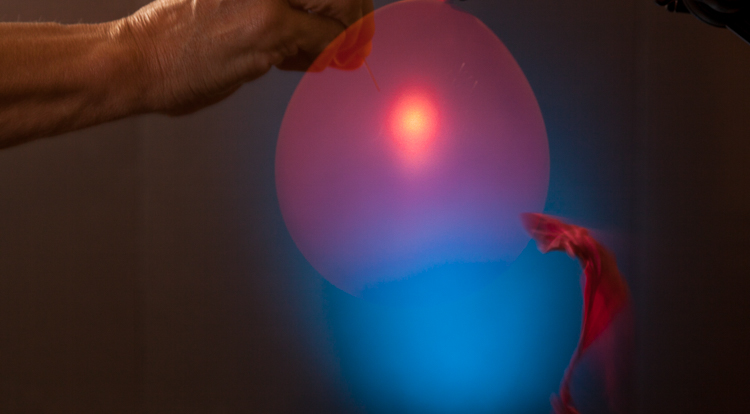
Not exactly frozen or what we were hoping for. We learned later that by turning down the power on the flash the duration is shorter and more freezing occurs. Would have been good for more helpful instructions to come with the unit. We struggled to make this work.

The best bulb smash we got after many attempts. Be careful if you try this at home! – Darlene
3 – Time Lapse Mode
Another extremely useful mode is the time lapse feature. With this mode you’re able to set a few parameters, to produce a set of images showing changes to a scene over a period of time. With this feature, you must set your camera to bulb mode so that the trigger can override your camera’s settings.
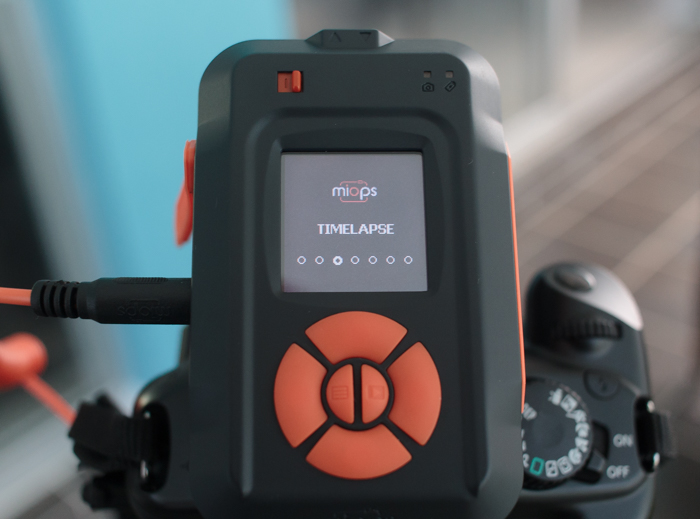
After switching to time lapse mode on the unit, you can set the interval (how often the camera takes a shot), the exposure (this is why your camera must be in bulb mode), as well as the total number of images that will be shot before the process completes.
In my testing, I found it very easy to set these parameters, and after a couple of trials, was pleased to find all of the functionality of this mode worked perfectly, without any issues.
4 – Laser Mode
This is another mode that I was unable to try out, but based on the accuracy of the sensor, I believe it would perform well. This mode requires a constant laser beam to be fed into the front sensor, and will trigger the camera when this beam is broken.
The laser doesn’t have to be a particular type or color, meaning a $ 10 pen laser pointer from an electronics store will do just fine. The hardest part of the operation will probably be mounting the laser on a stable surface and preventing the beam from being broken prematurely. After you’ve setup the laser, you can adjust the delay on the unit up to 999 milliseconds. A final setting allows you to designate a set number of frames to capture in this mode before the trigger stops.
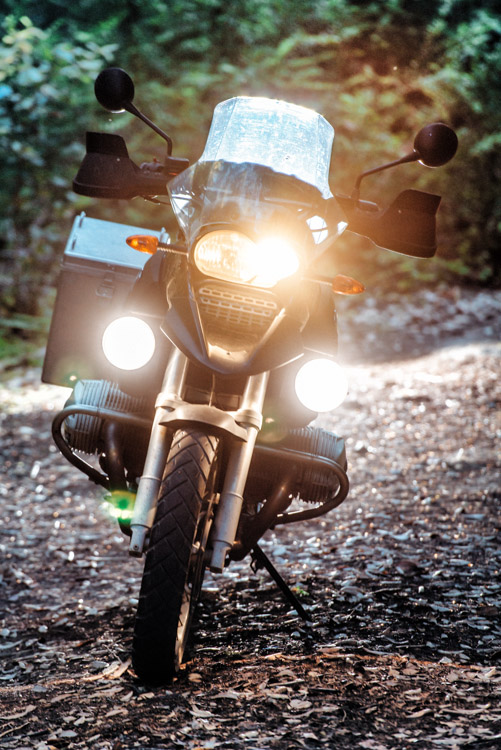
This mode could be used to capture animals moving into the frame (could be tricky to setup) or something falling or moving like pouring shots or freezing water droplets.

Image by dPS author Ivo Guimaraes
5 – HDR Mode
HDR is a familiar term for most photographers; it is a technique where two or more images of varying levels of exposure are combined in post-production to capture a higher dynamic range, more equivalent to what the human eye sees. The MIOPS trigger allows you to set these parameters on the unit itself, including the center value (the middle value in the range of exposure levels to be captured), the difference in exposure value from one frame to the next (such as 1 stop between, or 1 1/2 stops between), and the total number of frames to expose, up to 7.

A 3 shot HDR composite from the MIOPS trigger.
While this feature definitely extends the functionality and usefulness of the device, it must be said that it doesn’t really offer anything that most DSLR’s can’t do already, and I would almost always prefer to just set this up in-camera.
6 – DIY Mode
DIY mode is one of the modes that really makes the MIOPS unit shine, as it adds functionality not standard on most cameras. The trigger has a 3.5mm stereo jack on the side of the housing, and this allows you to connect a multitude of external sensors, adjust the threshold (percentage of change from the sensor), the delay of the trigger event in milliseconds, and mode, which lets you set what type of event detected from the external (add-on) sensor will trigger the unit, such as change, increase, or decrease.
This mode is advanced, and requires multiple connections in most cases, but the possibilities are almost endless. Sensors that measure changes in temperature, pressure, humidity, or motion can all be used to trigger the camera’s shutter.
7 – Scenario Mode
Scenario mode basically allows the user to program the unit by stringing together a series of functions, and having them execute based on a unique situation. Up to 5 steps can be saved for each custom scenario, and a total of 3 scenarios can be stored on the trigger. This entire function can then be executed via the Miops unit itself, or remotely via the smartphone app.
For example, let’s say a thunderstorm is approaching and you want to capture different types of shots during the event. You could program Lightning Mode as the first step, capturing a set number of stills of the lightning, and then immediately activating Time Lapse Mode in the second step, capturing photos at 5 second intervals to assemble later.
For each step, all of the usual parameters for each mode are available.
I didn’t get the chance to try this scenario out during an actual thunderstorm, but I did attempt to string together a couple of functions and execute them, and the results were excellent. Once the first step was completed (a 5 shot HDR photo), the trigger immediately went into Sound Mode, and stopped after it detected a loud sound (the clap of my hands from a few feet away).
I’d definitely chalk this mode up as one of the most useful features of this unit.
Remote Release
To me, this is one of the most useful features of the MIOPS trigger. I can connect the unit via bluetooth, fire up the accompanying app, and control my shutter from several feet away, wirelessly.
I tried this in a normal scenario I often find myself in, which is my tripod lowered to a short height, legs planted into the surf of a local beach, taking low angle, long exposure shots.

I was able to snap off many perfectly-timed images, without ever having to worry about holding on to my usual corded cable release, keep the camera as still as possible, while avoiding the high winds blowing the cord around and smacking my camera.
I will use this, all the time!
Conclusion
The MIOPS Camera Trigger is a sturdy, rugged little unit that was easy to set up and use (note: this device is more aimed at intermediate to advanced photographers and could easily be confusing for beginners). It has a couple of features that almost make it worth the price of admission in my book, but a few issues linger that keep it from being the perfect tool, including a highly-touted Sound Mode. It promises high-speed photography but requires total darkness and a flash setup to accomplish, as well as a couple of modes that feel a bit tacked on, and not anything you couldn’t do already with existing camera settings (HDR and time lapse).
Still, the MIOPS is a fun tool to use, the Remote Release mode, DIY mode, and smartphone connectivity are extremely useful, and if you’ve got $ 200 bucks burning a hole in your pocket for a new gadget, this might be one to pick up.
Have you had any experience with the MIOPS Camera Trigger, or triggers in general? Sound off below and let us know what you think, and show us some of the work you’ve accomplished!
googletag.cmd.push(function() {
tablet_slots.push( googletag.defineSlot( “/1005424/_dPSv4_tab-all-article-bottom_(300×250)”, [300, 250], “pb-ad-78623” ).addService( googletag.pubads() ) ); } );
googletag.cmd.push(function() {
mobile_slots.push( googletag.defineSlot( “/1005424/_dPSv4_mob-all-article-bottom_(300×250)”, [300, 250], “pb-ad-78158” ).addService( googletag.pubads() ) ); } );
The post Review of The MIOPS Smart Trigger by Tim Gilbreath appeared first on Digital Photography School.

Digital Photography School


You must be logged in to post a comment.