“Oh the people you will meet!” goes one of Dr. Seuss’ famous lines, speaking to a particular joy of travel. We don’t just travel to see new places, we travel to experience new cultures full of new people – and as photographers, we’re intrigued to take their photo.
Yet it’s not as easy as taking photos of foreign mountains or cityscapes. because, gasp!, those people are full of life and feelings and opinions. They might be speaking a language we don’t understand. We are left wondering what they are thinking as we start to bring our camera up to our eye.
I’ve been photographing for 26 years, and traveling regularly for the last eight. I don’t know it all, but I have learned, through trial and error and research, what helps and what hinders travel portrait photography.
The Tips
Watch the light
Photography is about light. You’ve likely heard it a hundred times before. Sometimes we forget that when out of our comfort zone, but it’s important to remember that great photos need great subjects, and great use of light.
Before raising your camera, know your light. Know what light will be available, and how best to use it. This article: Understanding Natural Light Part 3: Direction of Light – has a wealth of knowledge to get you thinking about the natural light at your location. Of course, you can use a flash as well, but most of us rely on natural light for our travel portraits.
Connect
Hot Button Topic: To connect before or after you take a photo? This decades-old discussion will not be settled here, but I will give my opinion as fuel to the fire.
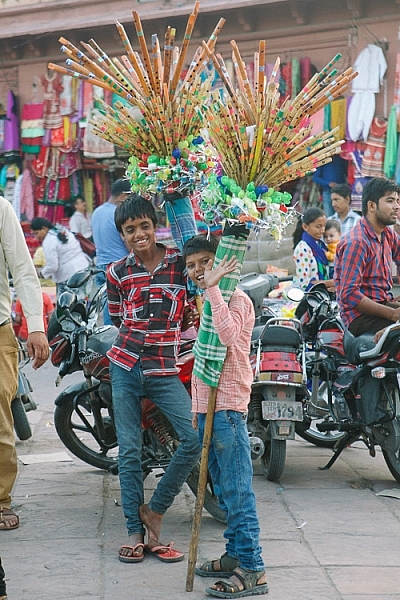
I believe in give and take. If I’m always taking photos when I travel, I feel more the part of an interloper than a welcome guest. There are irresistible times when someone is doing something soooooo perfect, we have to have a photo, we think. Introducing ourselves will ruin the moment and break the magic we are witnessing.
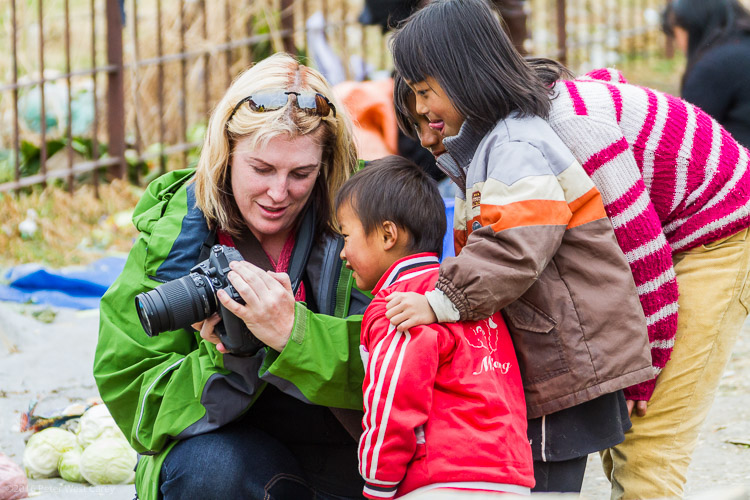
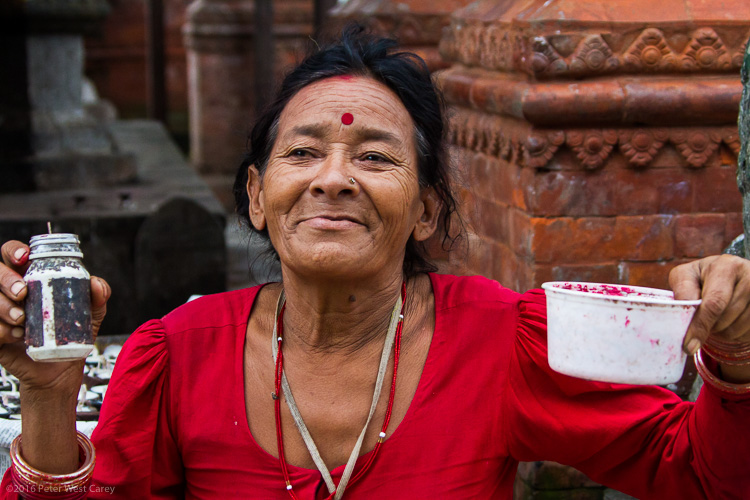
My advice is to take those photos, but give something back. Approach your subject after the fact and introduce yourself. Smile, make eye contact, promote goodwill, and be nice.
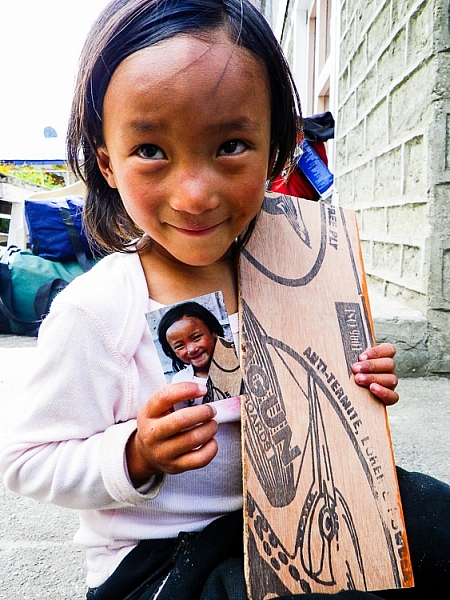
If they are a vendor, buy something they are selling, or at least take a look. Canon, Sony and others now have portable printers you can bring with you, and what better way for give and take than to hand over a printed copy of the portrait you now treasure. It’s more work than just taking photos and continuing on your way, but it is also more rewarding.
Get their feedback
Building on the point above, show your subject their portrait. It’s part of giving back. Get their feedback on how they think they look.
You might hear good things or bad, because everyone tends to be their own worst critic. Ask their friends as well, if they are around, to know if you have captured an accurate representation of your new friend.
They may have an idealized portrait they want you to take. What’s the harm in taking the photo they would like and the one you like? The more interaction, the better the portrait.
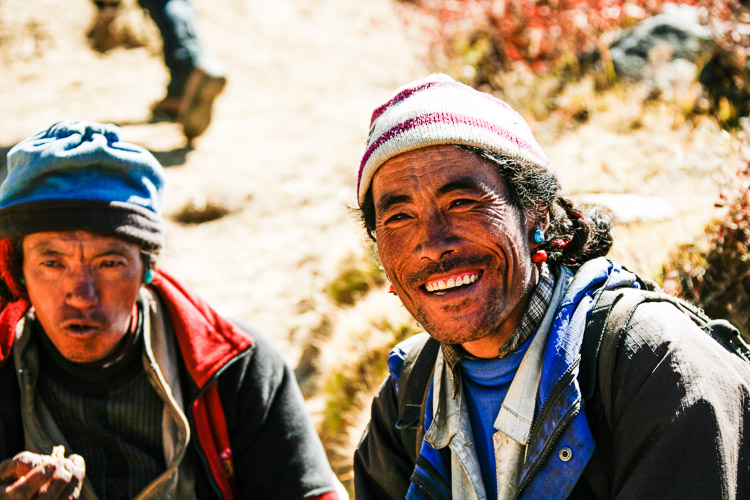
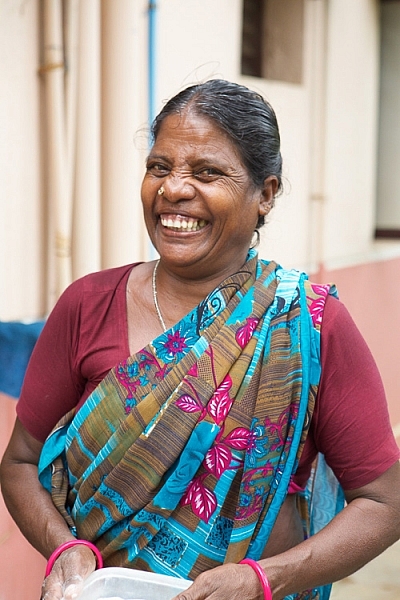
To smile or not to smile
This argument goes both ways. Some photographers want all smiles, especially if they believe there are in a happy place. Others abhor a grin. What a different story Steve McCurry’s Afghan Girl photo would tell if he was playing the ham and got her to smile!
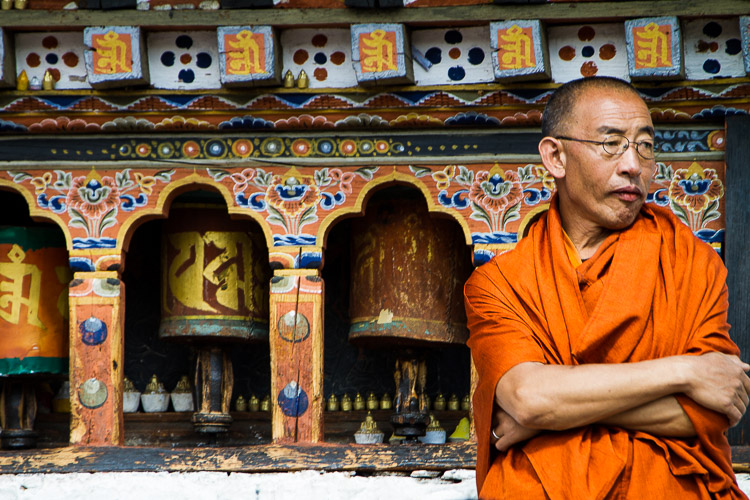
As artists, we always instill our own bias into our art, that is okay. Sometimes your subject will also instill their bias. For instance, in Bhutan I encountered mostly stern faces when I took portraits, even if the subjects were lively, happy and smiling while I talked to them for a few minutes beforehand. I didn’t feel the stoic portraits the subjects wanted to portray accurately, reflected the warmth I felt while walking the countryside. So, what to do?
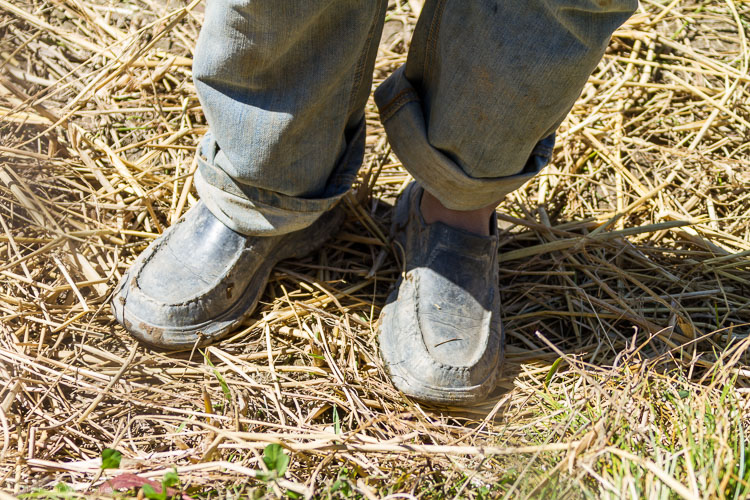
I developed a technique on that trip of taking pictures of people’s shoes. This served two purposes; I got images that tell their own story (footwear can tell you a lot about the wearer) and, in that moment when the subject was wondering why the heck is this guy taking pictures of my shoes, they let their guard down and returned to the smile I had encountered until the portrait was taken.
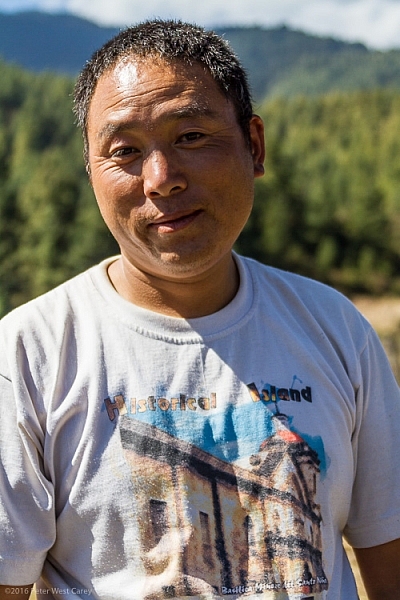
Before shoe photo
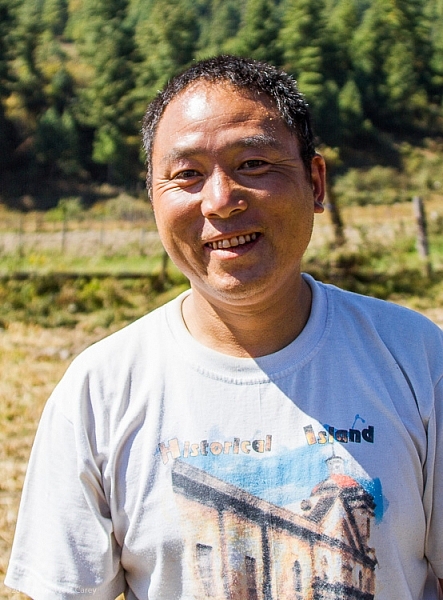
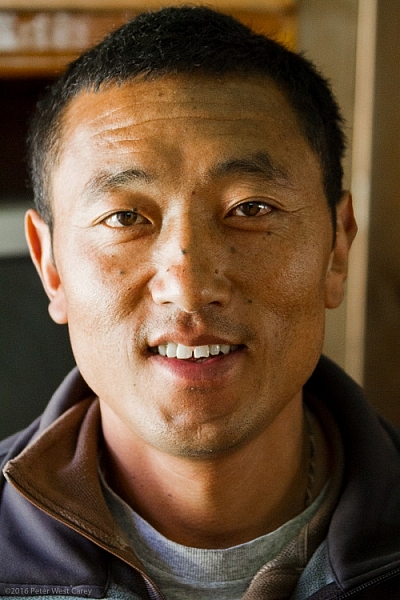
After shoe photo
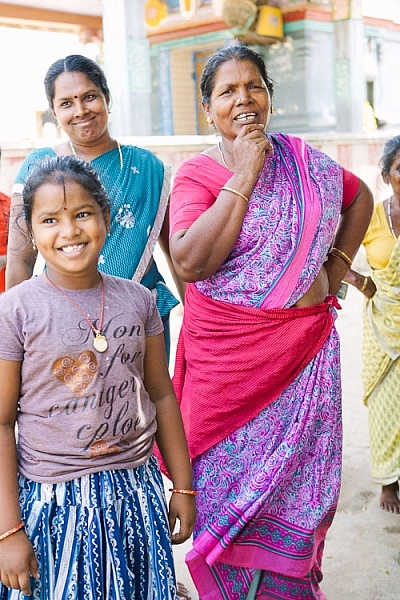
My suggestion is to get to know your subject before taking their portrait. Then find a way to help that personality shine in their portrait.
Let them do their thing
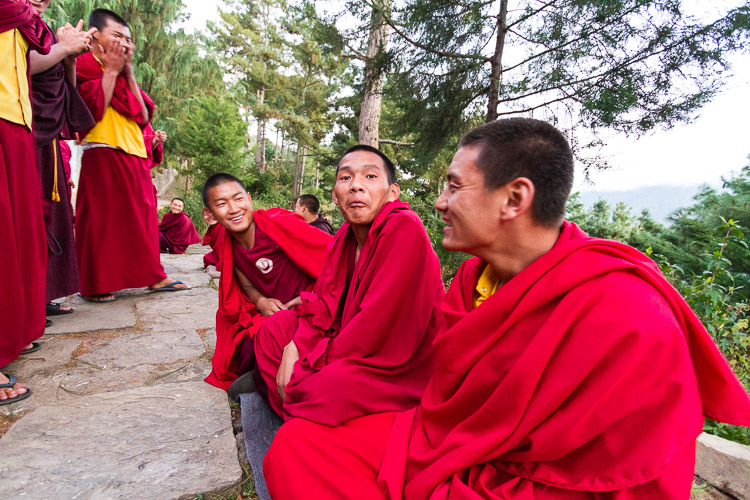
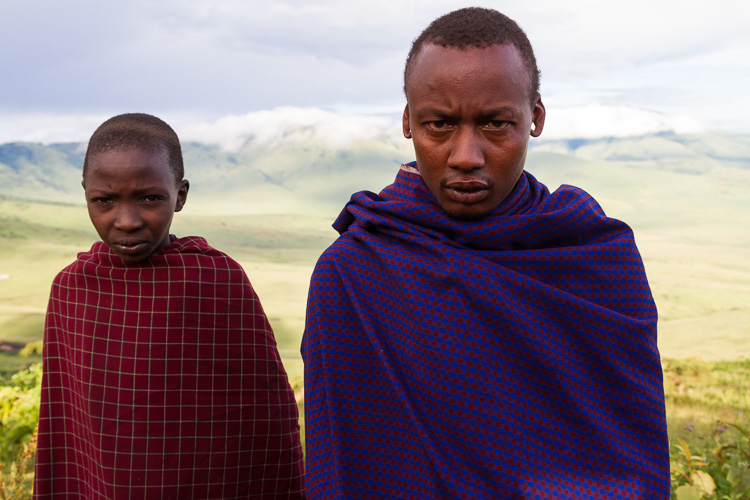
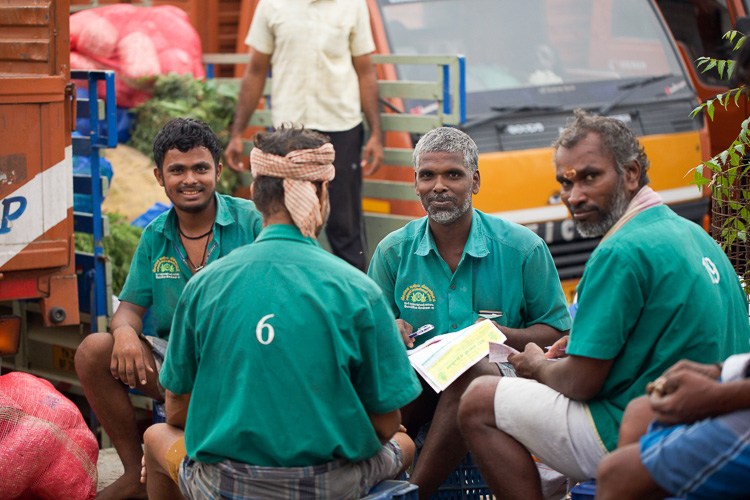
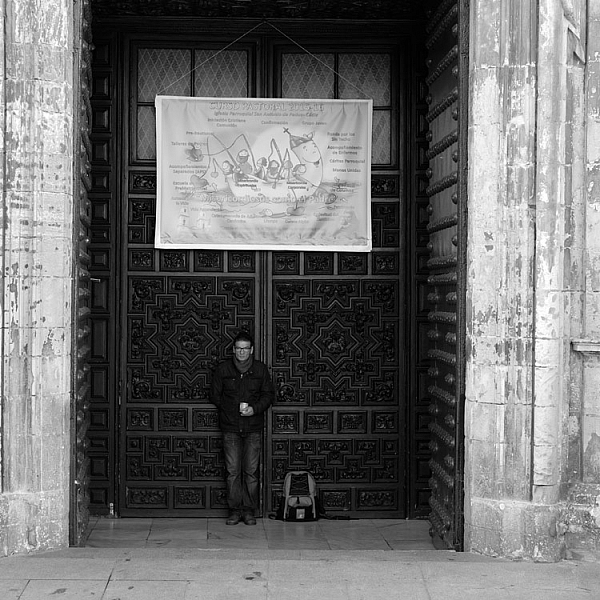
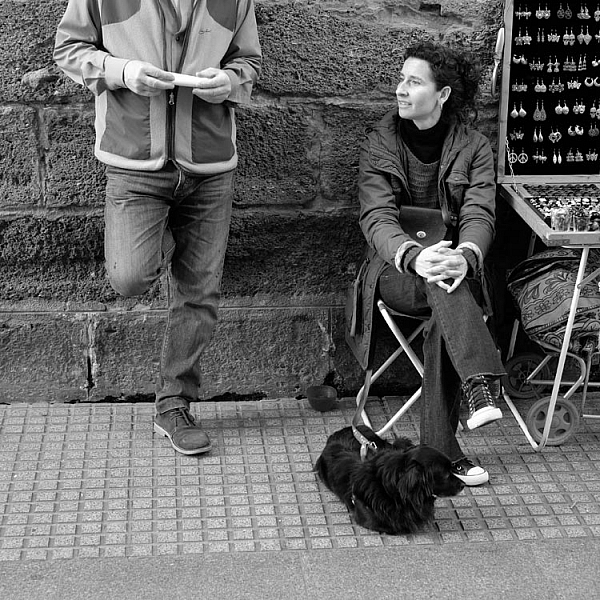
To tell a better story of an individual is to put them in their environment. It helps travel portraits if there is context of the individual, in relation to the space around them.
Interact with your subject, take their posed portrait to your liking, then let them return to what they were doing. This is probably what drew you to them in the first place. Sit, observe, and be patient with your next photos.
They might not be classic portraits, subject’s eyes on the lens. To tell the story of the individual in the digital age is to have the ability to show more than one side, more than one image of your subject. You’re not a National Geographic photographer who will only get one image of the person in the magazine. You’re someone with a Facebook or other online account, and you can share both the portrait and the person in their element.
The Pitfalls
The Death Stare
You can probably feel the chill down your spine right now when I mention the Death Stare. Every street photographer has felt it at one point, and most every travel photographer as well.

The Death Stare comes when someone sees your camera pointed their way, and fully disapproves of being the object of your desire. It’s important to realize the Death Stare is usually not so much about you, it’s about the situation, and empathy goes a long way to avoiding it. So does the tip above about connecting.
Recovery from the Death Stare can be hard. It chips at your confidence while you are in a foreign environment, already feeling out of place. Now you are unwelcome?
When I receive the Death Stare, I take a few mental steps backward, and put my camera away for just a bit – maybe 10 minutes, maybe an hour. I spend that time soaking in my surroundings and trying to connect with locals instead of capturing them.
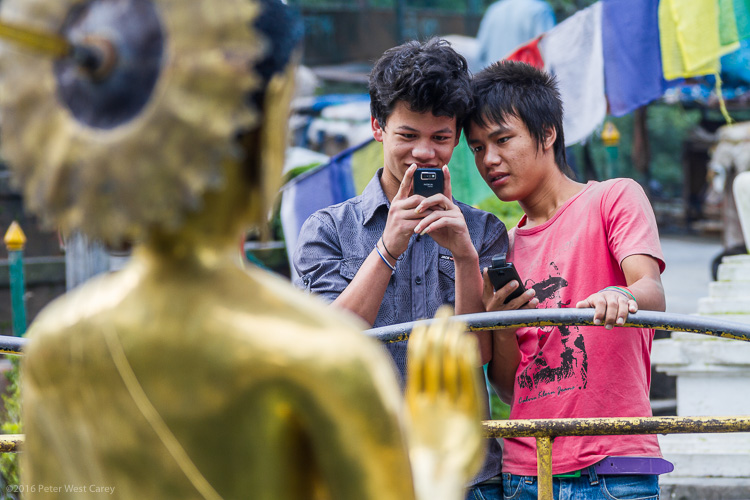
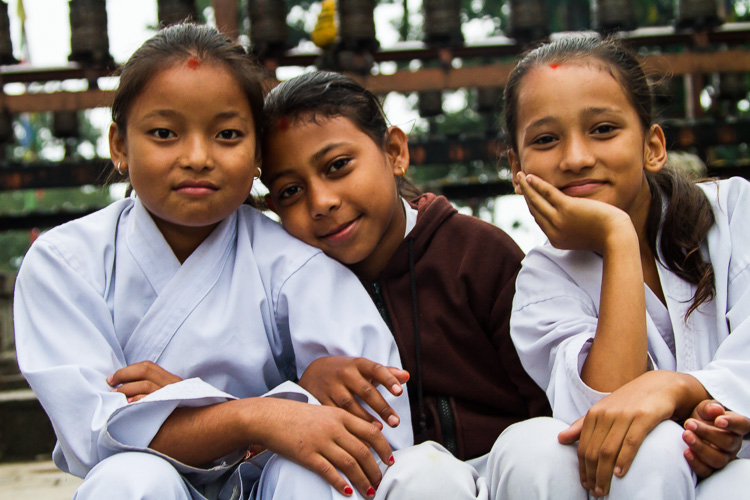
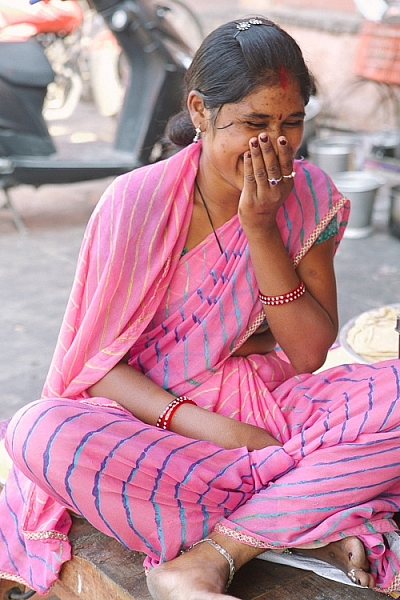
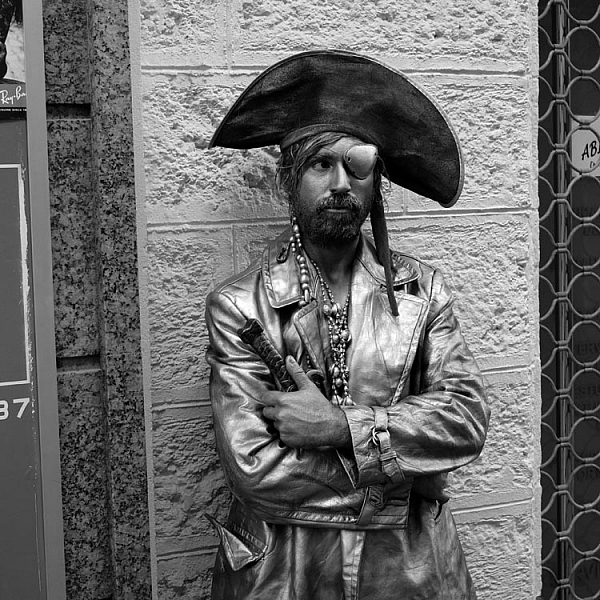
Super posers
Kids are famous posers, but the disease travels across every age range. Some societies are more prone than others to super posing. By super posing I mean the tendency to totally ham it up for the camera. We all like to put on our best face, but the super poser makes almost a 180 degree change from what you first saw in them and wanted to photograph.
I have watched enough parents try to get their kids to, “smile normally, please?” and spend tens of minutes in frustration at their children being children. My suggestion with travel photos is to not fight the super poser. Accept that the moment you saw in them has passed, and move on.
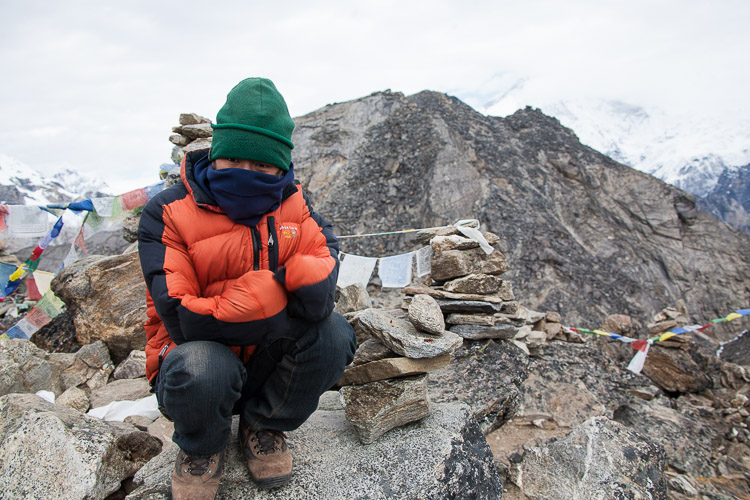
Only telephoto
Afraid of the Death Stare, or an imaginary worse reaction, the telephoto-only portrait becomes the easy out. If I can shoot from 100 feet away, in obscurity, why get closer?
Because your images will lack intimacy, that’s why. I’m not saying don’t shoot with a telephoto from a distance – but don’t only shoot from a distance. If I peruse your gallery of images from Egypt and only see telephoto attempts at portraits, I’m going to feel as distant as you physically were from your subject.
In my mind, connecting with strangers and only obtaining a few mostly-posed portraits is better than 100 shots from across the street. To me it says, “I traveled to this land, but didn’t really get into it.”
“Please don’t use that”
Following the advice above, you show some shots to your subject. They reply, “Oh, please don’t use any of those. I look horrible!” Now what?
If there is a chance, reshoot the images. If you must move on with your travels, I suggest you take the high road and respect the individual’s wishes. You may think they look perfect. Yet being respectful is more important than impressing your Facebook friends or Instagram followers.
This makes my original advice a bit of a double edged sword. Maybe you shouldn’t show them if there is a chance they will say no? The problem is face recognition software is getting more and more powerful, and Facebook’s (and other companies’) database is getting larger and more accurate. I live of the virtue it is better karma to error on the side of not potentially ticking people off.
Use of the photos after the fact
This brings up a good point about use. What are you going to do with those images?
Again, street photographers know this argument well. “You can’t take my photo!” they have had shouted at them if they have been in the game long enough. While this may be true in certain countries or situations, in most public spaces, especially in the US, you are free to photograph individuals.
What you do with the images after is the key point. Your own personal, artistic use is okay – included in a gallery on Facebook or a post on Twitter, a slideshow presentation at the local social club, or a gallery showing. Commercial use, where a model release is needed (think: ad campaigns, brochures, catalogs, stock), is not. Editorial use in a magazine or newspaper generally is okay.
DPS has some excellent resources, including our article Model Releases: What You Need To Know (with samples).
Conclusion

Travel portrait photography can be a tricky world to navigate. You’re out of your comfort zone, you may not speak the language or know the customs, but you want to bring home photos of not just the pretty sites, but the interesting people, too.
Be kind. Treat people as people, not objects. Share your images and take time to connect.
Speaking of sharing, what other advice would you give those wishing to bring back travel portraits?
People photography week
This week on dPS we’re featuring articles all about different kinds of people photography including portrait, event and travel photography. See all the previous ones below, and watch for more people photography articles over the next few days.
- How to Take Low Key Head-shots
- How to Do a One Light Portrait Setup and Use it as Your Back-up Plan
googletag.cmd.push(function() {
tablet_slots.push( googletag.defineSlot( “/1005424/_dPSv4_tab-all-article-bottom_(300×250)”, [300, 250], “pb-ad-78623” ).addService( googletag.pubads() ) ); } );
googletag.cmd.push(function() {
mobile_slots.push( googletag.defineSlot( “/1005424/_dPSv4_mob-all-article-bottom_(300×250)”, [300, 250], “pb-ad-78158” ).addService( googletag.pubads() ) ); } );
The post Travel People Photography – Tips and Pitfalls by Peter West Carey appeared first on Digital Photography School.


 Mastering Lenses


You must be logged in to post a comment.