From one article comes another – One plus of being a Fuji X Photographer is that Fuji will lend you gear to try. When I did an overview of the 18-55 Kit lens, a commenter asked about the difference between it and the Fuji XT 18-135mm. I don’t own that lens, but through my Fuji connection, I was able to borrow one for a short while and give it a go. So thank you to the commenter that allowed me to find out I could borrow stuff to test!
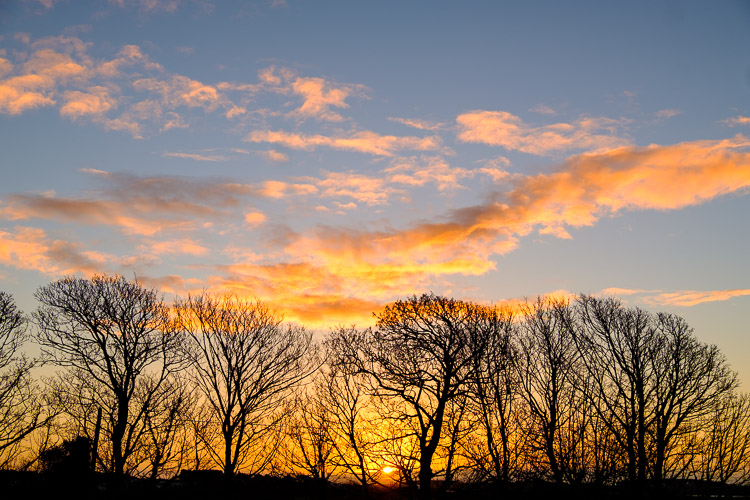
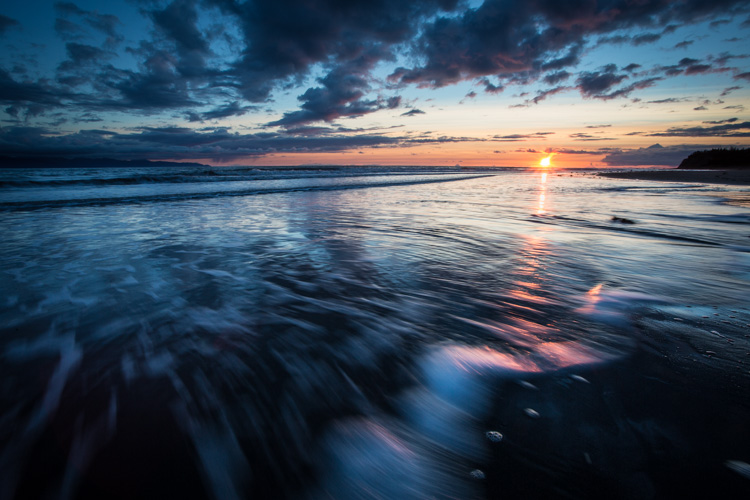
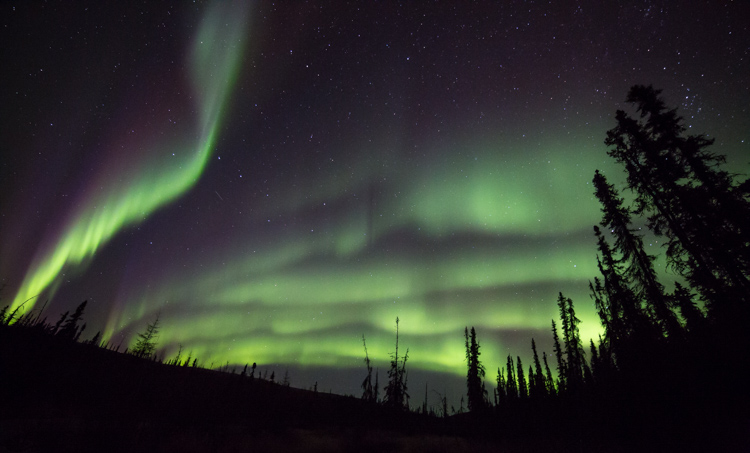
The sunrise on New Years Day. I had no hesitation using the lens, over lenses I own already, to capture this image.
First thoughts on the Fuji XF 18-135mm lens
Straight up, I think this is a great travel lens, despite the issues with the lens that are common to most kit lenses. But, these issues are outweighed by the usefulness of this lens. The weight and size were fine in general use, and I never felt that I was being let down by the lens. When I got the lens, I did a walkabout locally where I familiarized myself with it.
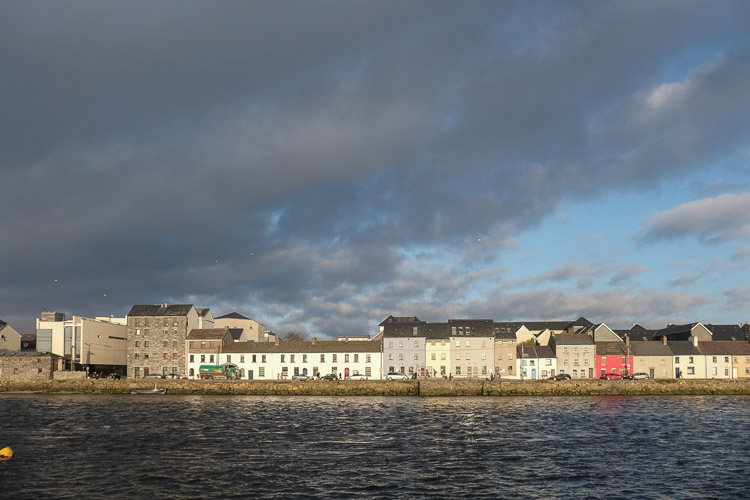
A wide shot of Long Walk in Galway. The Museum is on the left of the shot.
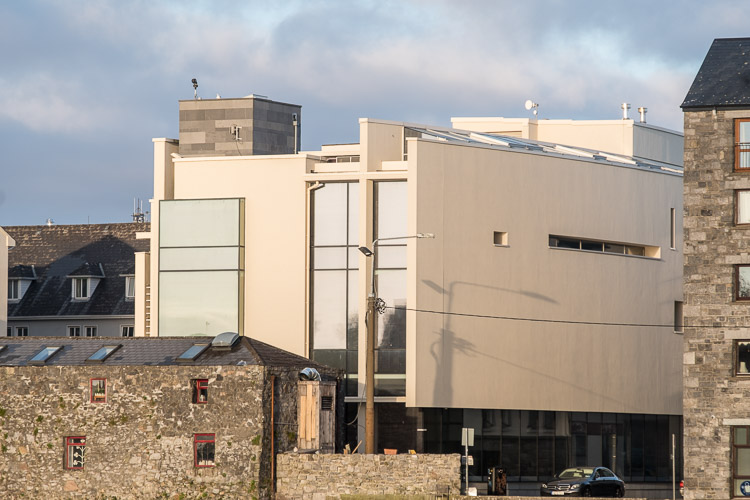
Here’s the Museum from the same position at 135mm.
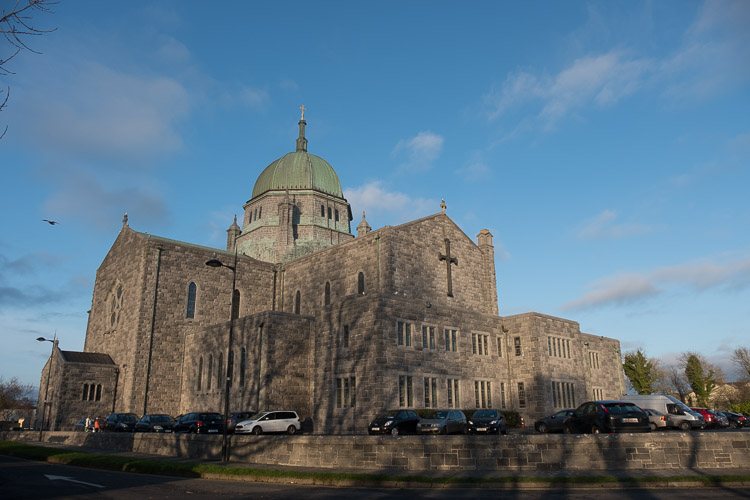
Galway Cathedral at 18mm.
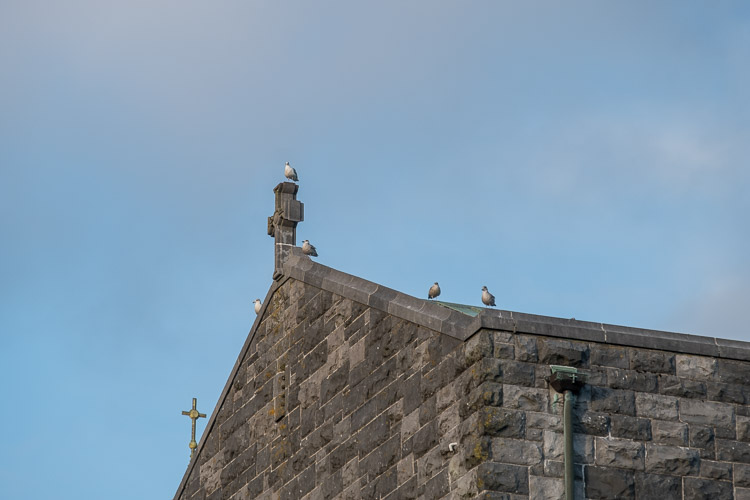
A detail shot of the roof to the left of the some at 135mm.
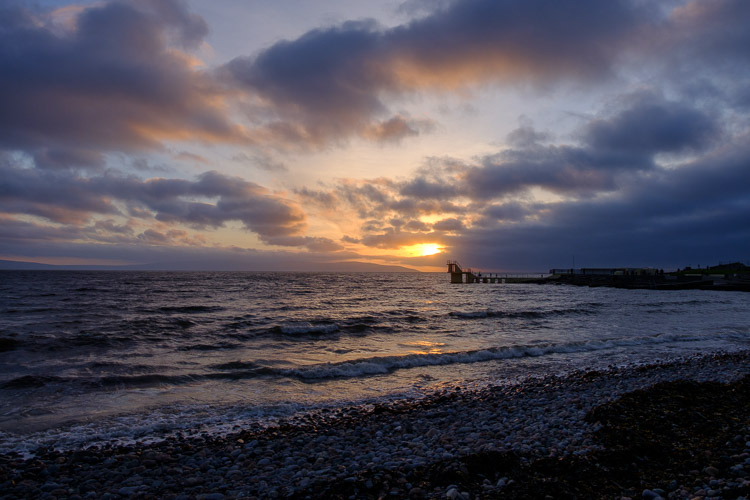
Salthill with the sun setting near Blackrock Diving Tower.
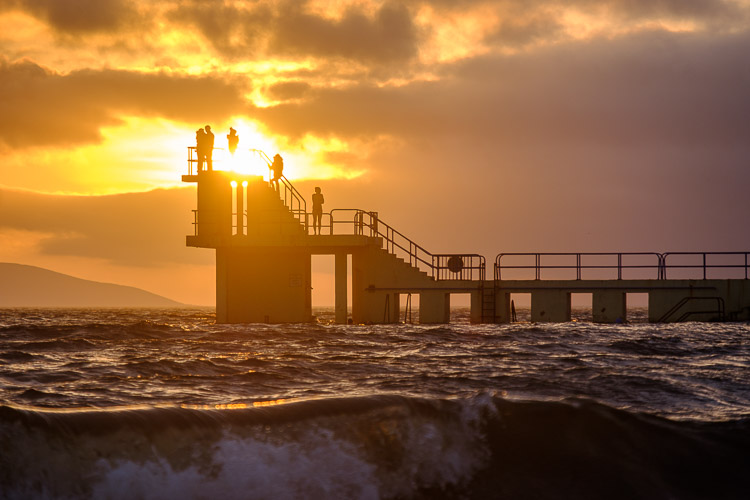
I moved slightly to frame the sun in the tower, but still roughly the same distance away, zoomed in to 135mm.
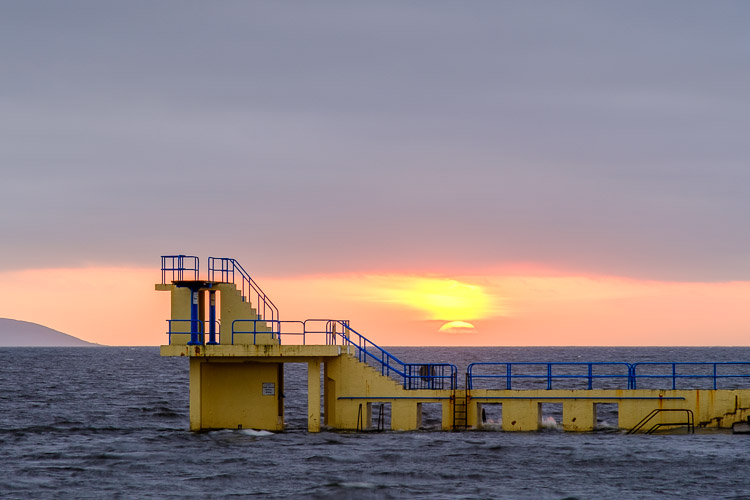
The sunset didn’t quite pan out, but I used the 135mm end of the lens to frame it with the diving tower.
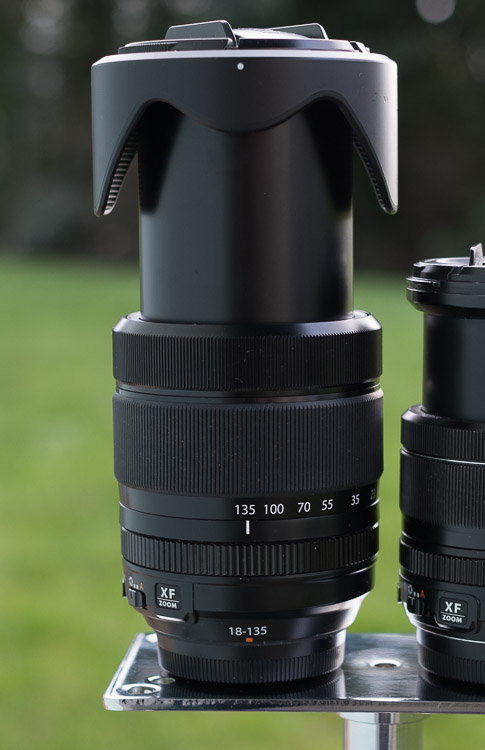
Specs of the Fuji XF 18-135mm lens
The Fuji XF 18-135mm weighs 409 grams (just shy of one pound). It’s not lightweight, but it’s not heavy compared to similar lenses in this class. Aperture runs from f/3.5 at 18mm to f/5.6 at the 135mm end. The full frame equivalent is 27-200mm. I owned the Canon 28-200mm for a while and sold it because of the softness. This Fuji 18-135mm, while not as sharp as the XF 18-55mm, is not as soft as the Canon version.
The lens extends in length as you zoom it. The lens barrel doesn’t rotate, so attached filters remain in the same relative position. It comes with a plastic lens hood, and the filter ring is 67mm. As with the 18-55mm, the lens has OIS to reduce camera shake. Fuji claims that this offers up to an impressive 5-stops of camera shake reduction. It’s in the WR (Weather Resistant) range of lenses also, meaning you can use it out in the rain, something I did when visiting London.
Travel and the Fuji 18-135mm lens
Super zooms, by and large, make for great travel lenses. The width is usually good enough for any situation. If you need more, it’s easy to shoot two overlapping shots and create a panorama later. The longer focal length means you can easily capture street portraits or zoom in to get details. Wide shots often have to include other tourists, especially when handheld. Detail shots can give a better flavor of an attraction, and give you something not everyone else thinks to shoot. The best part? Not having to change your lens to get both shots.
The weight of the lens isn’t a cause for concern, even carrying around all day. With a small messenger bag like the Think Tank Retrospective 10, you can use the lens mounted on a Fuji X-T2, while carrying a bottle of water and all your accessories. When traveling I had this combo, a 35mm f/1.4, a flash and trigger set, along with a small shoot-through umbrella. Also in the bag were an iPad mini, a power bank, and a foldable bluetooth keyboard. I never felt like I was weighed down and was quite productive with this setup. Whenever a shot presented itself, I simply grabbed the camera and was ready to go.
London
During the time I had the lens, I was at The Societies convention in London. It was a perfect chance to use the lens as a tourist. Some of the attendees organized a night shoot down by the river Thames. We walked along South Bank to the Millennium Bridge, shooting along the way.
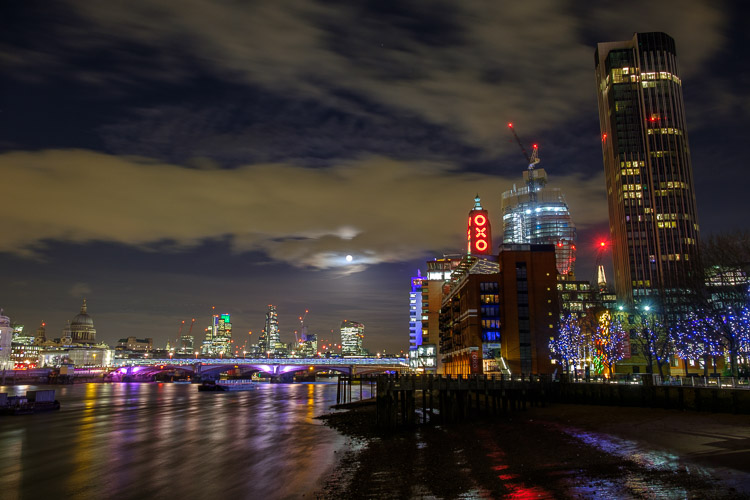
A shot of the London night skyline showing the OXO tower and St Pauls’ Cathedral.
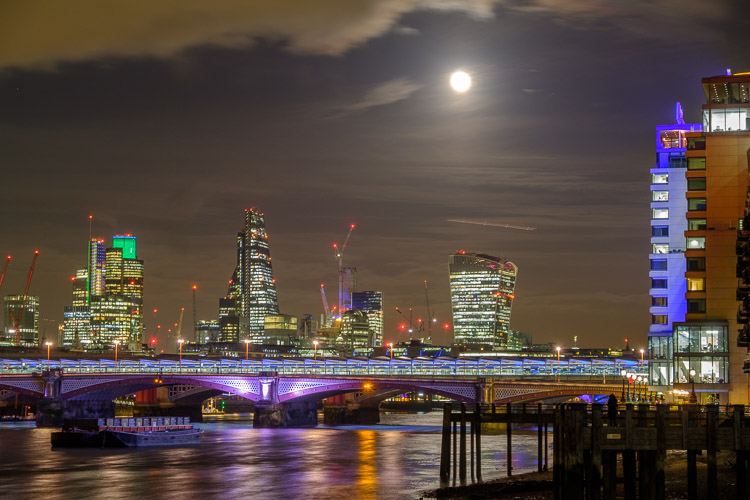
The same view at 53mm

And again at 70mm, longer than the 18-55mm could do.
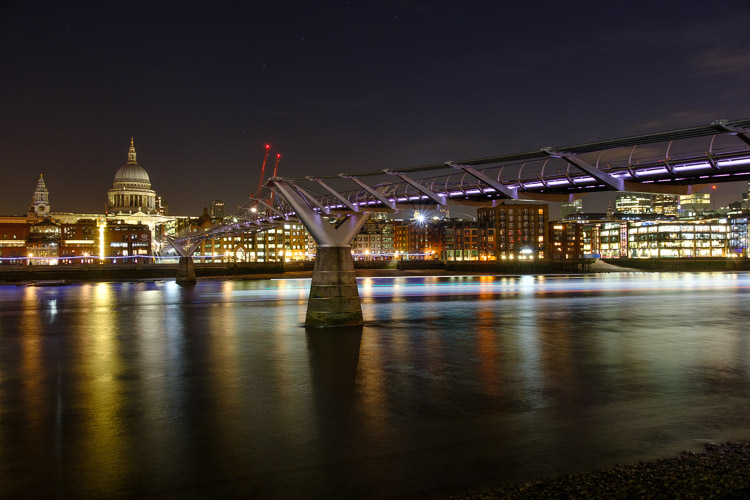
The Millenium Bridge and St Pauls.
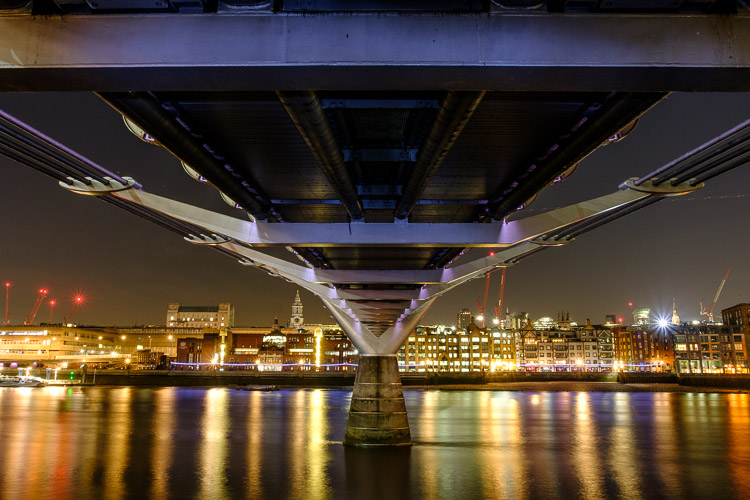
Under the Millenium Bridge I light painted the beams with a torch (flashlight) to get a little more detail into them.
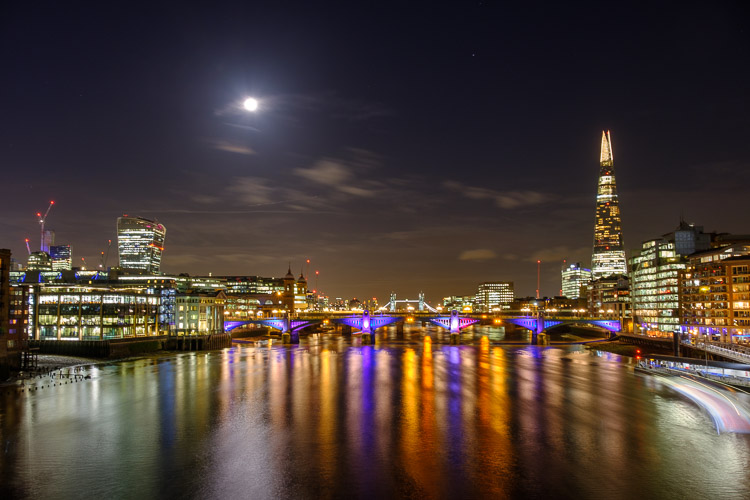
A wide view of the river showing the Moon and the Shard
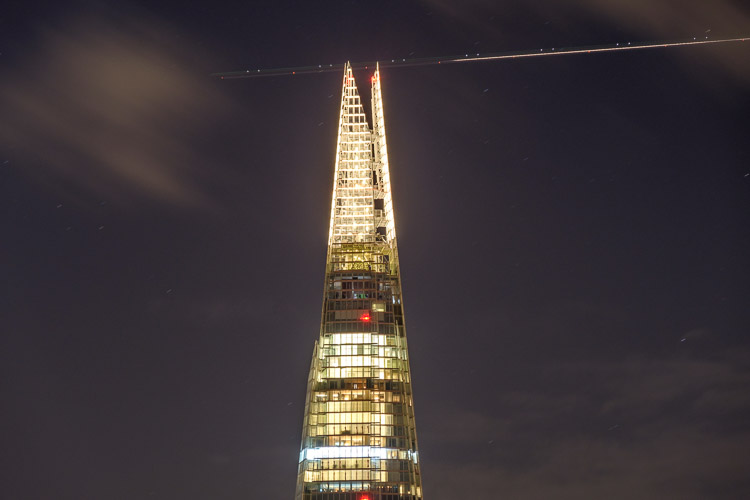
A 135mm zoomed-in view of the Shard with a plane flying past.
I also did a little walkabout the morning I was leaving. It was raining, but I kept the lens in the bag when not in use and it performed perfectly. Knowing it was weather sealed also made me more inclined to shoot in these conditions.
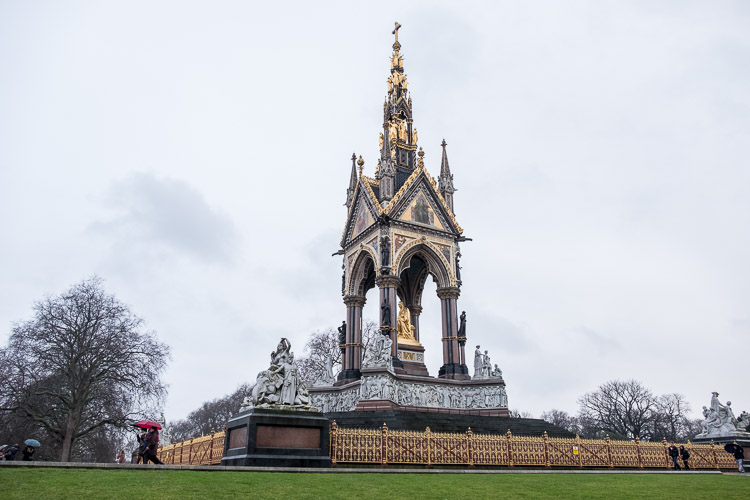
The Albert Memorial, complete with tourists.
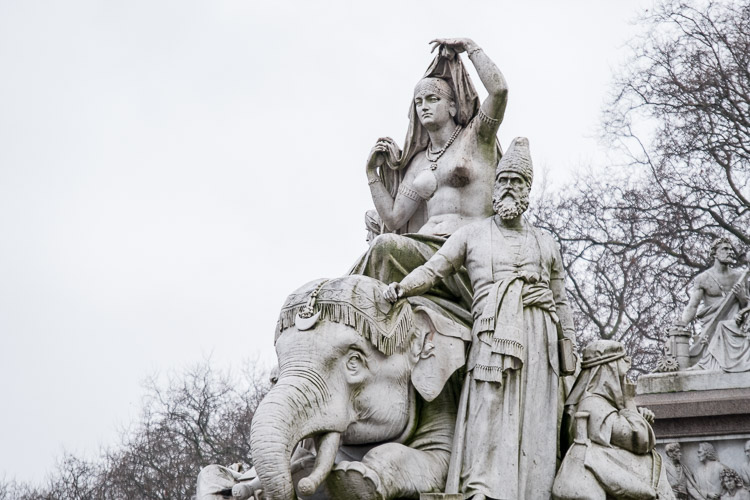
The Asia Group visible in the bottom left of the previous image at 135mm.
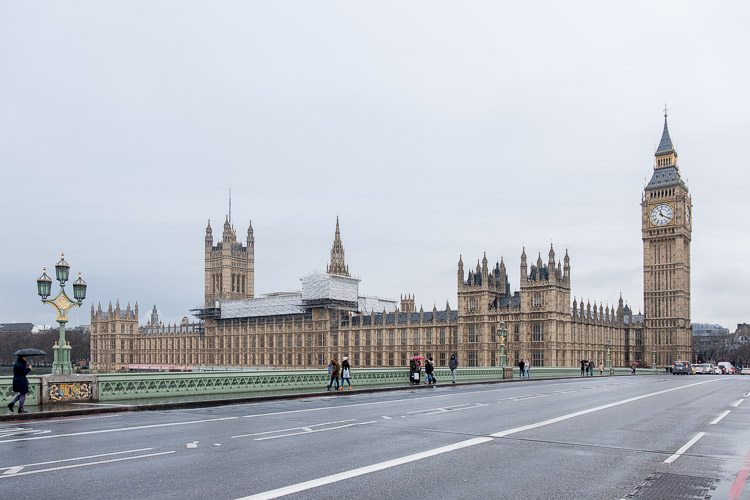
The Houses of Parliament from Westminster Bridge. Technically the bell is called Big Ben, not the clock tower.
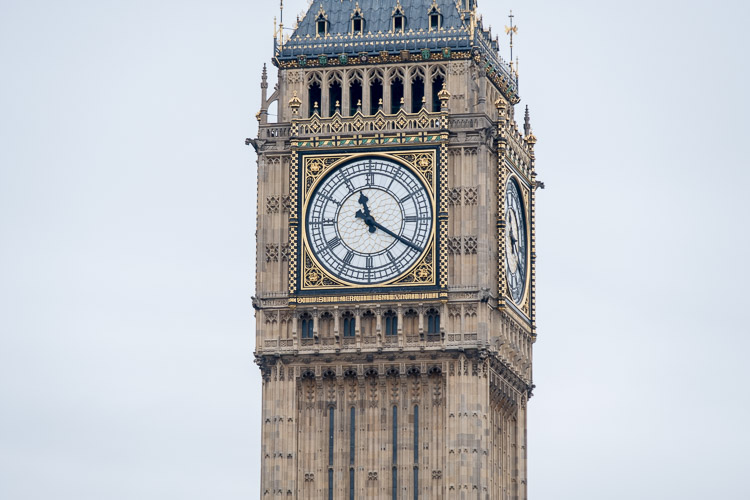
The clock tower that houses Big Ben.
People
I also made use of the lens in the studio, where it performed equally well. Shooting in studio tends to be around f/8-f/11, which is the sweet spot of most lenses. The Fuji XF 18-135mm lens didn’t disappoint.

A model shot taken in the studio.
Issues
The main problem with the lens is that shots are a little soft. It’s simply a function of producing the zoom range to a price point. This isn’t really a problem, as the files can be sharpened in Lightroom or another raw converter as a batch process.
Versus the Fuji 18-55mm lens
As both the 18-55mm and the 18-135mm are offered as kit lenses, you may wonder which is better for you. The 18-135mm is larger, heavier, and slower than the 18-55mm. It’s also not as sharp. If a smaller size and faster aperture are important to you, go for the 18-55mm. If you want more reach and don’t want to bring two lenses while traveling get the 18-135mm. Here’s what the two lenses look like side by side.
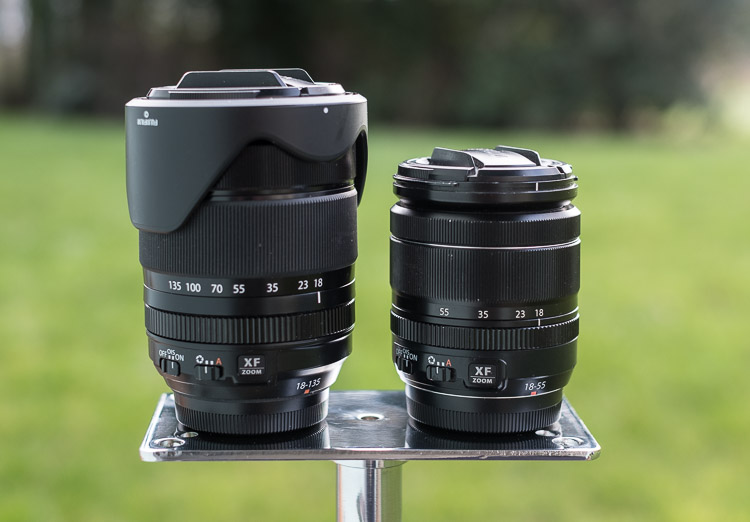
The Fuji XF 18-135mm lens with the XF 18-55mm.
Here’s the full extension on both lenses. I had to tape the back of the 18-55mm to stop it from slipping (zoom creep) for this shot. The 18-135mm was solid the whole time.
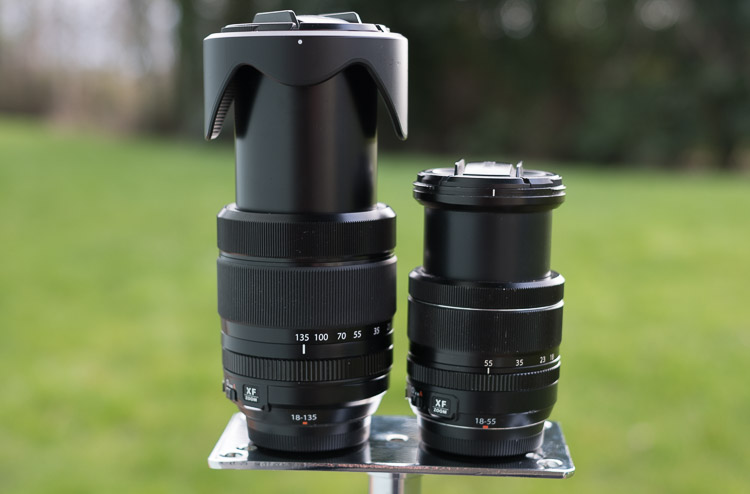
TheFuji XF 18-135mm lens with the XF 18-55mm, both at full extension.
Verdict on the Fuji XF 18-135mm lens
This is a great travel lens that needs a little post-processing to bring out its best. Despite already owing the 18-55mm, I would consider getting this lens specifically for travel
Pros
- Great reach (zoom or focal length range).
- You only need one lens for travel making it really convenient.
- It’s still compact compared to full frame equivalents, like the Canon 28-200mm or 28-135mm IS.
- The built-in OIS (stabilization) is great for handheld shots.
- It’s Weather Resistant.
Cons
- It’s still heavier than the 18-55mm lens.
- This lens is a little softer than other Fuji lenses, especially at 135mm.
- The edges of the frame are a little softer than the centre.
Shop for this lens on Amazon.com or on B&H Photo’s website.
googletag.cmd.push(function() {
tablet_slots.push( googletag.defineSlot( “/1005424/_dPSv4_tab-all-article-bottom_(300×250)”, [300, 250], “pb-ad-78623” ).addService( googletag.pubads() ) ); } );
googletag.cmd.push(function() {
mobile_slots.push( googletag.defineSlot( “/1005424/_dPSv4_mob-all-article-bottom_(300×250)”, [300, 250], “pb-ad-78158” ).addService( googletag.pubads() ) ); } );
The post The Fuji XF 18-135mm – a Versatile Travel Lens by Sean McCormack appeared first on Digital Photography School.


 But is that a mistake? I think it is because black and white photography and color photography are two different mediums. If you are working in color, then you need to pay attention to the colors in the scene and how to use them to create an interesting composition. But in black and white, you need to pay more attention to textures, contrasts, and shapes in order to create a strong composition.


You must be logged in to post a comment.