Earlier today I shared some stunning, and colorful sunset images, including one of my own from my recent photo tour to Nicaragua. Even if you can’t get to exotic locations like that, I have a few tips for you to help you take better sunset photos. Then off you go as sunset photography is this week’s photography challenge.

Group from my photo tour to Nicaragua getting ready to shoot some fire spinning on the beach. I turned around and shot them against the last bit of light in the sky.
Sunset photography tips:
I give these in my travel class, they are easy to do and make such a dramatic difference in coming back with a boring sunset versus one that has your friends drooling.
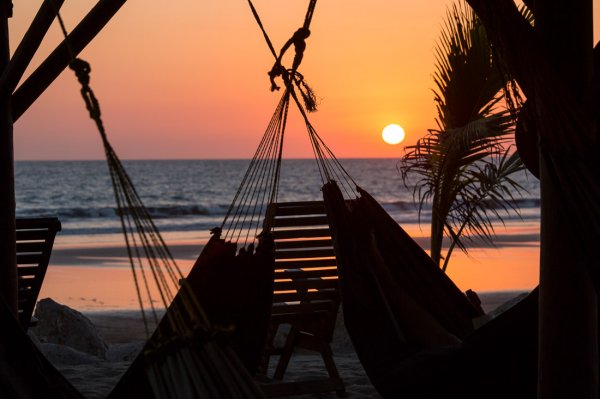
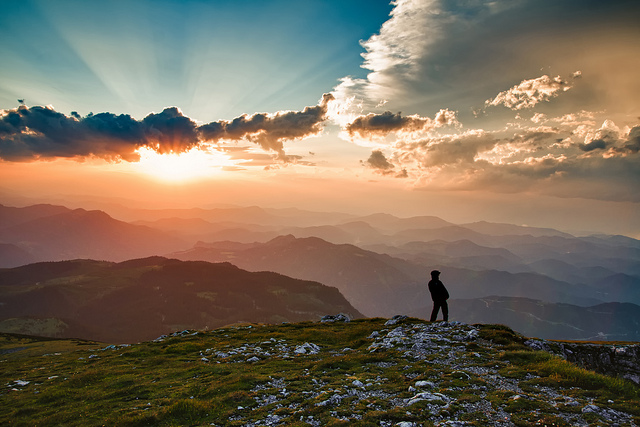
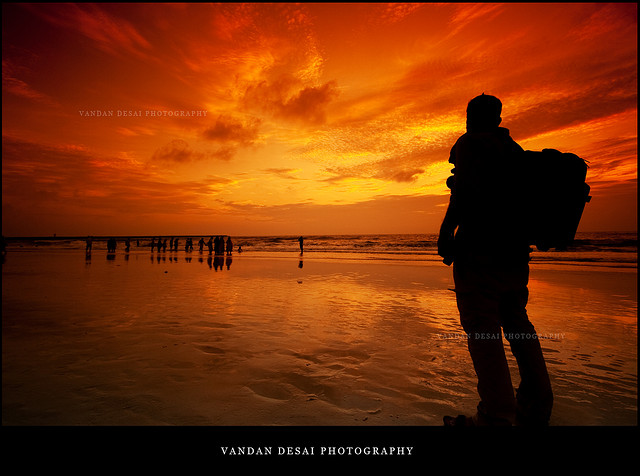
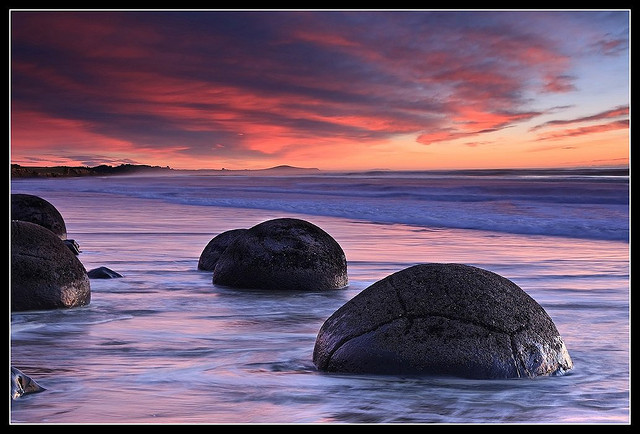
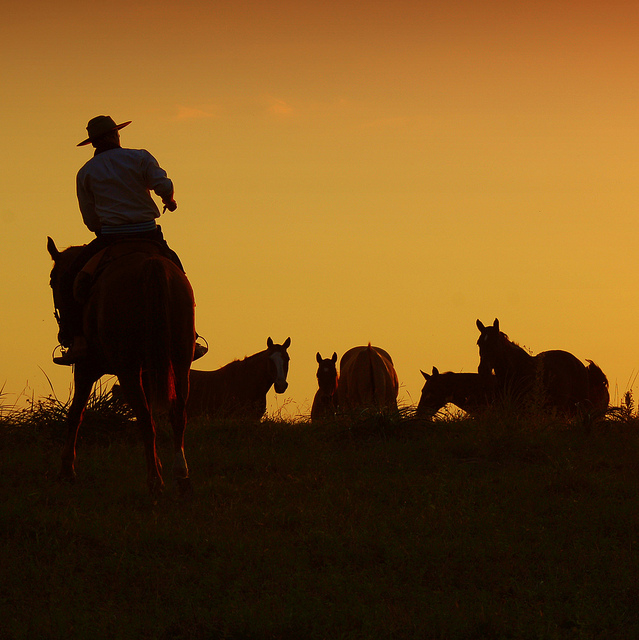
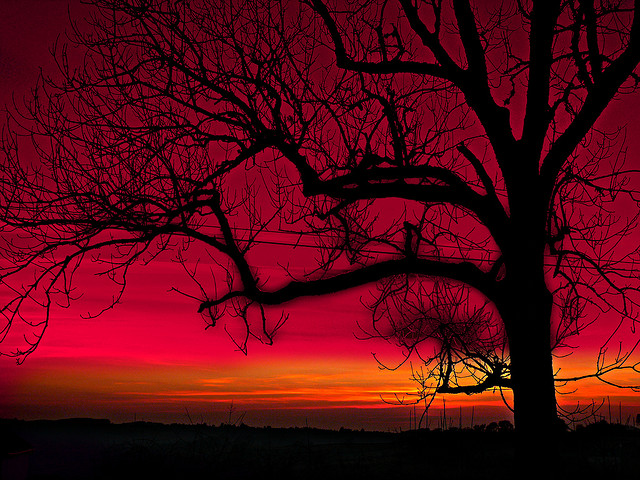
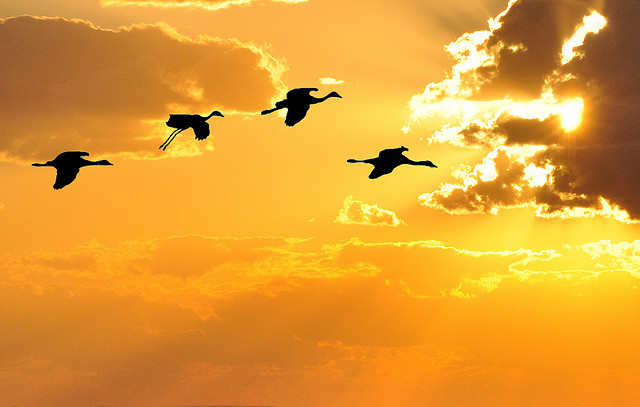
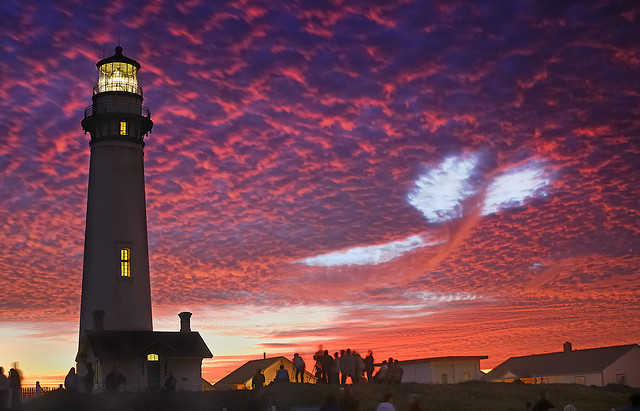
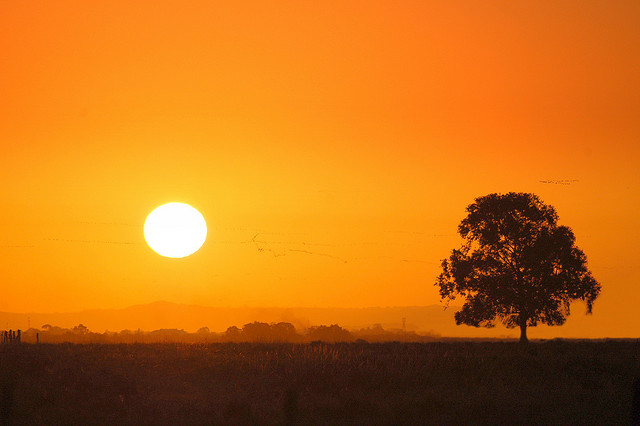
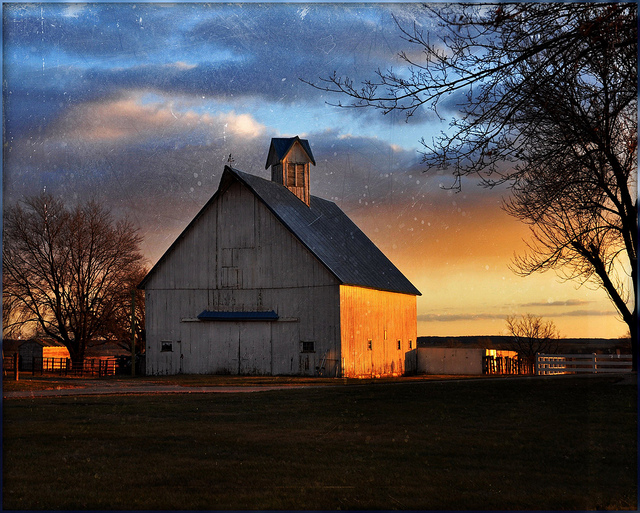
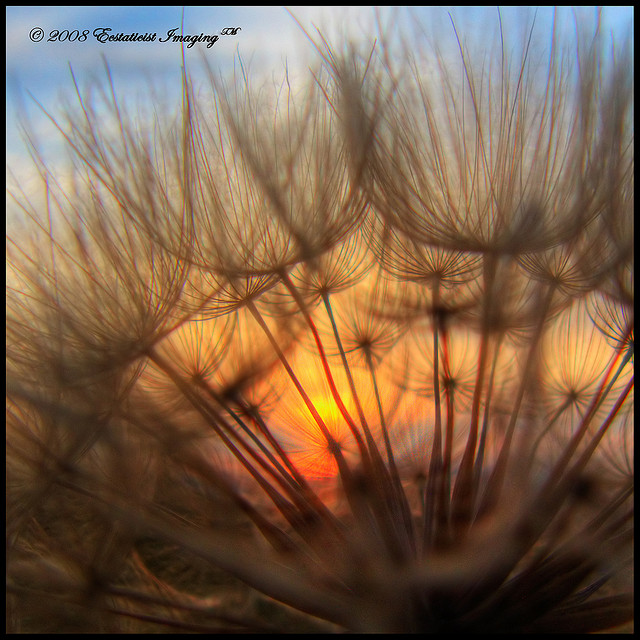
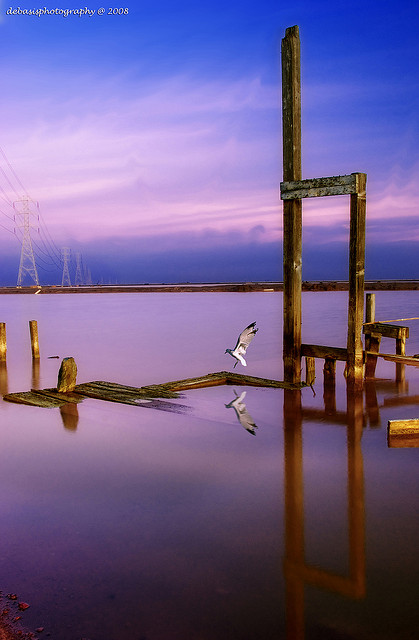
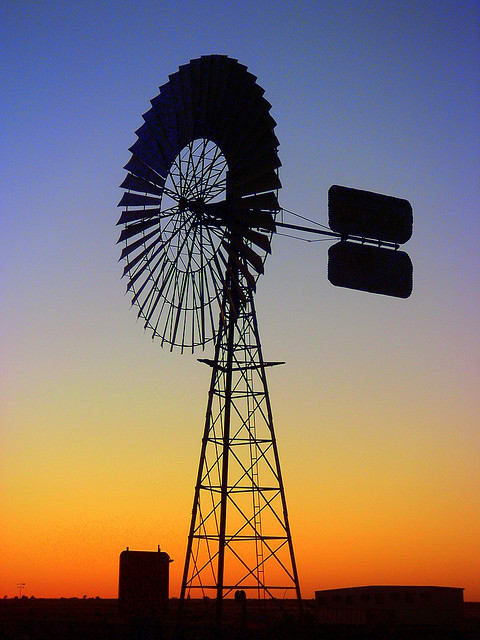
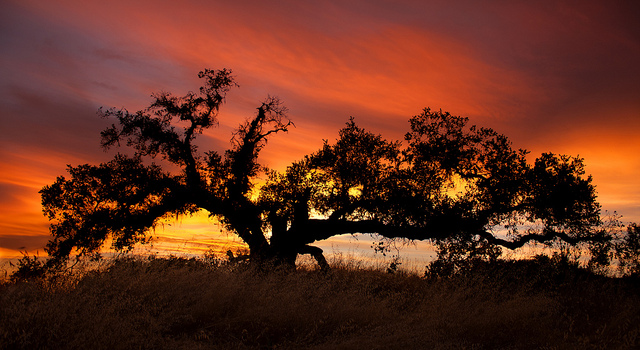
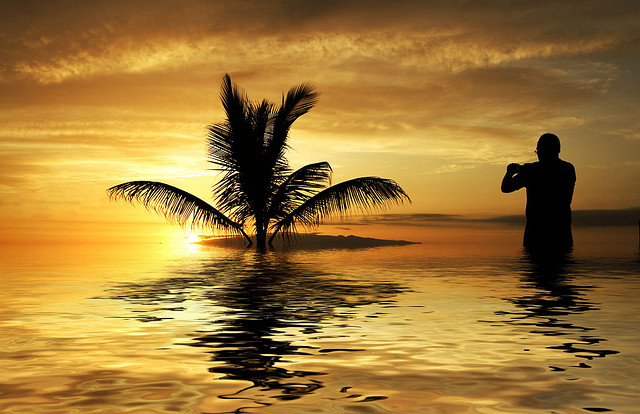
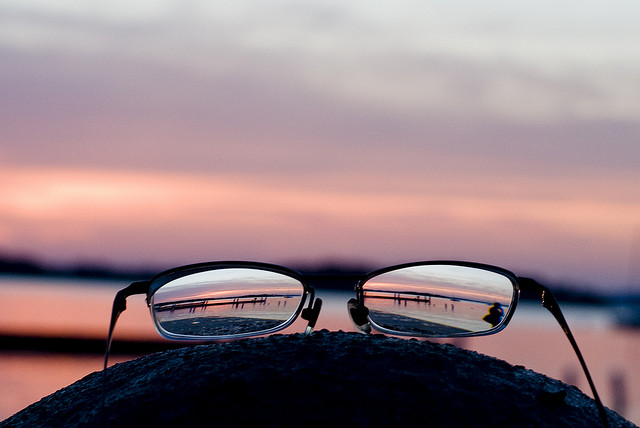
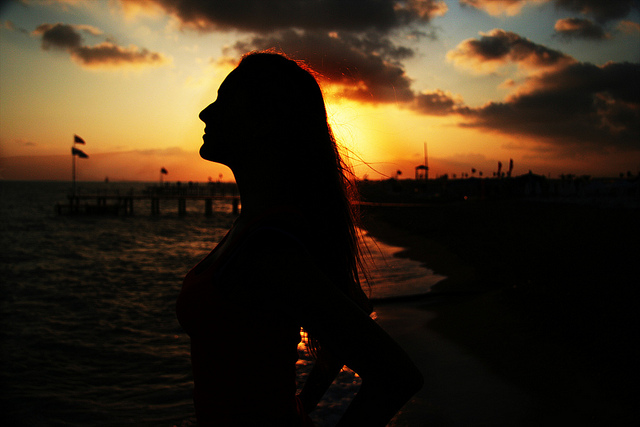
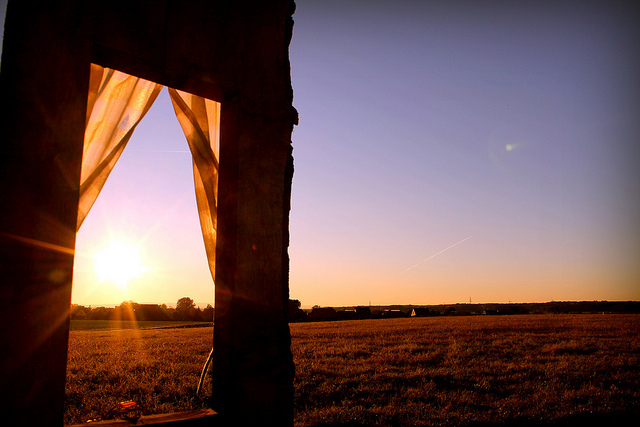
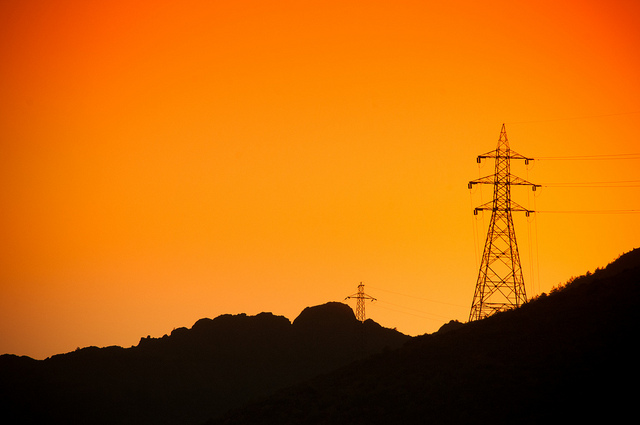
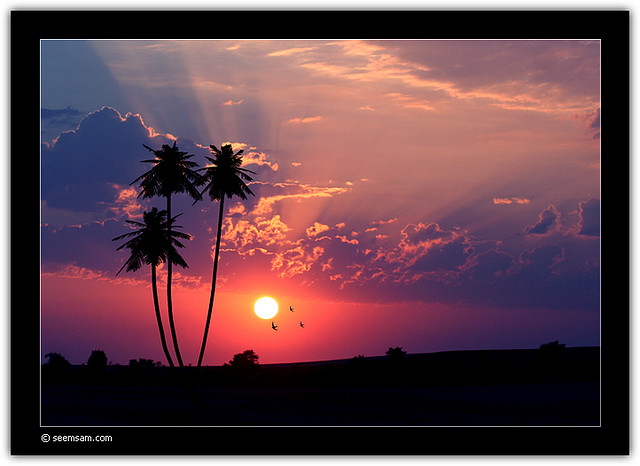
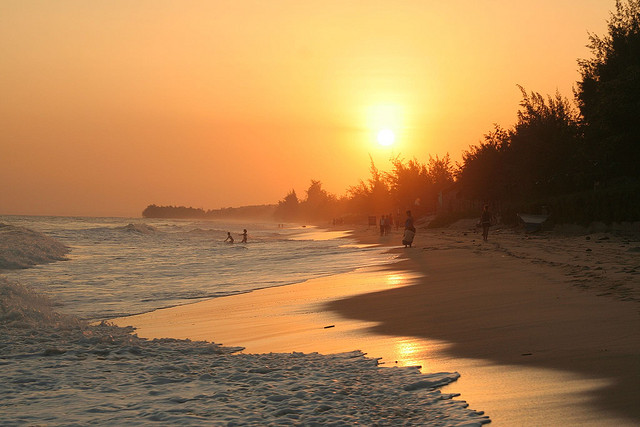
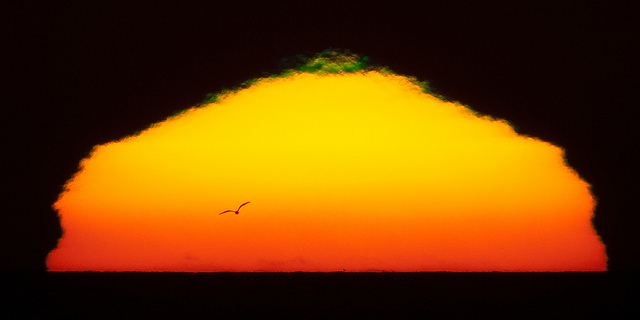
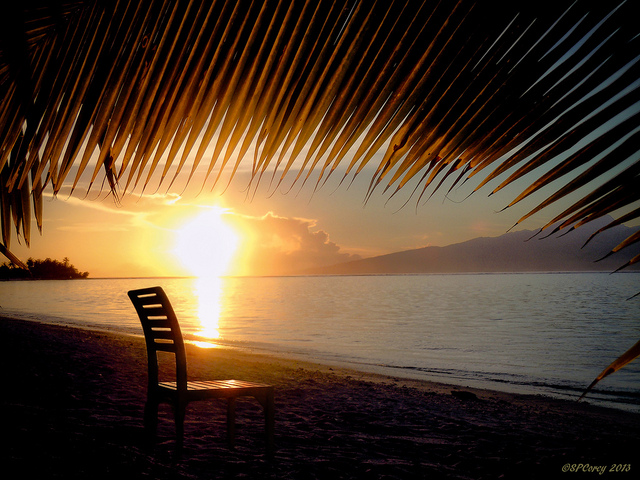
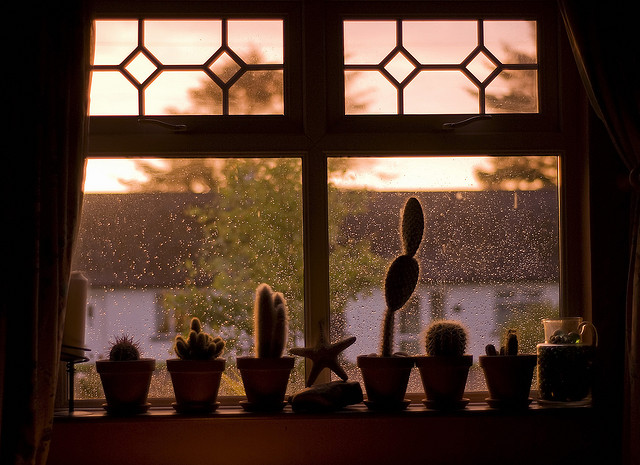
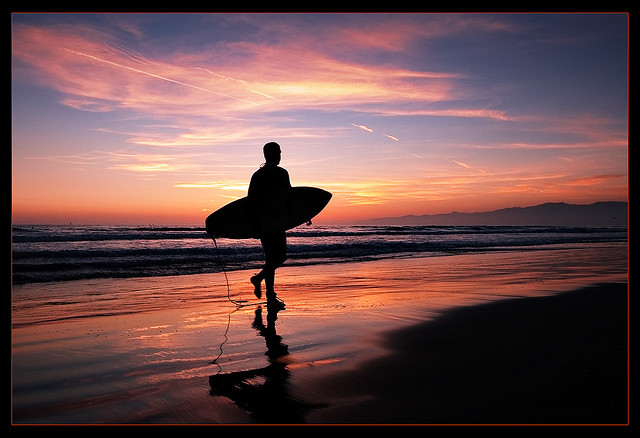
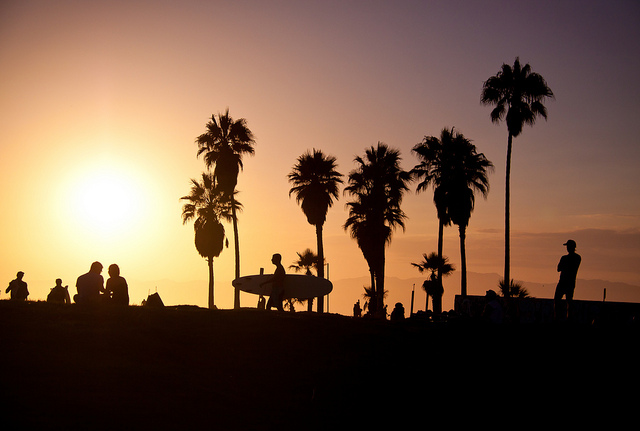
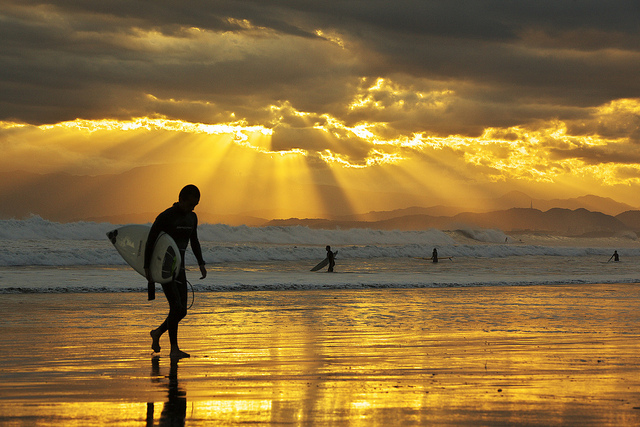
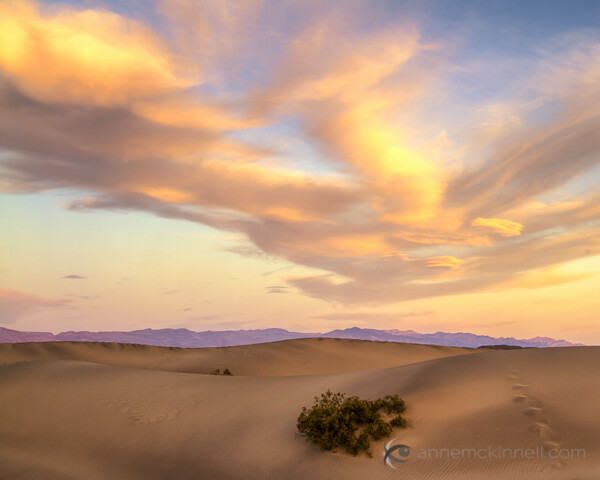
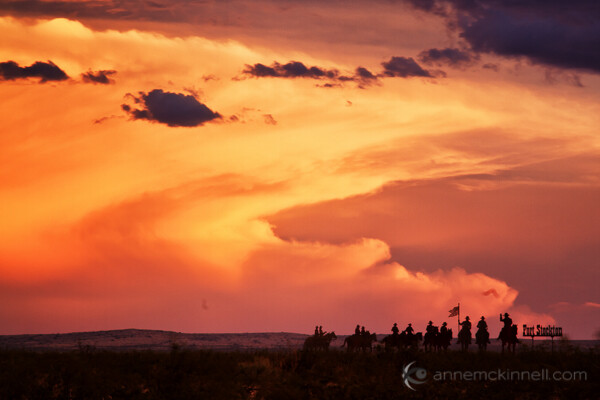
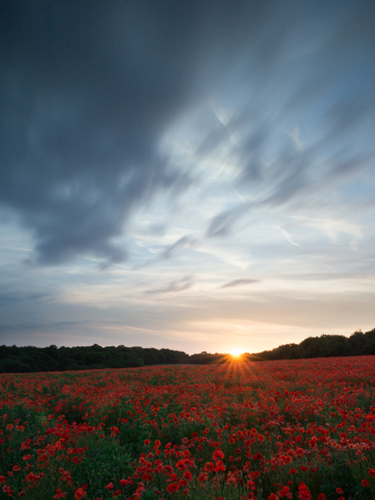
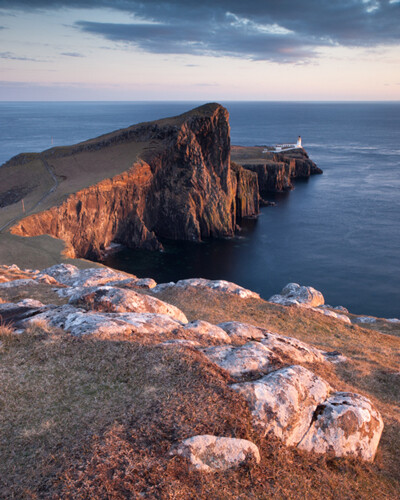
- Put something in front of the sunset – just a gorgeous sky at sunset is not enough to make a great photo. It needs something of interest, a focal point. So basically the sunset becomes a stunning background for something. Ideally pick something with a recognizable shape such as: a tree, a person, birds, animals, a city skyline, etc. Just make sure the outline is clean and doesn’t overlap something else, watch for people standing together that look like one person with three legs, horizon going right through a person’s head, and so on – in a silhouette they will all blend together and be a messy blob. Lastly, focus on the item, NOT the sky!
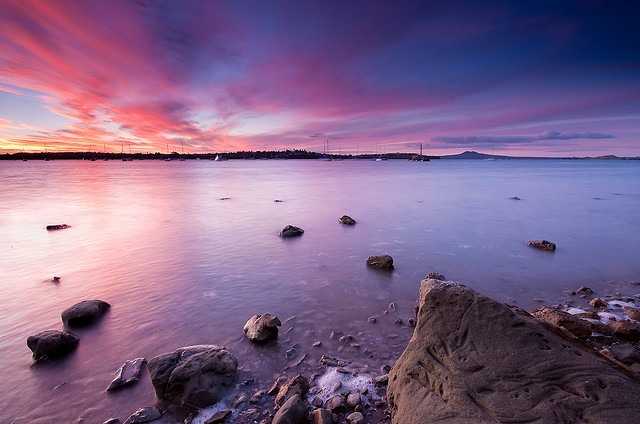
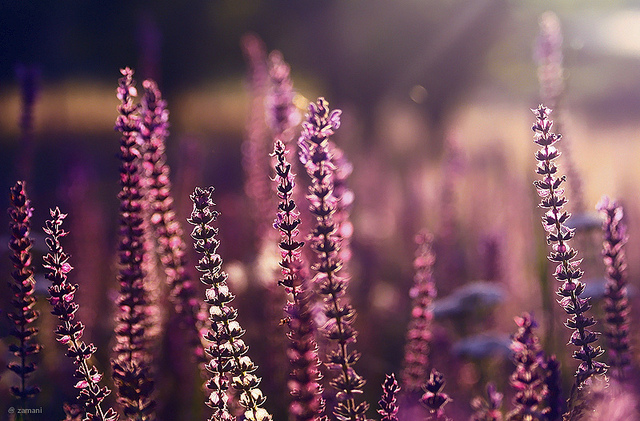
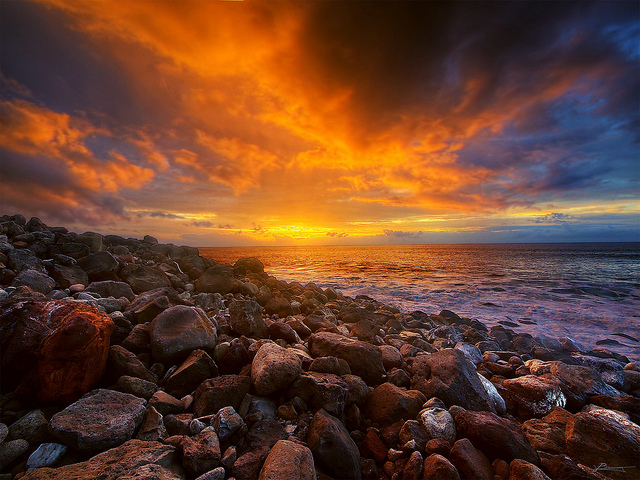
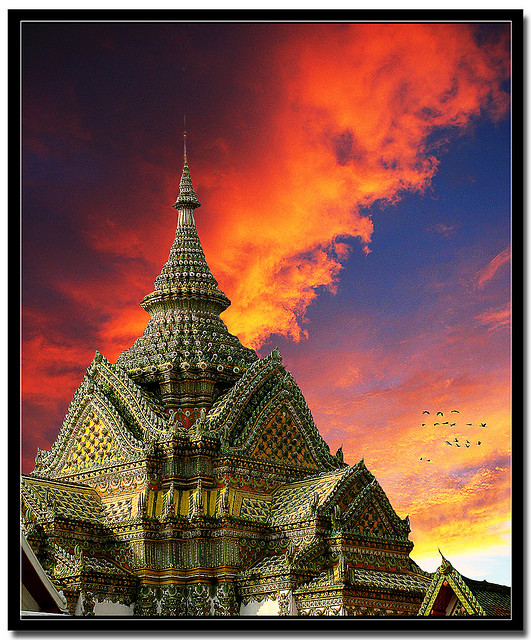
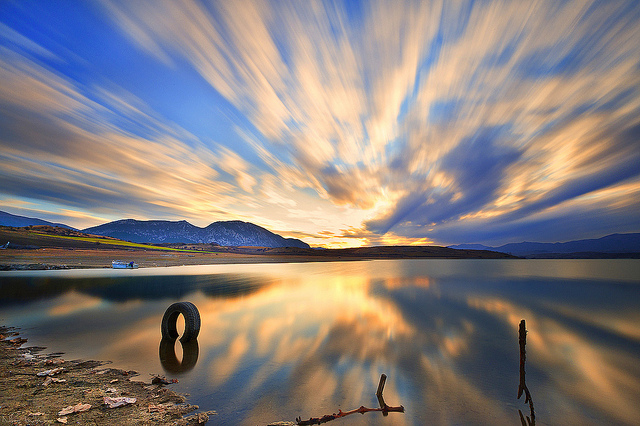
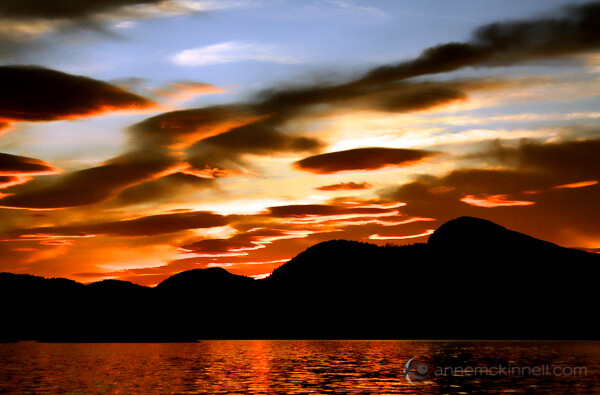
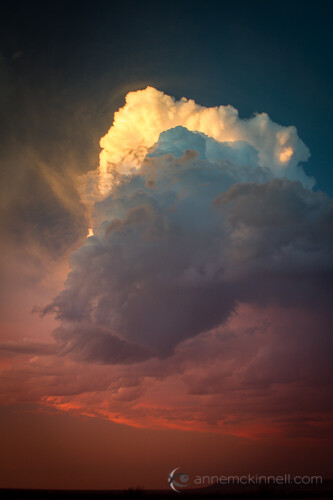
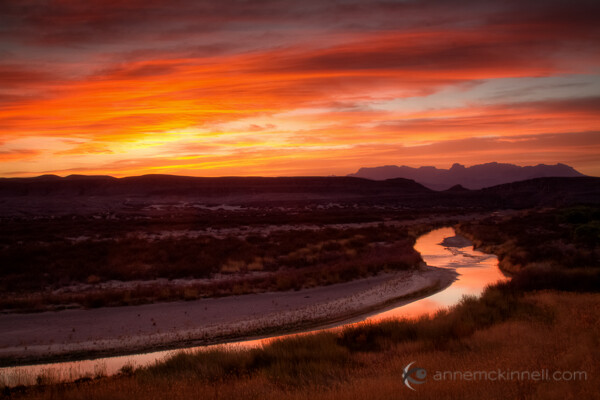
- Wait (or hope) for some clouds – sunsets with clouds can be even more incredible as the colors move and shift across the sky, almost as if they are alive. Keep shooting until it’s dark, use every bit of light there is and see how the colors change over the whole time period.
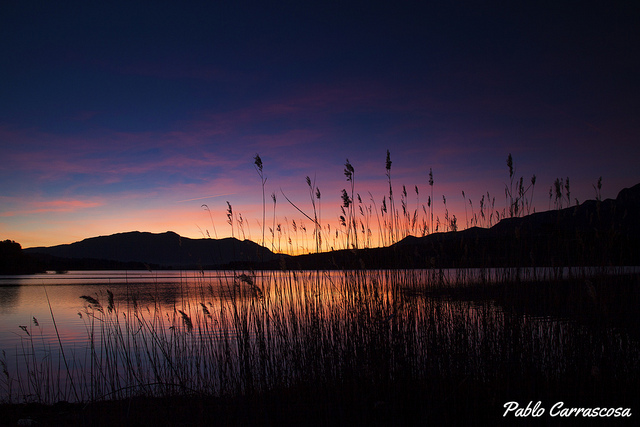
- Expose for the sky, meaning underexpose according to your camera’s meter – often when you shoot a sunset your camera’s meter will read the light and try to make it brighter. But if you want more vibrant and saturated colors, and to create a silhouette of the lovely subject you’ve placed in front of the sky – you will need to override the camera and tell it to under expose, or make it darker. This is subjective so you might want to bracket your exposures when shooting and choose the best ones later.
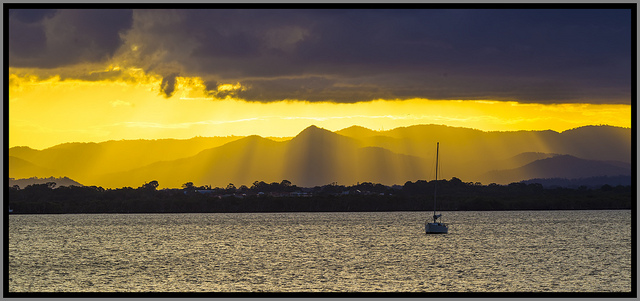
- Adjust your White Balance – using Auto White Balance most of the time will give you a decent result. For sunsets if you really want to bring out the color though, try switching to one of the presets that adds warmth such as Shade or Cloudy. If you have K as an option play with the entire scale – shoot one image at 2500K and another at 10,000K and see which works best for that scene.

By Theophilos Papadopoulos

By RayMorris1

By Jeff S. PhotoArt

By Bo Nielsen

By Milivoj Sherrington

By esther**

By Angela Sevin
For some articles that might help with this challenge, see these:
- 12 Tips for Photographing Stunning Sunsets
- Using Sun Flares and Starbursts to Create Stunning Images
- Do you pack up and leave after sunset and miss the fun of night photography?
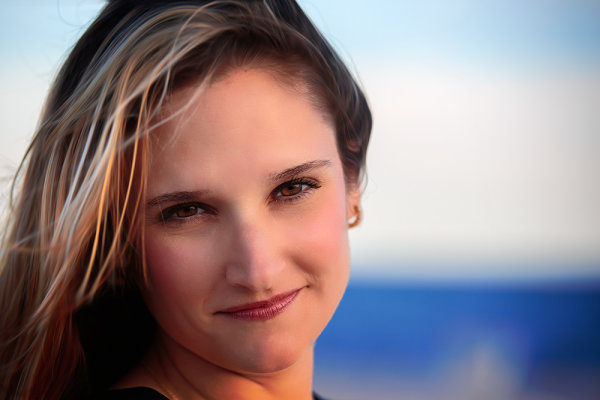
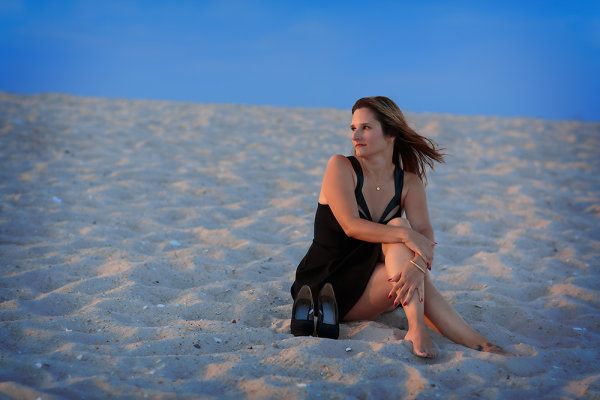
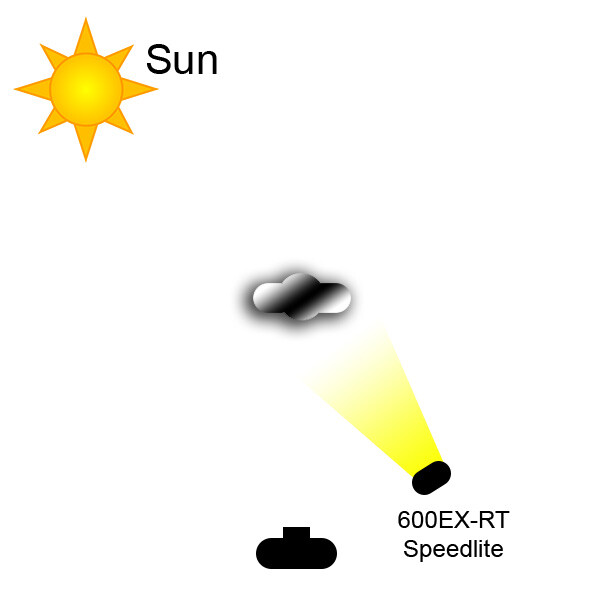
- Getting Great Portraits At Sunset
- How to Use a 10-stop ND Filter to Take Long Exposure Sunset Images
Share your sunset images!
Simply upload your shot into the comment field (look for the little camera icon in the Disqus comments section as pictured below) and they’ll get embedded for us all to see or if you’d prefer upload them to your favourite photo sharing site and leave the link to them.
The post Weekly Photography Challenge Sunset Photography by Darlene Hildebrandt appeared first on Digital Photography School.


You must be logged in to post a comment.