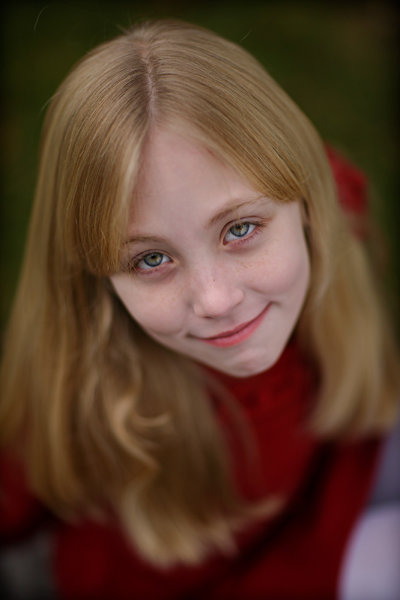
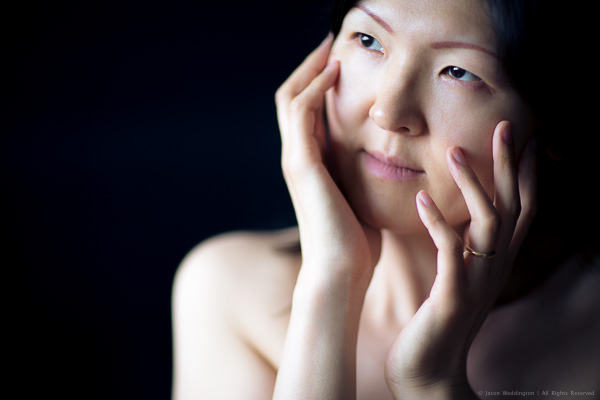
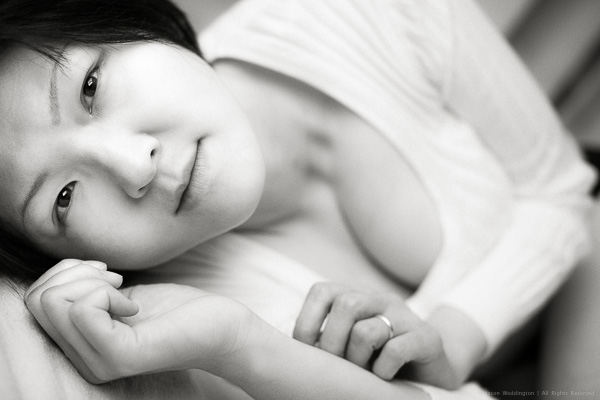
Here, I managed to avoid making the mistake, even though I shot the lens wide open at f/1.2, by having my subject keep both eyes on the same plane. The look is striking, in that the depth of field drops off immediately and the image softens dramatically after the area of sharp focus around the eyes. Exposure was 1/6400, f/1.2, ISO 200. Camera was EOS-1Ds Mark III, with EF 85mm f/1.2.
We all make mistakes. Even the best photographers I know make a mistake now and then. And usually, we all have one we can’t get seem to stop making. For me, it’s a different mistake for each type of photography, whether it’s a portrait, a landscape, or some other type of photography. The secret to getting better as a photographer is overcoming these mistakes and to stop making them.
When shooting portraits, my biggest problem isn’t lighting, or posing. My problem is with my own settings, especially when using my favorite portrait lens. That would be the Canon EF 85mm f1.2L II. This is a lens with incredibly smooth bokeh, and a unique look, especially when shot wide open. And I do love to shoot it wide open. But it does require some extra care when doing so, which leads to my most common mistake.
When shooting the 85mm f/1.2 wide open (or even close to wide open), and close up, your depth of field is paper thin. If you were to focus on an eyelash, the eye itself would be out of focus. It’s that unforgiving. When done right, it creates a beautiful image, where the eyes are the sole focus. When done wrong, it ruins the image beyond repair. The mistake is easily fixed; it just requires that you pay attention as the pose shifts, adjusting the aperture to give you the proper depth of field. In addition, if that paper-thin depth of field is what you want, simply adjust the pose so that it works for the shot.
This is probably my least favorite mistake, in that it’s not something that can be fixed in post. Sometimes things happen quickly and it’s not possible to turn the dial that quickly. But sometimes taking a deep breath, and mentally running through the settings, is a good way to ensure you get the shot you want. Is my shutter speed fast enough? Or slow enough? Do I have enough depth of field? Or too much? Is my ISO too high for the lighting conditions? Or not high enough? It’s a mental checklist that can take only a second, but can ensure that you get the image you want.
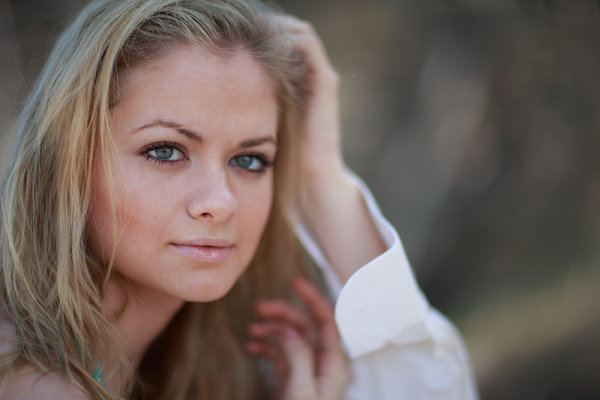
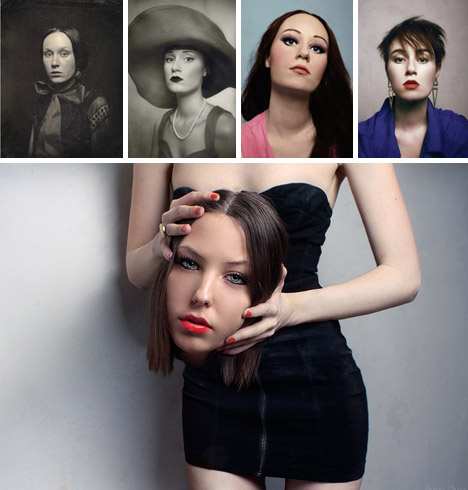
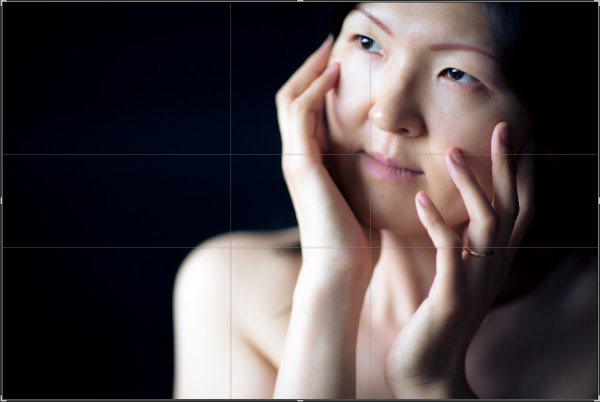
In this image, also shot at f/1.2, because the model’s eyes are not on the plane, the right eye drops out of focus. The effect is disconcerting, and a mistake I make more than I’d like. It would be so easy to turn the aperture dial and stop down enough to give me the proper depth of field. I just need to remember to do that. Exposure was 1/4000, f/1.2, ISO 100. Camera was the EOS-1D X, with EF 85mm f/1.2L II lens.
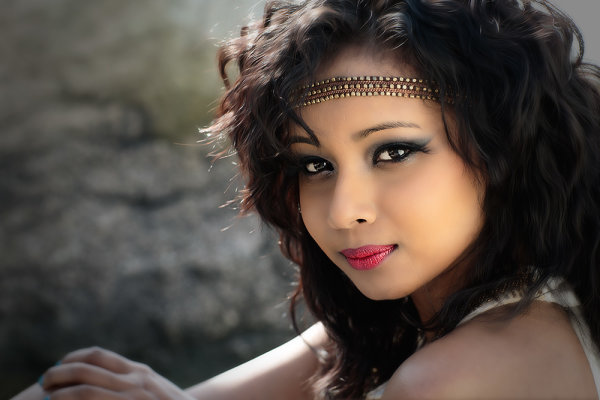
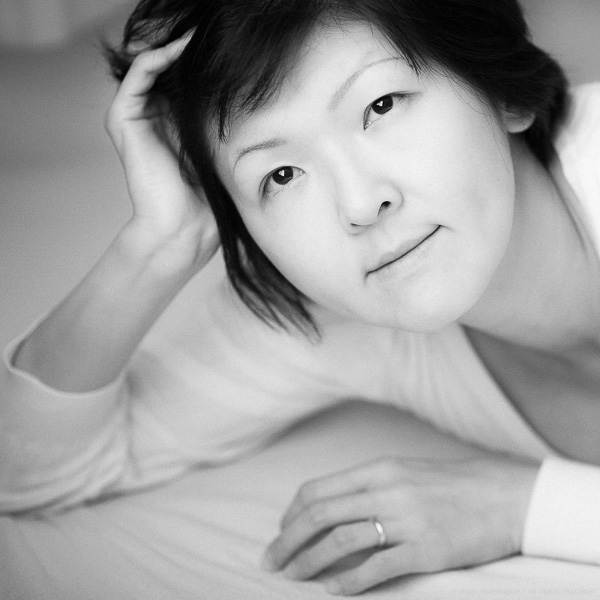
For this image, I stopped the lens down to f/5.6. This game me enough depth of field to keep both eyes sharp, while the background remained out of focus. Exposure for this one is 1/100, f/5.6, ISO 100. EOs-1D X with EF 85mm f/1.2L II.
Post originally from: Digital Photography Tips.
Check out our more Photography Tips at Photography Tips for Beginners, Portrait Photography Tips and Wedding Photography Tips.
My Most Common Portrait Mistake


 Professional photographer Gina Milicia, author of our ‘Portraits, Making the Shot‘ will take you through everything there is to know about capturing pixel perfect portraits over a fun and informative day.
 Portrait photography, IMHO, is up there in degrees of difficulty with wildlife and sports/action photography … but at least, when faced with a tiger or a pole vaulter, you don’t have to face a possibly irate subject when you’ve finished the shot. Hopefully!


You must be logged in to post a comment.