Editor’s Note: This is one of a series of article on macro photography this week. Look for a new one each day. The next newsletter will have them all if you miss any!

Has Macro Week here at DPS sparked your interest, but you’re still not sure whether you’re quite ready to invest in a macro lens of your own? If so, then this article is for you! I’ll outline three different ways that you can try out macro on a budget, and possibly even with gear that you already own.
Now, before any macro-purists fall off their chairs in disgust, let me say that the techniques outlined in this post will produce pseudo-macro images. In a true macro image, the subject is projected onto the camera’s sensor at a 1:1 magnification, which means that the subject is exactly the same size in real life as it is on your camera’s sensor. That’s not the case, or the intent here. The intent here is to allow those of you who haven’t tried macro photography, the opportunity to test the waters and see if it is even something that interests you before making a big investment in a macro lens.
1. Use a Telephoto Lens

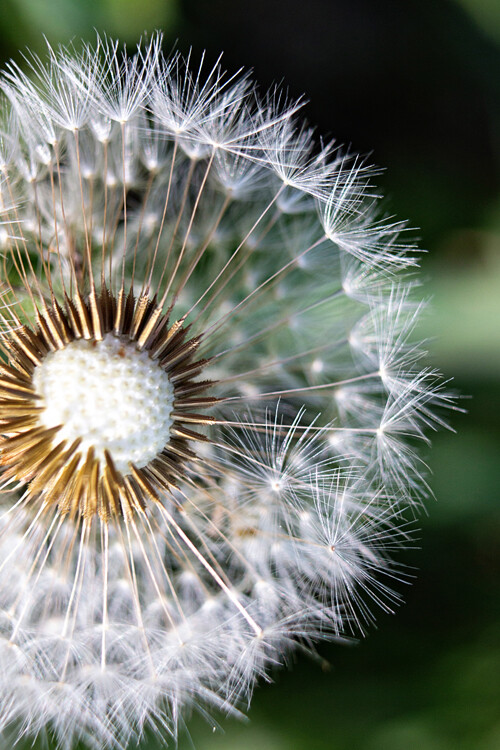
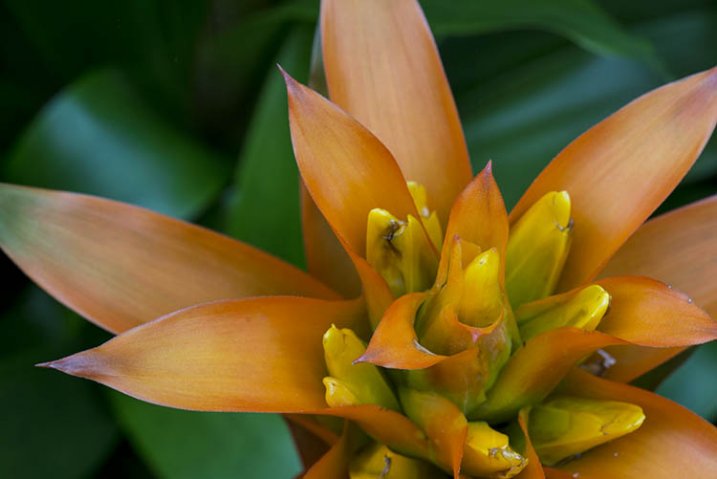
This image was shot about two feet away from this flower, using a telephoto lens at 220mm.
My very first dslr camera came in a package with both an 18-55mm lens and a 75-300mm lens. I don’t tend to use the 75-300mm lens very often, but when I do, it’s usually in a pseudo-macro capacity. If you have a telephoto lens already in your bag, give this a try–stand about two feet away from your subject, with your zoom lens at about 250-300mm. If you have trouble getting your subject to come into focus, continue to move backwards with your feet until you find the sweet spot. It’s important to zoom with your legs rather than your lens, in this instance, so that you can keep the background nice and blurry, and the focus on your subject. Once you find that sweet spot, you may want to set your camera on a tripod at that spot to avoid camera-shake as you’re taking the photo. I’ve also tried it hand-held a few times with good results, so don’t be afraid to give that a try as well.
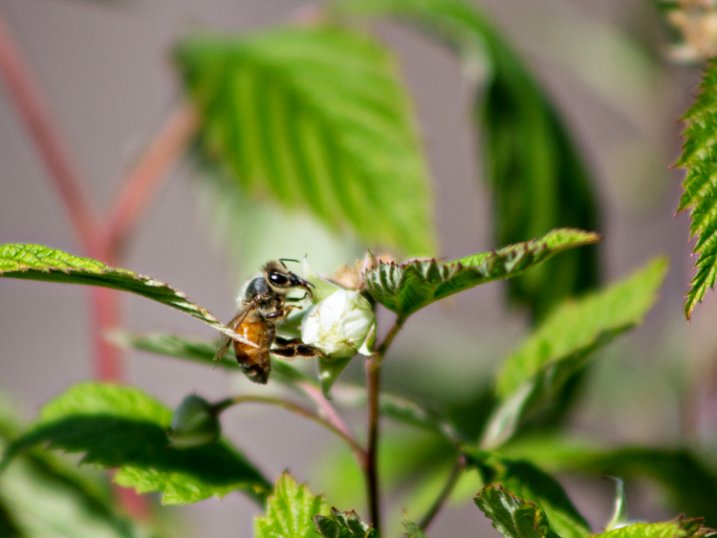
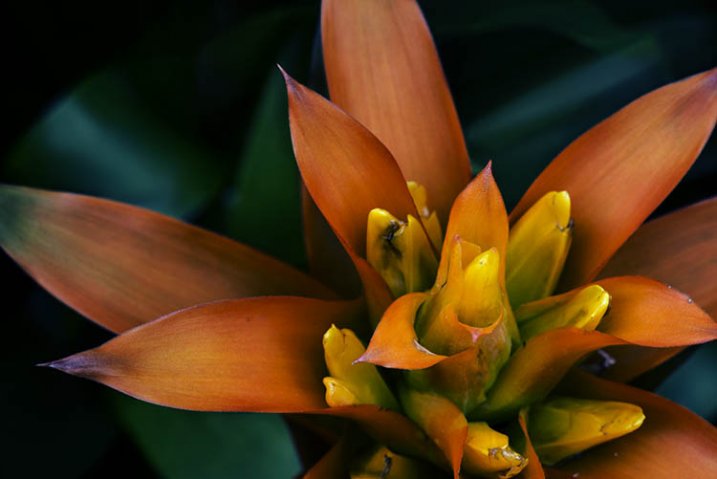
This image was shot using a telephoto lens at 300mm. This is about as sharp as I’m personally able to get when photographing living creatures with this method, and it isn’t sharp enough in my book.
One of the benefits of this method is that it doesn’t require you to get particularly close to your subject, which is ideal if you’re interested in taking macro photos of living creatures. Personally, I find that it is still difficult for me to achieve sharp focus when it comes to photographing living creatures with this method (even with a tripod), so I usually stick to more stationary objects like flowers. Still, if you already have a telephoto lens in your bag it may be worth your time to try this method first, before buying a macro lens. I say this only because I have more than one friend who thought they’d be really interested in macro photography of insects, only to discover that they actually couldn’t stomach seeing the insects up close in all their glory.
2. Try Extension Tubes
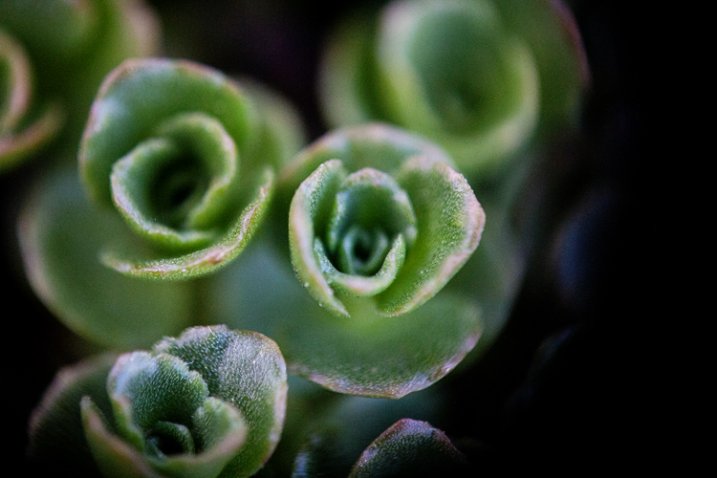
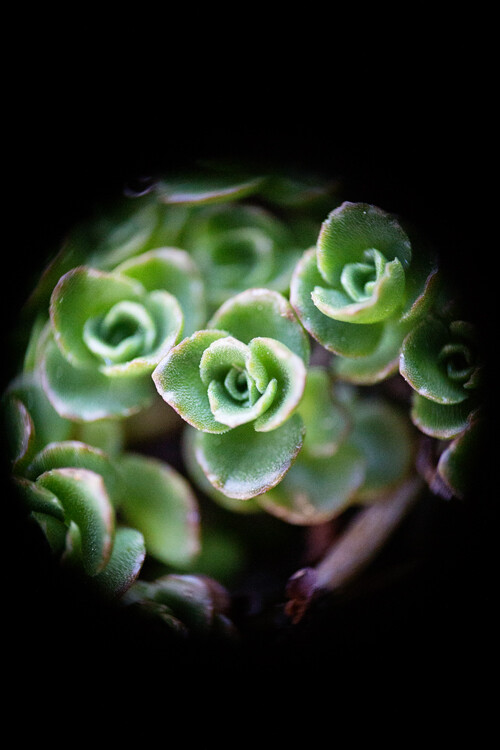
This image was taken with an 18-55mm kit lens + manual extension tubes.
An extension tube is a nifty little invention that screws on in between your camera body and your lens. They come in different widths, and can often be stacked so that you are able to use more than one at a time. They do not contain any glass, but simply allow you to get closer to your subject than you would be able to normally, while still maintaining focus. When it comes to extension tubes, you can find something for nearly any budget. More expensive versions maintain the electrical connections that allow you to use the autofocus feature on your camera, while less expensive versions will not. Additionally, some extension tubes will limit your ability to control aperture in-camera. If you have a lens that has a manual aperture ring, you can control it that way, but otherwise you’ll be shooting wide open. Personally, I have one of the least expensive sets of tubes $ 15, and even though I don’t have the capacity to use autofocus or control my aperture, I have always really enjoyed my set of tubes for creating macro images.
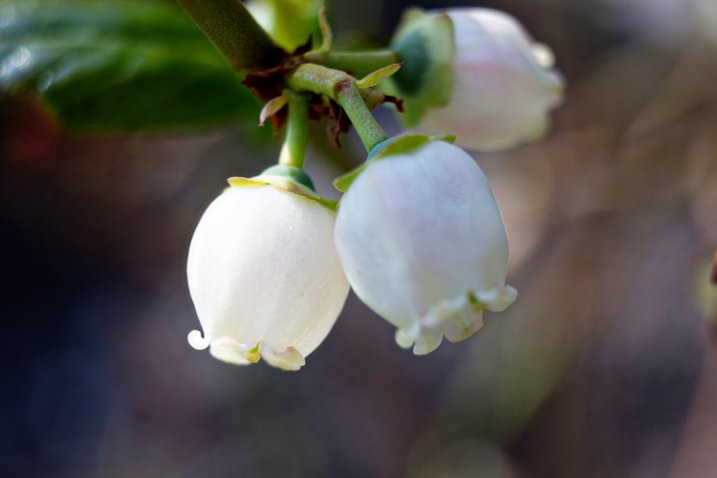
This image of a blueberry bush was taken with an 18-55mm kit lens + manual extension tubes.
That said, before you buy, you should know three things.
First, some reviewers have reported that the less expensive tubes have gotten stuck on their camera body and/or lens. Others have reported that the tubes did not hook securely to their camera body and caused their lens to fall off during use. I have not experienced either issue, but generally use the tubes on my second body, with my kit lens, neither of which I would be devastated to lose. It is a trade-off though—using my kit lens means that I’m not able to control my aperture as I would be with other lenses, which is a bummer (but also not a major issue for me).
Editors note: buyer beware, just be sure to shop around and read reviews (the good and the bad) before you buy any extension tubes. It may seem like a great deal but if they wreck your camera or your lens it won’t be.
Second, be prepared to get close. Like, REALLY close. It will feel really strange to have the lens almost touching your subject, but that’s typically about as close as you will need to go in order to achieve focus. If you’re too close try using a longer focal length lens, that will help with this issue.
Third, there is absolutely a learning curve with extension tubes, particularly those that don’t maintain the electrical connection with the camera. It’s not insurmountable, but you probably won’t be able to use them perfectly right out of the box. Just be prepared for some trial and error.
3. Reverse Your Lens
50mm lens hand-held in reverse up to an 18-55mm kit lens.
Did you know that you can turn any lens around and use it backwards? Well, you can! There are two different ways that you can reverse a lens to use it for macro photography.
The first way to use your lens in reverse is to buy a macro reverse ring. These rings are usually around $ 15, and you would need to know which lens you plan to use in reverse (different lenses require different sized reversal rings), AND whether you’d like to reverse the lens directly to the camera, or on to another lens.
Another instance of a 50mm lens being hand-held in reverse up to an 18-55mm kit lens. Note the major vignetting in this image, along with an almost tilt-shift effect. Both were straight out of the camera
The second way that you can reverse a lens is to simply hand-hold it in backwards. If you have both a kit lens and a 50mm lens, attach your kit lens to your camera as usual, and then hold your 50mm lens backwards, up to the end of the other one. If you can, wrap your fingers around the place where the kit lens and the 50mm lens join together to minimize any accidental light leaks. Again, you’ll have to zoom with your feet, and you’ll probably have to get pretty close in order for things to come into focus. This method works best for creative macro—you’ll find that the focus is much softer than the other methods, and often includes unpredictable vignetting. That said, if I’m trying to create a macro image that feels ethereal, this is my go-to method.
Are there any other techniques you’ve used to create macro or pseudo-macro images without a macro lens? If so, please share!
 Want to learn more about macro photography? Check out Ed Versosky’s Introduction to Close-Up & Macro Photography ebook – just $ 10 (over 30% off) this week with coupon code: DPS. You will need to enter the code to apply the discount.
googletag.cmd.push(function() {
tablet_slots.push( googletag.defineSlot( “/1005424/_dPSv4_tab-all-article-bottom_(300×250)”, [300, 250], “pb-ad-78623” ).addService( googletag.pubads() ) ); } );
googletag.cmd.push(function() {
mobile_slots.push( googletag.defineSlot( “/1005424/_dPSv4_mob-all-article-bottom_(300×250)”, [300, 250], “pb-ad-78158” ).addService( googletag.pubads() ) ); } );
The post 3 Ways to Try Macro Photography on a Budget by Meredith Clark appeared first on Digital Photography School.


You must be logged in to post a comment.