Most of the articles I’ve written about light so far have explored the use of natural light. Painting with light in the landscape takes that idea further by mixing artificial light, provided by the photographer, with the ambient light to create surreal and dramatic images.
Painting with light is an effective technique because it works with two ideas that, when combined, become very powerful:
- Painting with light usually takes place at dusk. The main reason for this is entirely practical. You use either a torch or a portable flash to paint with light, and they are not bright enough to use during the day. The light is very beautiful during twilight, so this turns out to be a benefit.
- Painting with light uses two colours that work very well together – orange and blue. Now, you may use coloured gels to paint with other colours, but these should still be colours like red, green and yellow that contrast nicely with the natural blue colour of the light you get at twilight.
The tools
Let’s take a look at the tools you can use to paint with light. First is my favourite, a hand-held rechargeable lantern that I bought from a local hardware store (just like this one). It’s powerful – the light has a strength of one million candlepower (you can buy models with two or five million candlepower). It wasn’t expensive, and also comes in useful to keep around the house or in the car. It has a tungsten bulb.
Using the lantern is easy. First, you need a spectacular landscape.
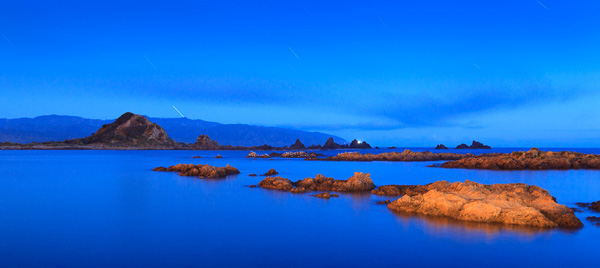
For example, these cliffs at Muriwai, a beach near Auckland in New Zealand, are a dramatic scene:

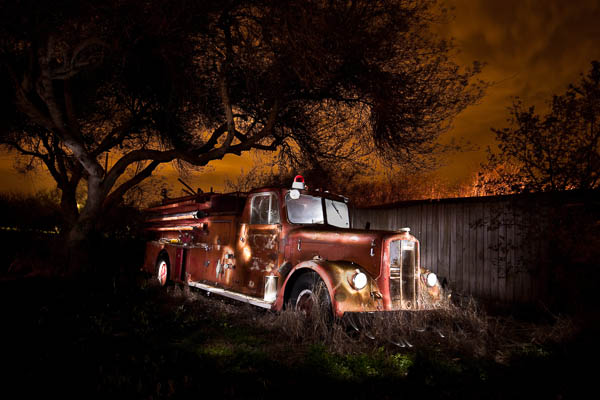
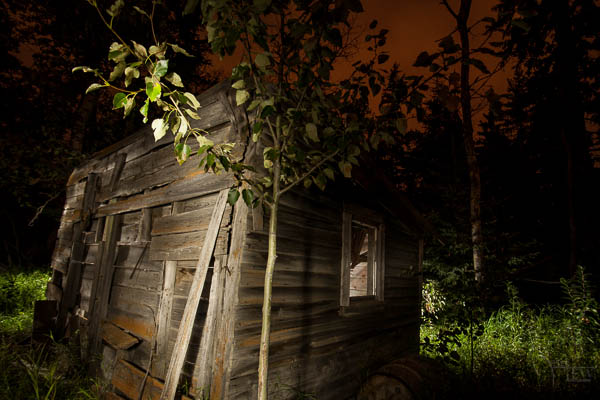
I was curious to see what happened if I used the lantern to paint the cliffs with light. I returned another evening to try it, here’s the result:
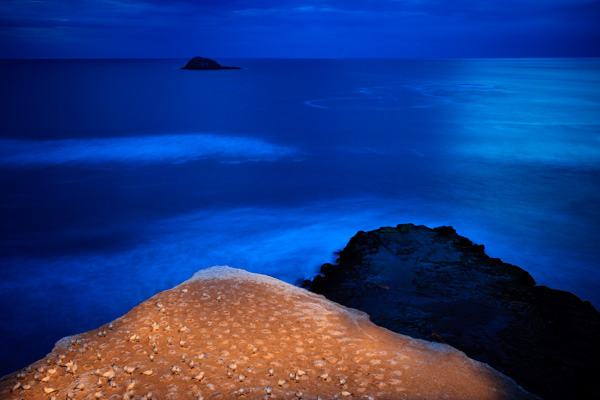
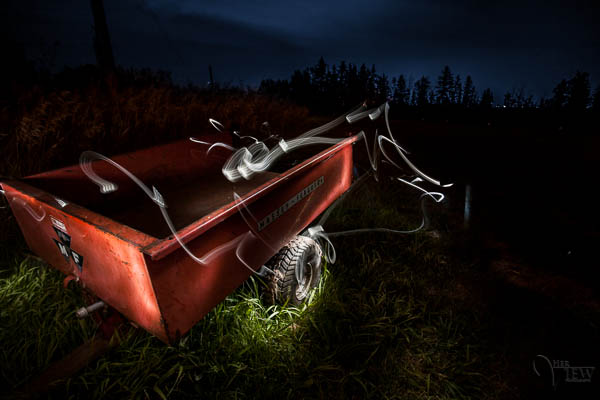
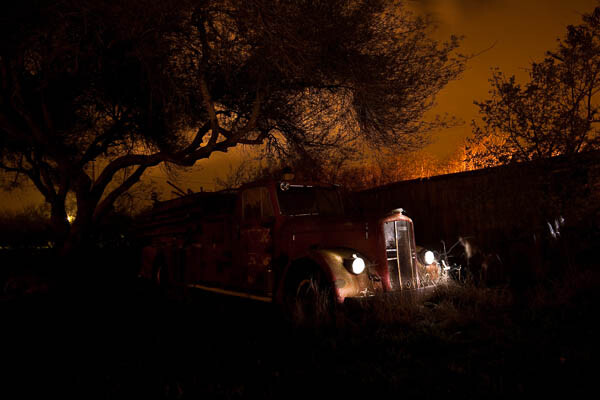
The technique itself is quite simple. Turn the lantern on, point it at the scene you want to paint, then gently move the lantern so the light from its beam covers the surface of the subject. You do this while the camera’s shutter is open.
You’ll need a shutter speed that gives you enough time to paint the subject, so you’re looking at at least ten seconds. Thirty seconds is easier (hence the need for low light). Don’t use neutral density filters to obtain these shutter speeds, as they also block the light from the lantern. You need to wait until the ambient light is low enough to obtain these shutter speeds through a combination of low ISO and small aperture (such as f11 and f16, but preferably not f22 as diffusion will soften the image).
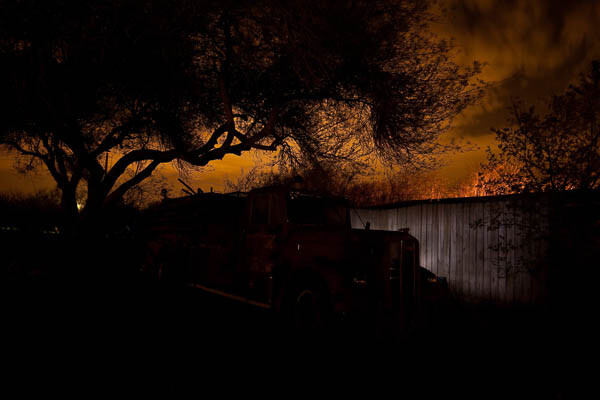
The crucial aspect is timing. Try it too early, when the light is bright, and the light from the torch won’t be strong enough to overpower the daylight. Leave it too late and it will be too dark. The sky will be black, and you won’t have any background detail.
What you’re looking for is the sweet spot between these two extremes. When the light is low enough to give you a shutter speed of around 30 seconds, and the light from the torch balances with the ambient light, and it is still light enough to get good background detail.
The best way of finding the sweet spot is to test it out. Put your camera on a tripod, decide how you will compose the image and then wait for the light to fade. Take a test shot when the light is low enough for a shutter speed of ten seconds or so. Then look at the result on your camera’s screen.
Does the ambient light overpower the light from the torch? Then you need to wait until it gets darker. Did you cover the subject evenly with the torch light? This may take several attempts to get right. Hopefully, the moment that you figure out how to paint the subject with light will coincide with the moment the ambient light and torch light balance each other perfectly.
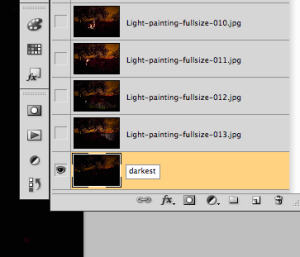
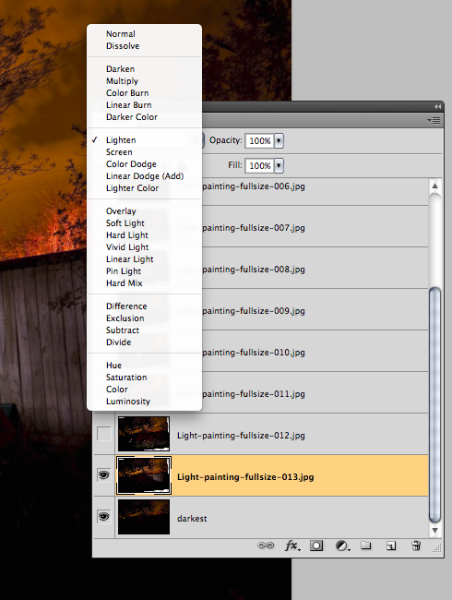
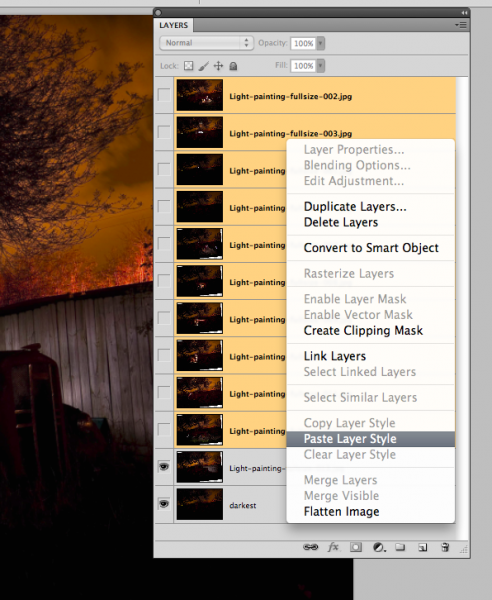
When you find the sweet spot, keep going until the ambient light fades away. You can decide which image you prefer when you view the results on the computer.

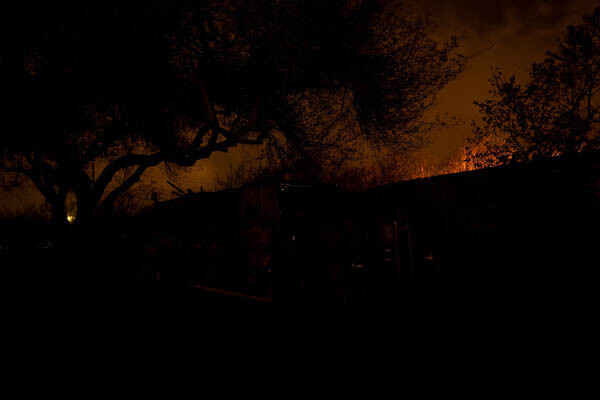
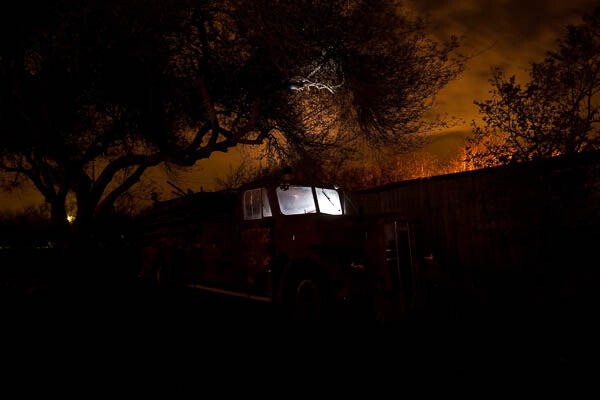
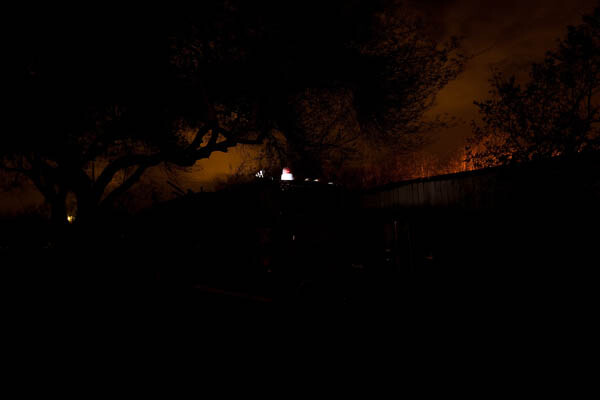
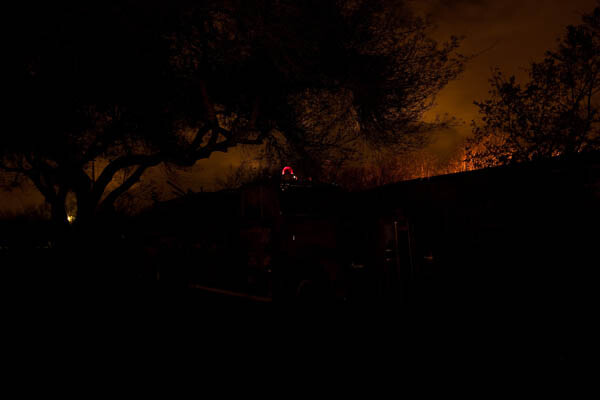
This is a photo taken earlier. You can see that it’s too early to work yet – the light from the lantern is overpowered by the ambient light. It also needs more work to get the coverage right.
Using portable flash
Another way to paint with light is to use portable flash. Using a lantern is simple, and a good way to get started. But if you’d like to take up the challenge, portable flash gives you some interesting options. Here’s why:
- You can use portable flash to fire multiple bursts of light at the subject, building up the exposure over time.
- You can use coloured gels to give light of different colours.
- You can shoot at night, rather than at dusk, using portable flash to fire multiple bursts of light, building up an exposure over time. You can use multiple flashes, or the same flash with different coloured gels, to do so. There are lots of good examples here at Troy Paiva’s Lost America website.
The essence of the technique is again simple. Switch your flash unit to manual, and use the highest powered setting (1:1). Work out your composition in advance, preferably while there is still enough light to see. Wait until the light gets low, then start using your flash to illuminate the subject.
If you are going to be in the frame yourself, make sure you are wearing black clothes. Don’t stand still – keep moving so that you don’t register in the frame. Keep your body between the flash unit and the camera so that the light from the flash head itself doesn’t appear in the frame, just the light that illuminates the subject. Keep checking the camera’s LCD screen to see how the images are coming out, and adjust your technique accordingly.
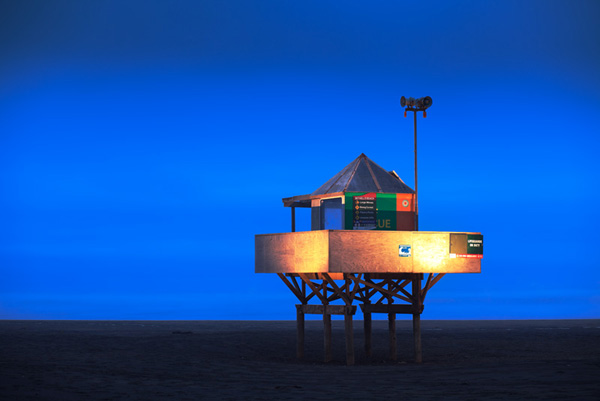
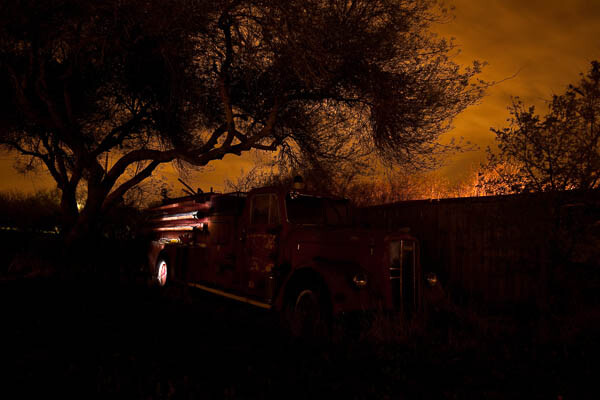
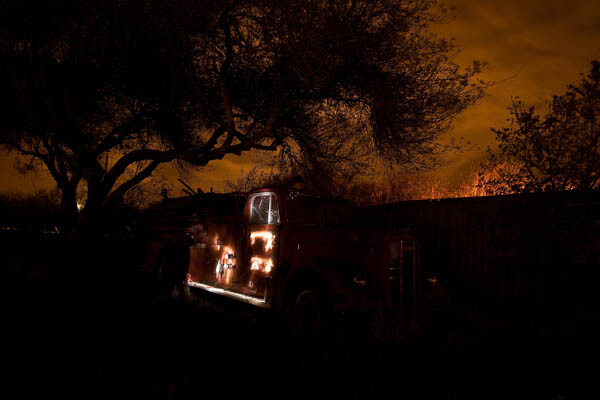
Here’s a photo I created using a portable flash unit fitted with an orange gel (CTO – Colour Temperature Orange) to imitate the look of a tungsten bulb.
Mastering Photography
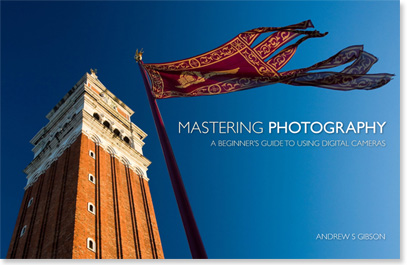
My ebook Mastering Photography: A Beginner’s Guide to Using Digital Cameras introduces you to digital photography and helps you make the most out of your digital cameras. It covers concepts such as lighting and composition as well as the camera settings you need to master to take photos like the ones in this article.
Post originally from: Digital Photography Tips.
Check out our more Photography Tips at Photography Tips for Beginners, Portrait Photography Tips and Wedding Photography Tips.
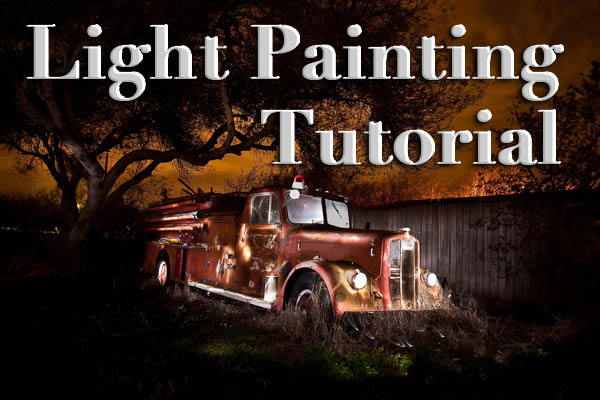
Painting with Light in the Landscape


 FINDING A GOOD SUBJECT
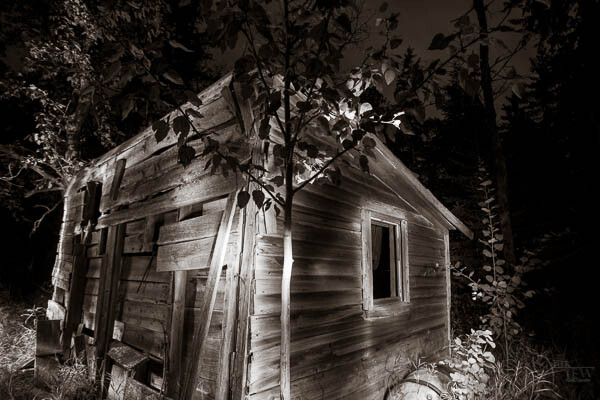


You must be logged in to post a comment.