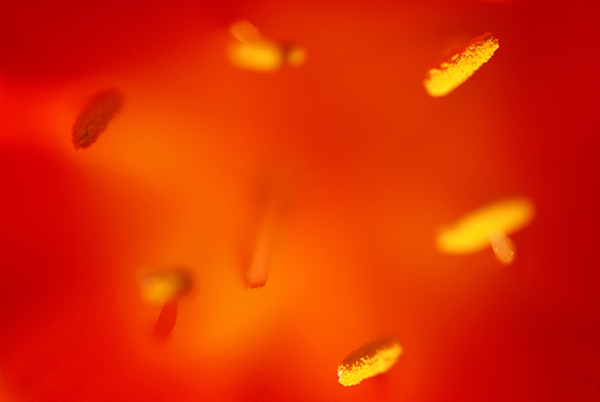
Close-up photos of flowers can make for interesting colours and shapes
There is something magical about seeing a subject up close and personal. This opens up a whole new world of options for you as a photographer. Close-up photography, or macro photography, can be a very rewarding form of photographic expression. The great thing about it is that you can do this from your basement at home, if necessary. Of course you can, and should, go outdoors too and setup shots in a forest or at the sea, but you can also setup shots of everyday subjects and shoot them up close.
Think of an old watch, a flower or even some food items that could be shot on your kitchen table. The shapes, textures and colours come to life in the world of macro photography, but it can be tricky and fidgety. Sometimes beginners are put off by this aspect and assume they need specialist skills to make close-up images. This is not necessarily true. Like any other aspect of photography, you need to understand how your camera works, and work within the limits of the equipment you have. Do you NEED to have a macro lens? In short, no. There are a few other cheaper options that you can experiment with before investing in a macro lens. Let’s take a look at how you can get going in close-up photography. This is really an introduction article, and I will be putting together some more detailed articles on the various aspects of macro photography, but first, let’s start with the basics.
Sometimes overexposing or underexposing can add to the image
1. Get as close as you can
This sounds obvious, but try it. Set your camera up on a tripod, choose a subject (anything will do really) and get your camera up close to the subject. Switch your camera to Manual focus. You can try autofocus, but generally you will be able to focus a little closer on manual focus. If you are using manual focus, the tripod will be important. There is nothing worse than trying to get your subject in focus when you are off balance, or you keep moving, so use the tripod. Once you have your subject in clear focus, look at the composition, just as you would with any other image. Use the various composition guidelines to put your image together and take the shot.
This is just the beginning, you will find that you will make minor adjustments and shoot another shot and so on. I find that when I do close-up or macro photography I get lost in this small world of intimate details. When you look through the viewfinder, try and visualize it as a small world or a small landscape scene. Pretty soon you will find that you will be totally swept up in it and that is the fun part.
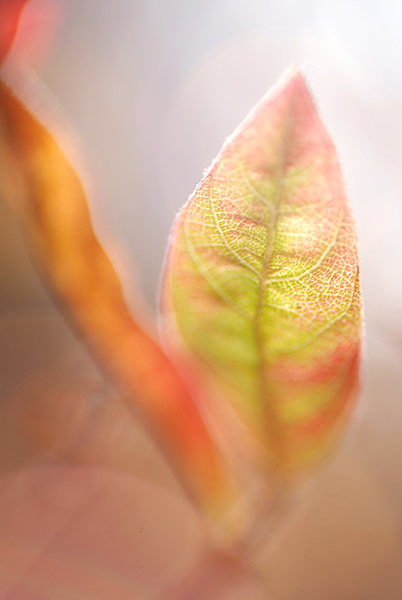
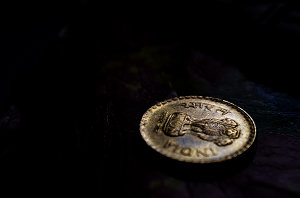
Getting in close will help to isolate the subject and throw the background out of focus
2. Do I need a macro lens?
To do some great close-up shots, you won’t need a macro lens. You can use almost any lens to make close-up images. Bear in mind that each lens has a minimum focusing distance. This can range from a few centimetres (1-3″) to half a meter (20″) depending on the lens. Telephoto lenses will have a longer minimum focusing distance, while medium range lenses (24-70mm) will have a closer focusing distance. The difference between macro lenses and non-macro lenses is that a macro lens has a much shorter focusing distance (30cm/1 foot or closer) in most cases.
Also, a macro lens has a magnification ratio of 1:1. What that means is that the lens can reproduce the subject onto the sensor at it’s actual life size. So if your subject is 20mm in size and it is captured as 20mm on the sensor, that means it has a 1 :1 ratio. Some lenses can only reproduce a 1:2, or 1:3, ratio which means that the subject will be half the size or less, on the sensor, relative to the size of the subject. I would suggest that you try close-up photography with the range of lenses you have. See which one works best. Prime lenses are usually a good place to start as they have great clarity and sharpness. I used my 50mm f/1.8 for a long time before I invested in a macro lens. Once you feel that you are limited by your lenses or that you think macro photography is a genre you want to expand on, only then consider buying a macro lens.
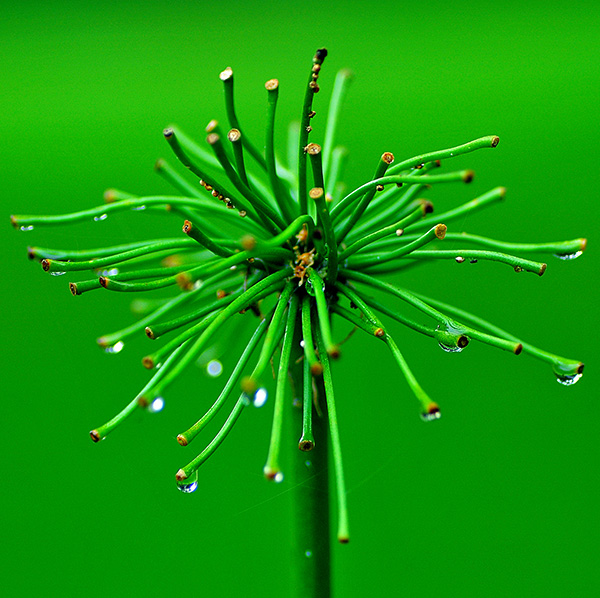
This image was shot with an old 70-300mm lens at f/4
3. What can I photograph?
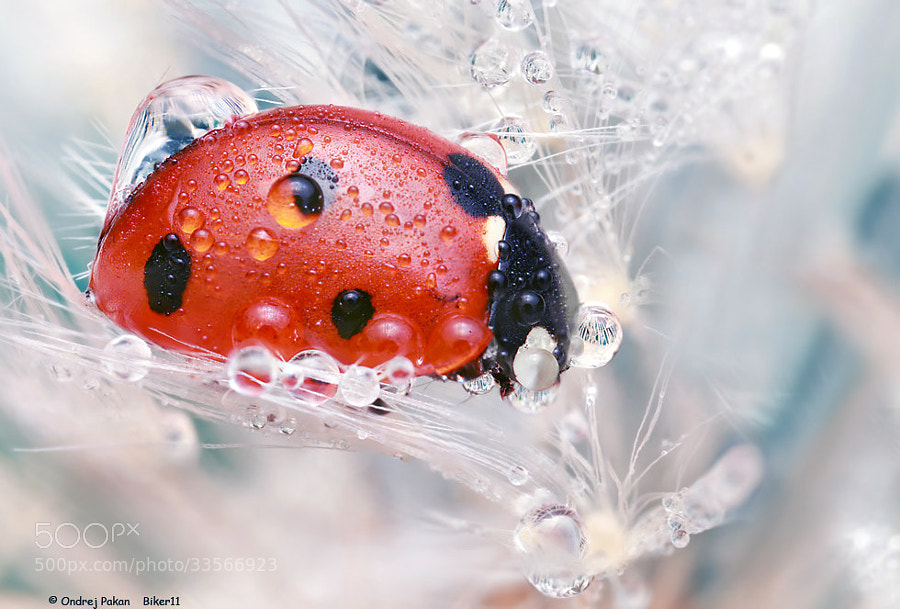
The beauty of close-up photography is that – when one properly, a shot of a cup of coffee can be fascinating. Suddenly the pattern in the latte cream looks amazing, the bubbles and cup shape become very intriguing. We very rarely look at everyday subjects up close and when we do, they can be really interesting. The same is true for flowers, an aged piece of wood, electronic goods, even a knife and fork, just about anything can become a subject for macro photography.
Some of the more challenging subjects are those that move. Subjects like insects, flowers, leaves, grasses and any other subject that is outdoors. For these, you will need more patience and better timing. Photographing a close up of a flower on a windy day will be really tough. If you want to do macro photography outdoors, maybe start off doing it on a windless day or in a sheltered area. Alternatively, you could go and buy some cut flowers and set them up in a vase, setup the shot and take a few images. The controlled environment of the flowers in a vase will make things much easier. Insects are even more challenging. They sit still for very short periods and move very quickly.
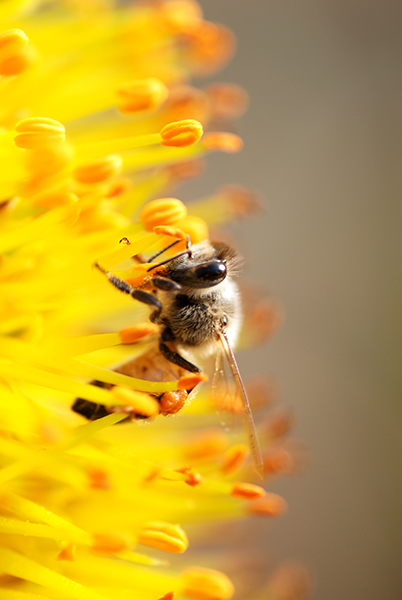
The name of the game to get good insect macro shots, is to be patient. To get some honeybee images in the past, I have set up my camera on a flower and attached my cable release. I then manually focused the lens to the flower and simply waited until a bee or another insect was in the right place and snapped off a few shots. Generally one in ten shots were usable and I was pretty happy with that, but they take time and patience.
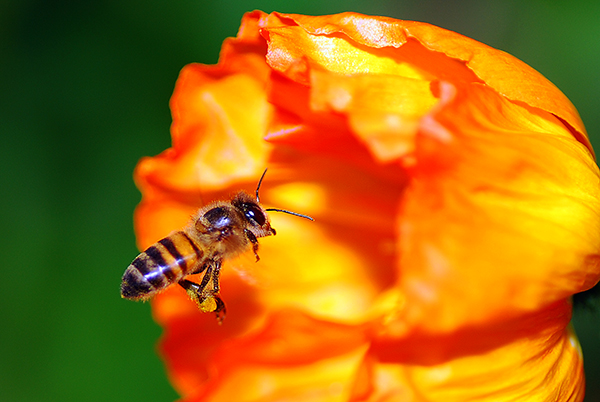
Be patient and setup your shot beforehand when photographing insects
4. Where to from here?
I found that I really enjoyed close-up photography. Once I got into it, I spent many hours trying to get some unusual images of flowers or insects. You may find this too. Get your tripod, cable release, choice of lens and set up a scene either indoors or outdoors. Get in a close as you can and start working with the scene. Change your depth of field until you are happy with what is in focus and what is out of focus. If you are using a macro lens, be careful about shooting with a very shallow depth of field. F/2.8 will mean that a VERY thin sliver of your scene is in focus, and that can be difficult to work with at first. Start at f/8 and work from there.
Experiment with different exposures, sometimes a slightly overexposed macro scene can look good, so play around with that. Above all, have some fun. Use it as an exercise in learning more about photography, and try and get some dynamic images too! In a future article, I will go into more details about settings and exposure modes. In the mean time, start shooting some close up images and let’s see how things look.
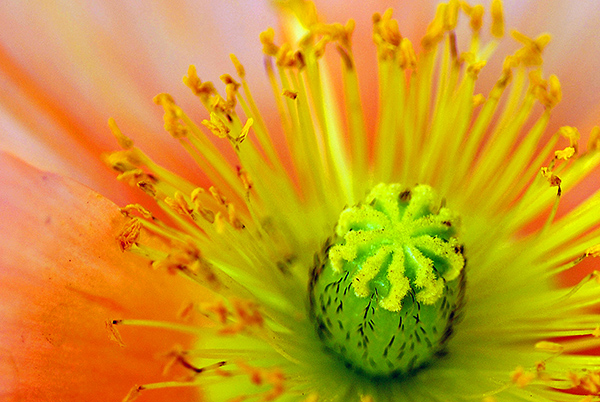
A close-up of a poppy flower, the details are what is mesmerising!
For more information on macro or close-up photography check out these dPS article:
- Equipment for Macro Photography – Video Tips
- 6 Tips for Near-Macro Photography with a Telephoto Lens
- How to Focus-Stack Macro Images using Photoshop
- The Wonderful World of Macro Lenses: Close-Up Photography Lesson #4
- Reverse Lens Macro: Close Up Photography Lesson #3
- Extension Tubes: Close Up Photography Lesson #2
- Getting Up Close with Close-Up Lenses
The post Getting Started Guide to Macro or Close-Up Photography by Barry J Brady appeared first on Digital Photography School.

Digital Photography School


You must be logged in to post a comment.