Do you feel frustrated that you are not allowed to make selfies in museums? Did a light reflection ruin the photo of your favorite artwork? Are the other visitors always in the way of your perfect shot? Then this article is for you, to help you photograph your next museum visit!
Museums are a great place to get inspiration, however, the great teams behind every exhibition have to be more concerned with the preservation of the artworks than about your photo. Therefore, photographing in a museum poses two big challenges.
First, the multiple rules that you have to follow, remember to always be respectful of them because they exist for a reason. Second, the fact that you can’t alter the conditions in which you have to shoot. But this doesn’t mean that you can’t make great photos, actually, you can turn it around and use these limitations to take your photography to the next level.
Every museum has different rules so I’ll cover some of the most common:
NO SELFIE-STICK
Many museums of the world like the Palace Museum in Beijing, the Van Gogh Museum in Amsterdam, the Metropolitan Museum of Art in New York, and many others have banned the selfie-stick. Not to worry, this shouldn’t stop you from making a memory of yourself with your favorite artwork.
Whether it’s in a frame or a display case, most objects in museums are protected by glass. So, you can use your reflection on the glass to make a selfie. You can also use mirrors and other reflective surfaces you can find.

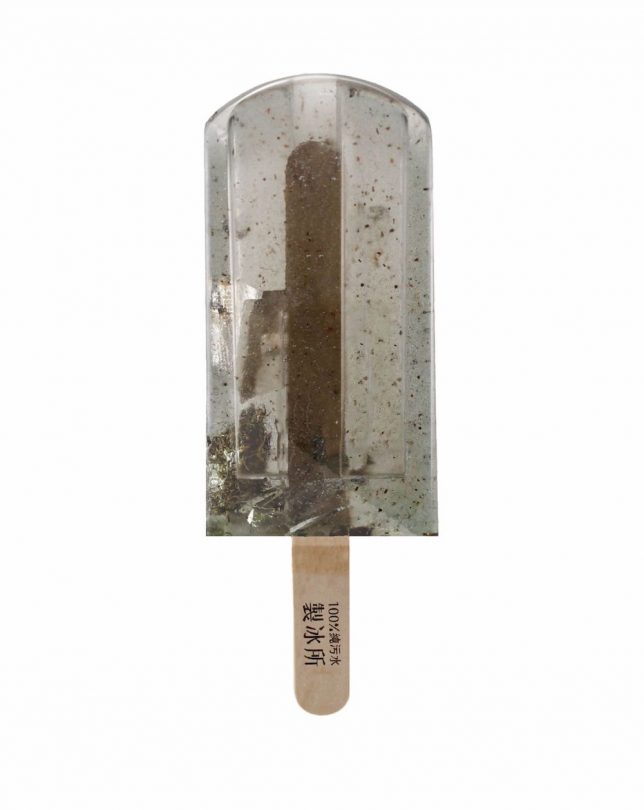
Crystals, Teylers Museum, Haarlem, The Netherlands.

Albergo Diurno Venezia, during the exhibition Senso 80 by Flavio Favelli, Art Week Milan 2017, Milan, Italy.
In order to work with reflections, you need to understand how light works. Without going into a complicated physics lesson, what you need to know is that light travels in straight lines.

Which is also why you can get those annoying light flares that can ruin your photos. So you need to be very aware of all the other objects in the room to avoid unwanted reflections.

Me As Mapplethorpe, 2009. Gillian Wearing RA, (based upon the Robert Mapplethorpe work: Self Portrait, 1988) exhibited at Gemeente Museum, The Hague, the Netherlands.
Now that you know how it works, you know how to move around the space in order to control your reflection. A few tips to consider though:
- The darker the background, the better you will see the reflection. For example, if you are doing the selfie in front of a black and white photo, position yourself in a way that you will be reflected in the darkest part of the photo, so you will stand out more. If you are wearing white or a light color shirt that’s even better.
- Try different positions so that you are not blocking an important part of the artwork. You can even try interacting with it.
- If there is a metallic surface or a mirror in the piece, use it to your advantage, and acknowledge your presence (smile, wave, etc.) so that it doesn’t look like a mistake.
- Locate the light source and then position yourself in a way that the bouncing trajectory doesn’t hit the lens of your camera, but it does hit any objects you want to reflect.
NO FLASH
This is one of the most universal rules in museums. This is because the hundreds of thousands of visitors that some artworks attract would sum to a great amount of light that some materials cannot take without damage. So you’ll have to make the best with the lighting of the museum that is designed to either preserve the delicate artworks, or to set a mood that complements a whole concept of the exhibition.
In other words, more often than not it will be very dark. This is where the settings of your camera (and even some smartphones) come in.
Since this article is not about exposure I won’t go into a lot of detail, but I will give you a quick guide to adjust it to better photograph in low light. The correct exposure depends on three things:
ISO
In photography this stands for International Standard Organization just like every other ISO that you’ve heard about. What it standardizes in this case is a scale for measuring sensitivity to light. The higher the ISO number you choose, the higher sensitivity your device will have. A lot of people are afraid to go very high because there is the risk of getting noise in your image, which is like the grain that used to be in film photography.
Nowadays most cameras can keep the quality even at higher numbers, so try all the settings out to determine which one is the highest you can go with your own equipment. However, in my experience, you get less noise from a high ISO than going lower and then trying to correct the underexposure in Photoshop later. Here is an example:

This image was taken at ISO 320.
Versus . . .

This image was taken with an ISO of 3200.
Aperture (f-number)
The simplest explanation I can offer is that the aperture is the hole in your lens that lets in light. Therefore the bigger the hole, the more light will enter.
But here is the tricky part, the aperture reference scale is inversely proportional. So, contrary to what you might think, a smaller number means a bigger hole and therefore more light. For example, a photograph taken with f/8 will be lighter than the photo taken with f/11.
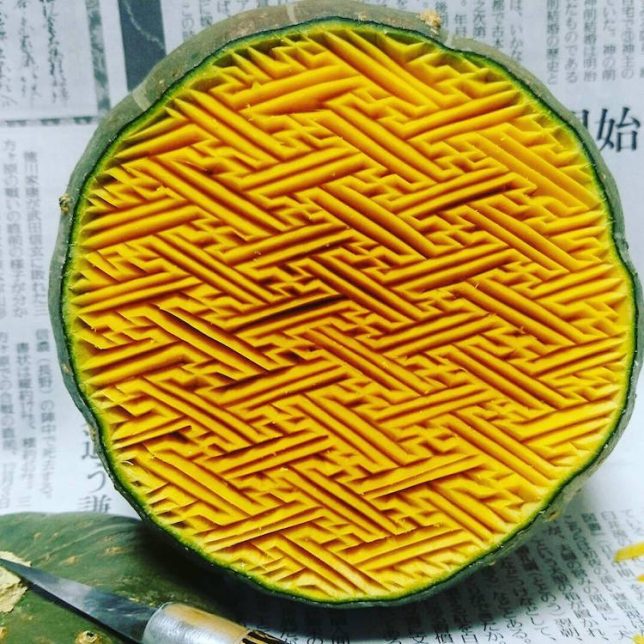
This setting also controls the depth of field of your image (the area that will be in focus). So be careful moving this one because you might loose some sharpness in areas that are farther away from your point of focus if you use smaller f-numbers. Notice in the image below how the objects are loosing focus towards the back.

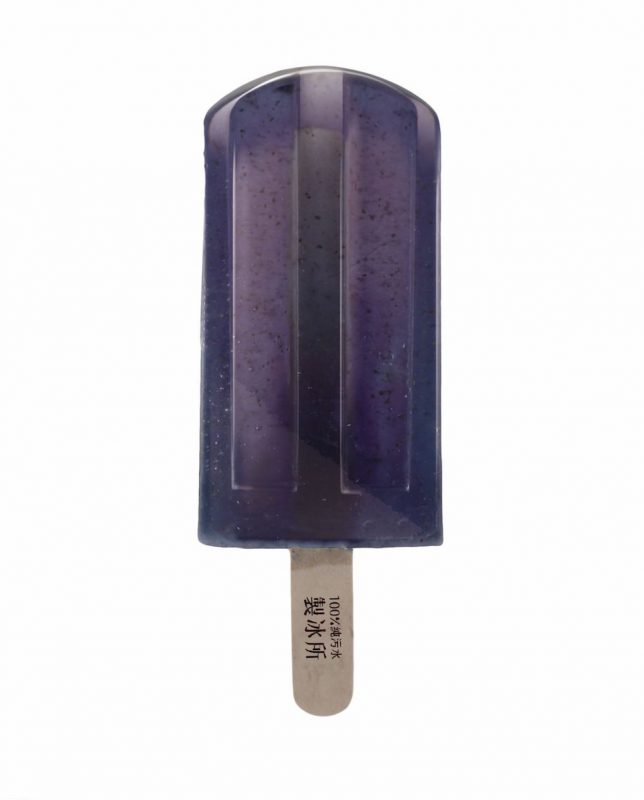
Crystals, Teylers Museum, Haarlem, The Netherlands.
Shutter Speed
This setting controls how much time you expose the sensor to light. Since the sensor (or film) is accumulative, the more time you expose it, the lighter your image will be. Shutter speed is very straightforward and it could be your best choice, except that anything moving will look like a blur if you go too slow.
Even if everything is still, if you are not using a tripod, YOU are the one moving. So don’t let it stay opened too long. In some museums you’re allowed to use a tripod if you pay an extra fee, so feel free to ask.
It is also useful to know that telephoto lenses need a faster shutter speed to avoid blur than the wide angle lenses. So you can also consider re-framing your image like the next example.

Shutter speed 1/8th, f/5.6, ISO 800, focal length 55mm.

Shutter speed 1/8th, f/5.6, ISO 800, focal length 22mm.
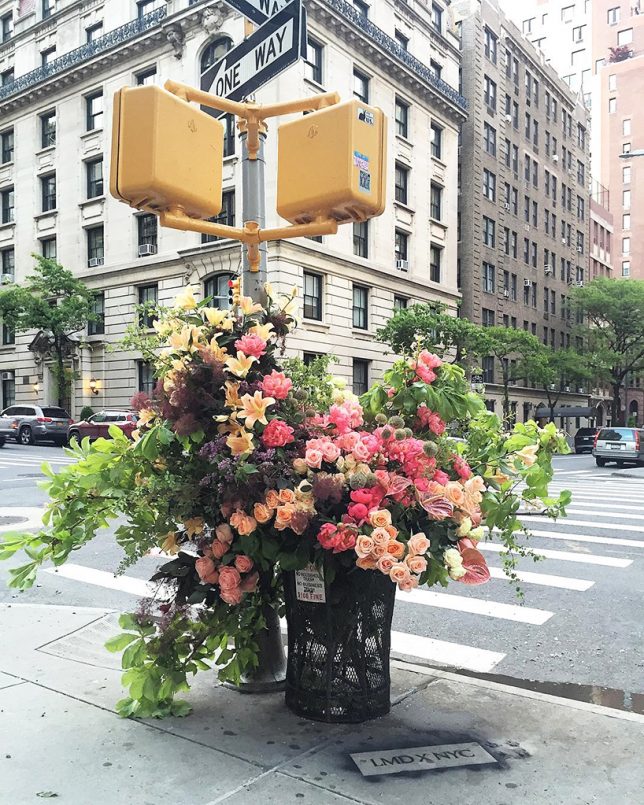
You can also use this setting in a creative way. For this photo I wanted the tram passing in between the two pieces of the sculpture to leave a blurry line to have a more dynamic result and also show more context on how the sculpture was meant to interact with the space.

Shutter speed 1/2 second, f/11, ISO 400; focal length 18mm.

Shutter speed 1.3 seconds, f/11, ISO 400; focal length 18mm.
Now that you know what each setting does, you can adjust them to your needs. Keep in mind that they are interrelated, so if you move one you need to correct the others accordingly. For example, if you close your aperture because you want more depth of field, remember to compensate it by leaving the shutter open for a longer time, or by making your ISO more sensitive (higher number). Always keep an eye on your exposure meter!
NO TOUCH
Given that you can’t change your surroundings or rearrange the artworks, you will have to be extra creative and flexible.
Take care of composition.
When photographing an artwork in a museum, don’t try to just reproduce it. To do that it’s always better to buy the postcard or the catalog. What you do want is to capture what it’s transmitting to you. Use the architecture of the gallery, make it interact with the other pieces of the exhibition, try to capture the ambiance. In other words, make it your own. Notice how in this example I didn’t photograph any specific artwork, just the space and the atmosphere.

Rijksmuseum van Oudheden, Leiden, the Netherlands.
Change your position.
Retaking the topic from the No Selfie-stick, if you need to avoid reflections and you can’t move the artwork or the lighting, then reposition yourself. Do this also to play with perspective, to include or exclude objects from your frame, and just try as many angles as you can.
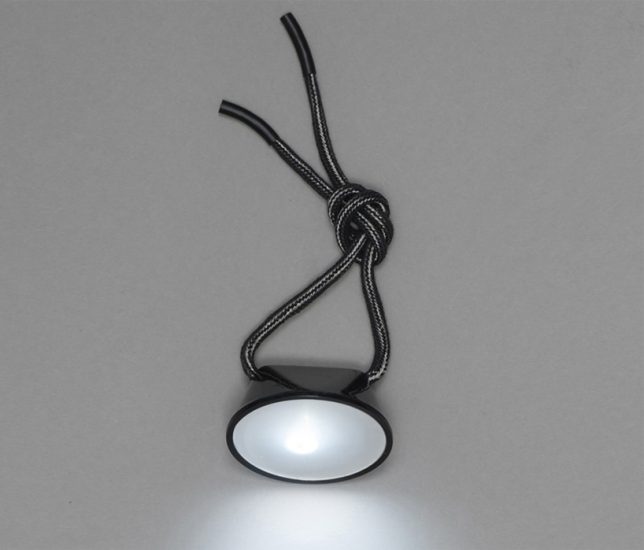
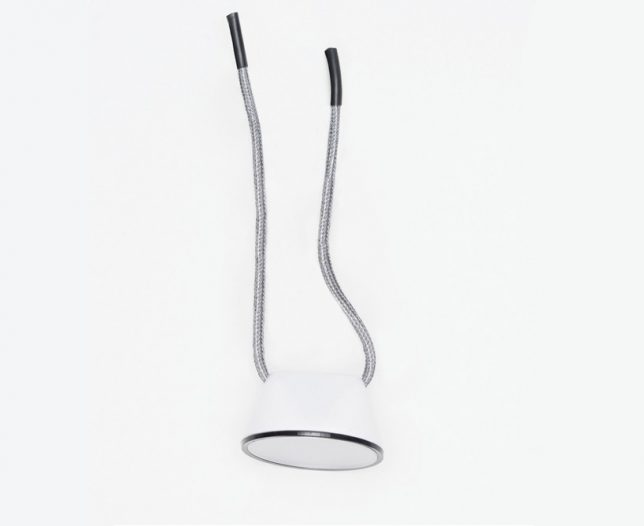
For this next image, I was playing with perspective and the position of the circular lamps in order to make them look like the aura of the statue.

Rijksmuseum, Amsterdam, the Netherlands.
Be aware of other visitors.
It will be very difficult for you to have the museum to yourself, so try to be respectful of others and don’t get in the way. Don’t be afraid to include people in your photo as well, just be sure to wait until the right moment so that they complement your image.

Het Dolhys, Haarlem, the Netherlands.

Museo de la luz, Mexico City, Mexico.
COPYRIGHT
Last but not least, there is one rule that you won’t see on the museum signs, but it exists and it’s very important – the issue of copyright.
While getting inspiration from other artists it’s great, remember that you are photographing the work of a fellow artist so it is covered by copyright. This can apply from the artwork being exhibited to the architecture of the museum so it can be a very complicated issue to understand.
I advise you inform yourself about it in more depth. A general rule of thumb that you can always follow is that you can’t use the image for commercial purposes without permission and/or retribution from the creator. And in any other context for educational purposes (e.g. this tutorial or giving a conference) you should always give the credits. Let’s be respectful of one another.
Next time you go to a museum you can both get inspired and creative. Enjoy and share your photos!
The post How to Photograph Your Museum Visits – Turn Limitations Into Creative Challenges by Ana Mireles appeared first on Digital Photography School.

Digital Photography School


You must be logged in to post a comment.