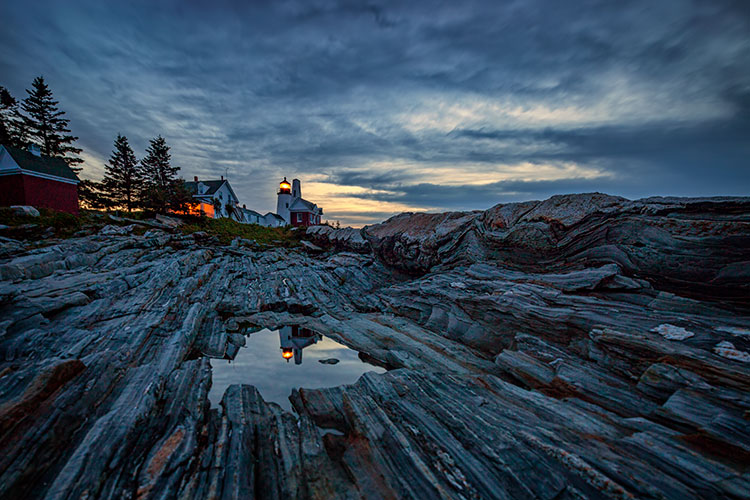
Good photography is really about telling stories, and that’s where all the lessons of composition, juxtaposition, lines, and focus fall short. Compelling images tell compelling stories, but the hard part is recognizing that story. I’ll tell you a story of how I missed the opportunity to do that, and look at some ways you can add more storytelling into your photography.
A bear story with a moral
I was camped on a low tundra bench above a swift blue river in Alaska’s western Arctic. Our green canoes lay upside down next to the kitchen tent, and the willows along the river were flecked with the first autumn yellow. It was early when I crawled from my tent, stood and stretched. While still reaching skyward I saw another form rise from the tundra a stone’s throw away, a young grizzly giving me a curious look. I dropped my arms and turned just in time to see its sibling offering me a similar stare from a bit farther back. These bears were three-year-olds, spending their first summer away from their mother, ursine-teenagers, and just as troublesome. Unlike the many adult bears we’d encountered on our journey down the river, these two didn’t yet know to give humans a wide berth.
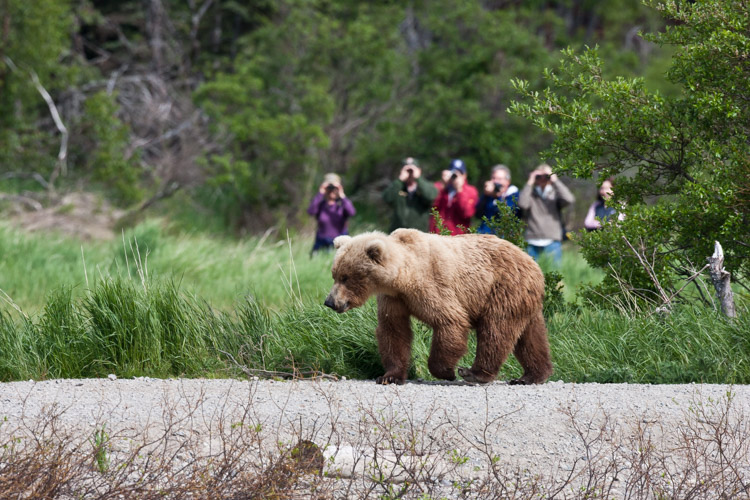
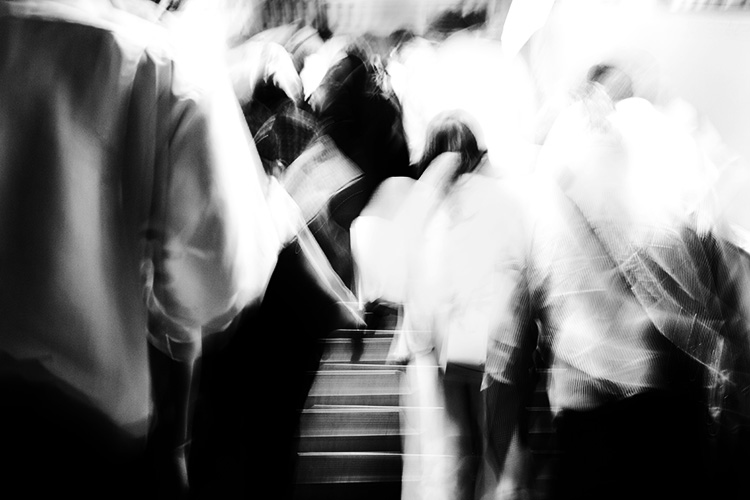
In Katmai National Park at the famous Brooks Falls tourists are inescapable. In this image, I embraced that part of the story.
Safety first
They backed off, after I shooed them with a wave of the arms, though not far enough. I woke my co-guide, and together we herded them away from camp and down onto the gravel bar below. One of the two young bears, rather than wandering off, decided to push my buttons and walked straight over. When off hiking or away from camp, you always give bears the right of way, but in camp, you can’t do that. Bears cannot learn that camps are places to explore.
Standing on the low bench, I knew that I could not let this mischievous youngster enter our camp. I stepped forward as he approached, right to the edge of the cut bank, and started speaking to the bear in a low steady voice. “I can’t let you up here, you have to back off. Back off. Now.” The bear paused in its approach, then stepped forward again. I raised a can of strong pepper spray, and held it up, ready to fire. The bear took another step forward, and then another until he was just eight feet away.
Hard lesson learned
And that’s when I felt a sudden moment of regret. Not for my behavior around this young, dumb bear, (in that, I knew I was doing the right thing) but for the fact that my camera lay in my tent. This beautiful (if troublesome) beast was so close I could count his whiskers. What a photo-op I was missing! But I pushed that aside, and spoke again, “One more step and you are getting it in the face. Don’t do it”, I said. “I’ll give you a count of three, then you are getting sprayed. One. Two…” before I could say three the young bear thought better of his situation, turned and ambled back to the river, swam across with his sibling, and disappeared.

Similar to the story I related above, this bear approached a group of photographers I was a part of on Admiralty Island, Alaska. He came very close, and I regret not taking a moment to show a wider shot with the group of us in the frame.
Think outside the frame – the moral
In retrospect, as I thought about the images I missed, I realized that it wasn’t the frame-filling portraits of the bear that would have been so spectacular about that moment. It was the story that went with it. Facing the bear down with a can of pepper spray, the bear testing us, and his eventual retreat. That’s where the compelling images were, not in the missed photos of the bear, but in the missed story that went with it.
If I had a camera in that moment with the bear, even if I’d been on the sidelines, I know I would have blown it and gone for the wildlife portraits, missing the much more interesting interaction that was taking place.
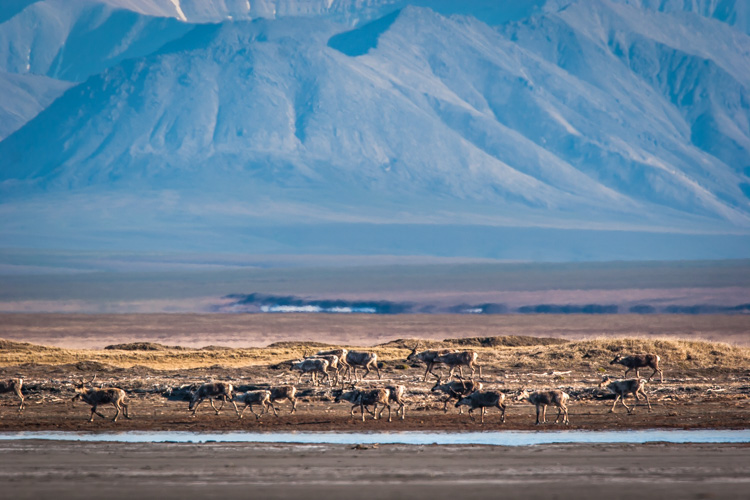
Here a herd of caribou is seen migrating across the coastal plain of the Arctic National Wildlife Refuge in Alaska. This image tells a more important story of movement, landscape, and perspective than a more typical portrait of just an animal would.
Learn from the best
Take a look at any issue of National Geographic. Many, even most, of images that are selected are storytelling images, not illustrations. The compositions are atypical, often showing the interaction of people or animals within the scene. Those photographers stepped back from a typical composition and explored their surroundings in a way that most of us, myself included, usually forget to do.
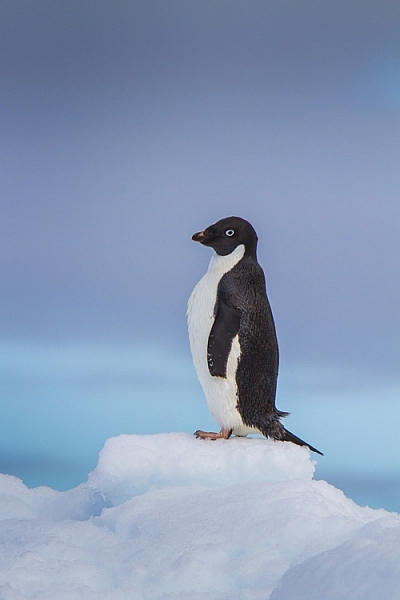
This image of an Adelie Penguin on an iceberg, I made in Antarctica. Getting close to wildlife is easy there, and the following image provides information to see just how easy.
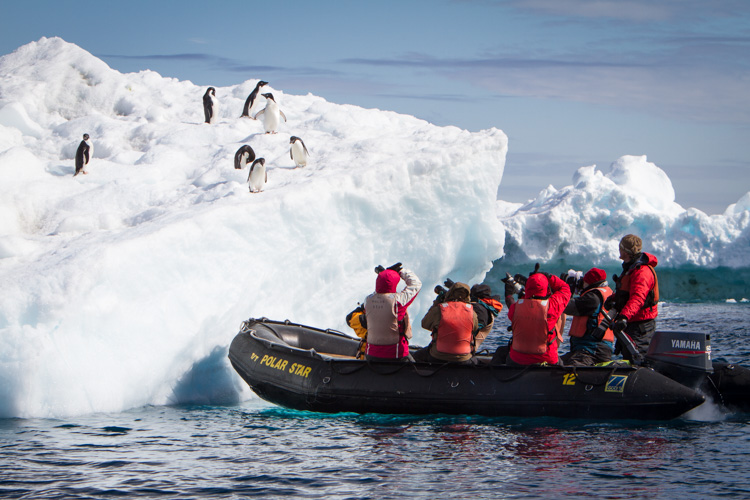
A zodiac pulled right up to an iceberg with Adelie Penguins.
Look around
This is an easy lesson to say, a much harder one to perform in the field because the real story is often easy to miss.
Another example: I was photographing the start of the Yukon Quest sled dog Race in Fairbanks, Alaska, where I live, a few years ago. I’d been concentrating on the passing dogs, the smiling mushers, and been studiously avoiding the crowds of people that surrounded me. At one point a spectator raised a point and shoot in front of my shot, I was irritated, but in that moment I was forced to pause. It clicked, and I realized that the real story was the crowd of mushing fans, out on a cold morning to watch the race. I changed my composition and made an image of the spectator’s camera. That shot is much more telling of the experience than any of my previous photos.
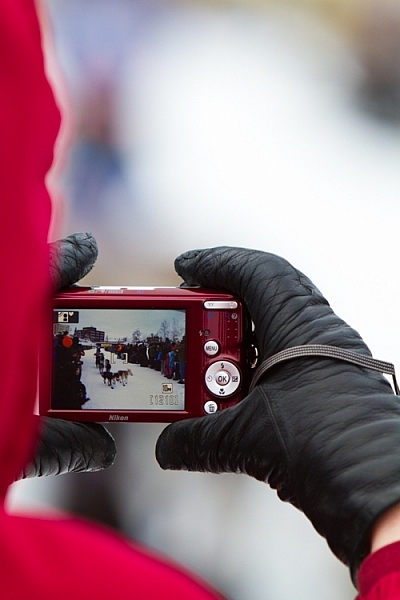
Here, the scene of the dog teams seen through a spectator’s camera is more telling of the experience of the start of the Yukon Quest.
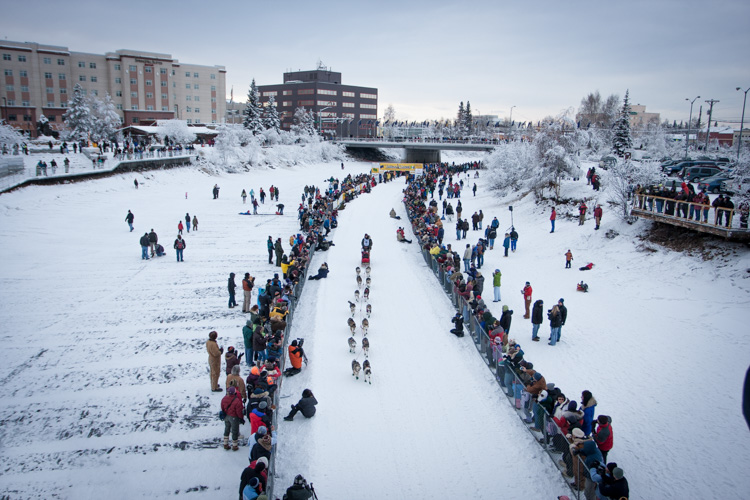
This broad perspective is also an effective way to tell the story, showing the rows of spectators and the buildings of Fairbanks in the background.
Sometimes it’s a sudden realization like mine at the mushing race, but often, you have to put some effort into the real story. You need to break away from the scene you think you should be photographing, pause, and look around. Consider not just the scene, but the experience. What are you, or those around you, feeling, seeing, and doing?
Stay open to your surroundings
While being focused on your subject is vital to creating good images, it’s important not to close yourself off too much. Take the time to look around. Literally step away from your tripod, and turn 360 degrees while paying attention. What else is out there? Have you been missing anything as you’ve been staring through your viewfinder? What happens if you back up and show the surroundings?
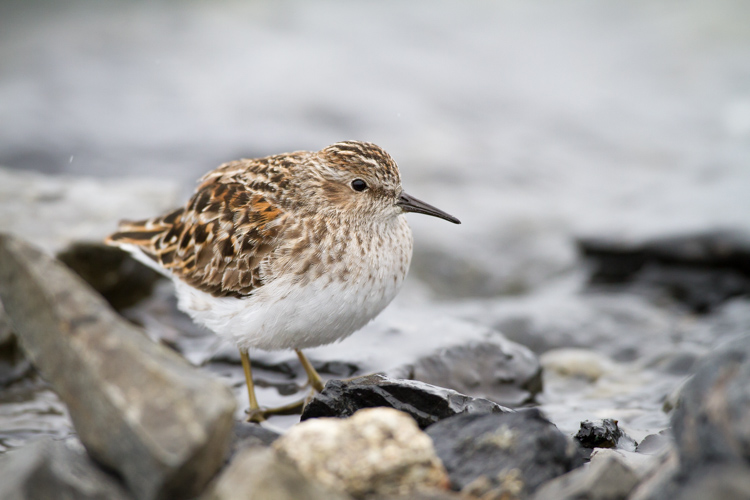
While an image of a single bird, in this case, a Least Sandpiper is a nice portrait, it is more of an illustration than a story.
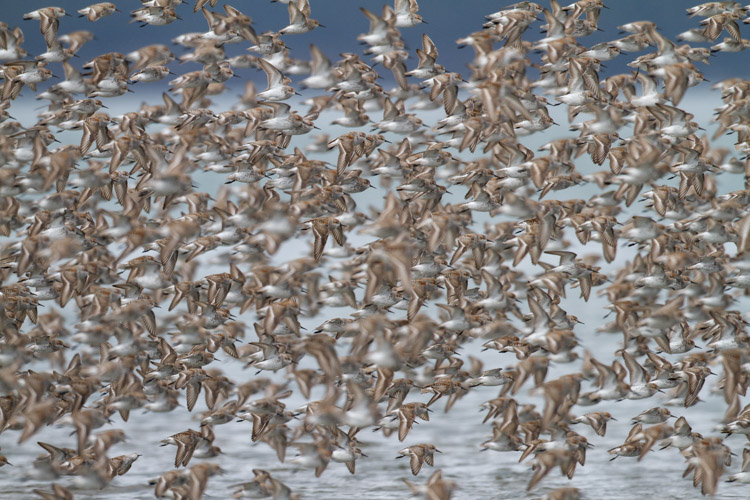
A large flock of shorebirds, when compared to the single-bird portrait, is more telling of the lives of the birds, and their epic migrations.
Think in terms of stories
That real story can be told within a single image, but there are also other strategies. Though an entire article is required to discuss the photo essay (5 Tips for Creating a Photo Essay with a Purpose), I do want to note that you can always think through your story using a series of images. This is also a good way to make the classic images you strive for while simultaneously capturing the storytelling ones as well.
Telling the real story is important not just for the quality of our images, but also for the quality of our experience. These storytelling images may not have the flash and glamor of a bear portrait or a sprinting sled dog, but it will help your viewers know the story, and that really is where the real excitement lies.
googletag.cmd.push(function() {
tablet_slots.push( googletag.defineSlot( “/1005424/_dPSv4_tab-all-article-bottom_(300×250)”, [300, 250], “pb-ad-78623” ).addService( googletag.pubads() ) ); } );
googletag.cmd.push(function() {
mobile_slots.push( googletag.defineSlot( “/1005424/_dPSv4_mob-all-article-bottom_(300×250)”, [300, 250], “pb-ad-78158” ).addService( googletag.pubads() ) ); } );
The post How to Go Beyond the Hero Image and Get Real Storytelling Photos by David Shaw appeared first on Digital Photography School.

Digital Photography School


You must be logged in to post a comment.