Have you ever tried shooting food? If you have, then you know how hard this can be. There are so many things you have to think about while making sure your food looks as fresh as it can be at the same time. Here is a beginner’s guide to help you get the food shots you’ve always wanted.

#1. Do NOT use your on-camera flash
You probably know this already, but I just have to mention this here to make sure. After all, this is Digital Photography School. Your on-camera flash looks horrible on food. You will get loads of specular highlights on any area that has moisture, and these specular highlights are not only distracting, but will make your food look greasy instead of moist. You will also get strange and unattractive shadows either on your food, on the plate, or both. On-camera flash is so harsh. Food usually looks its best with soft light. The shot below on the right has soft backlight coming from a window in a restaurant.

#2. Shoot on a tripod
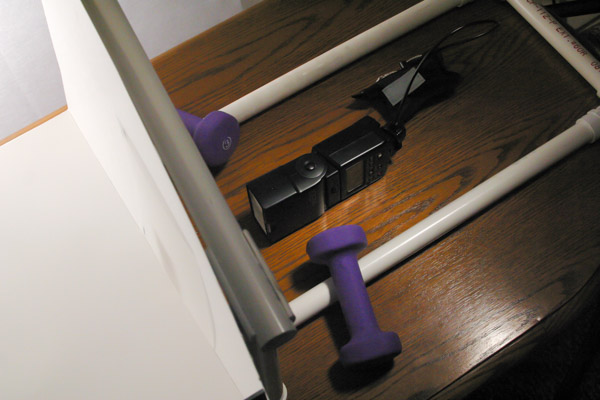
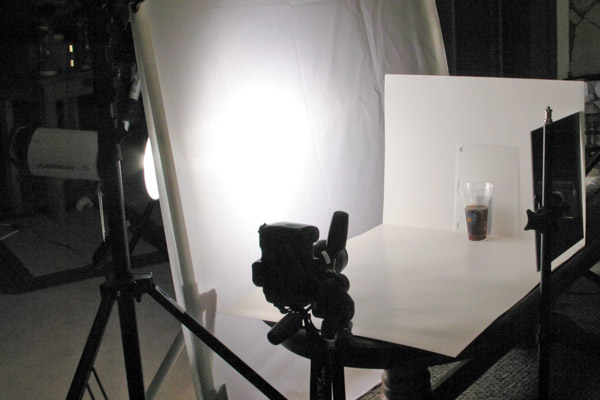
Ok, I just heard all the booing and hissing from this tip but, since I just told you not to use your on-camera flash, you are going to have to shoot using a tripod instead. I actually love shooting on a tripod and I use one anytime I can. Try it! It will completely free up your hands to style your dish, in order to work on your shot. I am a commercial food photographer, so I am either shooting in my studio or some other controlled environment where I can use tripods, so this tip is for those situations.

Notice in the image above right, there is a a nifty tripod arm extension enabling me to get the camera out over the set. If you are trying to hand hold a camera AND shoot overhead, just schedule an appointment with your chiropractor right now! Not only is it back-breaking to shoot overhead like that, but it’s impossible to line up your shot exactly the same way each time you take a shot. Lock it down on a tripod, focus your set once, then start styling your food.
#3. Or use a high ISO instead of a tripod (last resort)
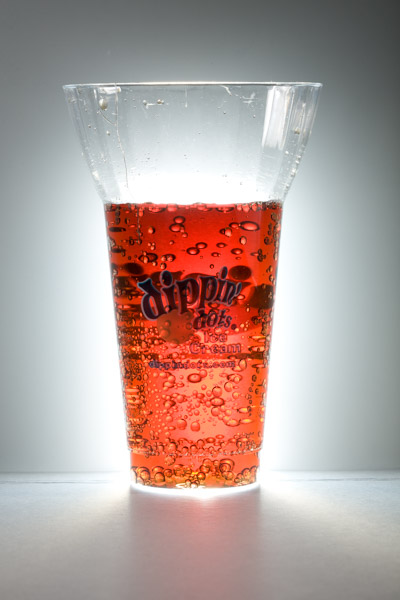
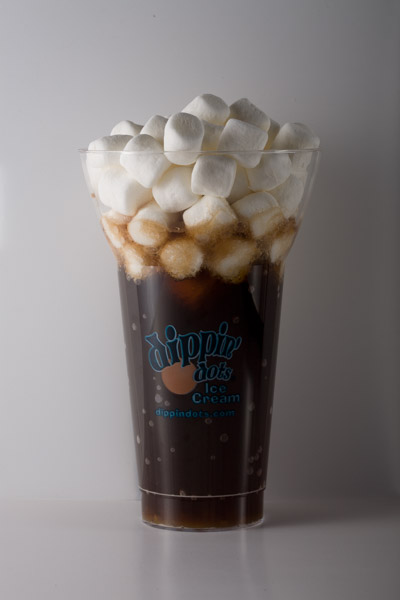
Now, if you can’t shoot on a tripod for some reason, for example maybe you are shooting an event and have to gets shots of the food, then you have the option of raising your ISO setting on your camera to accommodate for the lack of light. I use this as a last resort. You must keep in mind that raising your ISO will increase the digital noise in your file. Depending on your camera, the digital noise could be very severe if you are in a very low light situation. See in the image below the difference between shooting at ISO 100 and ISO 1600 on a Canon 5D Mark II.

For the most part, you can get away with digital noise when using images for the web because of the lower resolution. However, if you need to have the image printed, then this is where you might run into problems with the digital noise. It can be very hard to correct out of the image AND keep the image in sharp focus at the same time. Applications that can correct digital noise in software do so by softening the edges of the pixels creating the noise. This gives the appearance of the image being a little soft with the focus afterwards.
#4. Please use props – but not too many
I see so many food blogs with shots of food in a plate, or a bowl, with nothing else in the shot. This to me is just a documentation of a food dish. There’s no story behind the image when you have no props. I get it – it takes more time. But, if you start real simple, props can dramatically improve your photos. Notice in the shots below that all the props are secondary – meaning the first thing your eye goes to is the pasta in both shots. All the props are low key and not distracting. It’s still all about the food, but it gives the food some visual support to get your viewer to look at your photos. There is a fine balance between just the right amount and too many props that take your eye away from the food.

You are telling a story with your props. The story of the two images above is that these are nice pasta dinners. That’s it, real simple. You need to use the placement of your props to get the viewer’s eye where you want them to look. The first thing we see in an image is text, if there is any. Second will be a blaring highlight or a very bright color. Third, we look at what’s in focus. Your props should guide your viewer’s eye to look exactly where you want, and eliminate any distractions along the way. If you have a blaring highlight on something that is catching your eye, then guess what, your viewer is going be looking at that same highlight too, so get rid of it, or put a prop in front of it. Get your viewer to look at your food.
#5. Stay away from bold patterns on plates and fabrics
Food photography is all about creating an image that naturally has the viewer’s eye looking right at your beautiful food. As I mentioned above, all the fabulous props in the shot are just the supporting actors in your story. If you have a crazy pattern on a plate, your reader is going to look at the crazy pattern first, then your food (hopefully) second. Your story is not about the plate. Your story is about your food. You might be in love with that pattern on the plate but that’s probably not what your image is about. Beloow is a shot before props have placed, to give you a sense of how the food looks on different plates.

I will test plates with food just like this to find the right one for the photo I’m doing. The problem with patterns is there will be areas of the pattern that will be in focus and competing with the food. A colored plate can be great as long as the color is complementary or a nice contrasting color. Then, white or cream will always make your food stand out.
The same rules generally applies to table clothes and fabrics as well. We never use bold patterns on the surfaces we shoot on. I’m saying “we” here because when I am shooting a job I have a food stylist AND a prop stylist. We all work together in making a shot for our client that is all about their food. When you are shooting on fabric with a bold pattern, that bold pattern will absolutely compete with your food. It’s just human nature. Our eyes are so easily distracted and you only have a few seconds to get your point across to your viewer, don’t blow it on some crazy pattern on the table.
# 6. Get vertical!

Many people take all their photos in a horizontal format. I understand why, it’s a lot more comfortable to work that way. When shooting vertically, all your settings are now on the side and if you’re on a tripod you have to keep cranking your head over to see them. Well, you just have to suffer through it! Shooting vertically can give you nice depth in a photo from foreground to background. This also enables you to have large photos on your blog, if you have one. Shooting vertically can give you room for text like a title. Many sharing sites like Pinterest are better with vertical shots, so think about how this image will be shared and go from there. Mix up the images on your blog. Have some vertical photos and some horizontal ones as well. If you do everything the same way it can get very boring.
#7. Go ahead, crop that plate
The other habit I see a lot of new students doing is being afraid to crop into plates. Here are two shots. One full frame and one cropped in. Now, of course it depends on how the images will be used, and sometimes you might even need two formats of the image, but play around with cropping an image to see if you like it better. It’s okY to crop the plate. You are not selling the plate, remember, so show off that food a little more.

Now for the cropped version – a lot fewer distractions and it’s all about the food.

#8 – Back up and zoom in
Every student wants to know, what is the best lens for shooting food. For my 35mm DSLR (full frame), I’m always using my 100mm macro lens. I use this about 90% of the time. You really can get great depth of field with that lens. Here is shot I took with three lenses. Many people have a 50mm lens because that is what came with their camera. The only time I use that lens is when there are several dishes on the table that I have to get in one shot. That type of shot requires a wider angle lens, like the 50mm or the 35mm. When I am only focusing on one dish in the shot, I will always use my 100mm macro lens.

When using wider lenses, like the 50mm or the 35mm lens, you will need more background in your shot. Also, the wider the angle of your lens, the harder it will be to get very shallow depth of field, unless you get real close to your food, and open up that lens by opening your aperture. Depth of field is referring to how much is in focus versus out of focus in your shot. Which leads me to the next tip…
#9. Use a small f-stop number to get shallow depth of field
The f-stop, or aperture, controls the opening of your lens that lets light into the camera. The f-stop also controls how much of your image will be in focus, and how much will be out of focus.
Here is an f-stop grid showing the most common f-stops that many lenses have. Some lenses don’t open as wide as f/1.4. It seems to be that the more expensive the lens, the wider the f-stop. For instance, the higher end 50mm lenses will go to f/1.2, but you’ll pay for that in cost.

When you are just starting out, f-stops, or apertures, are very confusing to learn about. You see, the smaller the f-stop number, the LARGER the opening. It’s very counter intuitive. What I always say in class is, the smaller the f-stop number, the smaller your depth of field and the larger the f-stop number, the larger your depth of field. This gives you such creative control with your images. I always suggest you shoot your food with a very “shallow depth of field”. This means less things in focus. See the two images below:

The image on the left has shallow dept of field because I am shooting at f/5.6 on a 100mm macro lens. This shot is all about the olive oil, so that was the only thing I wanted in focus. The shot on the right was shot at f/16 and has a much larger depth of field (more things in focus). I find this distracting. There’s too much in focus and your eye bounces all over the place (see more in my article: Using Focus Creatively with Food Photography. You use your f-stop to control what you want to show in focus. As a very general guide, the f-stops for shallow depth of field are usually from about f/5.6 and below (this can also depend on how wide your lens is as well).
Now, if I was photographing a Thanksgiving table with loads of dishes on it that I wanted in focus, then I would definitely use an f-stop like f/16 or even f/22 with a wider lens, like a 50mm or even a 35mm lens.
#10. Keep your food looking fresh on set
Here I am painting a steak with butter to make it look nice and moist. I’m using butter because when they serve this steak at the restaurant they have melted butter all over it. You can also use vegetable oil, or water and glycerin, or just water on foods. If the food has an oily or fatty content, like meats and poultry do, then use vegetable oil. If you are keeping salad moist, you can just spray it with water.
When shooting burgers, I am always painting an TON of oil on the beef to keep it looking really juicy. There is nothing worse than a dry looking steak. Yuck. Who wants to eat that?

To keep foods that can oxidize looking fresh, use Fruit Fresh or Accent on them. You can usually find these in the spice section of the super markets. I highly suggest you do not eat the foods that you treat with this stuff. It’s actually MSG. I use it two ways. I will soak things that turn brown, like artichokes and pears in a solution of 2 cups water with a few tablespoons of the MSG. The other way I use it is by taking the same solution and painting it onto the food once it’s on set to make sure it doesn’t turn brown.
When I tell people this trick they say, “oh, you can just use lemon”. Lemon works, just know that you will have to keep reapplying it.

This image below would not be possible without using Accent or Fruit Fresh. Artichokes turn brown right away when you cut into them. I soaked both sides in a bath of a lot of Accent and water. I soaked them for 30 minutes too. This artichoke didn’t turn brown for hours!

All right! There’s so much more I can say here but hopefully some of these tips will inspire you to try to take your food photos to the next level.
For more food related articles check these out:
- Food Photography Tips – Some Video Tutorials
- 5 Tips to Seriously Improve Your Food Photography Techniques
- 8 Steps to Create Mouth Watering Food Photography
- 11 Quick Food Photography Tips to Make Mouth Watering Images
- Snapn Food Guide a sister dPS ebook company
The post 10 Tips to Improve Your Food Photography by Christina Peters appeared first on Digital Photography School.

Digital Photography School


 Christmas tiramisu by Darius Dzinnik on 500px
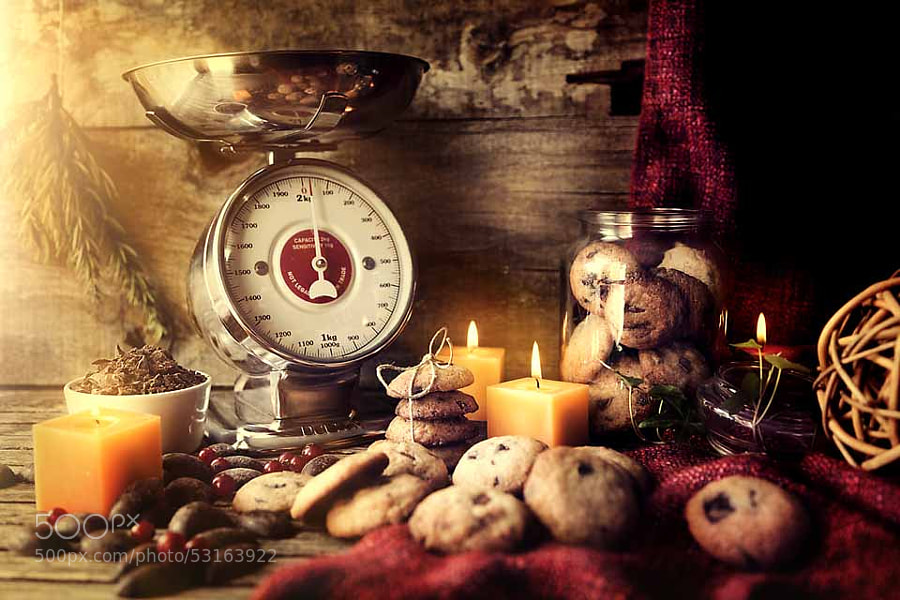
 x mas cocktail by Peter Harasty on 500px
 Christmas gingerbread cookies by Sergey Kumer on 500px
 Christmas duck by Darius Dzinnik on 500px
 Traditional Sliced Honey Glazed Ham by Brent Hofacker on 500px
 Champagne glass by Vadim Kolobanov on 500px
 ????????? ? ????????? ???? by Natalia Lisovskaya on 500px
 Christmas traditionals by Delia Cozma on 500px
 ?????????? ?????????? by Natalia Lisovskaya on 500px
 Whishes by Szabolcs Szlavik on 500px
 Christmas Fruits by Pete Franks on 500px


You must be logged in to post a comment.