Today I’d like to introduce you to the new editor of dPS. But first… a little backstory.
The Evolution of dPS
Back in 2006 when I started Digital Photography School I did so because I was ‘that guy’ in my friendship circle who friends came to for advice on how to use their digital cameras (and to bring my camera along to every party, wedding and other gathering).
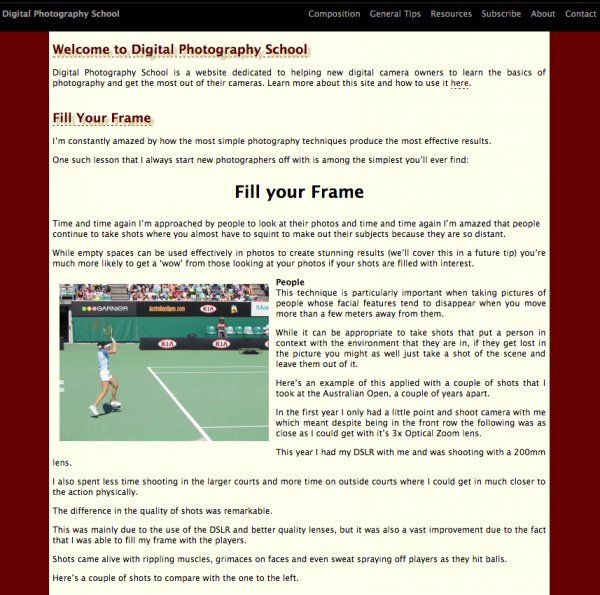
Our first day on dps back in 2006. Yes, our first design was ‘Maroon’!
While I’d done a few weddings and other paid photography gigs I didn’t consider myself a pro – but wanted to create a place online to share what I did know to help those at the beginning of their photography journey.
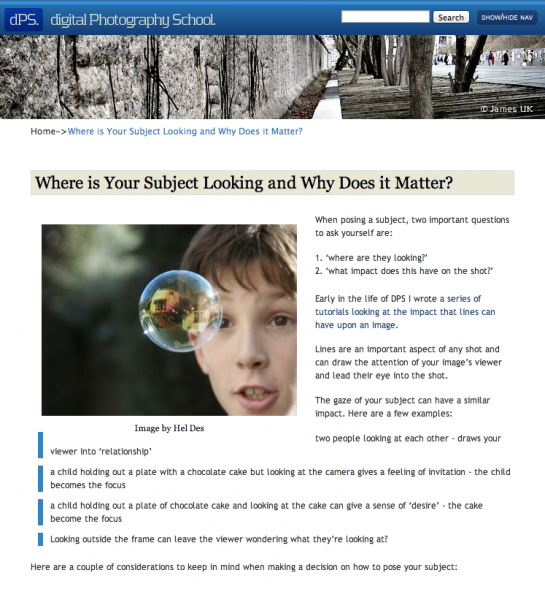
In 2008 we went through a bit of a ‘blue’ stage with our design.
The content in the early days was unashamedly for beginners but in time we began to explore more intermediate level teaching. Early on I did all the writing myself but as the site grew I began to approach more experienced and professional photographers to write more and more of the content.
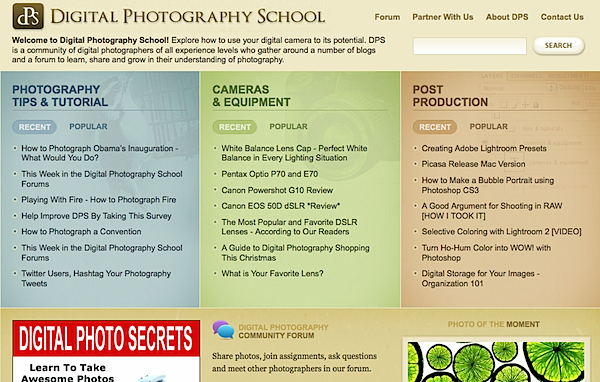
In 2009 we did a major redesign and expanded the site with new sections on ‘camera reviews’ and ‘post production’.
Today at dPS
Fast forward to 2013 and we now have a team of 15 regular writers in our core team and a group of almost 20 other semi-regular writers submitting guest posts.
While in the early days I published 2-3 posts per week we now post two tutorials per day.
While I was happy in the early days of the site to get 100 visitors in a day, today we regularly see over 100,000 in a day!
As of today we’ve had over 158,934,066 visitors to the dPS blog and forum area since we started! I can hardly believe where dPS has grown to and feel like the luckiest man in the world to have been a part of it.
You will have noticed some changes here on the site in the last couple of months. The blog area had a complete redesign (and the forum will be redesigned shortly to match), we’ve been hard at work on delivering you a much requested mobile friendly theme too – but behind the scenes there have been many changes of late.
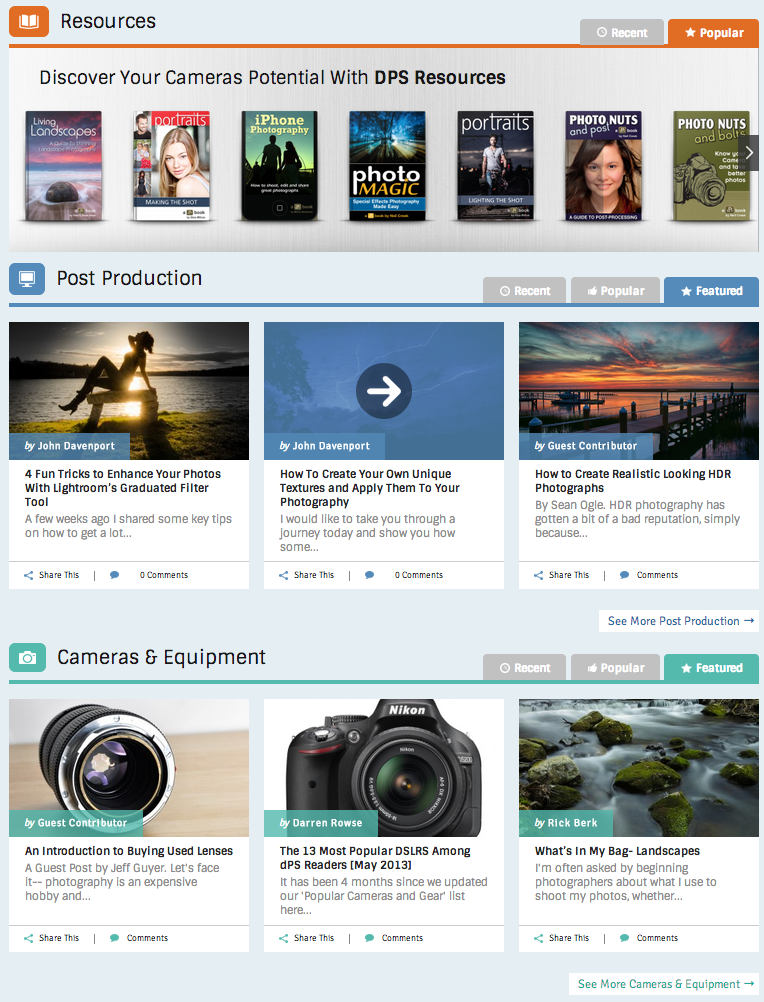
6 weeks ago we launched our brand new design.
A lot of the backend of the site has been reengineered but in the last couple of years I’ve been developing our team also and have recruited a number of people to help take dPS to the next level. These include:
- Jasmin who produces our eBooks and other products
- Simon who works on customer support and moderating the forum
- Jade who helps with our social media accounts – she’s the one curating our popular Pinterest Account
- Shayne who works on marketing but also heads up our dev team. He also helps with our SnapnDeals and SnapnGuides sister sites
- Luke and his team who works with site advertisers/sponsors to help us keep the site free
- Mario and 3 other developers to work on the back end of the site (they did the redesign but are also working on numerous other behind the scenes technologies to streamline what we do but also help our servers to work faster and more reliably).
- Lastly we’ve engaged the services quite a few great professionals who have helped us with authoring, editing, design and production of our eBooks.
Most of the above team have come on in the last 2 years (our end of year Christmas party suddenly is becoming a little more fun…) so we’ve seen some significant changes around here – however I’ve also been on the look out for some help with the editorial aspects of the site.
While our writers have consistently had great feedback I know that there is always room for improvement and am very aware of my own limitations as a photography educator. I’ve been blogging for 10 years and so have experience in that – but lately I’ve been on the look out for a Pro Photographer to help us develop our editorial strategy.
Introducing Darlene Hildebrandt
Today I’m pleased to announce the appointment of Darlene Hildebrandt as our new editor. I feel a little strange ‘introducing’ her to you as regular readers will know her work already as she’s been one of our regular authors for 18 months.
 Darlene has been a professional photographer for over 26 years having worked in many different genres in the industry including: commercial, food photography, portraits, weddings, fine art, and travel photography. She still does portraits by referral, and special events for charities on a volunteer basis.
Her fine art work is shown and sold in a local gallery in her city, Edmonton, Alberta, Canada and she’s participated in many group and solo art shows and exhibitions over the last eight years. Since 2011 she has turned her focus towards teaching photography, and sharing her passion for the craft with others. She teaches weekend classes locally, as well as photography weekend workshops in Alberta and Washington state (USA).
New for 2014 she will also be leading photography travel tours with a fully booked trip to Cuba scheduled for January, and Nicaragua in February/March that is quickly filling up as well. Her tours will have emphasis on interacting with and helping out the locals in that country, and a schedule that is flexible and adaptable as the participants see fit. Photography at optimal times of day will be one of the goals on the tours and photography coaching in the field will allow Darlene to assist tour members in getting their very best images.
In April of 2012 Darlene started writing for Digital Photography School. Her articles quickly became popular, consistently among the top articles each quarter, and she became a regular author on the site. You can view Darlene’s author page here.
 In July last year I spent a little time with Darlene in Portland Oregon at a conference (that’s us on the right) and in the last couple of weeks Darlene flew out to spend time with the rest of the dPS team here in Melbourne Australia.
Today, Darlene comes on board as the Managing Editor to help us take DPS to the next level.
A Few Words From Darlene
You’ll no doubt continue to hear from Darlene regularly here on dPS but I asked her to say a few words today!
From Darlene:
“I am really happy to be joining the dPS team as Managing Editor! Working with Darren and the team has endless possibilities for the future, one that it is exciting and inspiring to me.
Being a photography teacher and writer allows me to share my passion for photography with liked minded people like you. I thrive on comments from students and readers who have break through moments and create images they never dreamed possible. These moments drive my energy and enthusiasm for teaching photography. Through you, the valued readers of DPS, I will be able to connect with more people and spread creativity through photography, a subject which is so close to my heart.
There are some great new things coming soon for dPS and I’m really excited to be a part of the team bringing them to you. I look forward to connecting with you soon and seeing your images for the weekly challenges and articles!”
The Future of dPS
I’m really excited about the future of dPS. Darlene coming into the team will continue to lift the quality of our tutorials but will also enable us to do some new things.
I can’t say too much about what’s coming yet but you can expect some new types of teaching and content to start appearing on dPS in the coming months! We’re also hard at work getting our popular 12 Deals of Christmas together for next month!
Darlene coming onto the team will also free me up to work on improving other aspects of the site too. I’ll still be very hands on with all areas of dPS but am also very excited to have a little extra time to work on some new related projects that I’ve been wanting to get my teeth into that I think will make dPS even more useful to our community.
That’s enough from me for today – please welcome Darlene!
Post originally from: Digital Photography Tips.
Check out our more Photography Tips at Photography Tips for Beginners, Portrait Photography Tips and Wedding Photography Tips.
Introducing our New Managing Editor – Darlene Hildebrandt
The post Introducing our New Managing Editor – Darlene Hildebrandt by Darren Rowse appeared first on Digital Photography School.

Digital Photography School
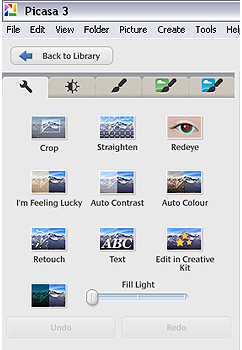
 Tonality is easy to pick up right away if you are familiar with Lightroom or Photoshop RAW editing tools. The designers intentionally created an editing panel on the right hand side of your viewing window that looks almost exactly like Lightroom’s editing panel. It includes familiar tools like Exposure, Tone Curve, Split Toning, and Vignetting.


You must be logged in to post a comment.