I think it’s fair to say that most photographers buy a kit lens with their first camera. It’s a good place to start, as despite the limitations, a good one is versatile (an idea I explored in my article Why Your Kit Lens is Better Than You Think).
But, however well a kit lens performs in the right hands, at some point you will ask yourself what lens you want to buy next. Or, you might already own more than one lens and be wondering if a new one may improve your photography. I am going to help you answer these questions by outlining some of the things you need to think about when choosing a new lens.
You may find it helpful to think of lenses in categories rather than specific focal lengths. That’s because the field-of-view of a specific focal length depends on the size of your camera’s sensor (learn why in our article Crop Factor Explained).
The benefit of considering lenses this way is that each type suits certain subjects. If you are into landscape photography, for example, then a wide-angle lens of some sort is essential. If you photograph sports, then it is difficult to do without a telephoto lens.
By the way, if you follow the links in the article you will see plenty of photos taken with these lens types.
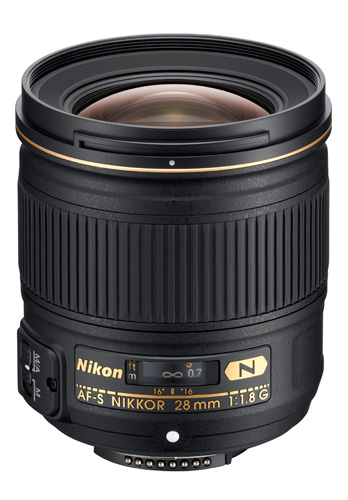
Wide-angle lenses
A good definition of a wide-angle lens is one with a focal length shorter than the diagonal measurement of your camera’s sensor (or negative if you have a film camera).
The idea of measuring the diagonal is a useful one for understanding the relationship between sensor size, focal length and field-of-view.
Let’s look at a specific camera to see how that works: the EOS 70D. The corner to corner distance of the sensor is approximately 27mm:
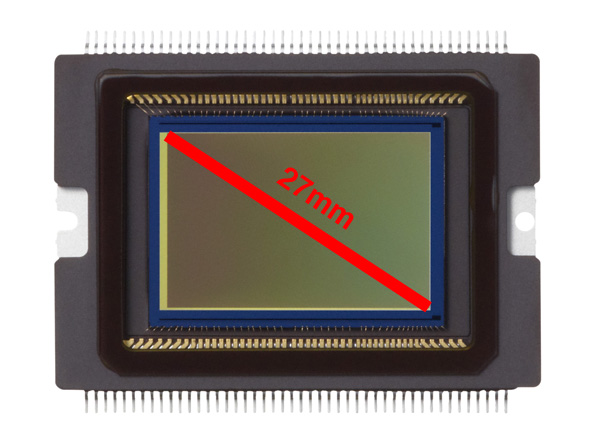
From that figure, you can say that any focal length shorter than around 25mm is a wide-angle lens.
Wide-angle lenses are used for subjects like landscape photography and environmental portraiture. My article 7 Ways to Get More Out of a Wide-Angle Lens explores the use of wide-angle lenses in more detail.
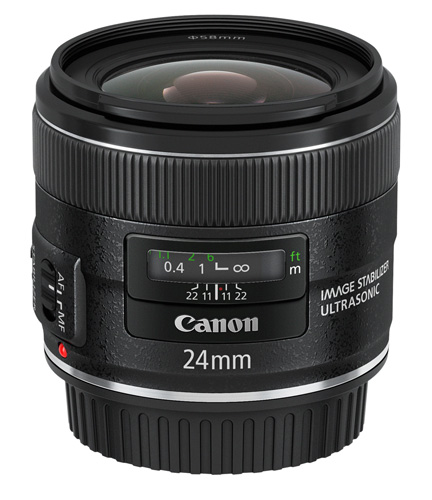
Normal lenses and short telephoto primes
A normal lens is a prime lens with a focal length similar to the diagonal measurement of your camera’s sensor.
In the example of the EOS 70D used above, a 28mm prime lens is a normal lens. A 50mm lens is considered normal for full-frame and 35mm film cameras (despite the diagonal measurement being 42mm – these things are often approximations).
A short telephoto lens is one with a focal length slightly longer than the diagonal measurement of the camera’s sensor.
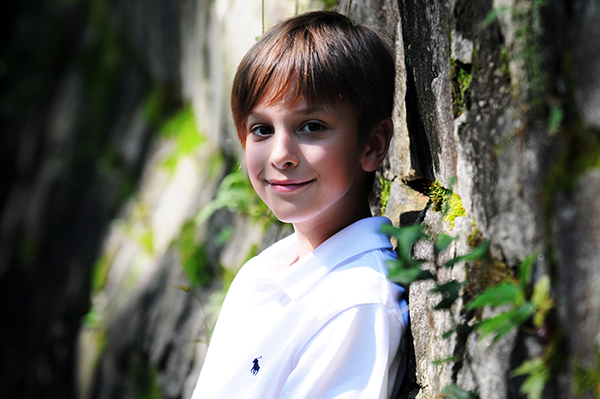
Normal lenses and short telephoto primes are ideal for portraits, some types of landscape photography, and for close-up photography. Being primes, they have much wider maximum apertures than zoom lenses. This helps limit depth-of-field and create images with lots of beautiful bokeh. It also helps you take photos in low light.
Learn more about the versatility of these lenses by reading these articles Why a 50mm Lens is your new best friend and How A Humble 85mm Lens Became my Favourite.
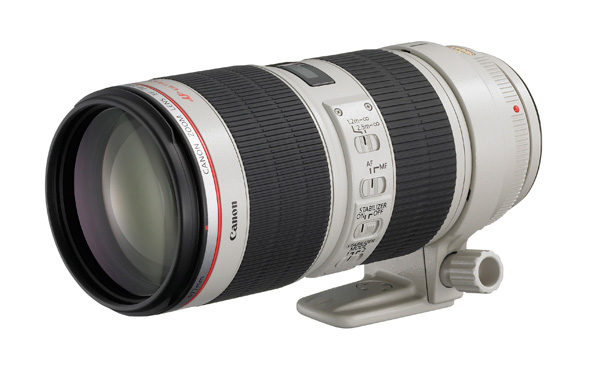
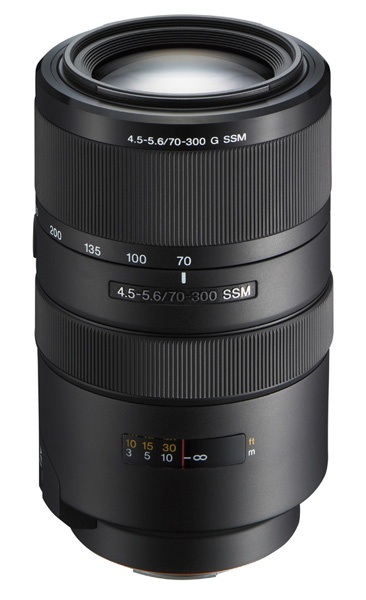
Telephoto lenses
This category includes focal lengths from around double the diagonal measurement of your camera’s sensor and upwards.
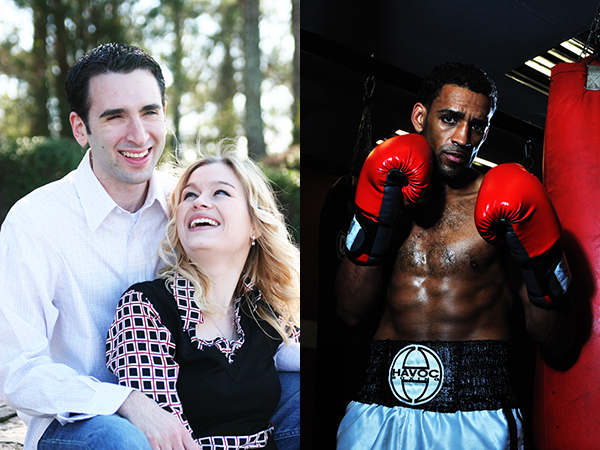
There are two main reasons to use a telephoto lens. The first is for the compressed perspective they provide to pick your subject out of the background. Portrait and fashion photographers often use them for this reason.
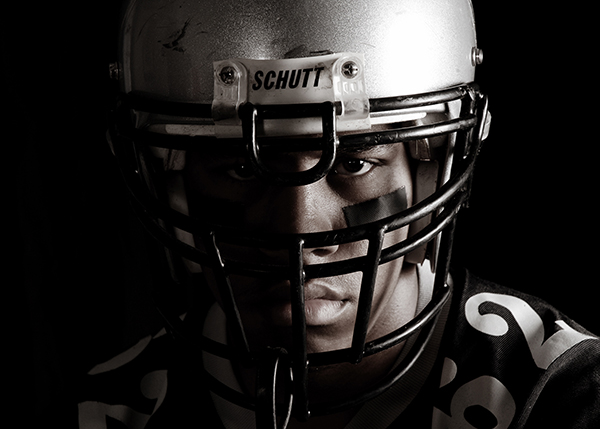
The other is that you need a telephoto because you are photographing something that you can’t get physically close to. This includes subjects like wildlife and sports.
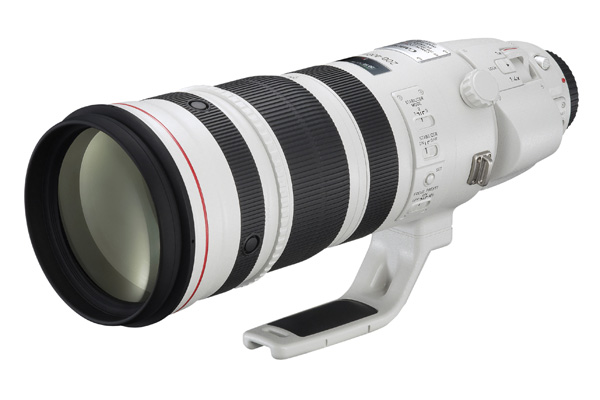
Super Telephoto lenses
These are the large telephoto lenses you often see photographers using at major sporting events. With focal lengths of 300mm and upwards, you will probably want to buy one of these if you are serious in any way about sports or wildlife photography. Be warned – many of these lenses are also super expensive. The new Canon 200-400mm zoom (pictured above) retails for over $ 11,000. Ouch!
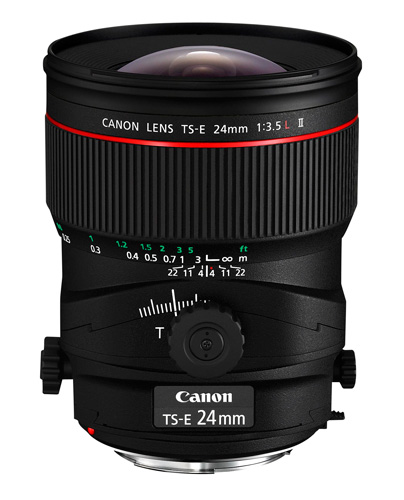
Specialty lenses
The final category includes other types of lens that you would probably only buy if you really wanted to use them, as they are specialty items, and some of them are pricey. They include macro, fisheye and tilt-shift or perspective-control lenses.
Other factors
Once you have decided which category of lens you are interested in, it’s time to consider other factors:
Image quality: You can say a lens has good image quality if it gives you sharp, contrasty images free from chromatic aberrations, colour fringing and barrel distortion from corner to corner at all aperture ranges of the lens.
No lens is perfect. There is no such thing as the lens that I just described. But good quality lenses come close. Generally speaking, the more you pay for a lens the better the image quality.
You may be wondering how to evaluate the image quality of a lens you don’t actually own. One tip is to read plenty of reviews, including the ones on the sellers’ websites, personal blogs and on Digital Photography School. DxO Mark has tested lots of lenses and posted the results on their website. You will soon get a feel for what people think about a particular lens.
Build quality and weatherproofing: These could be important if you subject your lenses to any kind of rough treatment or want to shoot in adverse weather conditions. The higher end lenses in each manufacturers’ range are the ones that have the best build quality and weatherproofing.
Another benefit of weatherproofed lenses is that they let less dust into your camera to get on the sensor.
Budget: Also important, for fairly obvious reasons. If you’re on a tight budget, consider buying prime lenses rather than zooms. You can get great image quality from relatively inexpensive prime lenses, much better than you would from zoom lenses in the same price range.
You could also consider buying second-hand (our article An Introduction to Buying Used Lenses will help).
Bear in mind that good quality glass should last you a long time. The life span of lenses surpasses that of most cameras. In the words of Sir Henry Royce: “The quality is remembered long after the price is forgotten.”
How many lenses do you need? I prefer to take the simple approach to photography and that includes equipment. The more gear you have, the more it weighs if you carry it all around in one go, and the more it costs to insure. I currently own four lenses and, depending on the subject, I take two lenses with me at the most on a shoot.
Your view
That’s my approach, what’s yours? How many lenses do you own? What are your favourite lenses and what are your recommendations for choosing a new lens? Do you buy new or second-hand? Let us know in the comments. It will be interesting to hear what our readers have to say.
Understanding Lenses ebooks
My ebooks Understanding Lenses Part I and Understanding Lenses Part II will help Canon EOS owners decide what lenses to buy for their cameras. They are both filled with lots of tips to getting the most out of your Canon lenses. Click the links to learn more.
The post A Concise Guide to Choosing a New Lens by Andrew S. Gibson appeared first on Digital Photography School.


You must be logged in to post a comment.