You’ve just bought yourself a new camera, or perhaps a new lens. Now you find yourself wanting to get a new bag for new purchases – after all, a good bag will protect your equipment, and can serve as an ideal place to store your photography gear when not in use.
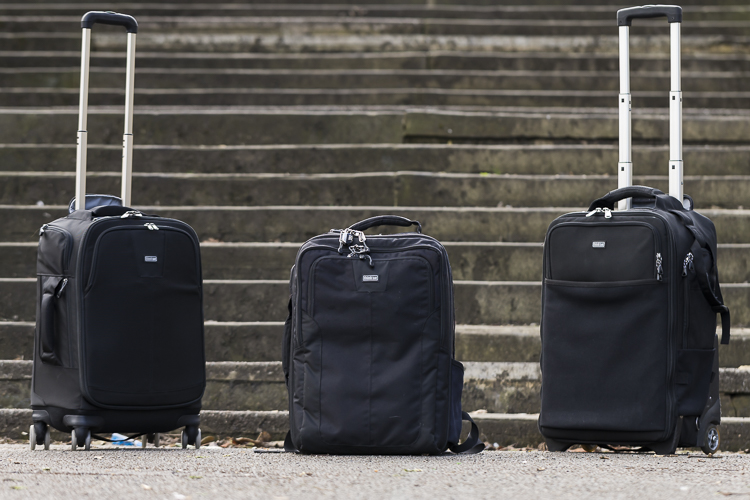
These are some of my bags. The two end ones are both roller bags. From left to right: ThinkTank Roller Derby; ThinkTank Airport Accelerator; ThinkTank Airport Security.
However, choosing a camera bag that’s right for you may not be as straight forward as it seems, but it is something that some thought should be given to. Choosing the right bag can make photography more enjoyable for you, as it can help carrying your equipment easier and more comfortable.
The days of buying the generic shoulder bag are gone! Now we are spoilt for choice with offerings of backpacks, shoulder bags, sling bags, belt packs, roller bags; the list goes on. But which one is right for you? Which one is the best fit for you and your equipment needs?
1. Camera Bag Size

This is my largest bag. I use this bag when I need to carry more equipment than normal.
How much equipment do you have, and will you want to carry all, or only some of it with you? This will help you decide on which size bag you need to look at. Also, think ahead; will you be buying more equipment such as additional lenses or camera bodies? Will you be adding a flash system, etc.?
All of these will obviously increase the size of your kit, and influence the size of the bag you purchase if you wish to use the bag for all of your stuff. But, do bare in mind that the more kit you carry with you, the heavier the bag will be. Also do be aware that if you use a pro-sized or gripped body, some bags may not fit your camera as the bag is not deep enough to accommodate such sizes. Generally, bag manufacturers will give a list of what can fit into a bag, and list so you can see if pro-sized or gripped DSLRs are suited to that particular bag.
2. Camea Bag Style – The Personal Part
Choosing the size of your bag is relatively easy. It’s choosing the style of bag that I think is the most challenging, and this is where most people can get a little stuck. There are just so many choices available, it really does come down to personal choice.
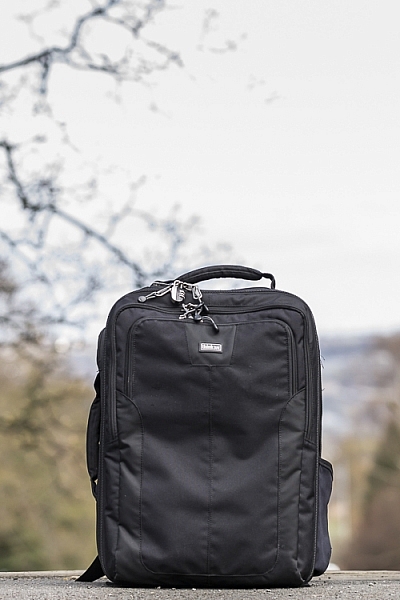
I take my backpack, the ThinkTank Airport Accelerator (left), to nearly every job I do. I use this bag to carry my laptop, laptop accessories (charger, internet hub, card reader, etc.) and any other bits and pieces I may need such as wet weather gear. If I need it, I also put my modular set (not pictured) inside this bag to use on site.
You may prefer to use a shoulder bag, where the next person may prefer to have a backpack. It’s important to consider just how much equipment you want to carry around in your bag, as this can influence the style of bag you end up purchasing. Below is a small table with a short list of pros and cons to each style of bag.
Let’s have a look at some of the pros and cons of the following bag types:
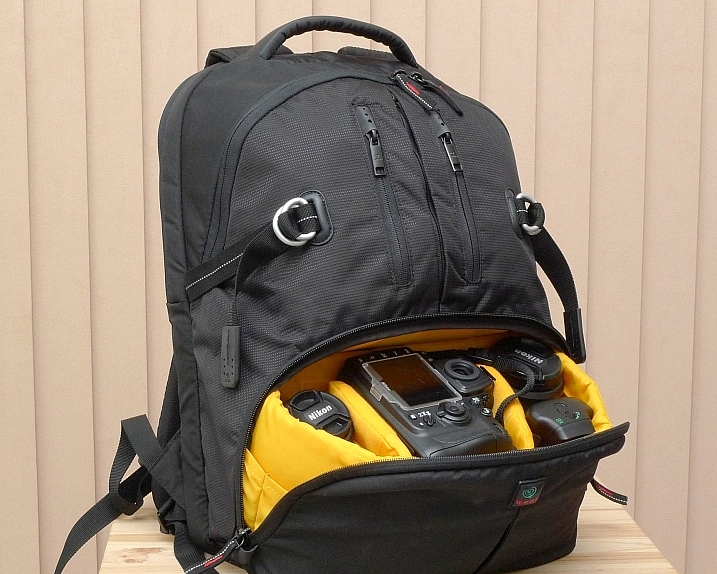
Backpacks
By ????? KhE ?
Pros:
|
Cons:
|
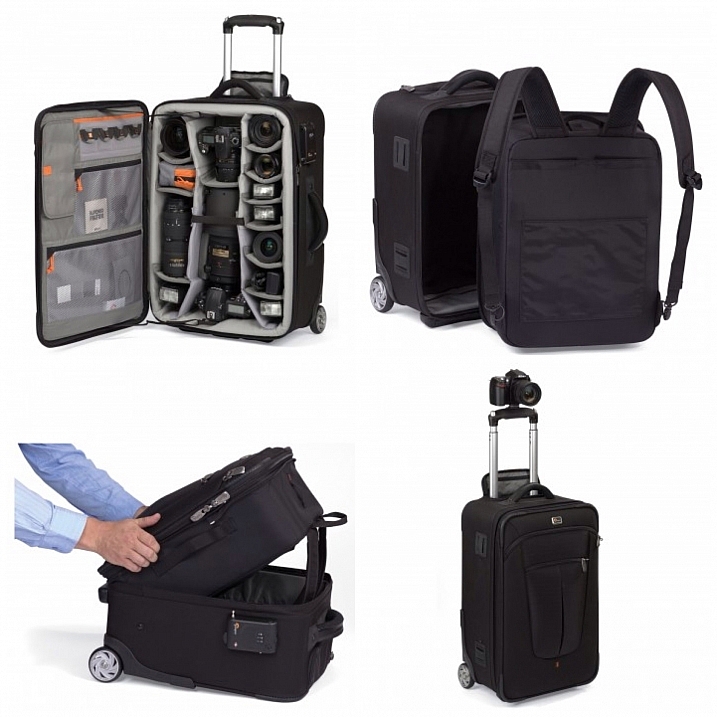
Roller Bags
By See-ming Lee
Pros:
|
Cons:
|
Modular Systems

Image courtesy Lowepro
Pros:
|
Cons:
|
Sling Bags
Pros:
|
Cons:
|
Shoulder Bags
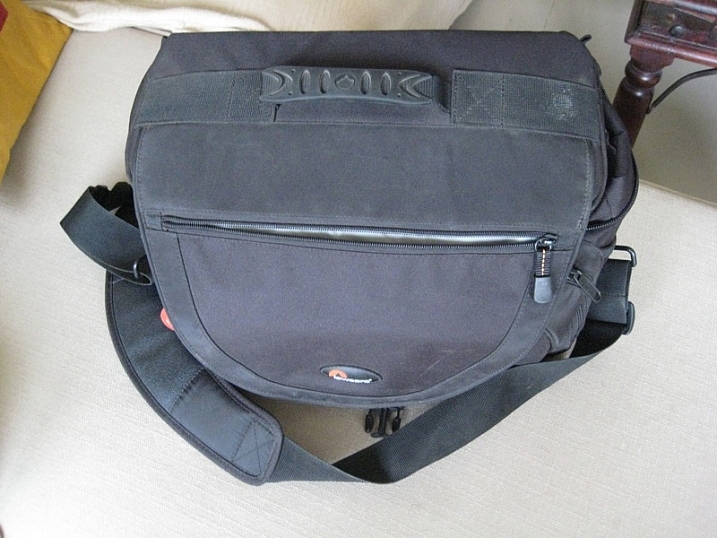
By Thomas Wanhoff
Pros:
|
Cons:
|
3. Active or Passive Bag Concept
Personally, over the years I have used pretty much every style of bag around from backpacks, sling bags, shoulder bags, to roller bags and modular belt systems; you name it and I’ve most likely used it at some stage!
What I have learned from this experience is that one style of bag is no better than the next and that what works on one adventure, won’t necessarily work as well on another. I have also learned that generally, one bag will not fit every situation. This brings us to an interesting concept that I have called Active Bag and Passive Bag.
An Active Bag is a one that allows you to easily carry equipment with you and be more mobile; one that can go with you all the time. The styles of bag that are suited to this are: backpacks, sling bags, modular systems and shoulder bags.
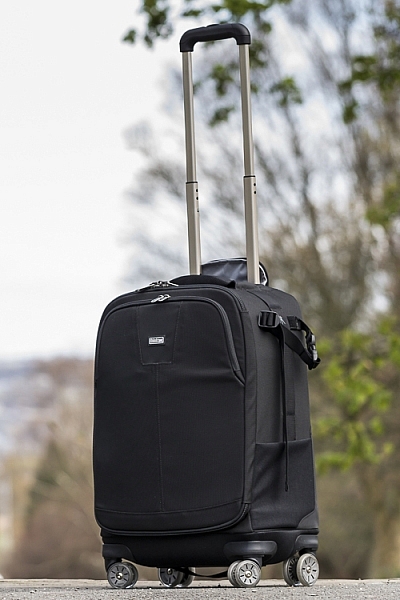
This roller bag – the ThinkTank Roller Derby – is the bag that I take to pretty much every job I have. It’s small enough to easily fit in the car, yet carries everything that I need on a job.
Passive Bags are great at transporting all your equipment to and from your shooting location and even providing a great storage solution for storing your kit whilst it’s not being used. But these bags are not ideal for the photographer who is constantly on the move. What I have found to work best is having a combination of both Active and Passive Bags with me. I use my roller bag to transport my kit to my shooting location and it provides great protection during the transport phase – not to mention a great portable desk to sit my laptop on! I then compliment this by using an Active Bag, usually a modular belt system or backpack, to carry the extra lens and flashes that I may need.
I already have two cameras over my shoulders, each with a lens, so the bags I have are there to carry what I cannot hold in my hands, or do not need right at that moment. It is a little more expensive, yes, but the benefits are great. This is something worth considering if you’re find yourself in a similar situation where you want/need to carry a larger amount of equipment, but do not need that bag once you are at your location.
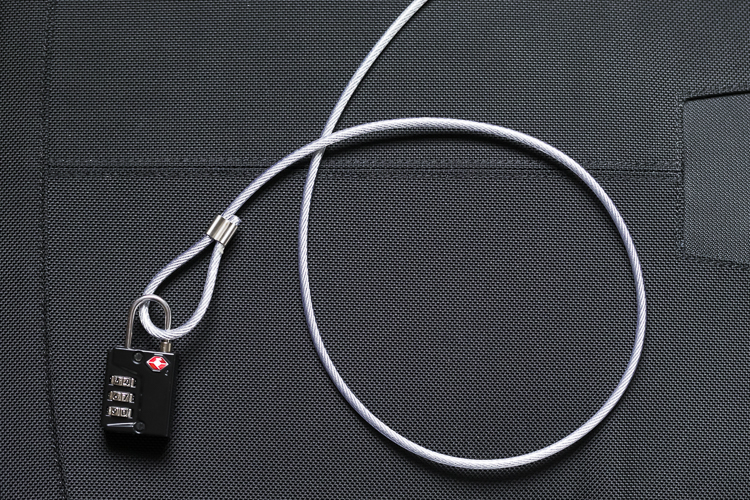
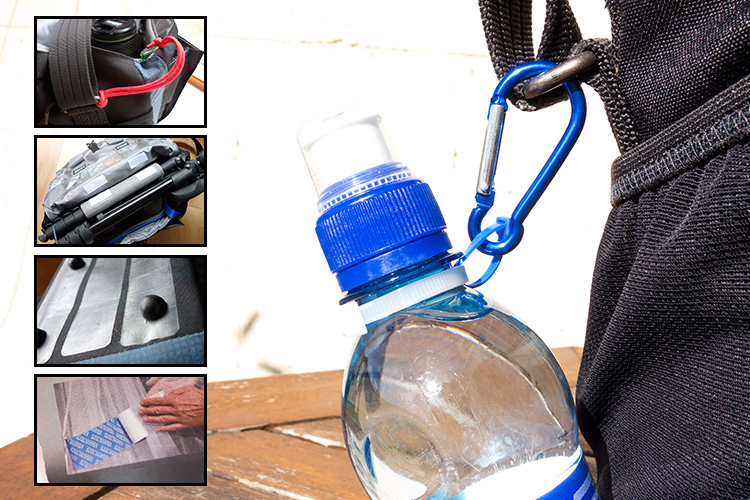
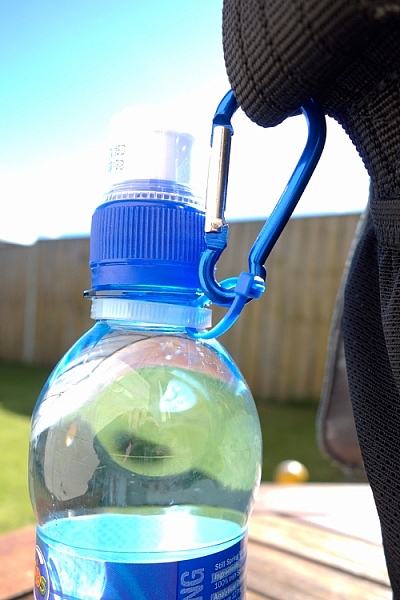
Some manufacturers also include a cable that is made in to the bag. This is ideal to lock the bag to an immovable object; perfect for Passive type bags.
4. Bag Quality
So you’ve decided on the size and style of bag you wish to purchase; but please do not overlook quality. You’ve spent a small fortune on your equipment, and the last thing you should do it cut corners on what protects it.
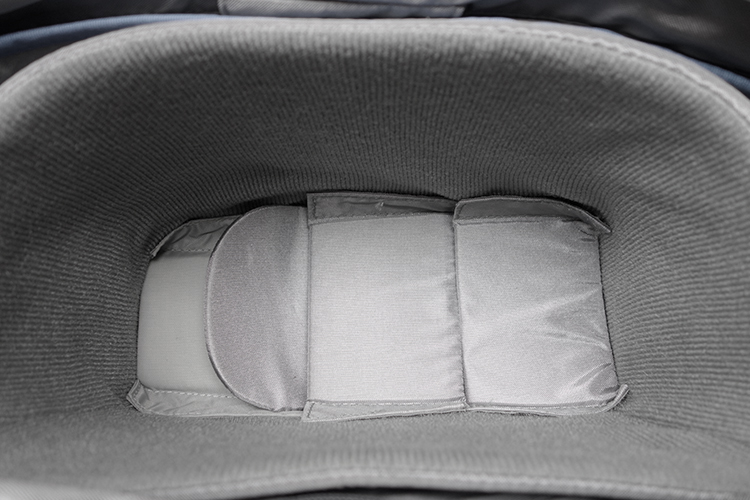
A good camera bag should have nicely padded, removable inserts inside. The removable inserts will allow you to customize the bag to best suit your equipment, and the padding will provide greater protection and help prevent your equipment from crashing into each other.
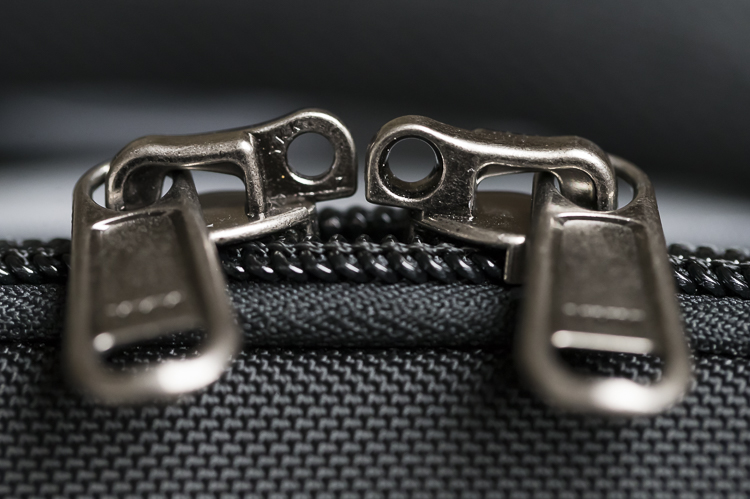
Generally, the first thing to fail in a camera bag are the zippers, so looking for a good feeling zipper (especially for the main camera compartment) is very important. A poor quality zipper can unexpectedly fail, and potentially cause your equipment to fall out and break.
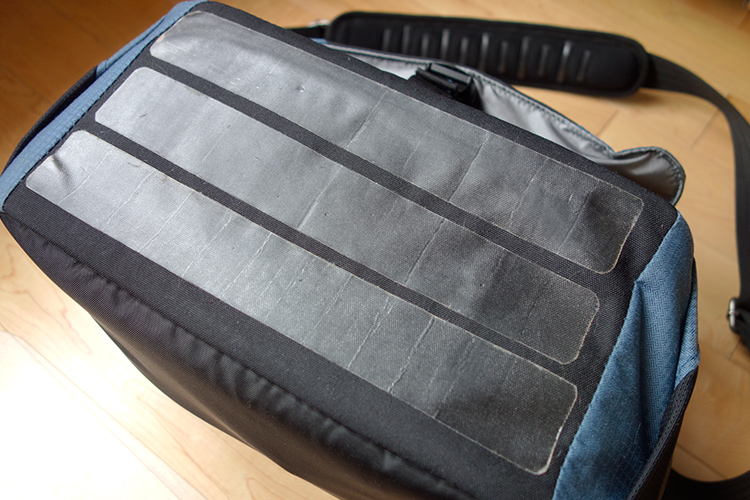
You also want your bag to last, so make sure the exterior fabrics used are tough and wear resistant. Personally, I use ThinkTank Photo products and to be honest, I cannot fault them at all. They’re extremely well made and have withstood everything that I have thrown at them.
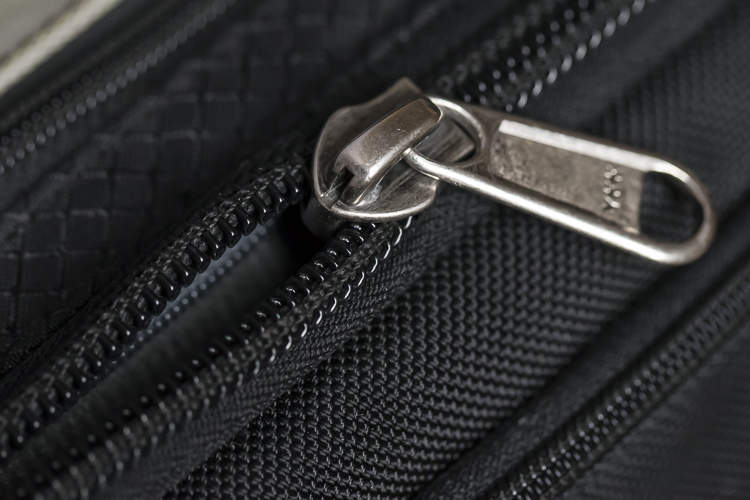
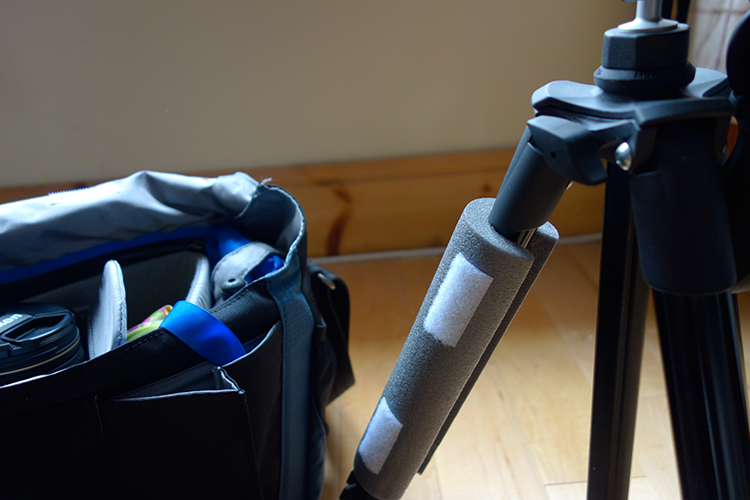
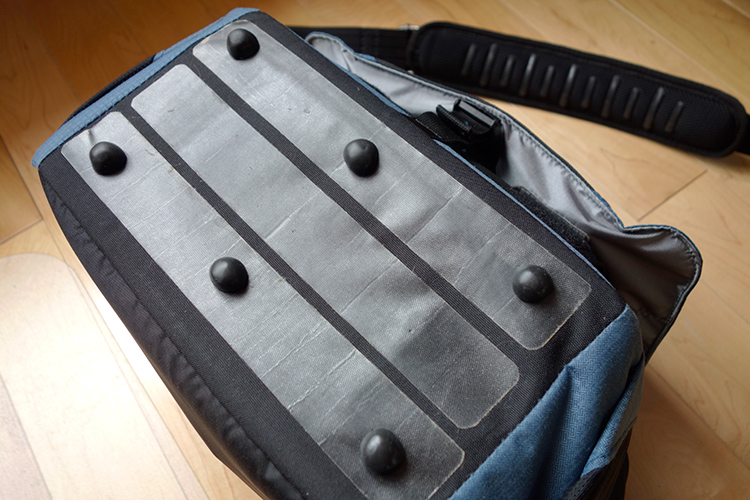
A close up of the zipper on the main camera compartment on one of my bags. The zippers used on this bag are YKK Fuse zippers.
Some bags also offer zippers that are lockable; ideal for that little bit of extra security.
Conclusion
Whilst this is an introduction into buying a bag for your camera, by no means is this exhaustive and you will still need to do a little research before you make a purchase. But, this article should offer some guidance on which bag may be right for you. You will find that most of your decisions will be based upon your own requirements. I would highly recommend you go in to a store, and bring your kit with you to try the various bags to help you find the best one.
I’d love to hear if you have anything else you want to add and offer some advice based on your own experiences. What kind of bags do you have?
googletag.cmd.push(function() {
tablet_slots.push( googletag.defineSlot( “/1005424/_dPSv4_tab-all-article-bottom_(300×250)”, [300, 250], “pb-ad-78623” ).addService( googletag.pubads() ) ); } );
googletag.cmd.push(function() {
mobile_slots.push( googletag.defineSlot( “/1005424/_dPSv4_mob-all-article-bottom_(300×250)”, [300, 250], “pb-ad-78158” ).addService( googletag.pubads() ) ); } );
The post Choosing the Right Camera Bag – and Why You May Need More than One by Daniel Smith appeared first on Digital Photography School.


You must be logged in to post a comment.