
Brightly colored Aspen leaves cling to branches as Fall comes to an end in the Sierra Nevada mountains.
This is the 3rd of a 3 part series on my experience jumping back into film photography after a 10 year hiatus focusing purely on digital photography. You can start here at Revisiting Film Photography After 10 Years: The Readjustment if you missed it.
Withering Vine of Development vs Hipster Revival
These days you hear a lot about how film development has withered away to virtually nothing and I even wrote Film is Dead. No Really! back in 2009 . Depending where you are this may indeed be true. Long gone are the days of having easy access to development at a corner store. In that regard my post from 2009 still holds true. Luckily for me I live near San Francisco and the hipster revival of film has helped keep a few developers, like Light Waves Imaging, alive and kicking. Before finally going to Light Waves I did call around for other alternatives and the few mom and pop stores remaining ship their customers positive film to larger developers elsewhere in California. Rather than wait I opted to drive to Light Waves and pick up my film in 24-48 hours.
Pains of Review and Scanning
It took a while to get used to waiting to see the outcome of my Eastern Sierra shoot on film. It didn’t help that I had immediate access to images I took in parallel on a DSLR. This heightened my interest in seeing my film exposures because I wanted to see how the two formats compared. The last time I shot film side by side with a DSLR it was with an 8.5 megapixel sensor (1.3x crop) Canon 1D Mark II. On this trip I was shooting with a Canon 5DS R which utilizes a 50 megapixel sensor.
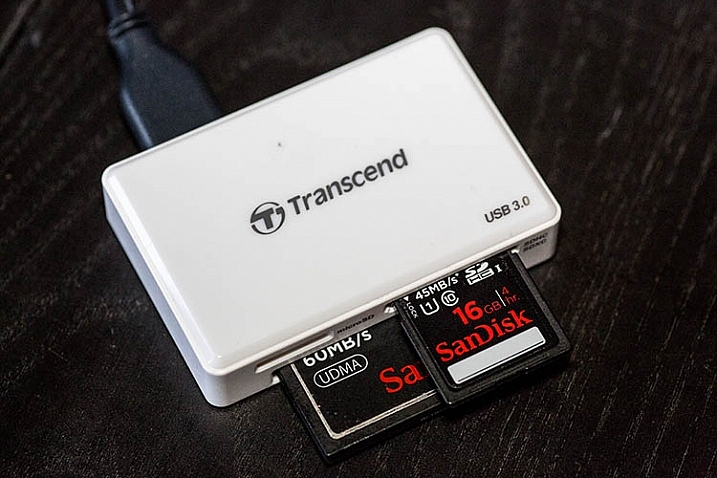
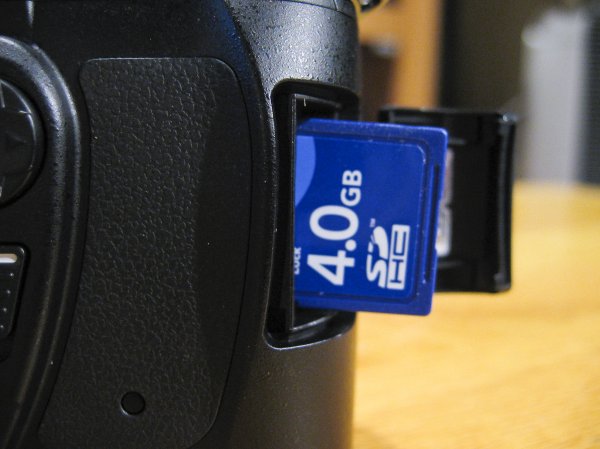
When the time came to pick up my film I brought my 5 year old son along and he had plenty of questions at the store counter as to what film was and why it was different than my digital camera. That in itself was a surreal experience as he has only seen digital photographs to this point. I had fun showing him how the images looked on the store light box, but it was still a fairly abstract concept for him to absorb. After spot checking a couple frames on each roll to see if there were any absolute failures (luckily there were not) we headed home. That evening I quickly learned that my old light box was missing a power cord and in a fit of impatience I started using my iPad as a light box. Considering this worked relatively well, but with a loop you see pixels behind your film and I found it distracting. I priced light boxes to buy, but opted to hold off and scanned each frame on my Epson V700 photo scanner.
Am I A Film Worthy Photographer?
I have to admit I was nervous about jumping back into film after 10 years because I wasn’t sure how well I’d hold up to a very unforgiving format. You have a finite number of frames to expose, limited latitude in dynamic range, and a variety of ways to mess up an exposure. I wasn’t a bad film photographer back in the day, but I forgot how bad failed film images made me feel. It’s a miracle I stuck it out with photography. One of the nights I was scanning film I summed up my feelings about film photography on Facebook with the following update:
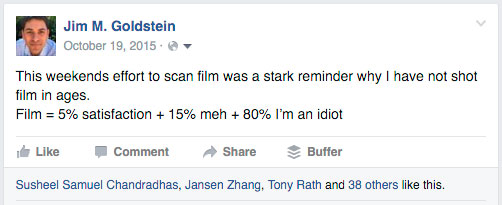
Film = 5% satisfaction + 15% meh + 80% I’m an idiot
In the end I turned out to be a “worthy” film photographer. The stats turned out as follows:
- 29% (13/45) are worthy of working further on (sharp, decent composition, etc.)
- 11% (5/45) are likely worthy of sharing/printing from the 6×17.
- 7% (3-4) are likely worthy of sharing from my pinhole camera.
Note: Each roll of film was comprised of 4 exposures.
The numbers weren’t super impressive, but having >10% of my exposures being worthy of sharing and printing surpassed my expectations. Knowing that while using a new camera system for the first time I could get decently sharp exposures balanced the horrible dread I felt looking at each exposure where I didn’t advance the film properly, under/over exposed, mis-focused, and/or made poor composition choices.
Post-Production
One thing that remained universal 10 years on was how frustrating the results are from scanning film. Whether using a negative or flatbed scanner the resulting scan is soft and looks like a muted version of the film itself. One good thing about the downfall of film is that drum scans are much more reasonably priced. That said for my first time out, flatbed scans were good enough for sharing online.
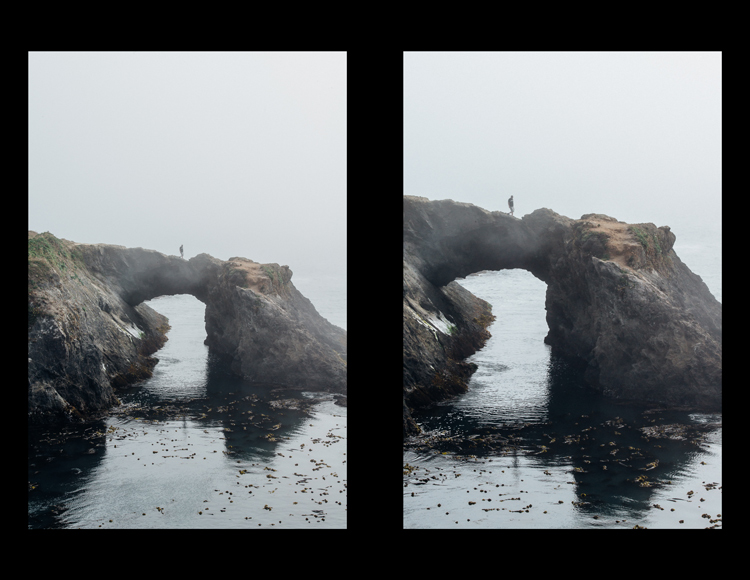
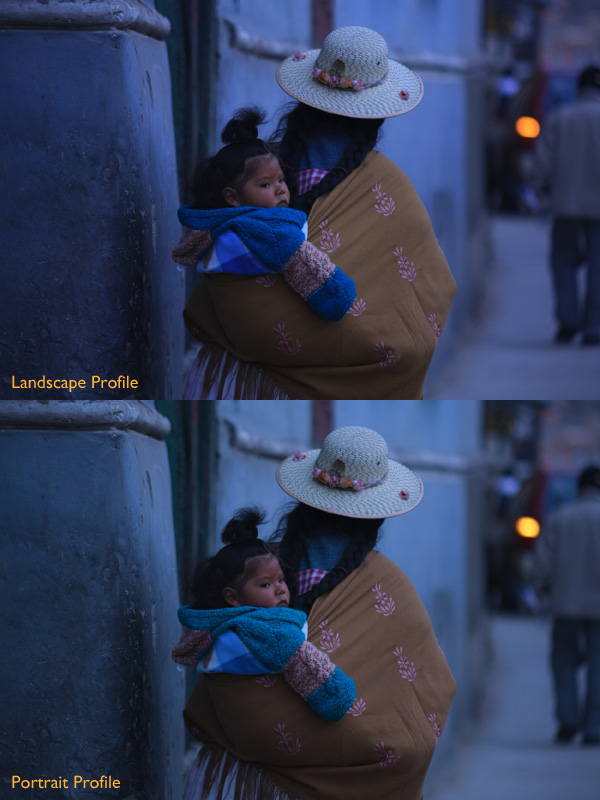
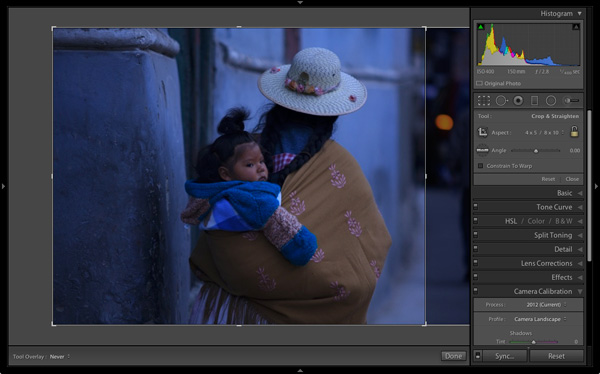
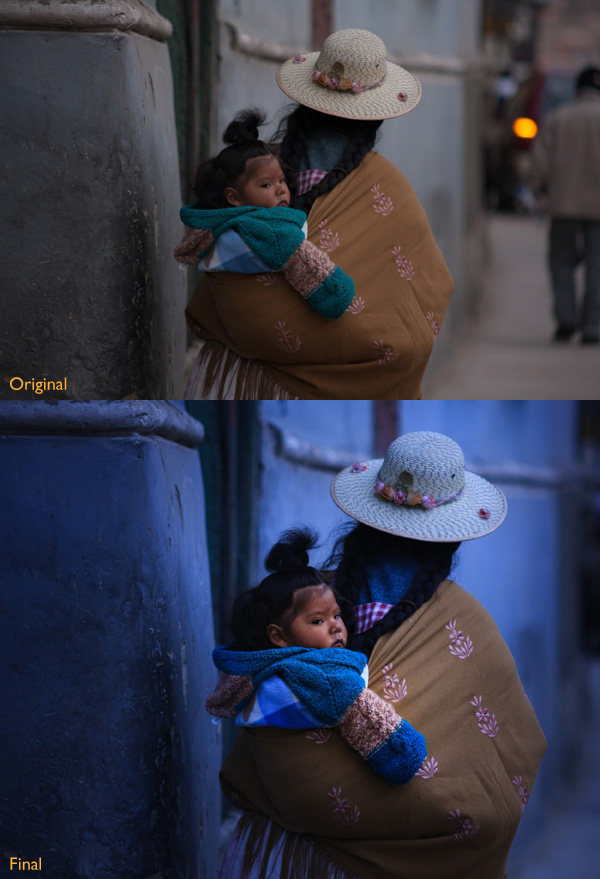
Looking at my film to edit in Lightroom and Photoshop I felt as though I was transported back in my frustrated younger self 10 years earlier. Other than the interface of the software nothing had changed in the sense that I was color correcting, spotting and sharpening my scans. I found myself meticulously removing color casts with curves adjustments in Photoshop, spotting my image to remove dust spots created by dust on the scanner glass or film itself and trying to resurrect the sharpness of my image after being softened in the scanning process. It made me want to jump ship again to digital… until I saw how final 6×17 image came out.
One other thing that was surprisingly refreshing was once again enjoying the look of Fuji Velvia. In an age where presets are obsessed over as much if not more than cameras I liked seeing a defined look of a particular film. One could argue that the look of film is in itself a preset, but my point here is that it’s a distinct style I long missed seeing. No attempt at a recreated look via a digital preset compares.
Concluding Thoughts
Film photography is both an exhilarating and frustrating experience. Working with a film camera in the field was refreshing. Slowing down and taking in the scene while composing & setting up was incredibly refreshing. I instantly realized how much this had been missing from my digital shoots. On the other hand waiting for my film to be developed, taking a hit to my ego each time I viewed a failed exposure and dealing with the hassles of scanning & post-processing was enough to make me unconsciously start pulling out my hair. If I wasn’t so in love with the 6×17 format I’d likely revert back to shooting digital 35mm exclusively. Luckily for my remaining rolls of 120 film I’ll be taking them out again soon. I’ll keep plugging away with 6×17 film work over the next few years for select personal projects. Film lives after all.
The post Revisiting Film Photography After 10 Years: Development & Post appeared first on JMG-Galleries – Landscape, Nature & Travel Photography.
JMG-Galleries – Landscape, Nature & Travel Photography


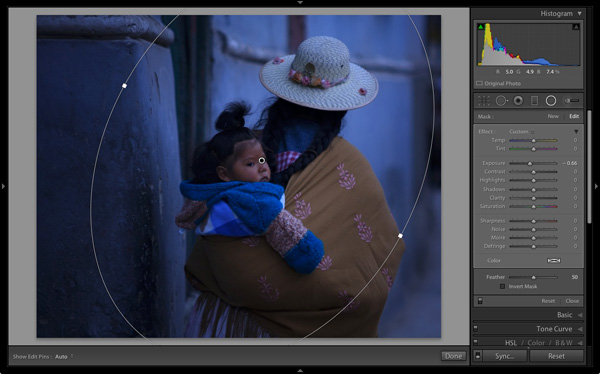
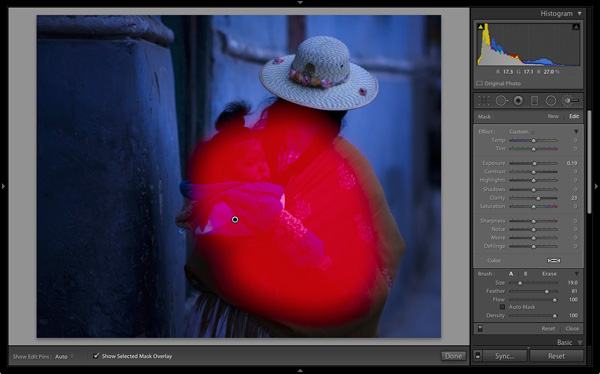


 Andrew’s ebook Mastering Lightroom: Book Four – The Photos is available now at a special price of 40% off for a limited time from Snapndeals. It’s an advanced guide to processing photos in Lightroom’s Develop module, explaining how to use Lightroom’s powerful processing engine plus Develop Presets and plug-ins to create beautiful images.


You must be logged in to post a comment.