If you’re into photography at some point you’ve probably had the desire to print and display your work. Whether it be for exhibition in a gallery or local community center, to hang on your own wall, or to give a print as a gift to a friend or loved one, you want to present your work in the best way possible. Treating it as the piece of art that it is. Displaying your printed work can sometimes result in a lot of angst, due to problems printing, decisions with regards to matting and framing, and finally, lighting.
Many photographers believe an image isn’t fully realized until it has been printed and hung.
“The negative is the equivalent of the composer’s score, and the print the performance.” – Ansel Adams
While situations, intentions, and desires may vary from one photographer to the next, here are a few things to consider when preparing an image for print and display.
Monitor Calibration
Before you even choose which route to go with in terms of printing your images, you have to address the biggest issue facing photographers today – monitor calibration.
The settings you have applied to your computer screen can drastically affect the way the image looks on screen. And while you may have edited the image to look fine onscreen, when you go to print it, there is a very good chance your printed output will look nothing like what you saw when editing. To solve that issue, you have to match your screen to a known standard. One that sets the color and brightness so that what you see on screen will translate to what comes back from the photo lab, or out of your printer.
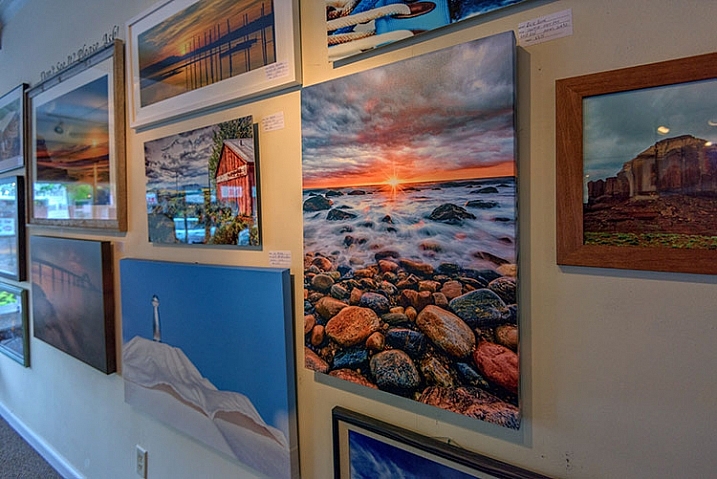
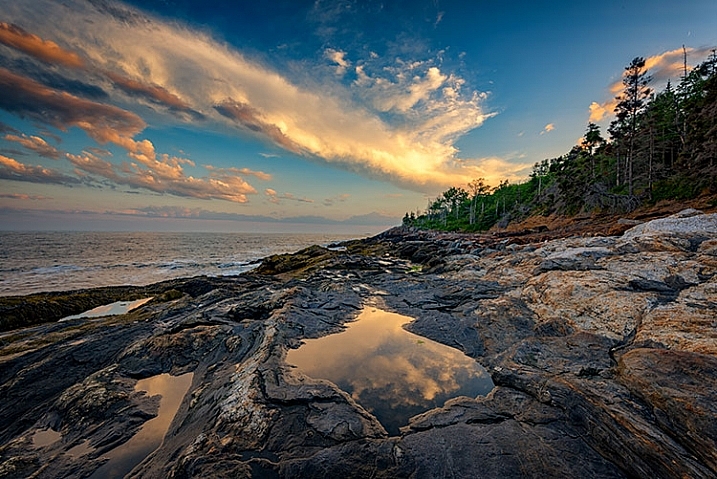
Unless your monitor is properly calibrated, you can’t be sure that the vibrant colors you see on screen will be the same as those seen in a print.
There are several available options for monitor calibration, but they all do the same thing. They get your monitor set to a known state that the printing engine can translate to similar output. In other words, what you see onscreen is what you get out of the printer or lab! Finally, it’s important to realize that the lighting under which your print will be displayed will affect the way the image looks. Too cool lighting will make it look bluer, while fluorescent lighting will make it greener, and tungsten lighting will warm the tones.
Finally, it’s important to realize that the lighting under which your print will be displayed will affect the way the image looks. Lighting that is too cool will make it look bluer, while fluorescent lighting will make it appear greener, and tungsten lighting will add warm the tones.
Type of Print
Obviously, if you plan to display one or many of your images, the first thing you need to do is have it printed. You have several options available, and while none are wrong, some are better than others. The simplest option, in terms of work for you, is to use a photo lab or print service. If you like more control, you can choose to print the images yourself on your own photo quality inkjet printer. Even then, there are things to consider.
When you do decide to print an image, you have several choices to make, include what process to use, what media to print on, and how it should be finished.
There are two main printing methods prevalent today, depending on where you go for your prints of digital images:
Inkjet prints:
Inkjet prints are produced by placing tiny drops of ink on paper or canvas to produce an image. Professional inkjet printers tend to have more colors than consumer models, with high-end printers now featuring up to 12 different color inks to create a richly colored image.
Inkjet printers use inks that fall into one of two categories; pigment or dye-based inks. Pigment inks are made of tiny particles that sit on top of the paper, while dye-based inks are absorbed into the paper. Pigment inks are archival and can last up to 200 years or more in the proper conditions (under museum-quality lighting and framing). Pigment-based inks are more expensive but also suffer two main drawbacks. First, pigment based inks can suffer from metamerism, which appears as a shift in the color when viewing the print at an angle. The second drawback is that pigment-based inks are not as vibrant as dye-based ones. Dye-based inks tend to fade more quickly, though some are rated to last up to 75 years or more in proper conditions. Professional printers will usually use pigment-based inks.
Digital C-Print (Lightjet):
This method of printing involves using a laser to expose chromogenic paper, which is then processed in chemicals, similar to a traditional photographic print. It’s a continuous tone print, unlike inkjet which produces tiny dots of ink on the paper to create the image. The laser produces true photographic quality with continuous gradations and tones. Kodak Endura and Fuji Crystal Archive are the two most popular papers used in this process, and both produce archival prints that will last up to 200 years under proper conditions.
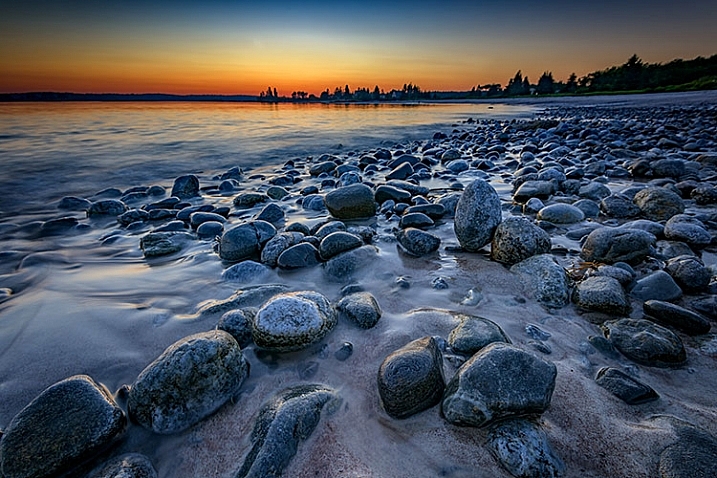
While it’s fun to show off your images online, there is nothing quite like having one of your images printed and framed.
Choosing a Lab
Labs offer some decided advantages over printing images yourself. When choosing a lab, you want to find one with a reputation for good quality control and customer service. I’ve found getting recommendations from other photographers to be incredibly helpful when looking for a lab.
Other things you’ll want to consider are their products. Do they print using the method you want? Do they offer the sizes you want? Do they print on media other than photo paper, such as canvas, acrylic, or metal? What kinds of finishing options do they offer? Is the canvas gallery wrapped? Do they offer mounting or framing? Do you want or need those services? Answer those questions, knowing what you want or need, and that should give you a good answer as to whether the lab will fulfill your needs.
Answer those questions, knowing what you want or need, and that should give you a good answer as to whether the lab will fulfill your needs.
Displaying the Print
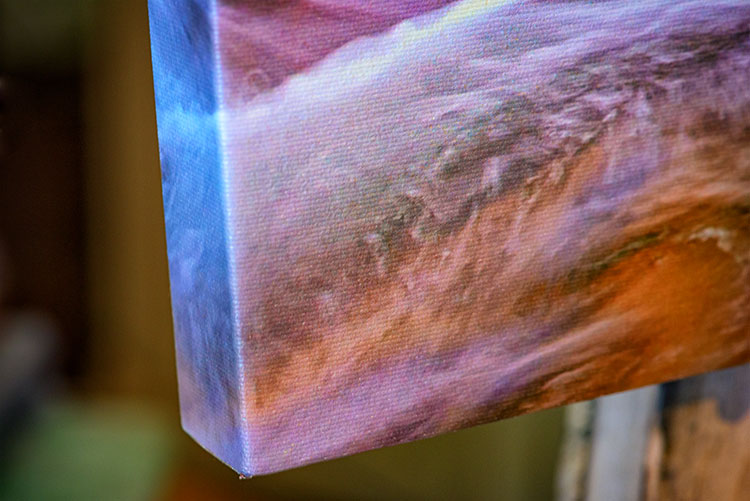
If you choose to go with a print on metal, acrylic, or canvas, once the print is made, you probably won’t have much else to do. These options are generally finished and require no framing, though a decorative frame can be added to canvas if desired. If you’ve printed on paper, you still have a little work to do.
Matting
Paper prints, to be properly displayed, need to be matted and framed. You can find various qualities of mat board, using terms such as “Buffered pH Neutral” or “Acid-Free”. These are basically the same thing, meaning the acid has been removed from the paper to avoid harming the prints. Acid-free mats have a protective lifespan of about 7-12 years.
The next grade of mat board is known as “conservation grade acid-free” or sometimes “museum rag”, which is what you’d want to use for a serious art display in a gallery. In addition to removing the acid, another component harmful to paper, called lignin, is also removed from the mat board. Conservation mats that are acid and lignin free have a protective lifespan of 50 years or more. Conservation grade mats aremore expensive than simple acid-free ones.
Which type of mat should you choose? It really depends on your purpose. If you’re planning to display the print as art in a gallery and possibly for sale, conservation grade mats are the best choice. This helps add value to the print by preserving it, and lets the buyer know you are serious about your work and their potential investment in it. If the use is something less important, such as a temporary display that won’t be for sale, you can certainly save some money and go with a simple acid-free mat.
Framing
Framing prints can present you with some difficult choices, depending on where the print will be hanging. Since you never know where someone may hang a print, for galleries and art shows I suggest a simple, understated black frame, that lets the image breathe and speak for itself.

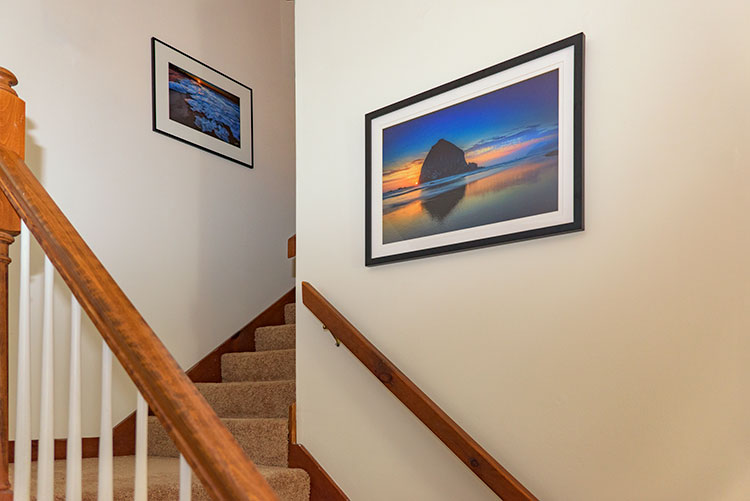
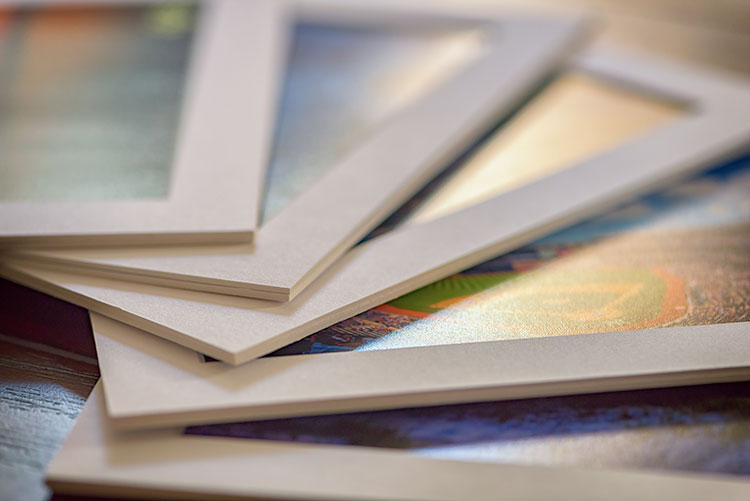
A matt and frame finish off an image and complete the piece for hanging.
One of the big mistakes I see new photographers and artists make when showing work in a gallery or exhibition is framing their work in overly ornate or colorful frames. When an art buyer purchases a new piece of art, if it is framed already, that frame becomes part of the consideration. By keeping the frame simple and understated, it allows the buyer to view the art neutrally without considering the frame. They won’t feel the frame has to be married to the image and can feel free to consider their own framing choices.
If you want to get really serious about the frames you use, you’ll want to use museum quality framing. Like conservation mats, it is designed to preserve the print for as long as possible. Museum quality framing includes UV filtered glass to reduce the UV rays from the sun that are a print’s worst enemy and keep it from fading. It should include conservation matting as described above, and will have a final layer of archival backing to further protect the print.
The Finishing Touch
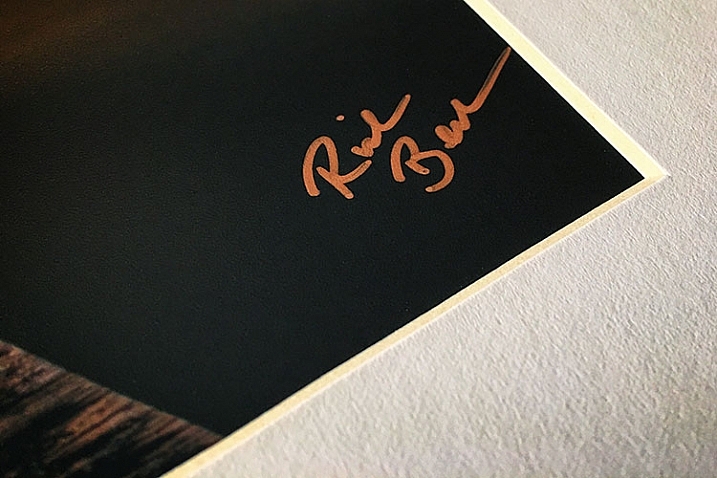
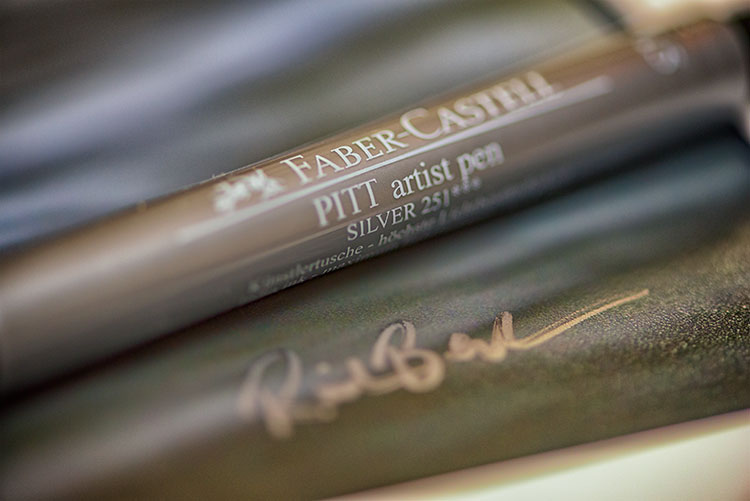
An artist should always sign his or her work, on the print, in the corner.
As with any artwork, you should always, without fail, sign your images. Signing your images signifies that you created the image, personally took responsibility for it from capture to print, and lets whoever is hanging the print on their wall know who created it. It adds value for art collectors.
There is always some debate, it seems, but I will go on the record as saying that it is always the print that should be signed, and never the mat. The mat can be removed, and thus, so can your signature. Choose either the bottom left or bottom right corner and sign your prints with a neat, clear signature that identifies the image as your own. Again, you’ll want to use archival ink that won’t harm the print, in a color that will stand out. For darker prints, silver or gold metallic works nicely, while for lighter colored prints, a black ink will suffice. I prefer the Deco Color Liquid Fine Paint Markers to sign my prints, canvases, metal prints, and acrylics. There are several thicknesses available so you may want to experiment to find what works best for you.
Your photos are meant to be seen, not just take up space on a hard drive! So take these tips and start showing your images off. What are your favorite tips for displaying photos?
googletag.cmd.push(function() {
tablet_slots.push( googletag.defineSlot( “/1005424/_dPSv4_tab-all-article-bottom_(300×250)”, [300, 250], “pb-ad-78623” ).addService( googletag.pubads() ) ); } );
googletag.cmd.push(function() {
mobile_slots.push( googletag.defineSlot( “/1005424/_dPSv4_mob-all-article-bottom_(300×250)”, [300, 250], “pb-ad-78158” ).addService( googletag.pubads() ) ); } );
The post How to Prepare Your Images for Print and Display by Rick Berk appeared first on Digital Photography School.

Digital Photography School


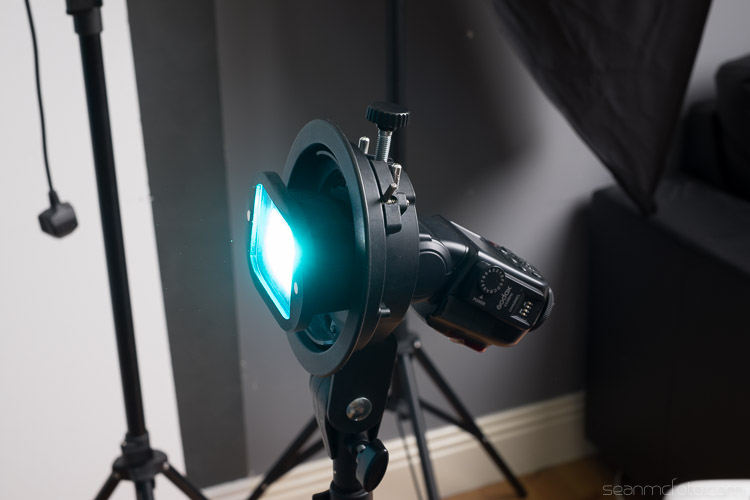
 Here’s a shot done with a bare speedlight:


You must be logged in to post a comment.