When starting on the path of learning photography, it is common for some to already have an idea about what their work is supposed to look like. They admire and look at the work of photographers and want to be able to do similar work themselves. While this is an important part of the learning process, the best photographers all eventually go off in their own direction, and creatively it’s very important to think in this way. You want your work to ultimately be different. Here are some steps to help you figure out how to go against the grain and make your photography more unique.
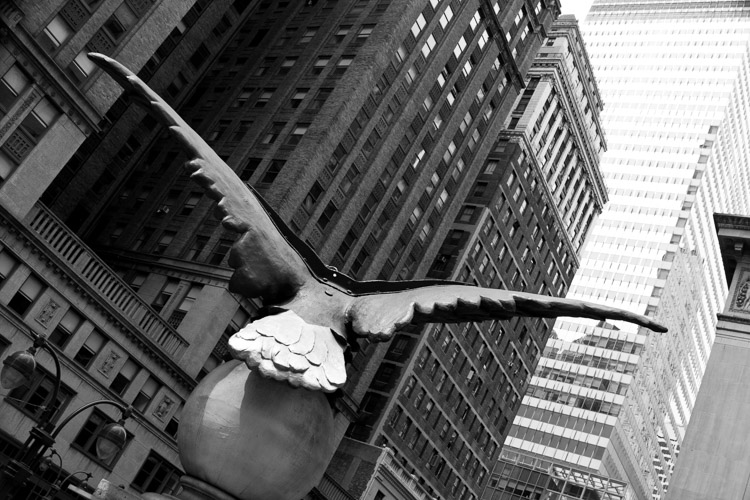
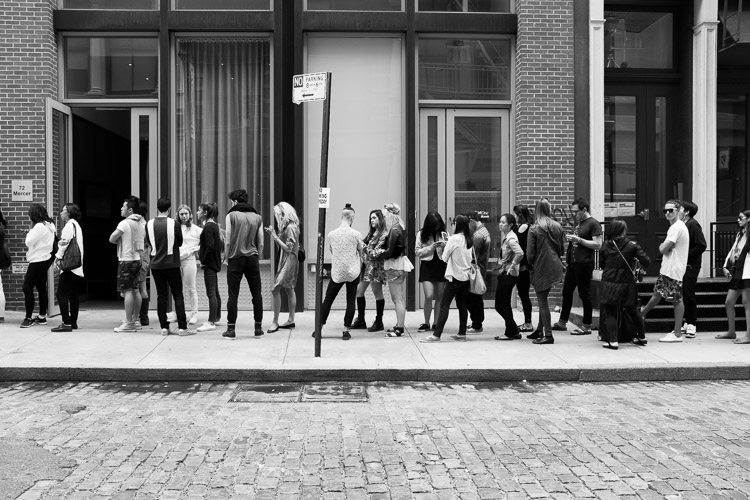
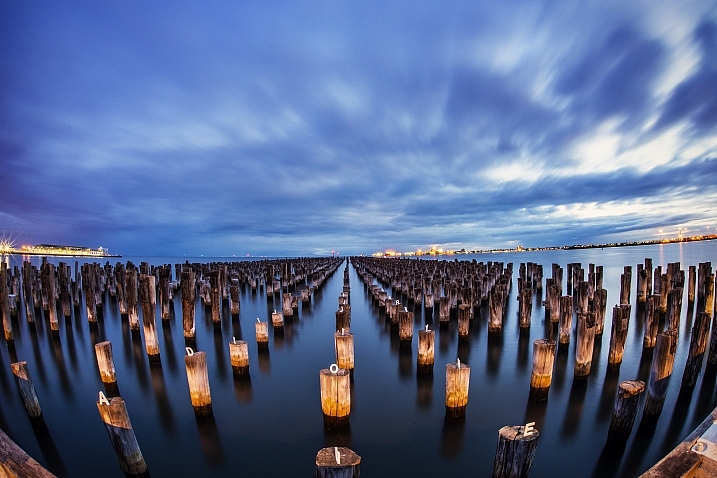
Soaring, 42nd Street, NYC.
1. Put your own spin on things you’ve learned
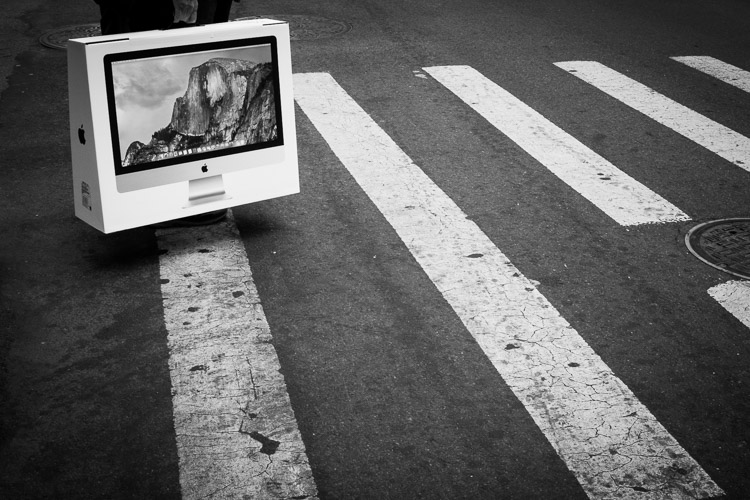
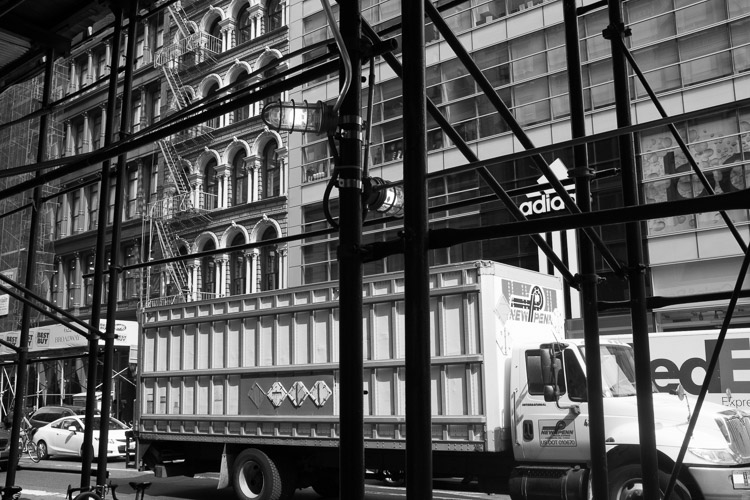
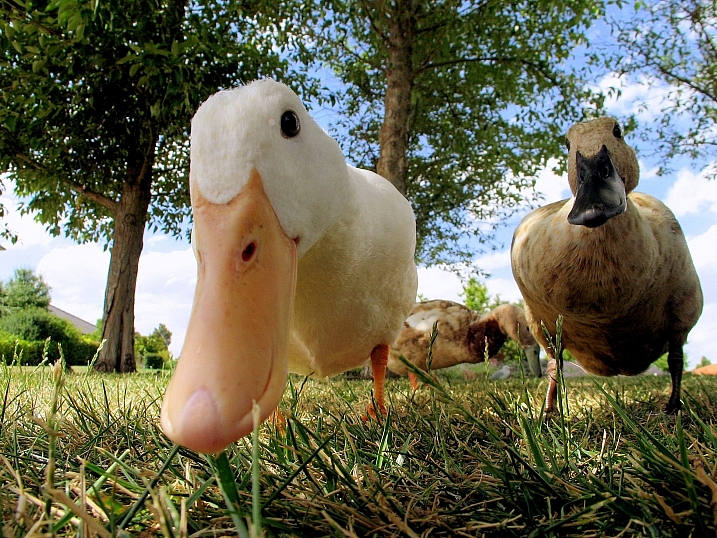
Yosemite, Broadway, New York.
You cannot go against the grain if you don’t first understand the traditional techniques of photography. Take all of the photographers that you admire and teach yourself how to do what they did. Take the best aspects from all of them, whether it be content matter, lighting, exposure, overall look, or other technical skills, and integrate them into your own work. Become a hybrid of them all.
These photographers came before you for a reason, and it’s a luxury to be able to learn from them. You can still go in your own direction, however, you first need to create the foundation to be able to do that in the right way.
2. Don’t be afraid of people not liking your work
It is normal to feel like you need to cater to everyone’s interests. Obviously, you want to create work that a group of people enjoy, but try not to think about that at the beginning. No matter what you do, someone is not going to like your work, and probably more than a few people.
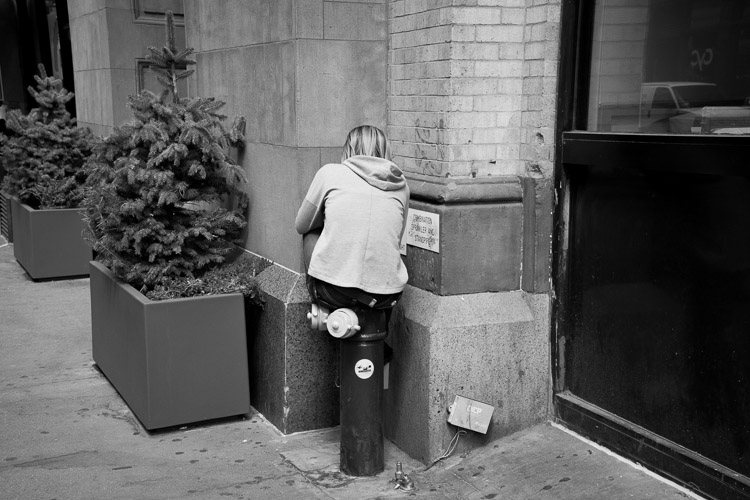
New York.
The problem with chasing likes, is that you end up playing the game of popularity. You look at what photography succeeds the most on social media websites, at what gains the most wows, and it’s easy to think that it is the best photography, and that is what you need to do as well. However, what you are really doing is conforming to work that has already been done before many times. You end up creating work so common that it is a dime a dozen. The most popular looks right now are the ones that are the easiest to achieve, with a medium amount of technical proficiency. You can do better.
There is no need to photograph for the purpose of getting likes. Seek out critiques and understand how people feel about your work, but your first aim should be to create work that means something to you. If you take everything else out of the equation, which of your images do you like the best? What has the most meaning behind it for you? This is often not a logical feeling. Rationally, you might think that a certain image is your best, but your gut may give a hint at something else.
Follow your gut. Follow your instincts. Search through your archive, and find work that you’re afraid of showing. That is usually the best stuff. Put it front and center, and develop the ideas of that work further.
3. Take some technical risks
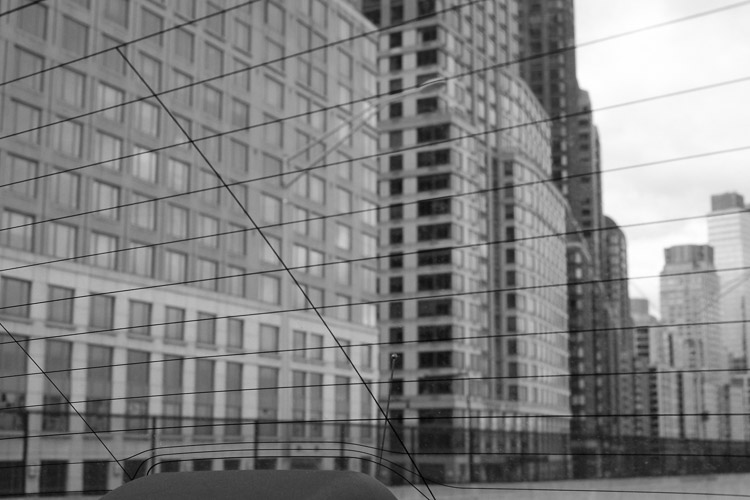
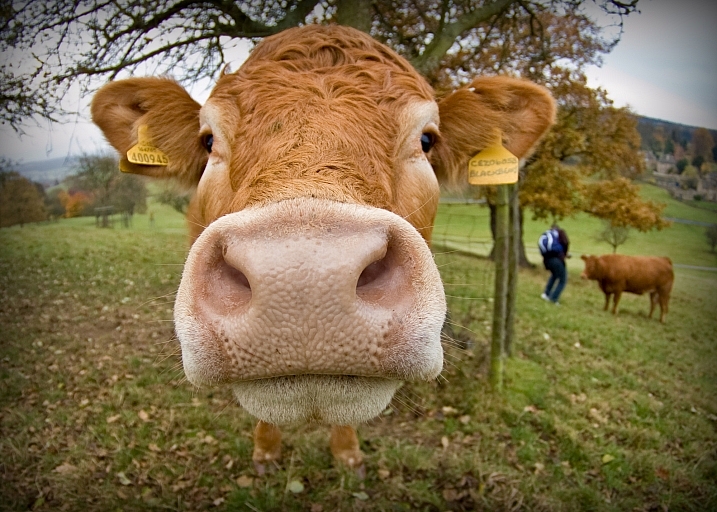
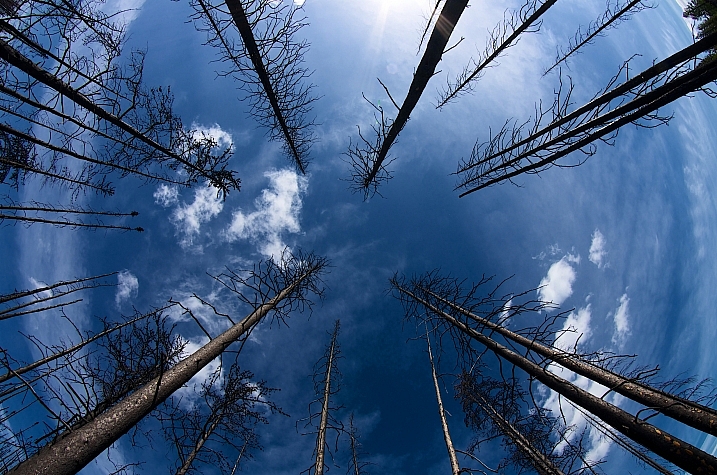
Trump Towers, New York.
Try out as many alternatives to the traditional way of doing things as you can. Shoot in bad light, experiment with blurry photos, or create weird and off-kilter compositions. Make bright or dark images. Embrace imperfection and ambiguity. Not everything has to be beautiful.
Shoot in a more spontaneous way and follow your gut. Go to places that you normally wouldn’t explore, and take images. Shoot during your daily life. Force yourself to go to the most mundane place you can think of, and figure out how to create an interesting photograph there.
4. Think about, and create, exactly what you like
Intimate work is what makes great art. Think about ideas and subjects that you are passionate about, and explore them. Create nuanced work, and don’t be afraid if people don’t understand it right away. They probably won’t at first. Particularly if you are showing your work on the Internet, people scan so quickly, and they usually respond to what pops out at them in the most obvious way. Nuanced, thoughtful, and intimate work might not catch their eye right away. Experiment with this type of work and forget about how people might react to it.
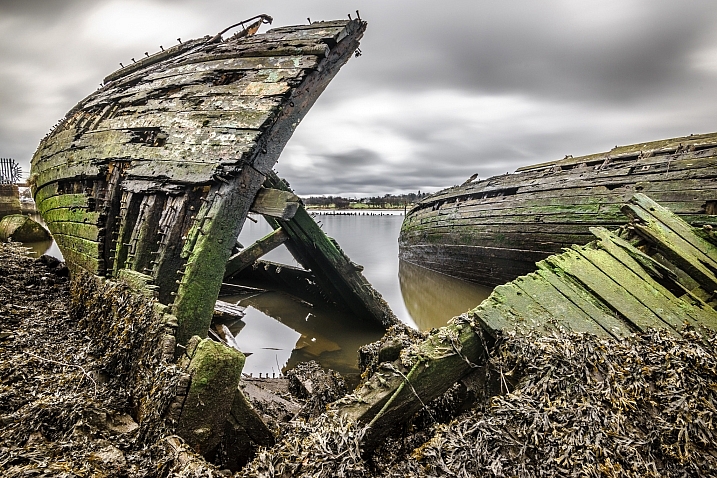
Sample Sale, SoHo, New York.
What are you interested in? Maybe it is nature, sports, politics, identity, community, Pokemon, or a particular place nearby. Create a story. It literally could be anything. Think about what you are most interested in, no matter how ridiculous it may seem, and see if you can figure out a way to combine that with photography.
Next, create a series based on your idea. This type of work displays extremely well in a series format, because you can cover more ground, tell more of a story, and people will take the time to go through it. It will be easier for them to understand the idea more as they explore, whereas their brain will often glaze over or miss the idea in a single image.
5. Educate people
There is a common misconception that you need to let art speak for itself. This is very true on one level, because great art will allow people to ponder, and to interpret it in different ways, without anything pushing that. However, people will often need to be grounded at some level, to let them start to understand the work and delve deeper into it in the first place. Then they can more effectively explore, and get lost in the work and their thoughts about it.
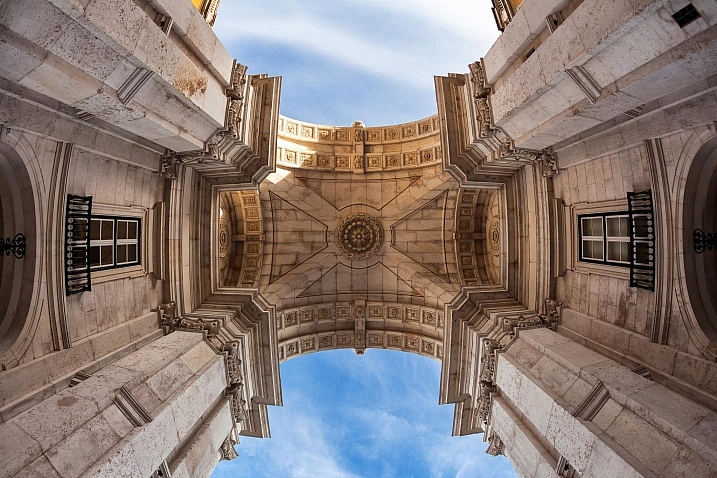
Broadway, New York.
Writing about your work is important, because a good introduction will set people on the path to gaining pleasure from the work, without you having to say too much about it. Hold some information back of course. No need to over-share.
The bottom line
Going against the grain means you can do your photography in any way that you please, and you don’t even have to take the advice here. This is just to get you started thinking uniquely and experimenting, and as the photography quote goes, “If everyone is looking one way, look the other way.”
googletag.cmd.push(function() {
tablet_slots.push( googletag.defineSlot( “/1005424/_dPSv4_tab-all-article-bottom_(300×250)”, [300, 250], “pb-ad-78623” ).addService( googletag.pubads() ) ); } );
googletag.cmd.push(function() {
mobile_slots.push( googletag.defineSlot( “/1005424/_dPSv4_mob-all-article-bottom_(300×250)”, [300, 250], “pb-ad-78158” ).addService( googletag.pubads() ) ); } );
The post How to Be Different and Make Your Photography More Unique by James Maher appeared first on Digital Photography School.

Digital Photography School


You must be logged in to post a comment.