What’s the most important thing to maintain in any business? Confidence, market knowledge, technology? Sure, keep any one of those at the top of your list. But there’s also something else. Perhaps the most sought after and powerful asset you can ever hope to have when it comes to making yourself successful is – strong relationships.

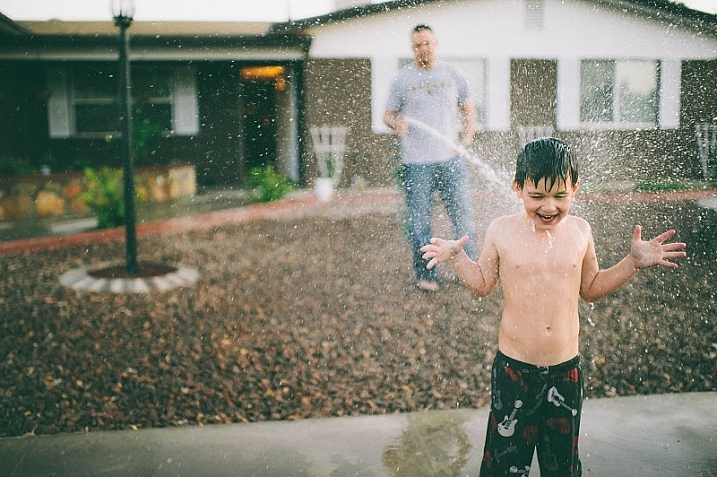
By JD Hancock
That’s right, good relationships with those who you are seeking to do business with is the most most crucial aspect of any type of business venture. This is especially true when you become a photographer. No matter what kind: landscape, commercial, portrait, wedding, lunar, Martian. It is the cultivation of relationships with other people that will make or break you in this industry – and make no mistake, it is an industry.
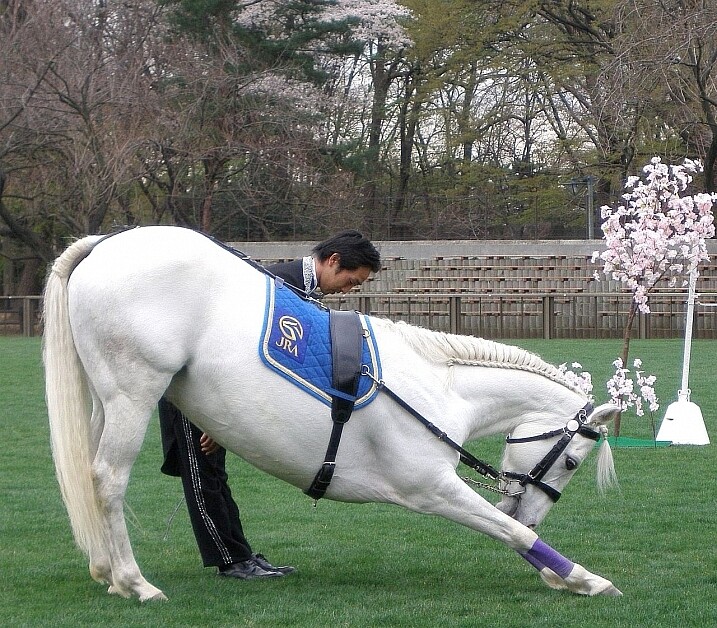
Gentlemen and ladies, before we begin, take a moment to congratulate yourselves on an accomplishment that is at the very least extraordinary. We, as photographers, are the jockeys of an art that has been melded with a science. We possess the skill to take time, hold it in our sometimes shaky hands, and pass it on to our clients to be forever held. We don’t just capture light, or moments, or events – we capture memory. Memories, that without us there to tend, would surely shift out of sight, and out of mind.
By amanda tipton
Now, back to what we’re here to discuss – why relationships are so important in photography. Thank goodness you’ve found this article on dPS if you don’t already know the answer to that question. The purpose of this writing is not to give you any ironclad formula of success. In fact, I feel I should remind you that you will most likely meet with more failure than success if you plan to become a photographer of any magnitude. It is our failures that teach us, that enable us to move forward, not our successes. So, if you’ve got the guts, keep reading.
We are nothing on our own. True, I often make photographs that I never show (or intend) to show to anyone other than myself. I keep some places where I go to photograph secret, and return to them sometimes even without a camera. This is all well and good. Honestly, I usually advise such exercises because they often spark more creative thinking down the road. In this case, what I mean is that we cannot realistically be successful as photographers without the support of other people.
Portrait photographers need subjects to sit. Wedding photographers need brides and grooms to direct their cameras. Epic landscapes pass from dawn to dusk in extraordinary light without a camera to capture them and put them on walls. What I’m saying here is that we cannot reach our own potential, both artistically and commercially, without some type of audience.

By Thomas Hawk
How do you get that audience? Well, that’s the difficult part of the photographic equation. The answer, fortunately, is fairly simple. Here are four steps to ensure you are doing your best to cultivate and maintain the relationships that will help you build and grow a career as a photographer.
STEP ONE: Be nice
When dealing with the public, and make no mistake, you WILL inherently have to deal the public, be sure to ALWAYS be polite. Even in the face of the most insulting and anger conjuring client – you must always be polite. Smile, be firm, and always remain true to yourself and your personal policies, but always be polite. This is where most new (and even experienced) photographers run into trouble. Overt politeness can go a long way in maintaining and building relationships with those who are willing to exchange money for your services. Learn to accept that you will have conflict, and that not everyone will like or appreciate your work. When you come to the realization that you don’t need to meet hostility with more hostility, you will be able to remain much calmer and relaxed. Remember, you are better at everything when you are relaxed and focused.

By Roberlan Borges
STEP TWO: Be humble
Just as you will certainly run into those people who test your patience and civility, you will also encounter those who think you hung the moon. The bride who just can’t stop complimenting your work, or the Facebook friend that likes and comments on every single image you post. This is an unexpected accompaniment of being a well-liked photo maker. Train yourself to take a compliment with grace. Say thank you and don’t play out the situation more than it needs to be played. The key here is to stay humble. Of course, in the back of your mind you know when you make an exceptional image, or pull off a one in a million shot. That doesn’t mean that you have to be boastful or even worse, brag about your prowess. Take it from me, no client wants to deal with a photographer who is pompous or inflexible – well, most clients.
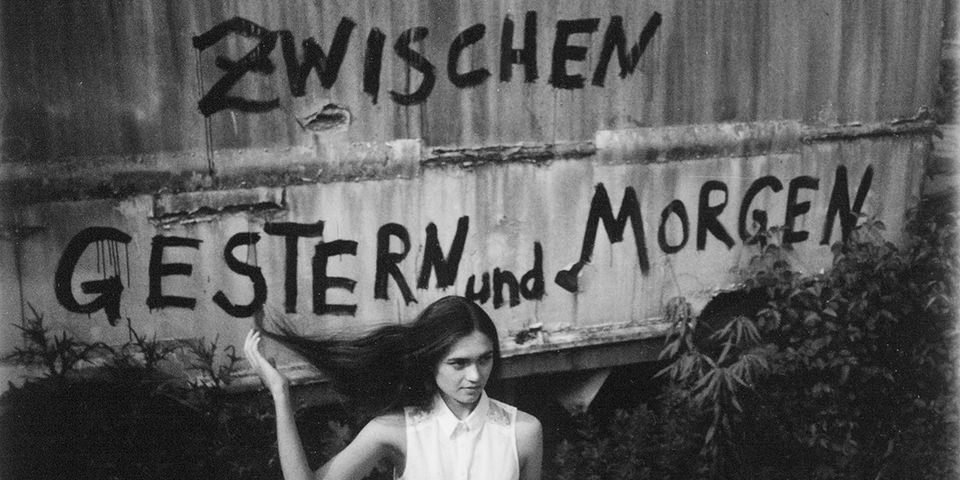
By tanakawho
STEP THREE: Be honest
Hopefully, we all follow some ethical subscription be it in life or in our careers. As photographers, we must know what we can and cannot do, and in turn be honest about those facts. If your client requests you to cover a wedding and you don’t physically have the speedlights or lens to cover it, be honest. Never promise what you you can’t deliver, and most definitely don’t accept compensation for a job you’re not qualified to perform. Granted, the only way to learn is by doing. By all means, stretch your photographic legs and push the boundaries of your skills. However, always be mindful of your weaknesses, and when it comes down to it, you’ll know your limitations. Always be sure to let your employer be aware of what you can do. It will go a long way in building a lasting business relationship. That leads us to step four.

By thinkpublic
STEP FOUR: Be willing to step outside your comfort zone
This is perhaps the most difficult part to decipher as a fresh new photographer. When do you draw the line between expanding your skill and having no idea about what you’re doing? This can be troubling, yes. It can also be absolutely exciting. The bottom line, be willing to step outside of your comfort zone for your client. If it’s something you simply cannot do (and you will know), refer to the honesty principle above. That being said, most likely you are your own worst critic, and you can do more than you ever dreamed. So don’t be afraid to try something new. Your client will remember you as the photographer who was honest with them about your abilities, and communicated your willingness to try something unique.
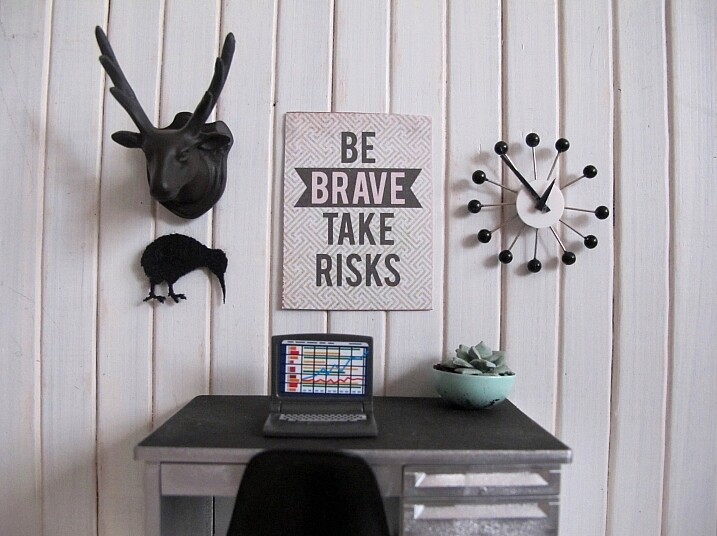
By The Shopping Sherpa
It’s tough to start out in a new field. It’s extremely tough to be a new photo maker in a market saturated with photographers. Get the best gear you can afford. Learn as much as you can. Do as much as you can. At the same time, don’t forget that you are a provider in an industry that caters to the wants of others. As such, your success is dependant on the good graces of those with whom you do business. Be honest, humble, and competent. Be bold, but never be reckless. Build relationships with your clients based on mutual understanding, and I guarantee you be a more satisfied, and dare I say a more successful photographer.
googletag.cmd.push(function() {
tablet_slots.push( googletag.defineSlot( “/1005424/_dPSv4_tab-all-article-bottom_(300×250)”, [300, 250], “pb-ad-78623” ).addService( googletag.pubads() ) ); } );
googletag.cmd.push(function() {
mobile_slots.push( googletag.defineSlot( “/1005424/_dPSv4_mob-all-article-bottom_(300×250)”, [300, 250], “pb-ad-78158” ).addService( googletag.pubads() ) ); } );
The post How to Build Relationships in Photography by Adam Welch appeared first on Digital Photography School.

Digital Photography School


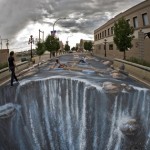
 Polar bears, orcas, lions and puppies stick their heads out of holes in the pavement so convincingly, you feel like you could actually pet them. What was once no more than a dull expanse of concrete or asphalt becomes the setting for a vivid scene that appears to jump right out of the ground when viewed from a certain angle. Originally working in chalk, Russian-born artist Nikolaj Arndt now uses a blend of pigments, water and sugar to keep his drawings from blowing away in the wind as he works.


You must be logged in to post a comment.