
Learning all the ins and outs of photography is a never ending challenge. For some, the technical side of photography seems more difficult to understand. Others feel they are challenged by the creative side of understanding composition and light. When learning any new skill, the understanding of fundamentals is always most important. The complexity of settings, along with endless creative options is what makes photography so challenging. That’s where these six sayings come in. These simple phrases will bring you back to the basics, helping you to create quality images quickly, allowing for more time to experiment creatively.
1. ISO: Set it first – change it last
Set it and forget it until you have to remember.
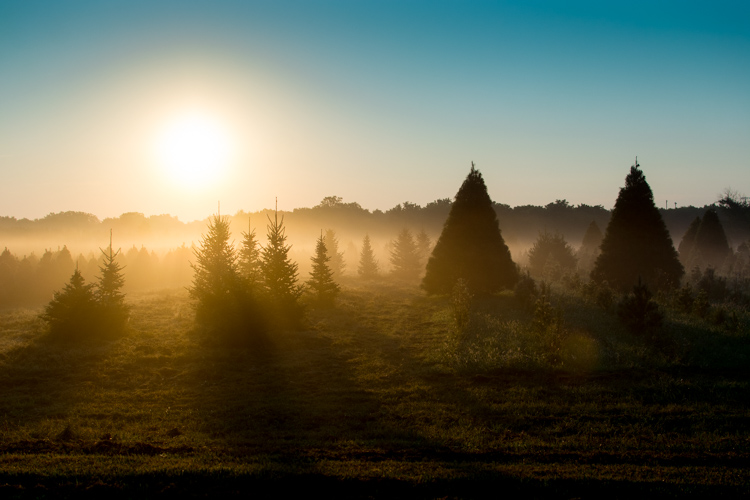
Many people get confused by the purpose of ISO, and how to use it when controlling light. Unlike the other two big settings (aperture and shutter speed) when used properly, ISO gives your photograph the ability to be more sensitive to the available light. When you are setting your ISO, remember to choose a setting based on the amount of available light you happen to have in your scene. Don’t set it because the shot you took before was too dark and you want to brighten the exposure.
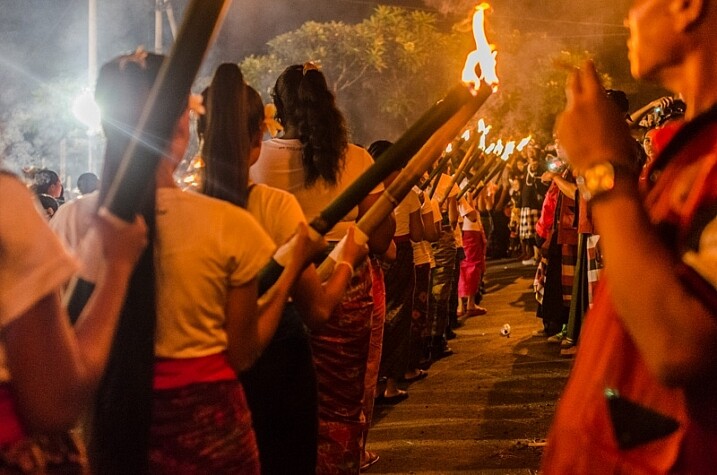
ISO 2500, f/1.8 at 1/125th of a second
Every time you enter a scene, before you take a shot, ask yourself, what kind of light is there?
Here are some starting ISO settings, adjust as necessary for your scene:
- Bright sunny day: ISO 100-200
- Shade/clouds: ISO 400-800
- Indoors: ISO 800-1600
- Little/no light: ISO 1600 and up
Don’t forget the negative side of ISO. Most camera models go above 1600 ISO now. However, if you choose 1600, or higher, you will most probably see noise (digital grain) in your image. There are many post-production techniques to remove noise, but it’s always best to capture your best shot in the camera. Consider this when choosing a higher ISO in dimly lit areas.
2. Set an intention
Both shutter speed and aperture measure and control how much light the camera takes in. But they each also have a creative aspect that must be considered when choosing your settings. Knowing their distinct qualities, and creating an intention when you shoot, are two extremely important fundamentals of photography.
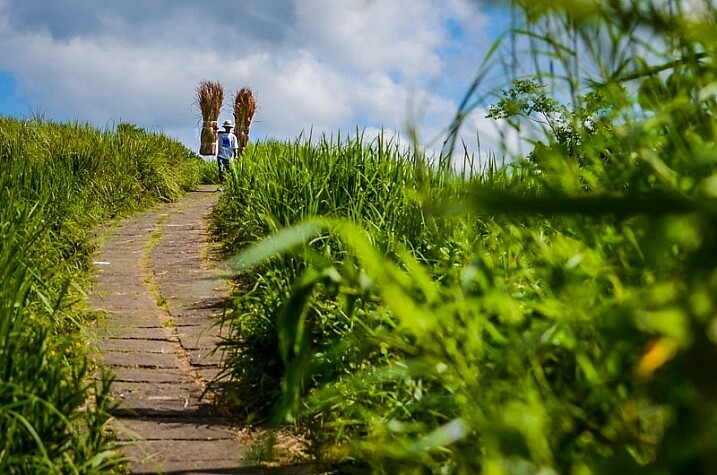
ISO 200, f/4.0 at 1/5000th
Ask yourself, “What is my purpose?” Why are you taking that photo? Be clear on what you want to capture. Give yourself a moment to set an intention or two, then keep it in mind the whole time. Once you have figured out your main purpose, you can use that to choose which setting you will set first. As aperture affects the depth of field and shutter speed affects movement, which aspect is more important for creating the image you want?
Let’s take a look at two more awesome phrases to easily remember the different purposes of aperture and shutter speed.
3. Shutter speed: fast freezes – slow shows
Shutter speed is all about capturing (or not capturing) motion. When you want to show movement in the photograph, use a slower shutter speed. If a subject is moving and you want to freeze that movement, use a higher (faster) shutter speed. The faster the subject is moving, the higher your shutter speed must be to freeze them/it.
Quick Tip: Do not hand hold and shoot below 1/60th of a second. You are a vibrating creature, you are always moving. At about 1/60th of a second, the camera might capture the movement (called camera shake) you create just by pressing the shutter button.

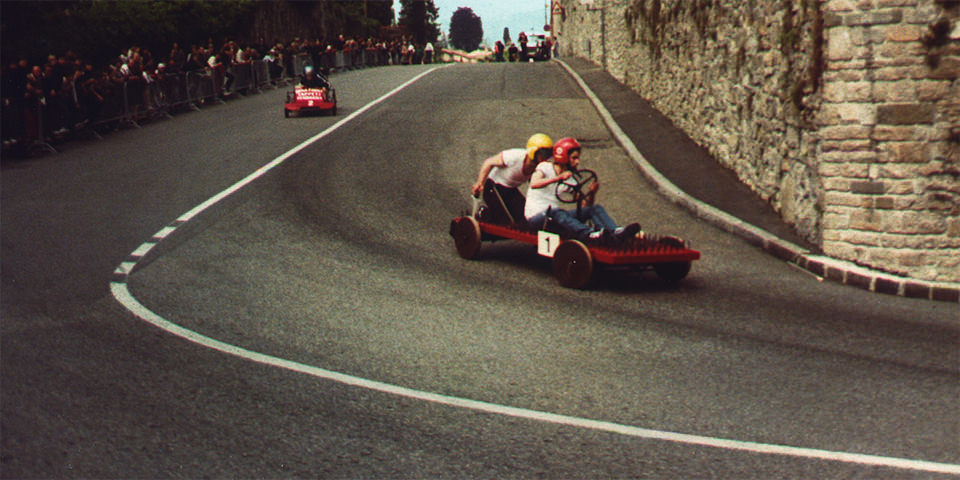
Image #1 (left): ISO 1000, f9.0, 1/20th
Image #2 (right): ISO 1000, f/4.0, 1/125th
Here are some starting points to freeze moving subjects. Start here and adjust as necessary:
- Moving cars: 1/4000th of a second or faster
- People running: 1/1000th or faster
- Kids playing: 1/500th or above
- Person sitting still: 1/100th or faster
- Still object: 1/60th or faster
- Night scene: (tripod) 1/60th or slower
4. Aperture: High number = more in focus. Low number = less in focus
This setting is all about depth of field, the distance between the front and back of a focal plane. The focal plane is determined by the spot where you tell your camera to focus. The higher the f-number, the larger the distance of that plane. This means, more depth of the scene is within the focal plane, thus it is in sharper focus. The opposite is also true. The lower the f-number, the smaller the distance between the front and the back of the focal plane and less is in focus.
If you want everything in the photo to be fully in focus you will need to choose a higher f-number. If you want to create a shallow depth of field bringing only one part into focus, you will use a smaller f-number.

Image #1 (left): ISO 160, f/11.0, 1/400th
Image #2 (right): ISO 160, f/1.8, 1/4000th
Here are some aperture starting points, same as before, adjust as necessary:
- Close-ups or detail shots: f/2.8 or lower (larger)
- Portraits: (one person) f/1.8 – f/5.6
- Groups: (2 or more) f/5.6 – f/8.0
- Local scene: (less distance) f/8.0 – f/11
- Landscape: (more distance) f/11 – f/22
5. Frame your finder
Witness your scene through your viewfinder, as you allow your eye to examine every inch of what you can see through the lens. Look from top left, across and down to the right. What is in each corner? Notice the edges of the frame. When examining everything you see, slightly move your camera around as you prepare for finding the best version (framing) of this shot. This will give you a greater sense of what you do, or do not want to be in the shot. You will notice if you have cut something off, or added something into the shot you do not want.
When you make a habit of always re-framing your viewfinder as you are shooting, you will gain a greater sense of awareness, allowing for more shots from other vantage points you hadn’t considered before. Even more importantly, as you practice this, every shot you take will be closer to what you want to capture in the first shot you take.
See what is in every inch of your frame before snapping the shutter!
6. Count your clicks
Once you have your desired exposure based on the purpose of what you are capturing, you can choose to change your purpose (capture a different effect) by going up or down the range of either aperture or shutter Speed. To make sure you keep a proper exposure like you had before (assuming you are shooting in Manual Mode), just count your clicks. If you click six times in one direction on shutter speed (because now you want to show motion), you will need to click six times in the other direction for aperture to keep a proper exposure.
For example: When photographing a birthday party, you may go from focusing on close-ups and details, to kids running around, to capturing a sunset. In this case, the first intention is creating a shallow depth of field to capture a non-moving object. Set your aperture to a low f-number. Using your meter, now set your shutter speed for correct exposure and snap away. ISO will already be set because that’s the first trick to remember.
Now it is time to capture the kids running around. You will switch focus from aperture to shutter Speed. To make sure you freeze their movement (no one likes a photo of a blurry kid), you will change your shutter speed to 1/1000th of second.

But wait! Before you start moving the dial, remember to count how many clicks you are going. If you clicked down four times to get to 1/1000th of a second, then you will click UP four times using your aperture dial. Now your exposure will be the same, but you quickly changed your settings to creatively capture something entirely different. Note: if you are using Aperture or Shutter Priority modes the camera will do this adjustment for you automatically.
There you have it
The best thing you can do now is turn these tricks into habits by jotting down these simple phrases and stuffing them in your camera bag. Next time you are ready to shoot, read over them once or twice before you begin. As you practice using these tricks in order to become more accurate and efficient behind the lens you will create more stunning eye-catching photographs of any subject you choose to capture.
Do you have any other cool phrases that you say to yourself when you are shooting? If you know any other great tricks that are easy to remember and simple to understand, let us know in the comments section below. Together, it will be fun to build a compilation of great photography learning quotes!
googletag.cmd.push(function() {
tablet_slots.push( googletag.defineSlot( “/1005424/_dPSv4_tab-all-article-bottom_(300×250)”, [300, 250], “pb-ad-78623” ).addService( googletag.pubads() ) ); } );
googletag.cmd.push(function() {
mobile_slots.push( googletag.defineSlot( “/1005424/_dPSv4_mob-all-article-bottom_(300×250)”, [300, 250], “pb-ad-78158” ).addService( googletag.pubads() ) ); } );
The post 6 Phrases to Help you Learn Photography Faster by Danielle Werner appeared first on Digital Photography School.

Digital Photography School


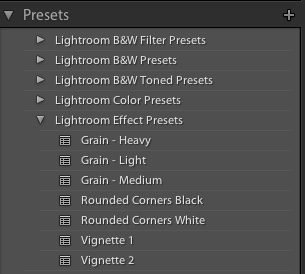 You probably already know that Lightroom contains dozens of presets to get you started when editing your photos, which can be quite handy when you need a quick adjustment or effect such as Aged Photo, Bleach Bypass, or any number of black and white conversions. These presets are not special filters like what you might find in Instagram or other such image-sharing programs, but in fact are pre-made manipulations of the various sliders and controls available to you in the Develop module. The Cold Tone filter, for example, is a collection of saved values for the White Balance, Tone, and Presence adjustments in the Basic Develop pane.


You must be logged in to post a comment.