
Photographing large, dangerous wildlife can be extremely fun to do, but there are some unique factors to consider when your subjects are wild animals, in their natural habitat. Your adrenaline may be pumping, but you must keep your wits about you at all times, and not get caught up in the excitement! Here are a few things to consider when photographing dangerous animals in the wild.
Safety first
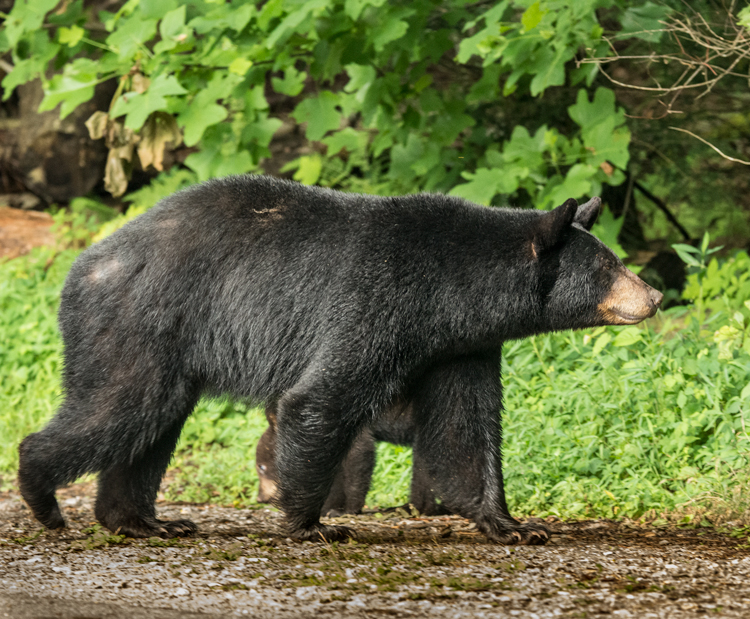
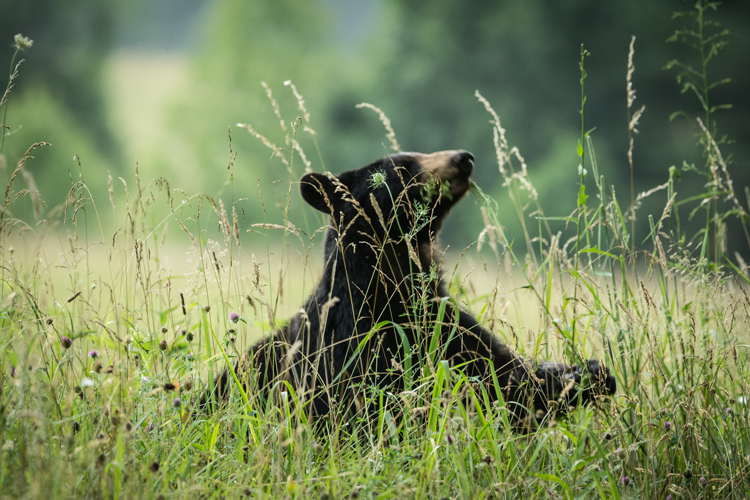
When photographing wild animals (such as black bear in the Great Smoky Mountains National Park, as featured throughout this article), naturally the most important factor is safety, both yours and the subject’s. Getting too close to one of these animals is never a good idea. Most national parks will post the distance that you should keep from their animal attractions for your safety. Obey them! If no guidelines are posted, as a general rule, remember – if you are close enough to an animal that they are aware of your presence, and change their behaviour because of it, you are too close.
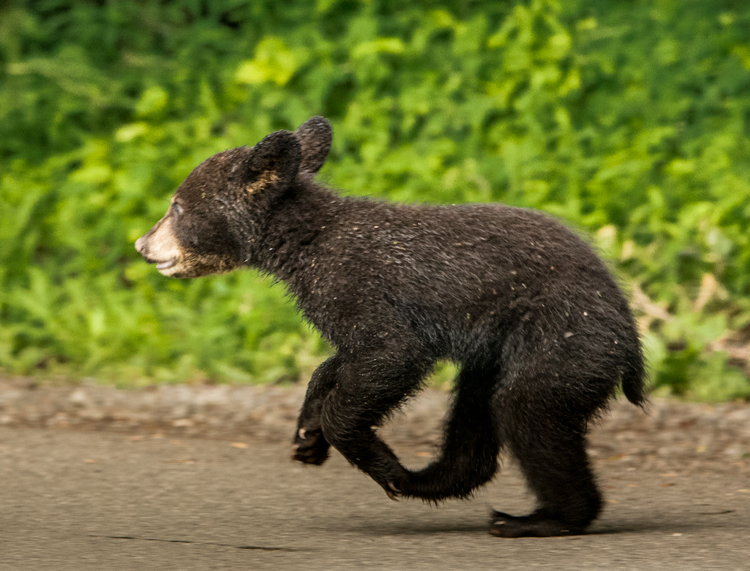
You may think a large animal will be a slow mover and that you’ll have no problem escaping from it, but adult bears, for example, can run up to 30 MPH, and you won’t stand a chance. (You may have heard the joke that you don’t have to outrun the bear, just the guy behind you!) Getting too close to these animals is not only life-threatening to you but also to the animal, because an animal that attacks a human, or even shows aggressive behaviour to people that get too close, will likely be targeted to be euthanized. Another thing you must never ever do is put yourself between a mother and her offspring, probably the most dangerous situation you can find yourself in. So, keep your distance, and never put yourself in that position.
Litter is an issue
A third safety issue for both you and the animal, often underestimated, comes in the form of littering. Litter may become a dangerous food source for these animals, because it has human scent on it. If and when the wild animals begin to relate the human scent with a food source, these animals may also have to be euthanized for human safety. Even biodegradable items, such as an apple core, should not be thrown down. So please dispose of your trash properly! Do not carry any food on your person, as most wild animals have a very good sense of smell, and this may put you in grave danger if the animal is really hungry.
It is so tempting to get caught up in the moment while photographing these beautiful creatures, but you must keep safety as your top priority, and abide by the rules that are posted for your safety and the animals’.
Recommended equipment
- DSLR camera, preferable to your cell phone. If you are close enough to get a great cell phone image, you are too close!
- Lens with a long focal length: A must, because as mentioned above, getting close to untamed subjects can be dangerous. The images in this article were taken with a Tamron 150-600mm zoom lens.
- Monopod or tripod: Because large lenses can become heavy and difficult to hold steady over a long period of time, a good monopod is a great asset, as it’s quickly and easily transportable.
- Window mount or pad for the lens: It’s good to have something firm to brace your lens on, if you end up shooting from your vehicle window.
Do your homework
Before you head out to your chosen park or nature preserve, do your homework. Having an idea of the lay of the land is very useful before you arrive in the area, so you don’t waste time getting to know it. Download maps of roads and trails for the area. Research the wildlife you expect to photograph, learning the facts about their habitats, food sources, and what time of the year the babies appear. Learn the animals’ habits, such as what time of the day they are most active; and what, when and where they feed. One of the best ways to find this information is talk to park rangers or local residents, as they will know exactly where to locate the wildlife. I recently asked a park ranger “What is the most asked question you get as a ranger?” I had a pretty good idea what his answer would be, and it was, “Where are the bears?”
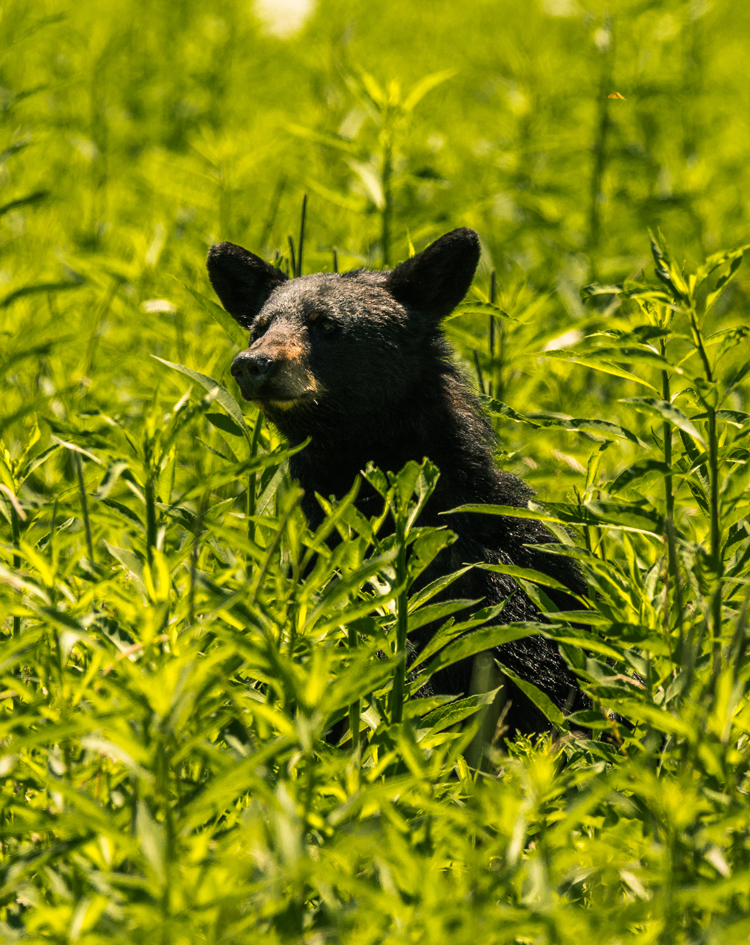
A rare sighting of a mother bear in the midday sun. The harsh lighting creates a very contrasty image.
Be observant
The hardest part of photographing wildlife is finding them, because they often avoid contact with sight-seers and paparazzi. Most wildlife is not likely to be found out in the open, during the heat of the day. Early morning or late afternoon are the best times to find animals moving about. During the day, look for them in shady areas or near water where they can stay cool. Don’t forget to look up, as bears and other animals will climb trees, and if they sense danger they will also send their little ones into the canopy for safety. One time as I was trying to photograph an encounter between a mother bear and a coyote, I later found out I had walked right by the tree that the mother bear had sent her cub up into for safety. A missed opportunity for a memorable photograph!
Designated driver
In many cases, when you are scouting for wildlife to photograph, so are hundreds of other photographers, and park visitors, who also crave the experience of seeing an animal in the wild. When one or more are spotted, a great traffic jam may occur along the road, and by the time you get to the place the subjects were first noticed, they have moved on. If you have a willing companion, take them along for the adventure as a “designated driver”, so when traffic stops you are free to jump out with your camera and get to the animal sighting before they have disappeared.
Parks have rules about not stopping in the road, but people often get excited and just stop their vehicles to get out and get a good look. Be courteous if you are the first to come upon an animal sighting, and pull your vehicle off the road if you want to stop and photograph. Depending on the animal you are photographing, it could be dangerous to get out of your car, so be extremely careful.
Focusing
Focusing your camera can be one of the more challenging issues in photographing creatures in the wild. You must be careful when focusing that your camera doesn’t lock on a foreground object, instead of your intended subject. Getting a clear shot may be difficult to achieve with undergrowth, tall grass, and other distractions competing with your subject for the focus lock.
Of course, just as with any other animal, your aim is to focus on the subject’s eye. One way this can be accomplished very effectively is by using back button focus. Once your focus is locked, you are ready to shoot without worrying until your subject moves. Then you can refocus and shoot again.
In this image the grass in the foreground made focusing difficult. Notice that the grass is in focus, but the bear is out of focus.
Camera setting suggestions
Spotting wildlife in the bright sun of the day is, in most cases, a dream shot. Many times you are going to be faced with low-light situations with the animals in the cover of the forest. Keep in mind the exposure triangle and get the best possible combinations to achieve a good exposure.
Using a long focal length such as 600mm requires that you use a fairly fast shutter speed of around 600th of a second (depending on if, and how fast, your subject is moving, you may need an even faster shutter speed). To set your Aperture, depending what you want for depth of field, you should shoot wide open if you’re looking for a very shallow DOF to blur the background, or you may prefer to stop down to the lens’s sweet spot around f/8. Now adjust the ISO to get the proper exposure for the available light. In low light this could mean you have to adjust the ISO very high, which causes concern about digital noise, but it may be a choice between noise or no image at all.
Don’t worry about the noise, just take the shot! Most of the newer DSLR cameras do a very good job set at higher ISOs. What noise does affect your images can be removed in post processing with programs such as Photoshop, Lightroom or Nik Dfine 2.
Conclusion
While it is fun to photograph these beautiful animals, don’t forget about your safety, and also that of the animal. Be prepared and patient! Always remain calm, and treat all wildlife with respect so they are available for everyone to enjoy.
googletag.cmd.push(function() {
tablet_slots.push( googletag.defineSlot( “/1005424/_dPSv4_tab-all-article-bottom_(300×250)”, [300, 250], “pb-ad-78623” ).addService( googletag.pubads() ) ); } );
googletag.cmd.push(function() {
mobile_slots.push( googletag.defineSlot( “/1005424/_dPSv4_mob-all-article-bottom_(300×250)”, [300, 250], “pb-ad-78158” ).addService( googletag.pubads() ) ); } );
The post How to Be Respectful and Safe Photographing Wildlife by Bruce Wunderlich appeared first on Digital Photography School.

Digital Photography School


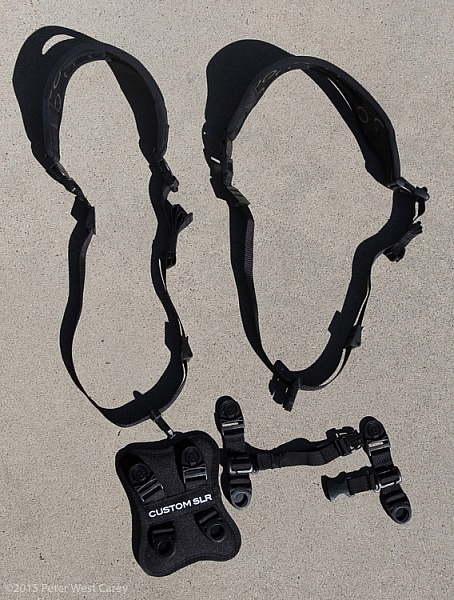
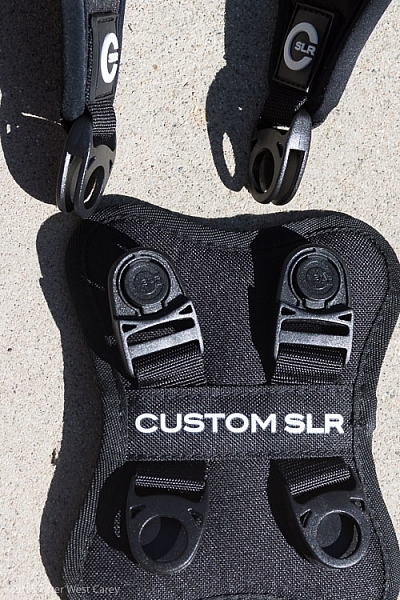
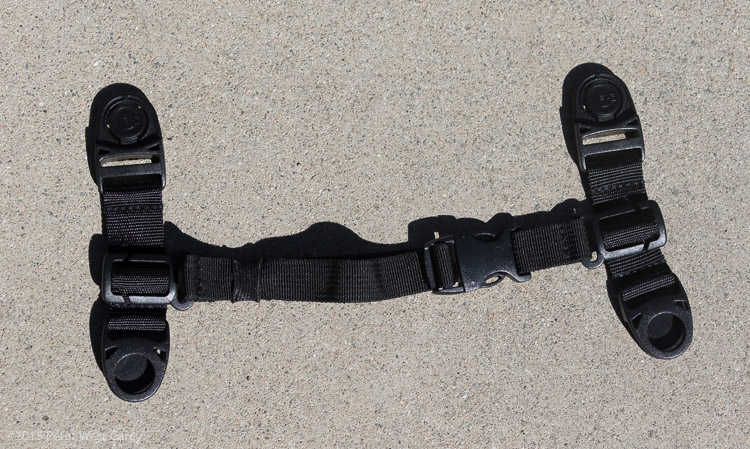
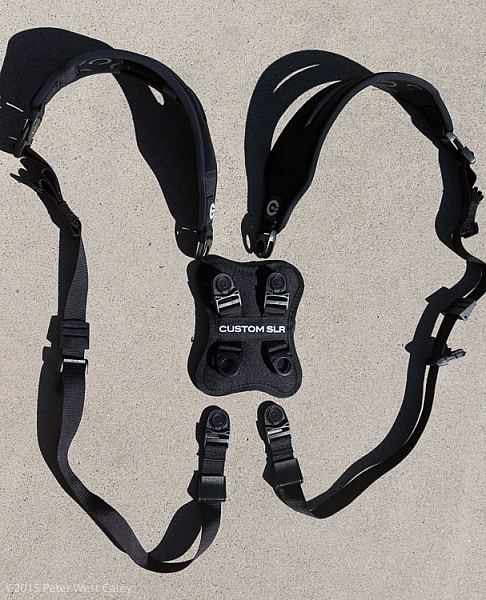
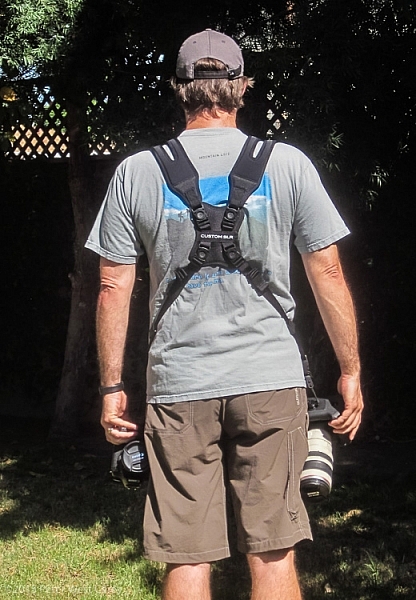
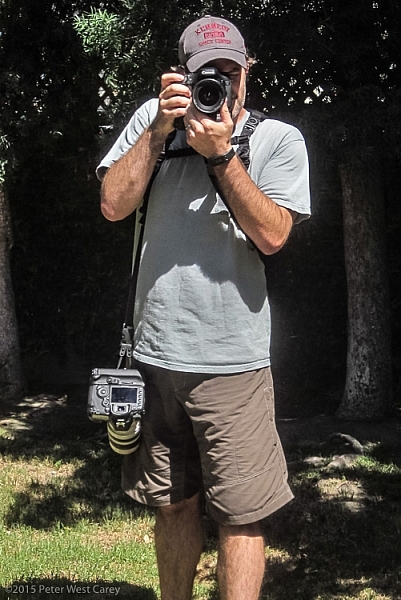
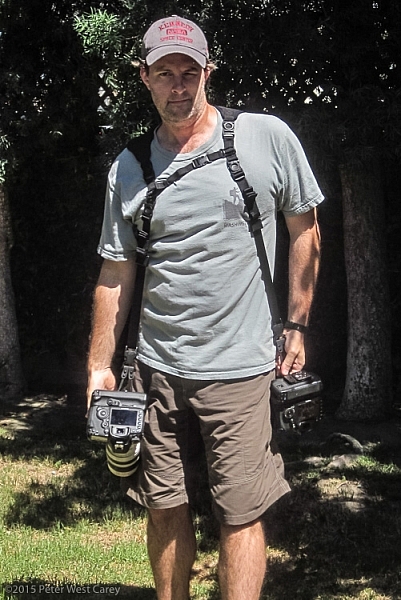
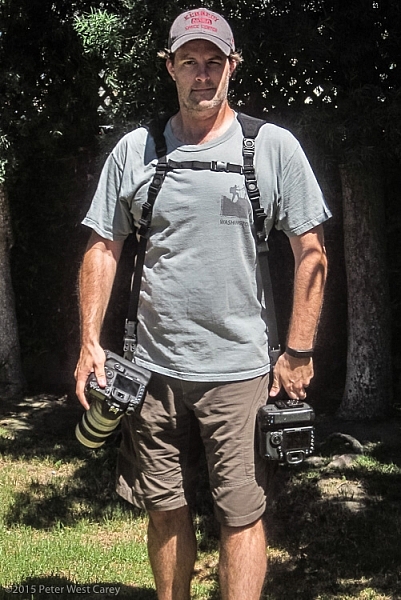
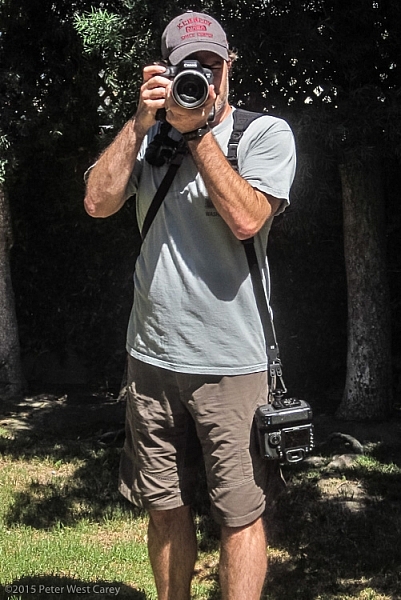
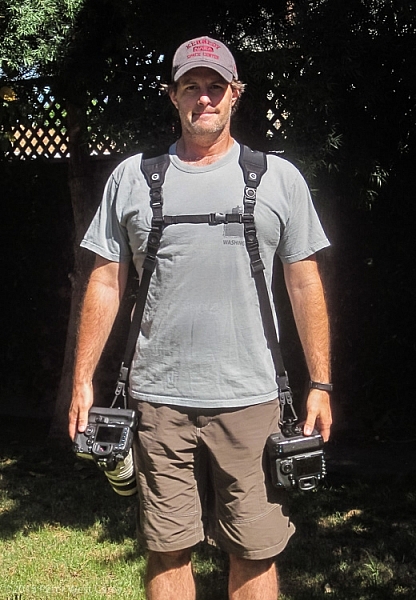 To be honest, I thought the Custom SLR Dual Camera Strap looked like a dorky idea when I was first asked to review it. The idea is simple: sometimes you need to carry two cameras (especially heavy cameras) and the logistics of such a feat have always been cumbersome. One strap over this way and the other maybe off of the other shoulder? Double criss-cross?
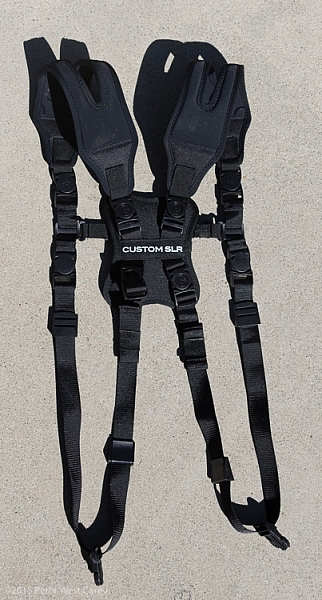

You must be logged in to post a comment.