Month: December 2014

  • Exploring the Upper North Platte River in Colorado by SUP

    beginning of the North Platte River

    Confluence of two Grizzly Creeks 10 miles SW of Walden, CO – the beginning of the North Platte River

    North Platte River is one of my favorite paddling destinations. Usually, I paddle various flatwater river sections in Wyoming above and below Saratoga. However, there is a 45 mile long river stretch in Colorado’s North Park before the North Platte enters the Northgate Canyon.

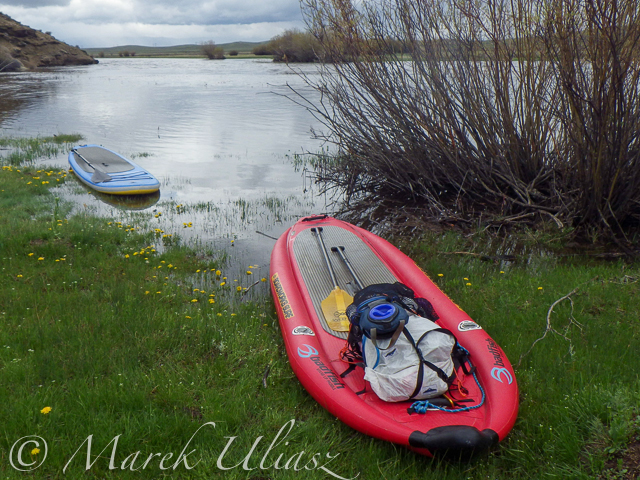
    After some fall and winter scouting and a lot of time spent on Google maps, the exploration of the upper North Platte River finally took place during the Memorial Day weekend. Rob Bean joined me to paddle our inflatable Bordwarks SUPs: Shubu and Badfish.

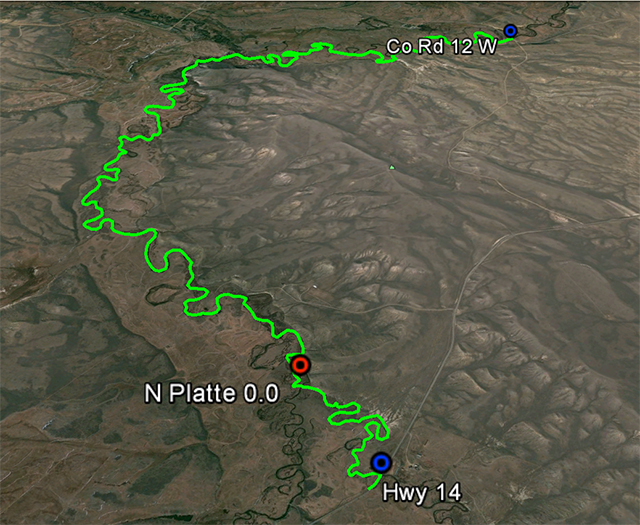
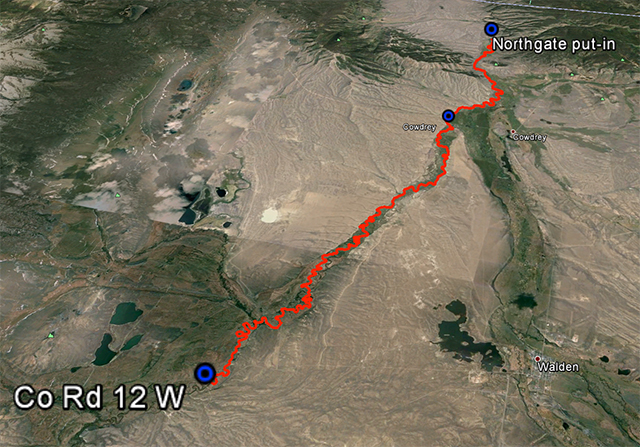
    Upper North Platte River on Google maps with some waypoints for access points and diversion dams.
    North Platte River near Walden, Colorado

    14 miles of the upper North Platte River near Walden with the river beginning
    as a confluence of Grizzly Creek and Little Grizzly Creek

    May 24, 2014
    Put-in: Grizzly Creek at highway 14, 10 miles south of Walden (not much room for off road parking)
    Take-off: Co road 12 W, 8 miles west of Walden (official fishing access, parking near bridge, another fishing access with parking ~0.5 mile below the bridge).
    GPS milege: 13.8 miles, time: 2:50 hours.
    North Platte River in Colorado near Walden

    31 miles of the North Platte River from Walden to the Northgate Canyon put-in

    May 25, 2014
    Put-in: Co road 12 W
    Take-off: put-in for the Northgate Canyon run, 9 miles north of Cowdrey
    Alternative put-in for a short 6 miles run: Co Rd 6, 2 miles west of Cowdrey (that run is described in Paddling Colorado book by Dunbar Hardy).
    GPS milege: 31 miles, time: 6:49 hours.

    River flow was rising from 3000 to 4000 cfs at Northgate during our two days of paddling. A lot of meadows in the river valley were flooded. Paddling speed: up to 9 mph.

    The weather was challenging. We had a lot of thunderstorms around us during the first day followed by ~8 hours of heavy rain. We were lucky to finished our paddling before the rain. A beautiful weather on second day lasted till noon, then we experienced a storm with a small hail followed by heavy rain for the rest of the day. Strong afternoon headwinds put us on our knees, especially, during the second day.

    Obstacles: diversion dams, fences across the river, low bridges depending a water level. No trees. No rapids (except dams). The river is wide and open, so you can see or hear all incoming obstacles well in advance. We never run into any troubles.

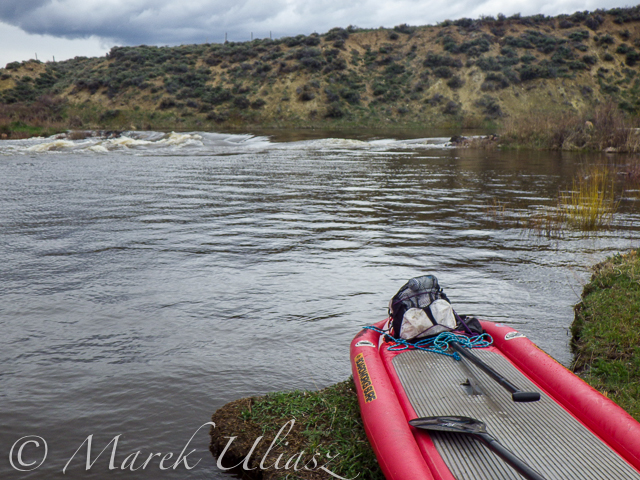
    Most of the dams can be seen on satellite pictures. The dam a few miles below Co road 12 W is pretty big and always requires portaging (not comfortable on right). Other dams are primitive rock dams and often can be run. We portaged most of them to avoid big waves, but I would run more of them in a canoe. We managed to paddle around a few of them. It is easier to select a correct river arm on a map than in practice on the river.

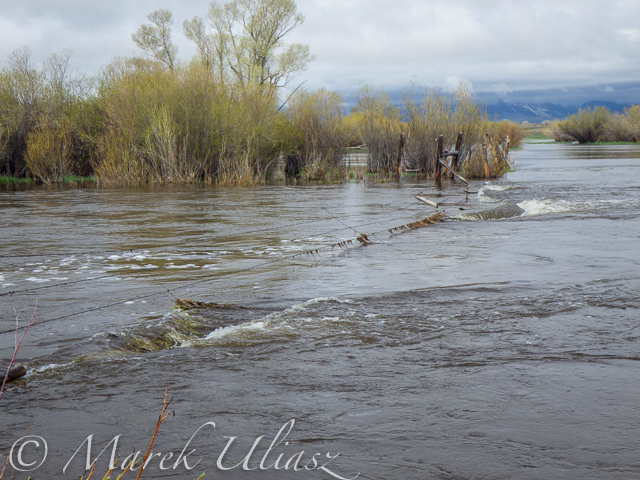
    We had to portage numerous barbed wire fences crossing the river. Some were in water and could be safely run over in a canoe, but we played safe in out inflatable SUPs. A few fences had only a single wire across the river and was possible to paddle under them. Always watch for these fences! You can notice stronger and taller posts on the shores and, sometimes, stairs over them, before seeing the actual wires over the river.

    One or two low farm bridges in the upper section required portaging. All bridges in the lower section have a high clearance.

    Wildlife: moose, bighorn, deer, elk (a herd was swimming across the river several times just in front of us), bald and gold eagles, pelicans, geese and other waterfowl, numerous smaller birds, curious cows.

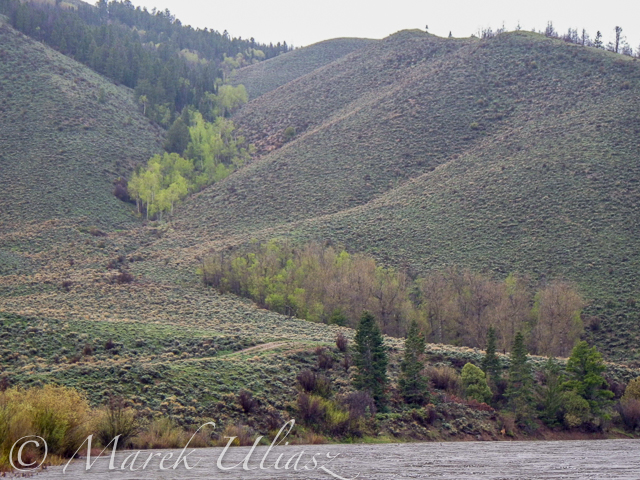
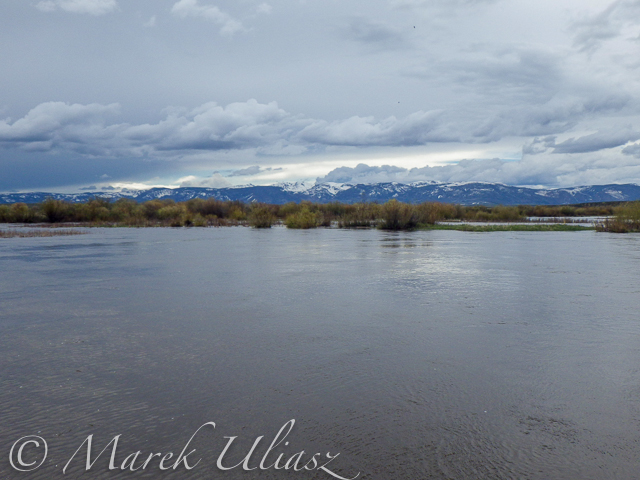
    Scenery: a wide valley surrounded by snowy mountains, crazy river meanders in the upper section, cliffs and rock outcroppings, just a few trees (often with eagle nest), higher hills with some forest in the lower section, a lot of water flowing around and flooding meadows, but, usually, not difficult to find a dry place to land.
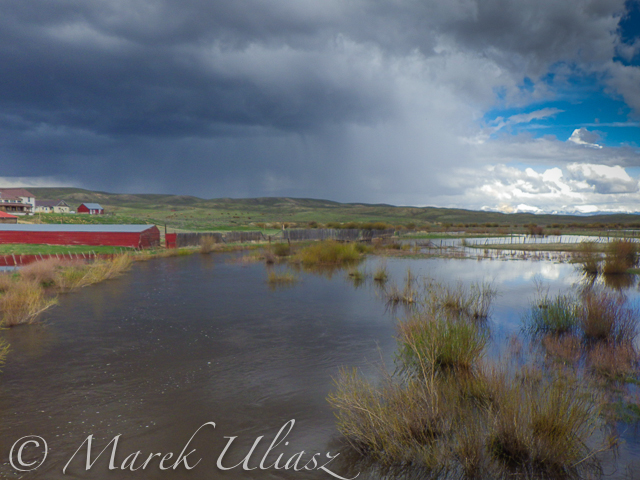
    Grizzly Creek near Walden

    Grizzly Creek looking upstream from highway 14
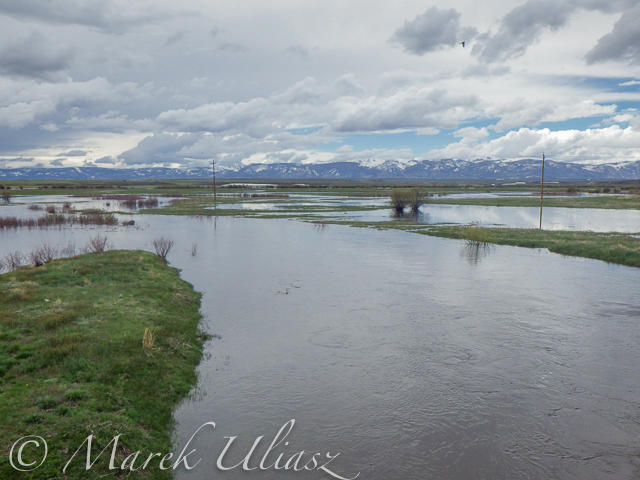
    Grizzly Creek near Walden, CO

    Grizzly Creek looking downstream from highway 14 – start of our adventure
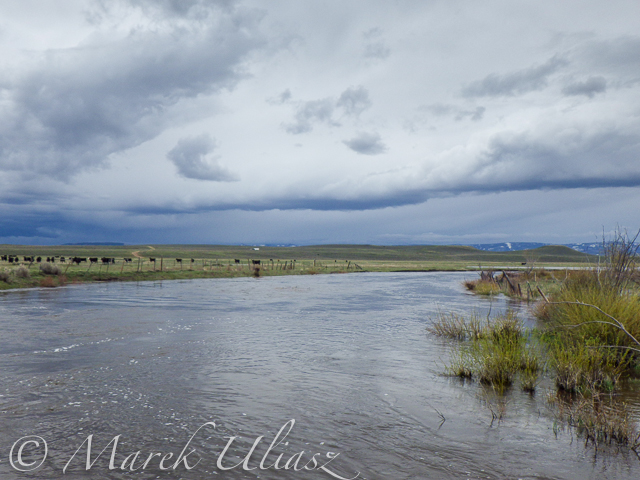
    North Platte River near Walden

    North Platte River meandering near Walden
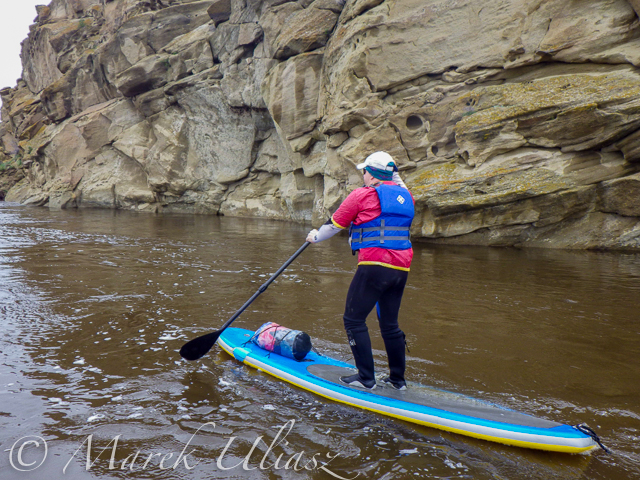
    North Platte River

    One of high cliffs

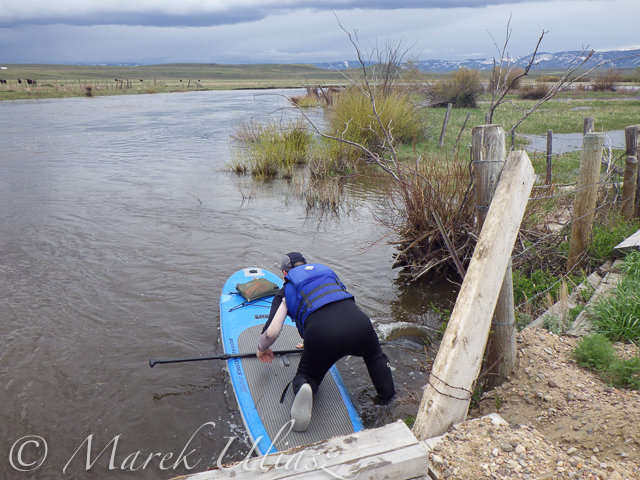
    North Platte River - portage

    Going over a low farm bridge

    North Platte RIver near Walden

    One of diversion dams

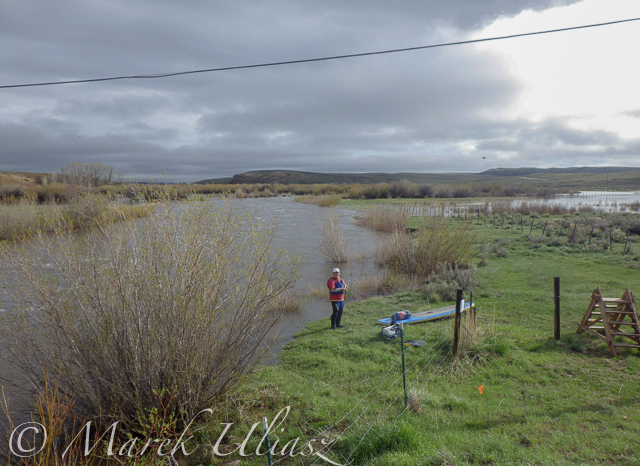
    North Platte River at Co Rd 12 W near Walden

    North Platte River at Co Rd 12 W near Walden – the finish of day 1 and the start of day 2
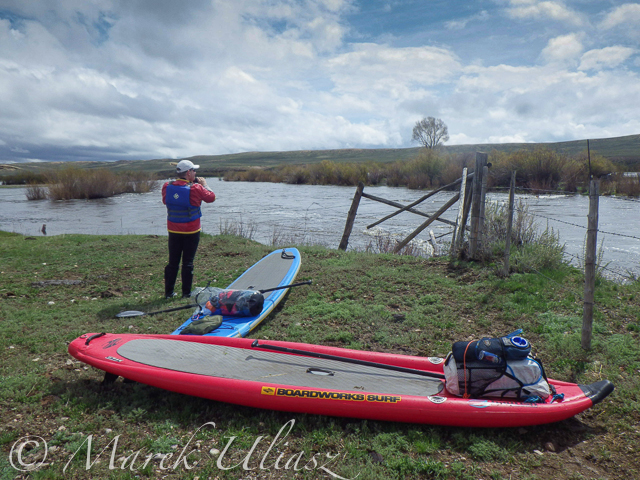
    North Platte River below Walden

    Barbed wire fence across the river

    Another fence across the  river
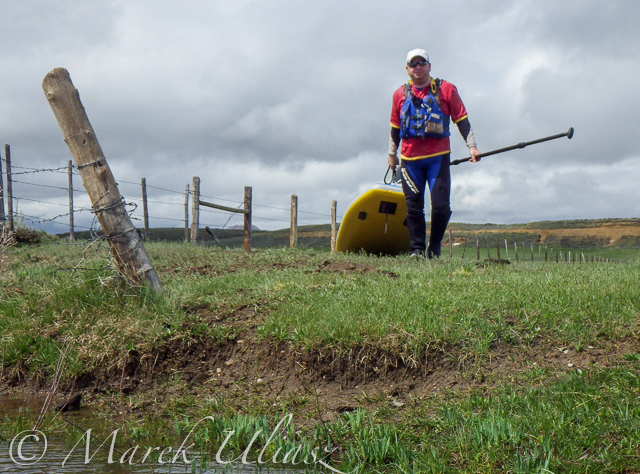
    Another fence across the river

    North Platte River below Walden

    And another cattle fence to portage

    SUPs on North Platte River

    Lunch break – last minutes of nice weather
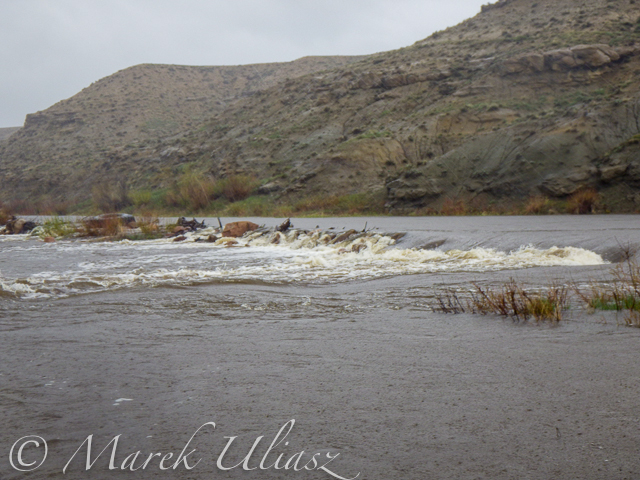
    North Platte River diversion dam

    Hail storm over diversion dam

    North Platte RIver above Northgate

    The last river section between Cowdrey and Northgate

    North Platte River - Northgate Canyon

    Finishing in rain at the Northgate

    North Platte River - Northgate Canyon

    The last look at the river – still raining
    North Platte River - Northgate Canyon

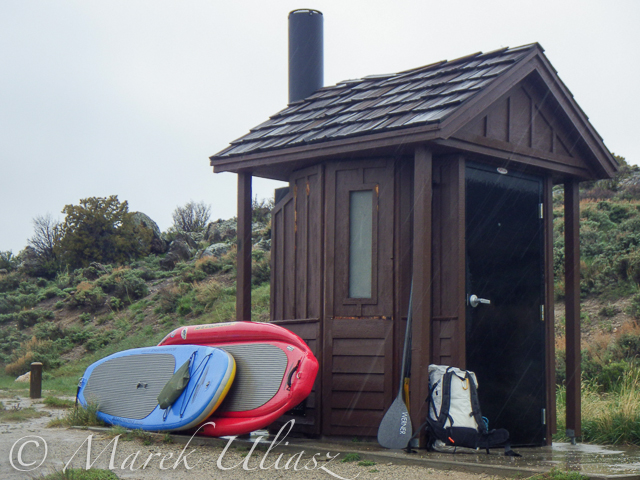
    Ready to go home …

    All pictures were shot with my current paddling camera on duty – Pentax Optio WG-2. I have been using waterproof Pentax Optio cameras for paddling and other outdoor activities since their first original model was released in 2005. The newest model from that series is available now as Ricoh WG-4.

    Your browser does not support iFrame.

    Related posts:
    – North Platte River in Colorado above Northgate Canyon
    – Sun, Snow and Wind on the North Platte River in Wyoming
    – Bennett Peak to Pick Bridge on the North Platte River, Wyoming


    paddling with a camera

  • Review Of The Rugged Pelican 1510 Carry-On Case

    If you own a lot of photography gear, you’ll likely want to protect it from any environmental dangers as well as possible. Pelican claims that the 1510 is a hardcase that is water-, dust- and crushproof while still meeting carry-on restrictions of international airlines. The Pelican 1510 can be carried with a handle or rolled with the integrated wheels. Here’s Continue Reading

    The post Review Of The Rugged Pelican 1510 Carry-On Case appeared first on Photodoto.


    Photodoto

  • Create a Festive Christmas e-Card Using Your Photo

    A short tutorial for those who don’t have a graphic design degree, but wish to create a simple clean Christmas e-card from their images within the familiar surroundings of Photoshop. Don’t miss our our great collection of Christmas gift ideas for photographers! Before

    The post Create a Festive Christmas e-Card Using Your Photo appeared first on Photodoto.


    Photodoto

  • 26 November, 2014 – Luminous-Endowment Grant Winners Announced and More


    For our US readers, Happy Thanksgiving.  We wish you a great Holiday and we hope you enjoy a lot of turkey and time with your family as well as some good ole US football.  

    So much is happening at LuLa these days.  We’re busy working on a lot of projects and on  new interesting articles and reviews as well as videos.  Today though we want to share some special news.

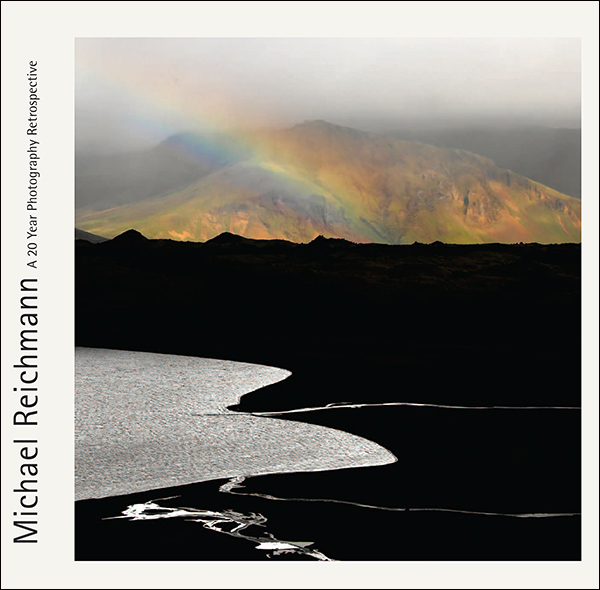
    As you hopefully are aware Michael Reichmann the founder of Luminous-Landscape started earlier this year the Luminous-Endowment.  This is a program to help fund photographers that are working on special photographic endeavors.  Today we announce the winners of the first round of grants. We are proud to announce that we have awarded $ 20,000 USD in grants this past week.

    Luminous-Endowment Grant Winners

    The amount of grant requests were incredible and we hope to see many more in our next round of grant requests.  This program would not be possible without donations from our readers as well as some very generous private and corporate donors.  Please take a look at our site and consider how you can be part of helping aspiring photographers make their dream projects come true.

    A Special Opportunity For Giving And Receiving

    We are also announcing a Special Opportunity For Giving and Receiving starting today and running to Christmas Day. To help raise money for the Endowment, to be used to finance future grants, The Luminous Endowment has created a special new and lower donation level of $ 200. The reward that you will receive for this tax-deductible donation is a copy of Michael Reichmann’s new book – A Twenty Year Retrospective. Normally this book requires a $ 350 donation to be received as a reward for your donation. This will be the price again after December, 25th.  Please consider donating and helping the Luminous-Endowment.


    Michael’s beautiful book would make a great Holiday gift for the photographer in your life or maybe you want to hint to someone special that you would like this as a gift.  To learn more on how to Give and Receive – click here.


    The Luminous Landscape – What’s New

  • Holding onto Light


    Holding onto Light, originally uploaded by hitkaiser.


    MadridPixel

  • 27 November, 2014 – 25% Off entire Video Catalog

     Lu-La’s Black Friday Sale is now on!

    Get 25% Off our entire Video Catalog until midnight Sunday, November 30.

    Use this coupon code at checkout:

    25pcOFF_LL-BF


    The Luminous Landscape – What’s New

  • I think most “creatives” can relate:

    A great quote from Sebastian Marshall:

    I don’t differentiate between work and play. I think my time is spent in either excellent, good, okay, or bad fashion. If too much of my time is just “okay” or “bad” – I’m doing something wrong

    I think most freelance photographers, painters, writer, and pretty much anyone in a non-“standard” 9-5 job can relate.  Kinda reframes the whole “wasting time” thing – instead of trying to stop wasting time, just aim to increase the amount of time spent in excellent fashion!

    Tweet This Post Stumble This Post


    F/1.0

  • 3. Türchen: Calin Kruse

    3. Türchen

    Ganz vorsichtig öffnen wir unser drittes Türchen, denn Herausgeber und Fotograf Calin Kruse hat es mit sechs Gewinnen ganz schön prall gefüllt. Heraus purzeln fünf Ausgaben der aktuellen Ausgabe des Magazins „dienacht“ sowie ein Exemplar des Buchs „Schmetterling“.

    Aber eins nach dem anderen. Das „dienacht“ – Magazin für Fotografie, Gestaltung und Subkultur – kennt Ihr vielleicht schon, denn wir sind große Fans und haben es schon öfter vorgestellt. Einzelne Beiträge aus den Magazinen wurden auch bereits mehrfach für die LeadAwards nominiert.

    In unserem Türchen liegt gleich fünf mal die aktuelle Ausgabe Nummer 15. Darin enthalten sind Künstler, Fotografen und Designer wie Sarah Sudhoff, Francesca Romeo, Tito Mouraz, Julia Sonntag, Aaron McElroy, Axel Beyer, Tatiana Tcherkezyan, David Einwaller sowie Fotobuchrezensionen und mehr.

    Jede Ausgabe ist zweisprachig (Deutsch und Englisch) und auf 1000 Exemplare limitiert. Das Magazin hat 126 Seiten, ein Format von 15 x 18 cm und kostet 7 €.

    Cover: dienacht Ausgabe 15Buchcover: Schmetterling

    Dazu legt Calin ein ganz persönliches Buch: „Schmetterling“. Es ist sein eigenes mit intimen schwarzweiß-Fotografien, das bereits in der zweiten Auflage erscheint. Mit 64 Seiten kostet es 20 €. Die Bilder daraus sind ein Fotoexperiment: Ein unbekanntes Mädchen, ein Abend, sich fallen lassen.

    Um eines der Produkte zu gewinnen, schreibe einen Kommentar mit Deinem Wunschgewinn unter bürgerlichem Namen und gültiger E-Mail-Adresse bis heute um 24 Uhr. Danach verlosen wir sie per Zufallsgenerator unter allen Kommentatoren. Die genauen Gewinnspielregeln findest Du hier. Viel Glück!


    kwerfeldein – Fotografie Magazin | Fotocommunity

  • 30 November, 2014 – Uniqball, A Unique Approach To Leveling


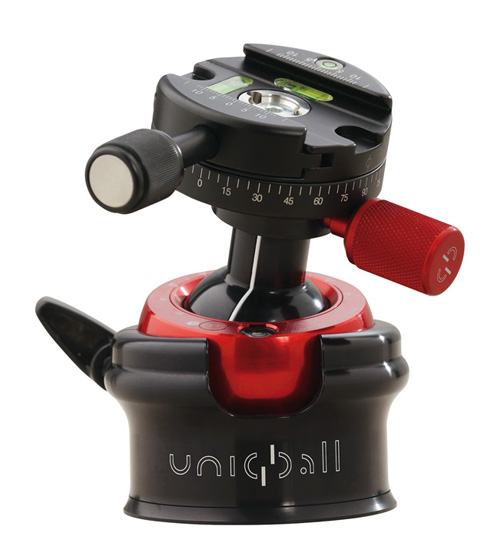
    We have been trying some pretty cool new gear out over the last few weeks.  Michael has already shared his First Impressions of the Samsung NX1.  A lot of the products we are now working with and will report on soon were announced at Photokina.  One of these products was a new style ball head.  Just when you didn’t think you could improve on a ball head concept any further we see a new player from Hungary introduce a new style ball head.  Today, Nick Devlin gives us a look at the Uniqball, A Unique Approach To Leveling.  This ball head is available at B&H Photo.  I ordered one.

    We also have a new advertiser on board as of today, DXO.  DXO has three very cool applications for working on images.  Check them out!

    We have a single cabin on our first Antarctica Trip in January available as well as 2 berths on our second trip.  It’s not too late to be part of an amazing adventure to one of the most beautiful places on earth.  Check It Out!

    Also until the end of tomorrow (Monday) you can get 25% off of our entire Video Catalog.  Ends at 11:59 December 1st.


    The Luminous Landscape – What’s New

  • 6 Tips for Creating Leading Lines to Make Your Photos Stand Out More

    There is perhaps no more important tool in composition than lines. The eye will virtually always follow an actual or implied line across the picture. Because of this tendency, many lines are referred to as leading lines They are actual, or implied lines that control the eye of the viewer through the frame.

    PointReyesTrees

    Some leading lines guide the viewer entirely through the frame. Some lines are the subject of the photo themselves. But others, and my favorite sort of leading lines, are the ones that draw the viewer into the picture. They add depth to your image. So today I want to focus on that particular kind of leading line, giving you some examples and ideas for how to create them.

    1.  Plan for opportunities

    Lines that you can use to lead into your viewer into the frame are everywhere, but you’ve got to look for them. In fact, it is a good idea to plan a few shots ahead of time so that you can consider what to use as a leading line. Leaving it to chance when you are out shooting will often result in the idea of leading lines being overlooked while you are focused on other things.

    When you are thinking about possible lines leading into the frame, think about roads and paths, which work great. Plus they are everywhere so you almost never have to search for them. The edges of the road will converge in the distance, thereby pointing the viewer to the center of the frame. Although certainly not as prevalent as roads, railroad tracks also work great. Finally, don’t overlook the use of shadow to create a line toward the center of the picture.

    QueensWalk

    2.  Finding and using urban opportunities

    In an urban environment, besides roads, you can use buildings and other structures. Obviously rows of buildings can work. Perspective will make the buildings appear smaller as they become more distant, resulting in lines pointing to the center of the picture. Fences are another good choice.

    Keep your eye open for rows of streetlights, which we often overlook, but which can work great. In addition, don’t forget to look up, as the natural convergence of buildings toward the center of your frame (due to the distortion of your lens) can actually work for you in this context, and create lines that point to the center of the frame.

    TubeEscalator

    3.  Opportunities in nature

    When you are out in the wild, nature often provides you with the leading lines you seek. Patterns on the ground, whether it be paved, sand, or grass, can often provide markings that lead to the center of the frame. In addition, similar to the convergence of buildings mentioned above, looking up into tall trees will create the same effect.

    Sand

    Leading lines on the ground can be difficult if not impossible to see with the naked eye though. There are times you have to walk around with the viewfinder held to your eye (or looking through your LCD with the camera in Live View) in order to see the lines on the ground. Moving water can also provide lines toward the center of the frame. Again, however, these might not be visible to you. Frequently looking at a a long exposure after the fact is the only way you can actually see these lines. Take test shots when you can.

    4.  Manufacture your own lines

    Sometimes there are no leading lines tha to use and you have to make your own. There are many ways to do this. One of my favorites is by adding streaking lights that go into the frame. Taking a long exposure of moving water will also result in lines.

    GreyWhaleRock

    5.  Stay cognizant of lines when shooting

    Once you identify leading lines to draw your viewer into the frame, you need to take your picture in such a way that it will show them. We already mentioned shutter speed, which is particularly important when you are allowing lights or water to flow through your frame to show a leading line. But you will also want to keep an eye on your aperture setting. Most of the time you will want the entire leading line sharp, along with the subject that you are leading the viewer’s eye toward. You’ll want to use a small aperture in that case, which will create a large depth of field for your shot. On occasion, however, you want to blur out the background by using a large aperture. In any case, the important thing is to have a plan for showing the leading line in the final picture.

    WiseCoRoad

    6.  Accentuate the lines in post-production

    Finding and using leading lines to draw your viewer into the picture does not end when the shutter closes. Usually you can accentuate them in post-processing. The main way is through selective brightening and darkening. Oftentimes you will want to brighten your leading line to draw the viewer’s eye to it. Sometimes you might want to darken other parts of the frame for the same reason. You also might want to increase the contrast in, and around, your leading lines since the eye is attracted to contrast.

    The best way the accomplish this selective lightening and darkening is through curves adjustment layers. Just create a curves adjustment layer (Layer – New Adjustment Layer – Curves). Then brighten the picture by pulling the middle of the curve upward bit. Use whatever selection tools you are most comfortable with to mask away the brightening everywhere you don’t want it (which will be pretty much everywhere except for your leading lines). To darken portions of the picture, just do the same thing on a new adjustment layer, but instead of pulling the curve up, pull it down. Again, mask away the effect where you don’t want it (which, this time will be areas away from your leading lines).

    NYC

    Effort and reward

    The use of leading lines to draw the viewer into the frame is a great way to add depth to your pictures. Rather than looking at the picture the viewer is looking into the picture. But it isn’t always easy. It requires thought before, during, and after the shot. But with the right pre-planning, a little attention while shooting, and some accentuation during the post-processing, you can add an element to your photos that sets them apart.

    The post 6 Tips for Creating Leading Lines to Make Your Photos Stand Out More by Jim Hamel appeared first on Digital Photography School.


    Digital Photography School