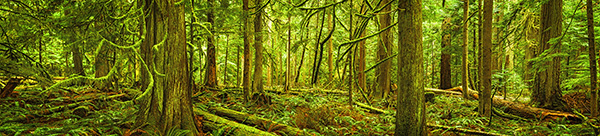
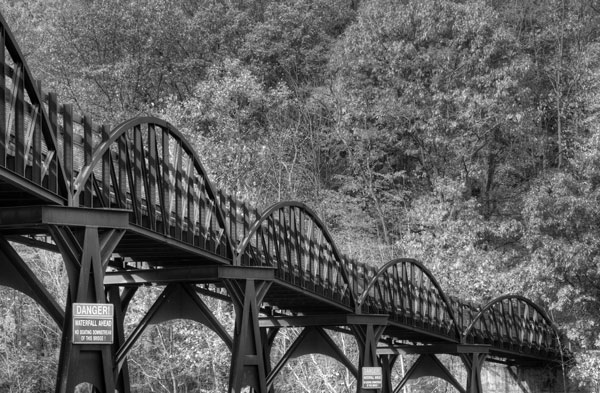
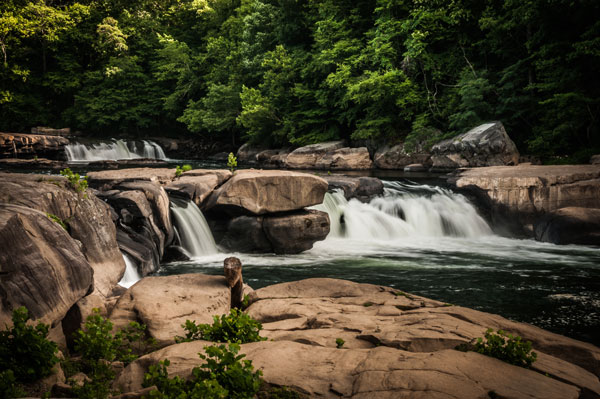
In a scene like this, you want all the trees in focus, a deep depth of field is necessary
There are many written and unwritten “rules” in Photography. Mostly, they are guidelines, I am not sure that there are rules about any art form, but some guidelines help us out. You have probably heard of the rule of thirds as it relates to composition. You have heard about the golden mean for composition, but have you thought about how depth of field affects your composition?
Composition is one of the easiest techniques to use to improve your images, it is also one of the most overlooked. You may never think about it, but perhaps you really should. Your composition can make a mediocre image strong, just by moving your camera.
Composition has been used by painters for hundreds of years. Many of our current composition tools come from the art world. The master painters worked out how people look at a painting and put a system together that would cause people to stare into their paintings. They used techniques like leading lines, S-curves, symmetry and pattern, repetition and other techniques, to make their paintings more dramatic and compelling. Something they also used was perspective. Perspective gave a three dimensional feel to the painting and made a two dimensional scene seem three dimensional. Leonardo da Vinci mastered this technique and used it to great effect in some of his masterpieces, most notably, The Last Supper and the Mona Lisa. In some ways, Leonardo used depth of field to compose his paintings.

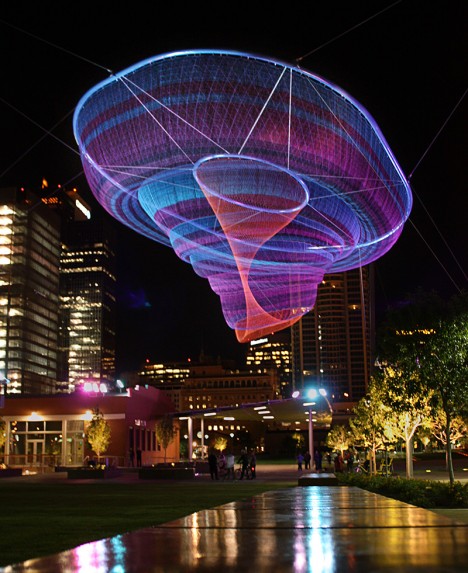
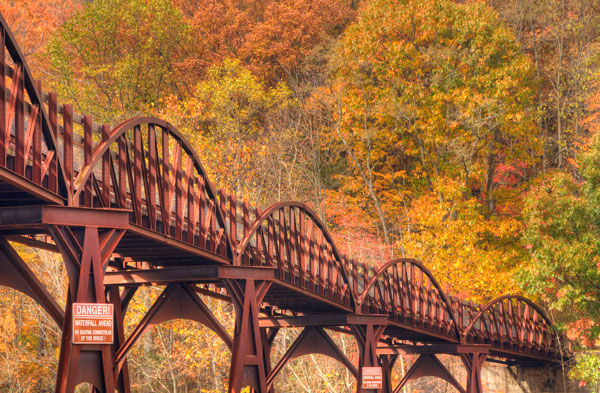
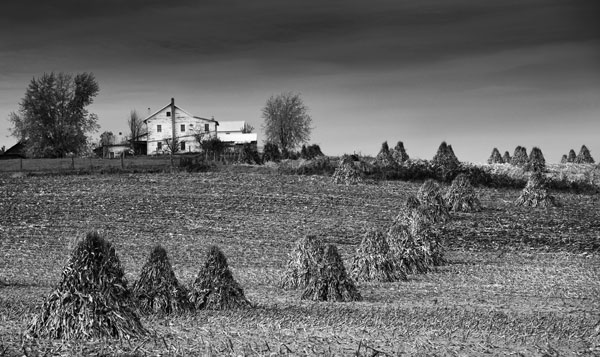
A deep depth of field emphasizes the large vista of the scene
1. What is depth of field?
Depth of field is the transition from sharp focus to soft, out of focus areas in the image. The zone of sharp focus, and how much is in focus, is known as the depth of field. You will hear photographers speak of a shallow depth of field or a deep depth of field. The latter means that most or all of the image is in sharp focus. A shallow depth of field means that a small portion of the image is in focus.
How does this work? If you are photographing a landscape scene, you will likely want all of that scene to be in sharp focus. This is called a deep depth of field, and means that the whole scene is in focus. This is good for some forms of photography. At other times you will want only a small portion of your overall image to be in focus. For example, in a close up shot of a flower, you will want the flower to be in focus and everything else to be softly out of focus, this is called a shallow depth of field.
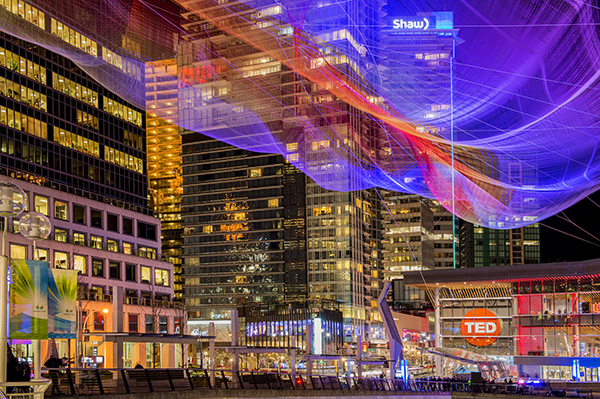
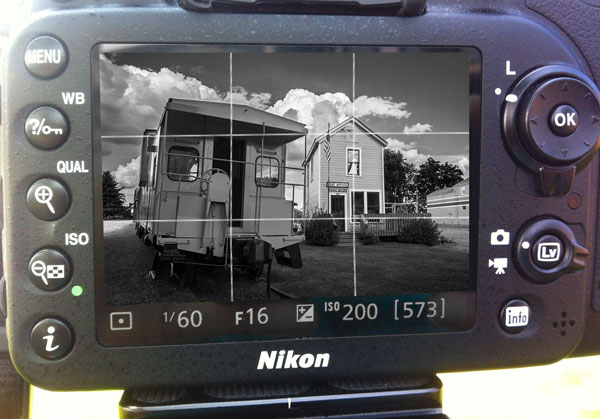
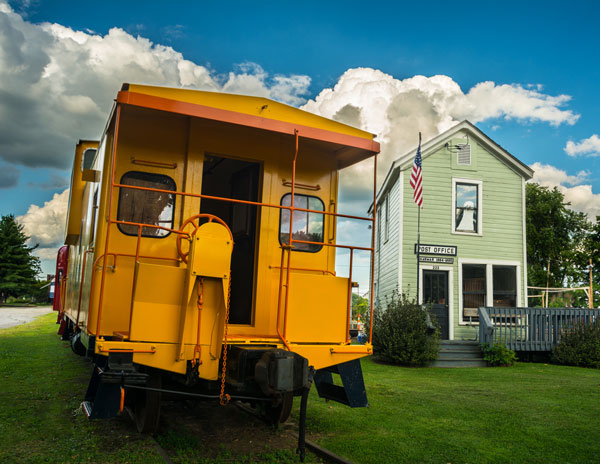
In a city scene, a deep depth of field is good as you want everything in focus.
2. How does depth of field impact your image?
You have seen images where the one part of the flower is in super sharp focus and the rest is soft and blurry. Some portrait shots also look like this, the person is in sharp focus and the background is out of focus. Why would you want to do that?
The biggest reason is that your eye will naturally go to whatever is in focus in a photograph. So, if you are shooting a wedding and you have a photo of the bride and groom, but they are out of focus and the people behind them are in focus, where do you think viewers will look? They will look at the people behind the couple of course. We assume that if something is out of focus, that we aren’t supposed to look at it. So you can use shallow depth of field to force your viewer to look at your subject. Make sure that whatever your subject is (flower, rock, insect, bride etc) that it is sharp and in focus. If the rest of the image is out of focus, that part of the image will stand out and people will immediately look there.

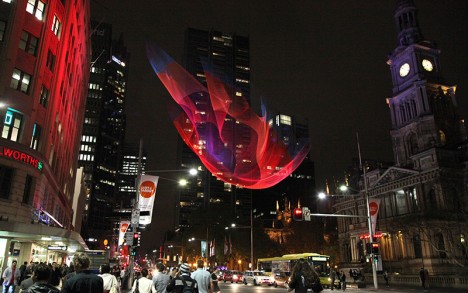
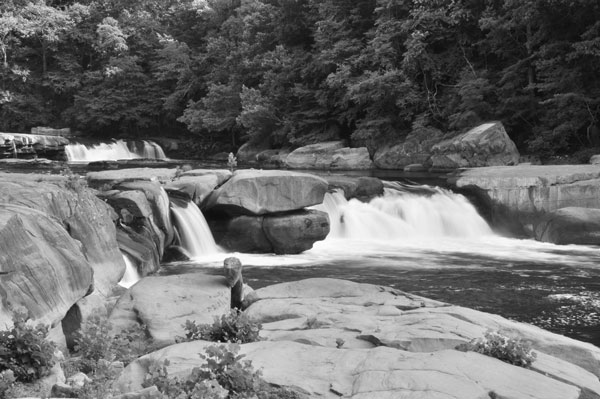
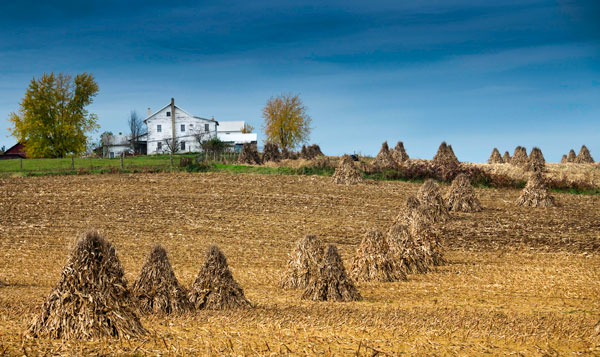
Everything in focus makes this scene compelling
3. How do I get a shallow depth of field?
Depth of field is determined by the aperture setting on your camera. Your aperture setting is called the F-Stop. Technically speaking, the F-Stop is the focal ratio of the lens. It is the ratio of the lens’s focal length to the diameter of the entrance pupil. Technical, I know, but not critical.
What is critical is that you need to know how the “F” number works. The basic rule of thumb is as follows, the lower the number (i.e. f/2.8, f/4) the shallower the depth of field or only a small amount of your image will be in focus. If you have a higher number (i.e. f/8, f11) the more of your image will be in focus. So if you want the look of having a small part of your image in focus then use an F-Stop of 2.8 or 4. If you have a lens that goes down to f/2.8 or even f/4 give this a try:
- Set your camera in manual mode
- Put your camera on a tripod so that it will be easy to take the shots without moving the camera
- Focus on a flower or something that will be perfectly still
- Compose your image, get in as close as you can
- Set your aperture to f/2.8 and take a shot
- Then set your aperture to f/4, take a second shot,
- Then f/5.6 and take a third shot
- Then two final images, one at f/8 and one at f/11
- Adjust the shutter speed accordingly to make sure you expose them all correctly
Now take a look at the images, what you will notice is that the f/2.8 image will have a small part of the image in focus, the f/8 and f/11 images will have most of the scene in focus. This now becomes a compositional choice. You can decide on every image what should be in focus and what can be blurred.

Shallow depth of field isolates the grass and makes it the focal point
4. How is this a compositional tool?
As a photographer you have the ability to determine what you want people to look at. By using a shallow depth of field and having only part of the scene in focus, you will make sure that there is no doubt about what the subject is and where you want your viewers to look. A deep depth of field is also important in some images. In landscape photography, you will want a deep depth of field, a shallow depth of field in a landscape image might be confusing. Use your depth of field to determine where you want your viewers to look. Once again, with lots of practice and seeing the results, depth of field will be come an invaluable compositional tool.
I find that the most well known “rules” of composition are a good place to start. Once I have a scene set up, I then think about what I want to be in focus and what I want out of focus, or more precisely, what is my subject or focal point. From there I look at exposure, light, etc., and then I make the image. For me, depth of field has become an important creative tool that I use as often as I can to define my subject. Let me know what you think? Do you use depth of field as a compositional tool or not? If not, will you try it out? Let me know your comments below.

A shallow depth of field isolates the leaves from the soft background
The post Using Depth of Field as a Compositional Tool by Barry J Brady appeared first on Digital Photography School.

Digital Photography School


You must be logged in to post a comment.