[ By Steph in Design & Furniture & Decor. ]

Making the most of a tiny apartment is all about smart use of space, organization and multi-purpose furniture. Here are 24 examples of clever small-space hacks that pack in a ton of function while avoiding clutter, like lofted platforms, hidden jewelry storage, fold-down tables and DIY slide-out pantries.
Space-Saving Bedroom Sets


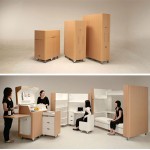
Compact bedroom sets can fit everything you need and more into a tiny room without even taking up the full space. The Matroshka All-in-One furniture set measures just 13 square feet when it’s all packed up, but pulls out into a double bed, bookshelves, a corner couch, a desk, a wardrobe, a dining table, four stools and additional storage. Another option is a couch that cleverly flips up into a bunk bed in one swift motion. Lofted bedroom sets (most often made for kids and teens) are available in a wide variety of colors and styles and often include desks and even extra beds for guests.
Elevated Platforms for Sleeping and Working


When faced with minimal square footage, we tend to focus on floor space and ignore all of the usable real estate on the walls. If you’ve got ceiling height, take advantage of it with lofted designs that lift beds, storage or work spaces, freeing up room on the floor. These designs can be built-in or portable like furniture. A Portland couple with a 704-square-foot home used vertical space to pack in a closet and other storage areas under a lounge and workspace. A bed tucked under the stairs could be a creative way to use what’s often wasted space, and a simple handmade free-standing wooden platform elevates a bed over a dining area.
Magnetic & Mason Jar Storage for the Bathroom

Keeping bathrooms clutter-free is a challenge when you’re dealing with tons of small items like cosmetics, toiletries, tweezers and bobby pins. Use an IKEA magnetic knife strip to corral metal items, or create a mason jar organizer for cotton balls, makeup brushes and more. An easy way to alter your medicine cabinet to fit more stuff involves simply placing a sheet of precut galvanized steel along its back wall and adding magnetic hooks and containers.
Maximizing Cabinet and Wall Space in the Kitchen
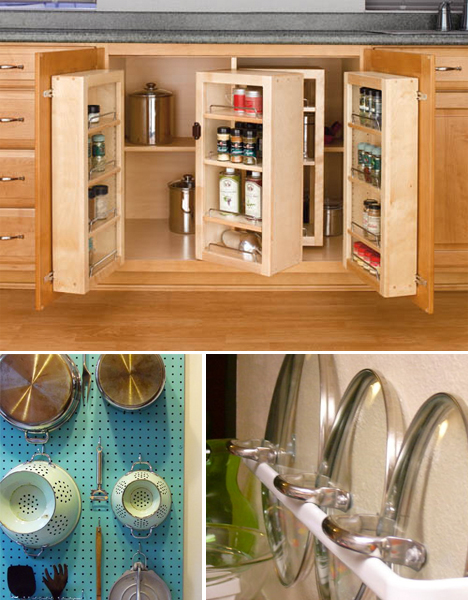

A simple towel bar keeps pot lids out of the way, whether you mount it on the wall or inside a cabinet. Update Julia Child’s classic kitchen pegboard by painting it a custom color and use it for pots, pans, lids, tools and spices. That empty space next to your refrigerator is practically begging to be put to use; a simple DIY pantry on casters hides away a surprising amount of food. And if you’re not up to breaking out the hammer and nails, check out custom cabinet organizers like the Rev-a-Shelf swing-out pantry system.
Next Page – Click Below to Read More:
Small Space Hacks 24 Tricks For Living In Tiny Apartments
Want More? Click for Great Related Content on WebUrbanist:
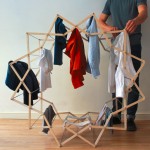
Fresh Spin: Rounded Space-Saving Clothes Drying Rack
Hanging clothes out to dry is a design problem with a long history and many solutions, making it all the more rare to see something like this clever …
Click Here to Read More »»

Prototype to Reality: Super Space-Saving Bedroom Set
The Matroshka all-in-one, space-saving furniture set starts out as a compact cube and unpacks into an entire room of furniture, including a bed and dining …
Click Here to Read More »»
15 Off-the-Wall Furnishings to Transform Your Living Space
Downsizing your spending can cause your living space to suffer. Here are 15 unique pieces of furniture that will help you upgrade and streamline your place.
Click Here to Read More »»
![]()


[ By Steph in Design & Furniture & Decor. ]
[ WebUrbanist | Archives | Galleries | Privacy | TOS ]


You must be logged in to post a comment.