I’ve always said that the best Photoshop is the Photoshop you never even notice. I encourage my students to get it right in the camera, because my belief is that imaging software is a tool, not a crutch. To quote commercial/portrait photographer Zack Arias, “If you find yourself saying, ‘I’ll just fix that later in Photoshop,’ stop what you’re doing and slap yourself as hard as you can.” When people look at my portraits, I want them to see the personality. I want them to see the emotion. I want them to remember a moment in time. What I don’t want is for them to look at my work and say, “Wow, great editing!”
In a perfect world, the photo shoot goes flawlessly. The photos are creatively lit and bring out my subject’s personality. It’s an intersection where subject and photographer come together in a collaborative effort that creates images needing almost no post production.
But since I don’t live or work in anything even remotely resembling a perfect world, Photoshop has become a necessary tool in the arsenal. A levels adjustment to tweak the blacks. Maybe a curves layer to bump the contrast. I try to keep it subtle. If you are shooting landscapes, it’s easy to let the artist run amok with color and special effects. HDR? Sure, go for it! As a portrait photographer, though, you have to be very careful about not taking the editing and manipulation too far.
What do I mean by “too far?” Have you ever seen a post-processed portrait where the whites of the eyes are so white that the subject looks like something out of a sci-fi movie? What about skin so smooth it looks like plastic, totally devoid of any texture? Any edit that pushes the bounds of reality is– in my opinion– “too far.” I know there are people who disagree, but my philosophy is this: whether you are coming to me for wedding/engagement photos, press photos for your band, or a head shot for the dust jacket of your latest book, we are coming together to make a portrait– not a semblance of a portrait.
Like I noted earlier, if I’ve done things properly, my portraits shouldn’t need much processing once they come off the camera. Usually cropping/sizing. Maybe a contrast tweak. And maybe just a little attention to the skin. But skin has texture. It has pores. It can be tricky, so here’s how I handle it.
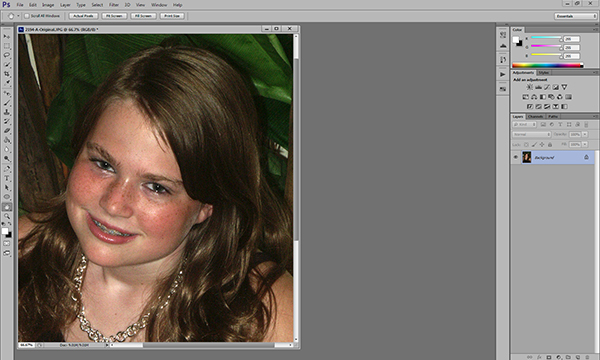
This is a very old test shot from just before I went professional ten years ago. Not exactly my finest hour– the pose is a bit awkward, there are multiple hot spots, the background is a mess– I could pick this photo apart for hours. It is, however, a great image for demonstrating a skin smoothing technique. There are a lot of different ways of doing this. I’m not going to tell you that my way is best, but I am going to tell you that my way is best for me. It’s a pretty basic, straightforward approach, so it might end up being best for you, too.
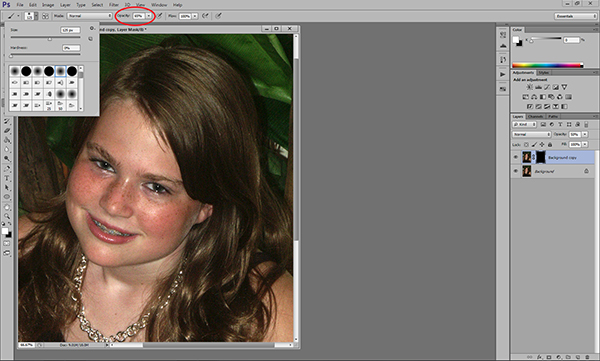
First, let’s open up our image in Photoshop. I’m doing this in Photoshop CS6 (No Cloud yet for me!), but I’ve been using this method for years, so you should be fine, regardless of which version you are using. Step One is zooming in on our target areas. Any adjustments you make in Photoshop will be less noticeable if you work on an enlarged view. You’ll be making smaller, more direct adjustments, and you’ll have a better idea of when to stop.
Zooming in lets you make more direct, subtle changes.
Once we’ve zoomed in on our target areas, we duplicate the layer and add a 20-pixel Gaussian blur in the Filters menu. You’ll immediately see the entire image go very soft. In the Layers palette, reduce the opacity of the layer to 50%.
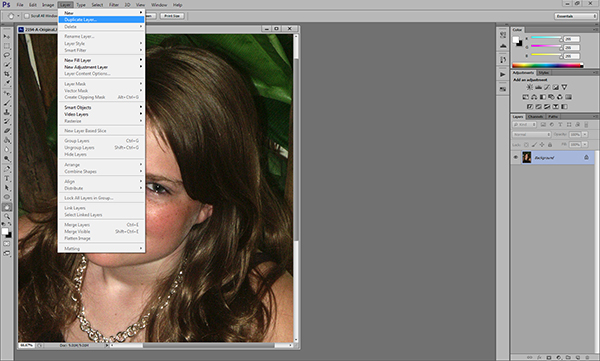
Duplicate the background layer in the Layers Menu.
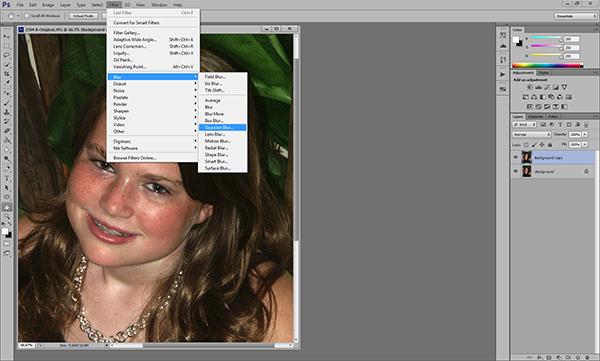
Add a Gaussian Blur…

…and adjust it to 20 pixels.
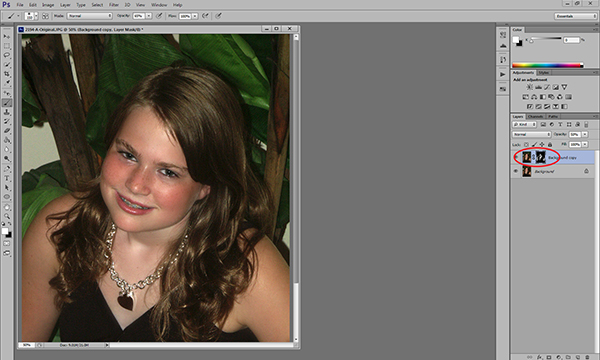
Next we are going to add a layer mask. Don’t be intimidated. The only thing a layer mask does is either hide or reveal the effects of the layers below it. More on that in a little bit. We are going to add the layer mask by holding down the ALT/OPTION key and clicking the Add Layer Mask icon at the bottom of the Layers palette. You’ll see your image go back to its pre-blur appearance and a small black box will appear next to the layer thumbnail.
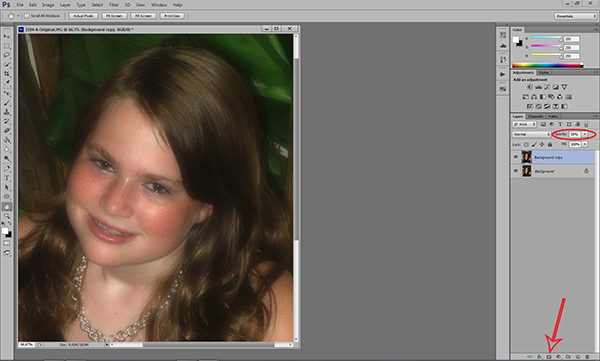
Reduce the opacity of the layer to 50% and add a layer mask.
Next, select the brush tool. You can use the bracket keys to adjust the size of the brush. Pressing the SHIFT key while using the bracket keys will adjust the hardness/softness of the brush. You’ll definitely want a brush with softer edges. This will allow your facial edits to blend for a more natural look. Hard brush edges will stand out.
Select a soft, white brush and adjust the size and opacity.
Make sure you are using a white brush. The opacity of the brush will dictate the overall affect. The closer you are to 100%, the closer you will be to the original Gaussian blur and we don’t want that. I generally work with an opacity between 50%-70%. I usually work at the higher end on female portraits and the lower end on males. Experimenting with various opacities will show you how they affect the overall look of your image. If you think you’ve chosen the wrong opacity, simply switch the brush color to black and go back over what you’ve done. This will replace the part of the layer mask you’ve just removed. Then readjust your opacity, switch the brush color back to white, and continue with your edits.
Before we go any farther, let’s take a look at what exactly is happening. When we duplicated the layer and added the blur, creating the black layer mask only covered the blur– it didn’t remove it. By using a white brush on the black layer mask we are removing parts of the mask, revealing the blur underneath only where we need it. You’ll notice these areas appearing on the layer mask thumbnail.
You’ll see the effects of your brush strokes on the layer mask.
Be careful to not brush over features like eyes and lips. In a good portrait, facial features– the eyes particularly– should be sharp. You do need to make sure, however, that you are consistent in your edits. For instance, if I’ve smoothed the forehead and cheeks, chances are that the neck and shoulders are going to need some attention, too. One sure-fire way to bring attention to your edits is to be inconsistent. You don’t want some sort of imaginary line between retouched and non-retouched areas drawing attention to them.

The end result is a subtle, but noticeable change.
The bottom line is that skin has texture. If you over-smooth it you will be left with a portrait that draws attention to the edits, rather than the person. How much is too much is subjective, but keep in mind what I said earlier about going too far. This is a technique where a little bit can go a long way. What I really like about it is that it lets you make these edits in a subtle way, leaving you with a natural-looking portrait.
Post originally from: Digital Photography Tips.
Check out our more Photography Tips at Photography Tips for Beginners, Portrait Photography Tips and Wedding Photography Tips.
Basic Skin Smoothing in Photoshop

Digital Photography School


You must be logged in to post a comment.