Category: Uncategorized

  • Sony A33 and A55 DSLRs [REVIEW]

    Sony A33 1.jpg

    It’s been a great year for the DSLR. Not only have we seen the top models capture stills of amazing quality, leading to many serious workers questioning the need for medium format digital capture … and then, to many an amazed onlooker, we’ve seen TV series and feature films shot with high end stills cameras. ‘Mazing!

    So, in typical fashion, we now see Sony hit the Go! button and pack even more capability into these two new cameras.

    Then, a few days ago, heavily disguised, I snuck into Sony HQ to get a top secret preview of the new cameras. And ‘mazed I was.

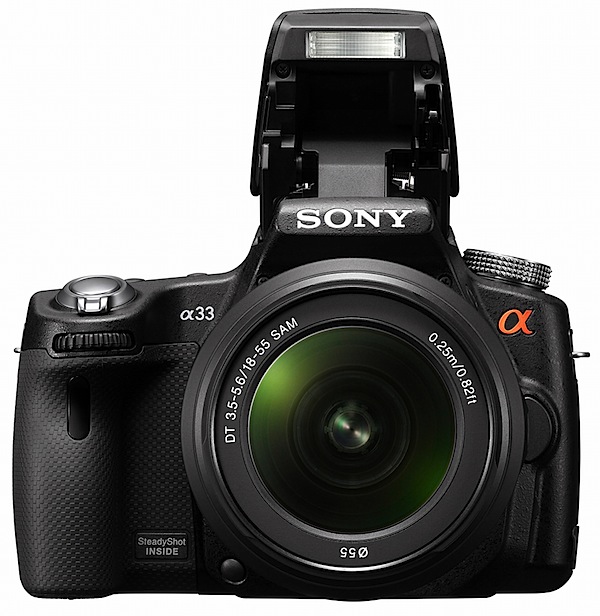
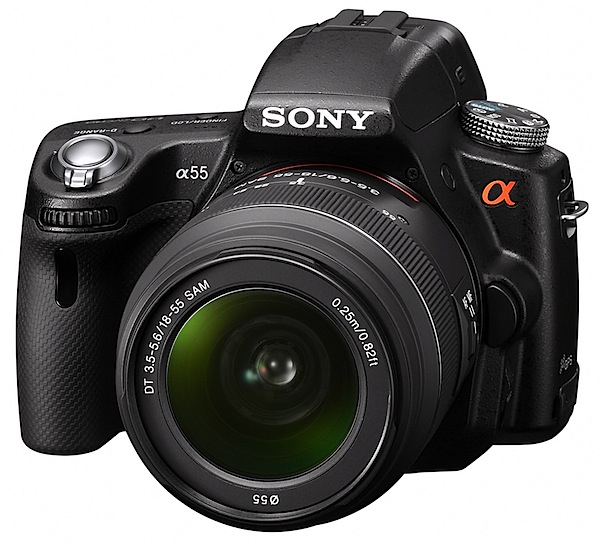
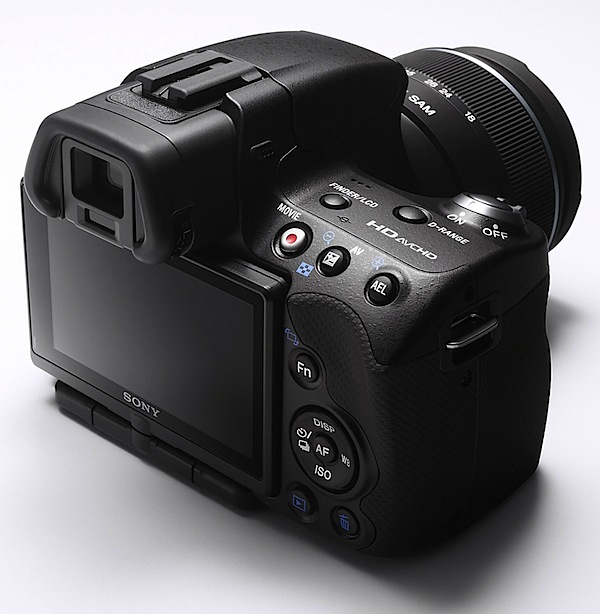
    On leaving, I was given a review camera to bring you the good news. As it was early days, I had to be satisfied with the lesser of the two models — A33 (pictured above) — because there was only one A55 (pictured below) to hand, and this was in the Sony techo’s hands. Ne’r mind, you’ll still get the full whiff of excitement this pair generates as, aside from a few specs, the cameras are near-identical.
    Sony A55 2.jpg

    Initially I was surprised at the smallness and lightness of the A33, barely larger than some maxi zoom, fixed lens models. The Exmor CMOS sensor is APS-C size, with a 1.5x lens factor, when compared to 35 SLR glass.
    Sony A3355 1.jpg

    The feature list would seem to satisfy even the most desperate photographer, anxious to bedeck him- or herself with the toppest end camera around.

    Features like: 4592×3056 pixels maximum size (A55: 4912×3264), leading to a print size of 39×26cm (42×28cm); writing to SD/SDHC/SDXC and Memory Stick Pro Duo/Pro HG Duo cards (but not to CF); SteadyShot image stabiliser; RAW and JPEG capture in stills; MPEG4 and AVCHD at a maximum res of 1920×1080 pixels; Sweep Panorama shooting; 7.5cm LCD screen that swings 180 degrees vertically and 270 degrees laterally; exposure modes that include auto, auto+, Program AE, shutter and aperture priority, manual and scene selection; face and smile detection; flash compensation; ISO sett8ings to 25,600; GPS (A55 only); three exposure HDR.

    Shopping centre pano.JPG

    The Sweep Panorama feature is to die for. Works quickly and accurately.

    High Speed

    Then we get to the continuous shooting figures: with the A33 you can pull in shots at a rate of 7 per second — and, amazingly, 10 images per second with the A55!

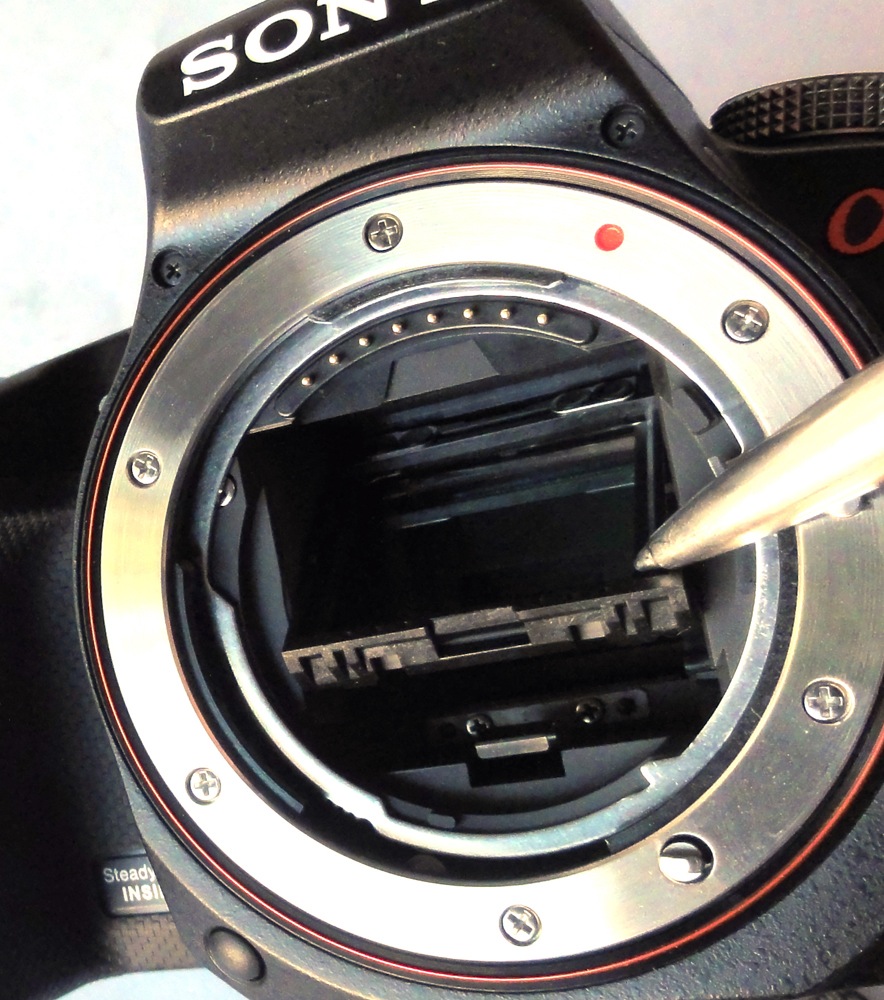
    So, how does it do this? Simply because there is no flipping mirror to slow it down! Instead, there is a semi-reflective mirror in the light path that transmits 66.66 per cent of the light to the CMOS sensor in the back of the camera — and 33.33 per cent of it to a tiny LCD built into the camera’s roof. When you move your eye from the large LCD at the camera’s rear to the eye level viewfinder you view the action via the smaller LCD.
    Pellicle mirror.jpg

    Remove the lens and you can see how it works, with the mirror in place throughout the shooting cycle. Outside of shooting, the mirror can be tilted up in order to clean the sensor, but normally remains in place at a 45 degree angle.
    Canon Pellix 1.jpg

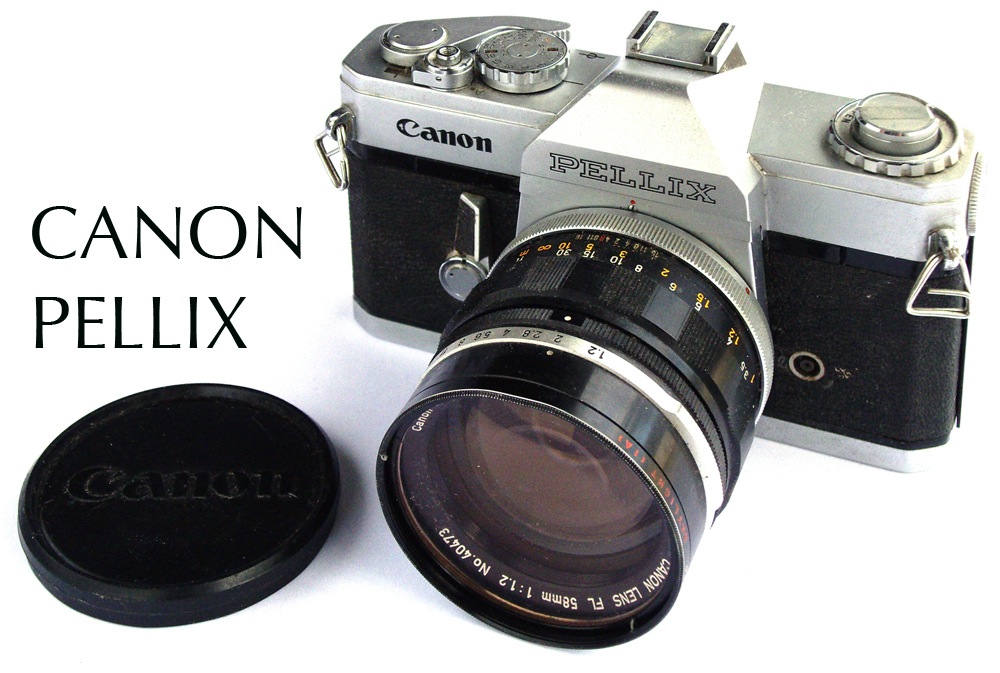
    For this neat trick you can thank a pioneering invention by Canon in their 1965 Pellix camera in which the traditional moving SLR mirror was replaced by a fixed, semi-transparent pellicle mirror splitting the light rays from the lens: two thirds of an f stop went to the film, with the rest passing to the viewfinder. The objects: simpler construction, quieter operation, no finder blackout, faster continuous shooting.

    Of course, you can ask the question: why didn’t Sony build in a pentaprism to provide a full live optical experience — a la Pellix? The LCD view is a little murky and an optical view would have been far superior. Perhaps the third of an f stop loss for viewing is the reason: a dark finder view.

    Movies

    With even the occasional compact able to shoot High Def video these days you could expect this little DSLR duo to lead the band — and they do.

    You have a choice: record in Full High Definition 1920×1080i AVCHD or MPEG4 1440×1080.

    Kick off the dedicated record button adjacent to the viewfinder, pan around, zoom as you wish… and the system follows you, pulling focus firmly on everything you point the camera at and taking care of exposure right through the shot.
    Four movie frames.jpg

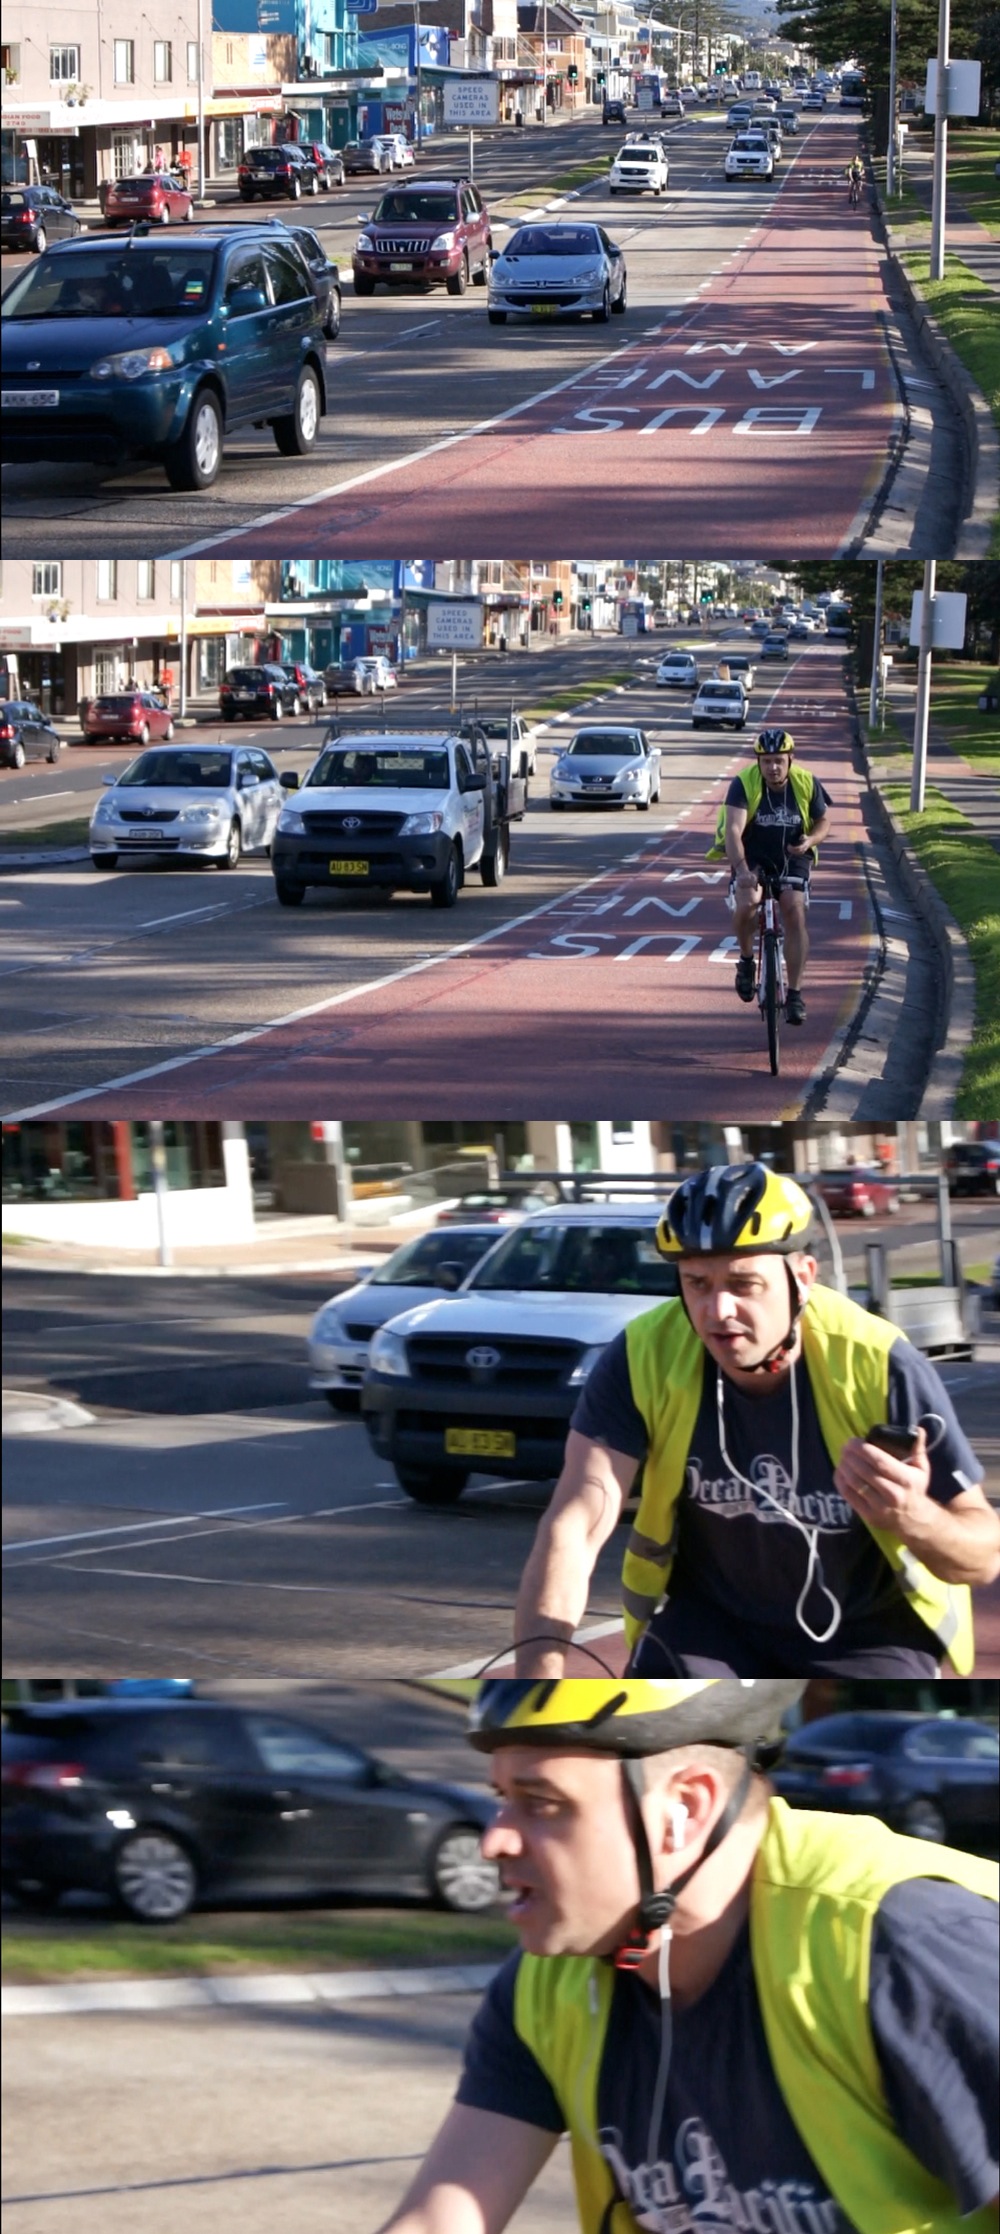
    These four frames come from an AVCHD sequence: the AF and exposure working hard and well.

    One caution: you may find the AF and stabilising functions leave some noise on the audio. A fix: turn off the stabiliser and place the camera on a tripod. There is an input for an external stereo microphone, which may help as you will find the wind noise from the camera mic excessive if shooting outdoors.

    But overall, I absolutely loved the video feature!

    ISO Settings
    Sony A33 ISO 100 f5.6 1:13 sec.jpg

    Sony A33 ISO 800 f5.6 1:100 sec.jpg

    Sony A33 ISO 3200 f5.6 1:400 sec.jpg

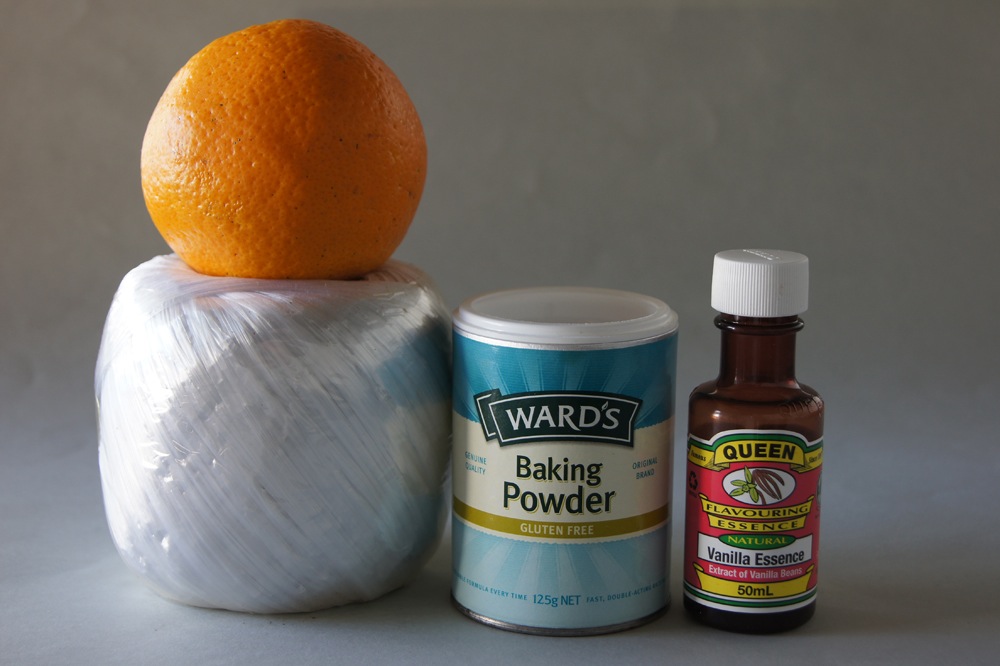
    These shots cover the ISO settings at 100, 800 and ISO 3200. All show excellent resolution, low noise, colour fidelity.

    Sony A33 ISO 12,800 f5.6 1:1600 sec.jpg

    At ISO 12,800 the wagon falls over: definition is down, noise well up, along with colour artefacts. Not useable.
    Man and rail station ISO 6400.JPG

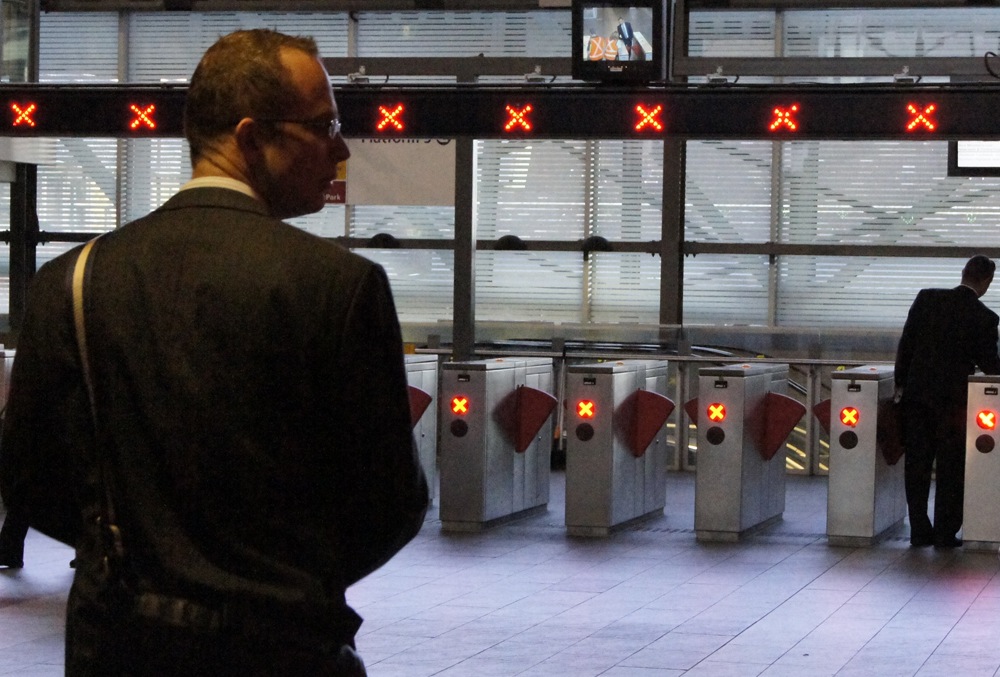
    This shot was taken at ISO 6400 and cropped to a quarter its original size: as you can see, the right shot can take advantage of high ISO settings.
    Post Office 2.JPG

    Comment

    Quality: overall, excellent, good colour, high sharpness.

    Why you would buy one of these: small size and light weight; superb video capture; rapid stills rate.

    Why you wouldn’t: card compartment is in the base of the camera, so if using it tripod-mounted, it’s a hassle to remove and reload the card.

    Part of the pleasure of the A33/55 is its compact size and light weight. Even with one or two more lenses, this outfit would make a painless traveling companion.

    Sony A33 Specifications (A55)

    Image Sensor: 14.2 (16.2) million effective pixels.
    Metering: Multi-segment, centre-weighted metering and spot.
    Effective Sensor Size: 23.4×15.6 — APS-C sized — CMOS.
    35 SLR Lens Factor: 1:5x.
    Compatible lenses: Sony and Minolta A-mount, Konica Minolta Alpha/Maxxum/Dynax.
    Exposure Modes: Auto, Program AE, shutter and aperture priority, manual, scene selection, sweep panorama.
    Shutter Speed: 30 to 1/4000 second, Bulb. Flash sync: 1/160 sec.
    Memory: SD/SDHC/SDXC/Memory Stick Pro Duo/Pro HG Duo cards.
    Image Sizes (pixels): 4592×3056 to 2288×1280 (4912×3264 to 2448×1376).
    Movies: 1920×1080 to 640×480 at 25/29.97 fps.
    Continuous Drive: 7 frames (10 frames).
    Viewfinders: Turret 1.1cm LCD; rear 7.5cm LCD (921,600 pixels).
    File Formats: RAW, RAW+JPEG, MPEG4, AVCHD, Dolby Digital (AC-3).
    Colour Space: Adobe RGB, sRGB.
    ISO Sensitivity: Auto, 100 to 25,600.
    Interface: USB 2.0, AV, HDMI, microphone, wireless remote, DC input.
    Power: Rechargeable lithium ion battery, AC adaptor.
    Dimensions: 124.4×92×84.7 WHDmm.
    Weight: Approx. 492 g (with lithium battery and card).
    Price: $TBA.

    Post from: Digital Photography School – Photography Tips.

    dpsbook.png

    Sony A33 and A55 DSLRs [REVIEW]


    Digital Photography School

  • Anders sehen: Konzertfotografie in Island

    Tina Bauer Tina Bauer ist freiberufliche Journalistin und Fotojournalistin aus Stuttgart und lebt zurzeit in Reykjavík/Island. Nach einer professionell geführten Fotoreise durch Island hat sie ihr Schwerpunktthema gefunden und zeigt ihre Arbeiten jetzt in Fotoausstellungen sowie in verschiedenen Magazinen. Als Bloggerin ist sie noch ein Neuling.

    Schwierige Bedingungen austricksen und andere Perspektiven wählen, lautet bei der Konzertfotografie mein Motto. Die Isländer lieben Musik, fast jeder hier kann ziemlich gut singen. Und es ist erstaunlich, wie viele Bands, Sängerinnen und Sänger ein Land mit rund 320.000 Einwohnern hervorbringt.

    So komme ich in Island kaum drumherum, auf Konzerten zu fotografieren. Da es aber viele gute Konzertfotografen gibt, versuche ich meist etwas andere Fotos verstärkt im Reportagestil zu machen. Ich möchte euch von einigen Erfahrungen berichten. Es geht weniger um technische Details, als um den Spaß am Experiment.

    Andere Perspektive wählen

    Es schüttete aus Kübeln beim Open-Air-Konzert ?Inspired by Iceland? in Reykjavík. Die Kameramänner und Zeitungsfotografen waren mehr damit beschäftig, ihre Linsen abwischen als zu filmen und zu fotografieren – Bilder und Livestreams gibt es dennoch genug. So habe ich mich unter den Bühnenrand gerettet – um mich einerseits vor dem Regen etwas zu schützen – und von dort mal von dort die Zuschauer fotografiert – um andererseits ein anderes Motiv als die üblichen Musiker- und Bandfotos zu bekommen.

    inspired by iceland

    Die Leute haben schon ein bisschen komisch geschaut, als ich quasi in die falsche Richtung fotografiert habe. Aber mir war es wichtig zu zeigen, dass trotz strömendem Regen die Leute mit Gummistiefeln und Regenschirmen ausgestattet zum Feiern und Musikhören gekommen sind.

    In Schwarz-weiß umwandeln

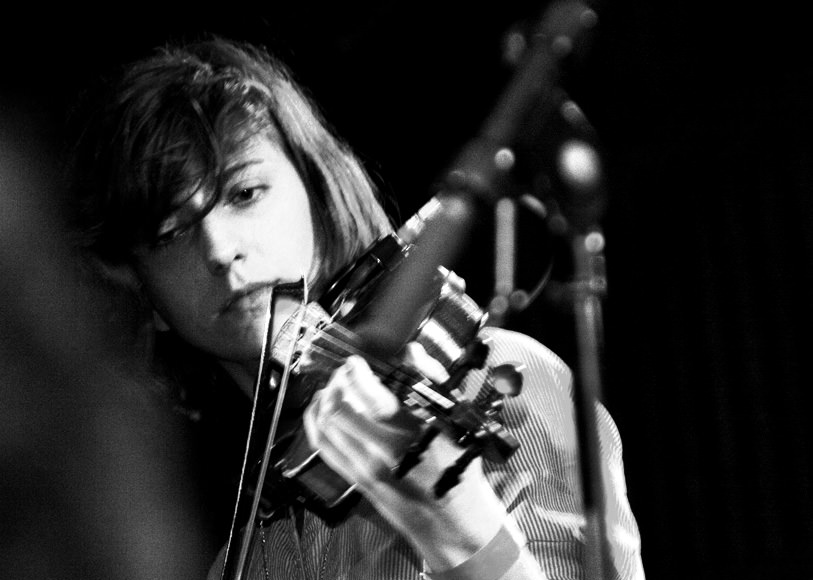
    Von schlechten und häufig wechselnden Lichtverhältnissen können Konzertfotografien ein Lied singen. Doch auch wenn man mit einem lichtstarken Objektiv arbeitet, empfiehlt es sich oft, mit einen hohen ISO-Wert zu fotografieren. Beim Bræðslan Musikfestival in den isländischen Ostfjorden habe ich den ISO-Wert bis auf 1600 hochgeschraubt. Das Konzert fand in einer ehemaligen Fischfabrik statt: geniale Atmosphäre, aber sehr düster.

    fanfarlo

    Mit den Farbaufnahmen war ich gar nicht zufrieden: zu viel Rauschen und Unschärfe. Also habe ich es mal in Schwarz-Weiß versucht – so kommt die Atmosphäre viel authentischer rüber. In Schwarz-Weiß wird der konzentrierte Blick von Cathy noch stärker fokussiert.

    Details hervorheben

    Auch wenn es in Island viele kleine Konzerte und Gigs gibt ?- das Großereignis ist das Airwaves-Festival im Oktober jeden Jahres. Da etliche Fotografen aus dem In- und Ausland bei diesem Event sind und tolle Fotos auf dem Markt sind, habe ich versucht, weniger beachtete Details aufzunehmen. Bei der Gruppe ?Boys in a band? von den Färöer Inseln ist mir der banale Bandname, über den ich in einem Interview gelesen hatte, sofort ins Auge gesprungen.

    airwaves

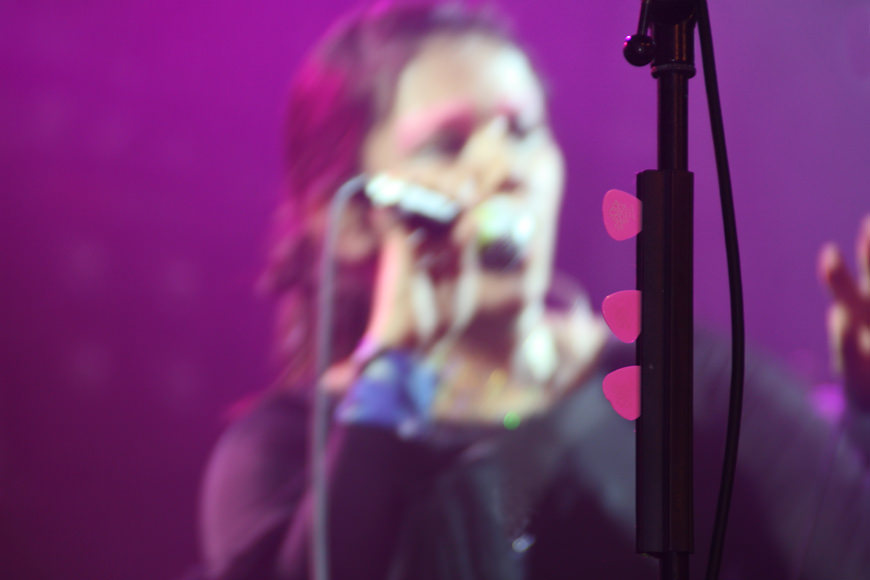
    Das Bild der Plektra der brasilianischen Band CSS – Cansei de Ser Sexy – soll ein Kontrast zum Auftritt sein. Dieser war absolut schrill mit einer exzentrischen Sängerin. Im Gegensatz dazu haben die Plektra ihren festen, beständigen Platz am Mikro bis sie zum Einsatz kommen.

    airwaves

    ***
    Werbepause: Buchtipp – Vom Alltäglichen zum Besonderen!


    KWERFELDEIN | Digitale Fotografie

  • 10 Tips for the Aspiring Street Photographer

    Let’s face it, starting street photography is no easy task. For the average photographer, going from shooting flowers into shooting people in the streets is like stepping into a Ferrari after driving a Toyota Prius. It is intimidating at first, but quite exhilarating once you try it out. After shooting on the streets for about four years, here are my top ten tips for somebody (with absolutely no background in street photography) to get their feet wet.

    1. Ditch the zoom and use a wide-angle prime

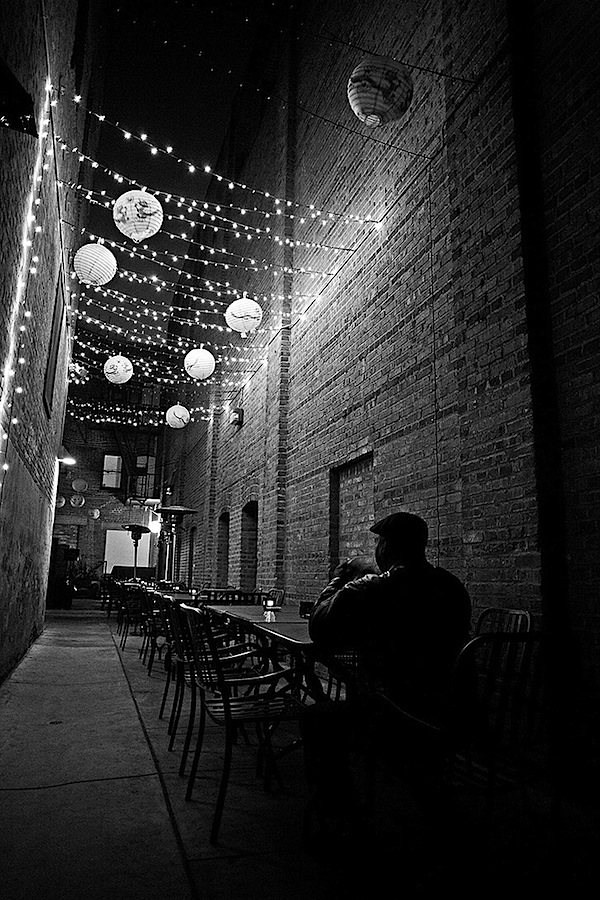
    midnight dining.jpg

    Street photography is not like your 2nd grade science class. You don’t examine your subjects under a microscope. Rather, street photography is about experiencing life, up close and personal. When starting off street photography, you may be tempted to use your 70-200 zoom lens to feel less “awkward” from shooting in the streets. Rather, it will do much more harm than good.

    First of all, you will look even more conspicuous in public holding a huge zoom lens. Secondly, if you use a zoom lens you have to point it directly at somebody, which makes the person you are trying to capture feel as if they have a gun pointed to their head. Rather, try using a wide-angle prime lens. This will solve two of the forementioned problems. One, prime wide-angle lenses are often quite small and look much less threatening than the typical telephoto lens. Furthermore, by using a wide-angle lens, you can still capture your subjects without necessarily pointing your camera directly at them. Which brings me on to my next point…

    2. Get close

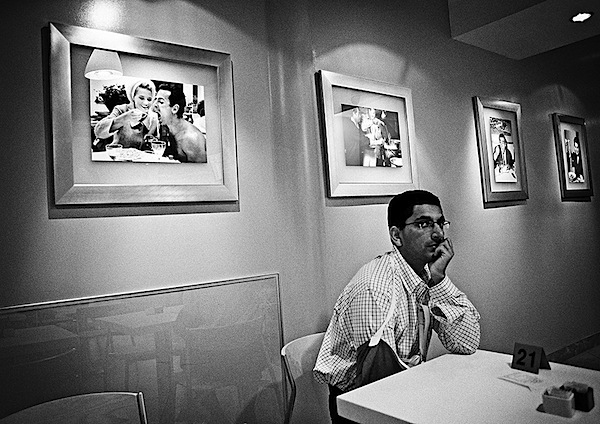
    a lone dinner.jpg

    When I say close, I mean GET CLOSE. Get so close so that when you are taking photos of people on the street that you can see the perspiration dripping from their forehead or the texture of their skin. By using a wide-angle prime lens (as mentioned in the before point), you will be forced to get close to your subjects. The advantage of this is that the wide-angle lens will give you a perspective which makes the viewer of your images feel as if they are a part of the scene, rather than just a voyeur looking in. Not only that, but when you are taking photos really close to people, they often think that you are taking a photo of something behind them. I recommend using either a 24, 28, or 35mm on a full-frame or crop camera.

    3. Always carry your camera with you

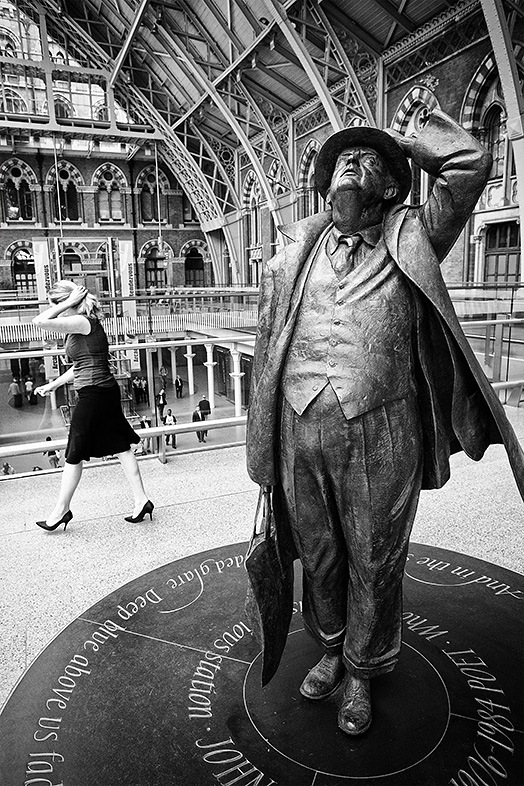
    mime at st pancras.jpg

    You have heard this a million times and you know that you should, but you always seem to find excuses or reasons NOT to always carry your camera with yourself. “It’s too heavy, it’s annoying, it’s a hassle, it’s frustrating.” I’ll tell you what’s frustrating. Missing the perfect photo opportunity (the decisive moment) and regretting it for the rest of your life. I have to admit that is a bit dramatic, but it is true. If you always carry your camera with you, you will never miss those “Kodak moments” which always seem to happen at the most unexpected times. I have taken some of my best images at the most unexpected moments—images that would have been impossible to take if I did not have my camera by my side.

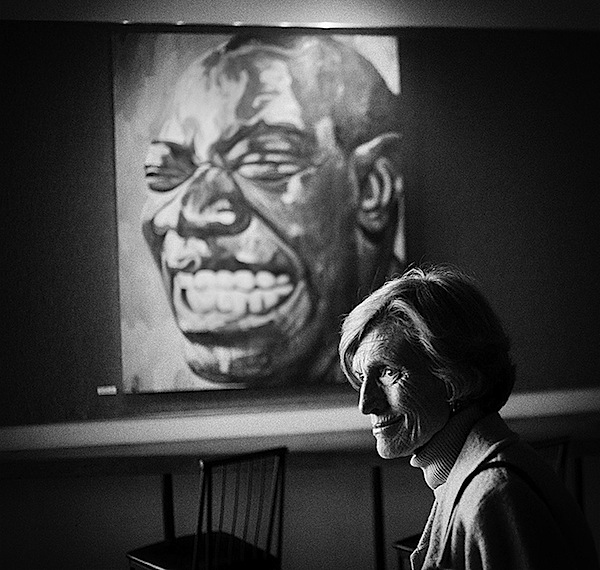
    4. Disregard what other people think of you

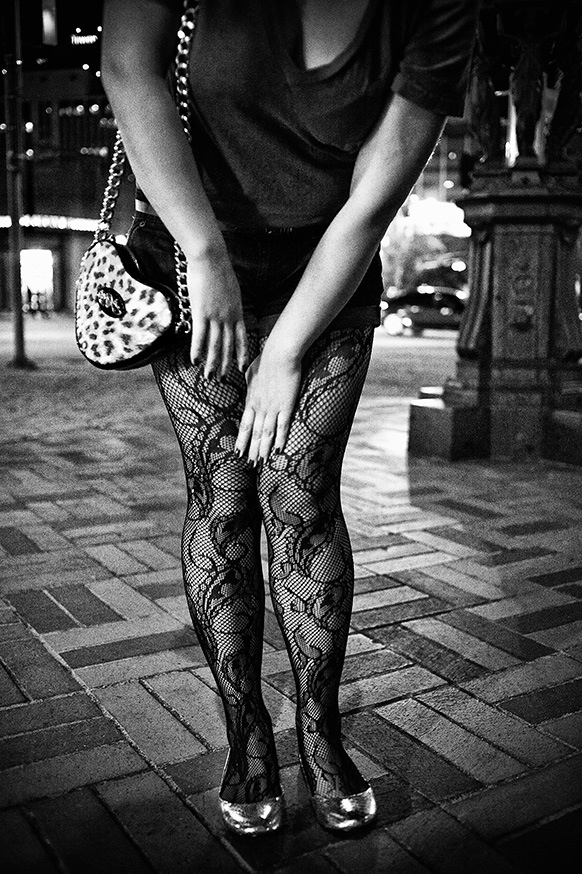
    stockings.jpg

    One of the things that people are worried about when starting street photography is worrying about being judged by other people as being a “creeper” or just being plain weird. Disregard these thoughts. When you are shooting on the streets, you will most likely be alone. That means that anyone who may be “judging” you is people that you do not know and will most likely never see again in your life. So why let them get in your way?

    We may feel constricted by these “social rules” but remember, they can always be broken. There is no law out there which doesn’t allow photography in public places (regardless of what the police may tell you).

    To prime yourself better for your street photographer “role,” try doing something unusual in public. Lay on the ground for a minute and see how other people react around you, get up, and simply walk away like nothing happened. Go to a busy intersection and stand like a statue and see how people react (trust me, nobody notices. I had to do this as an experiment for one of my sociology classes). When you go into an elevator, stand the opposite way. The social world is full of false rules that constrict us. Break them, and shooting in the streets should become quite natural.

    5. Smile often:

    smile a little bit.jpg

    It is funny how far a smile can go, especially when shooting in the streets. If you take a photo of somebody and they give you a weird look, simply tip your hat to them and show them two rows of your pearly white chompers. I would say that when smiling to strangers (even in the city of angels) I get over a 95% response rate. Even some of the most unapproachable people will smile back at you. By smiling often and to others, this will help you relax and lighten the atmosphere around yourself. People trust a street photographer who smiles, as they will simply disregard you as a hobbyist, rather than someone with malicious intent.

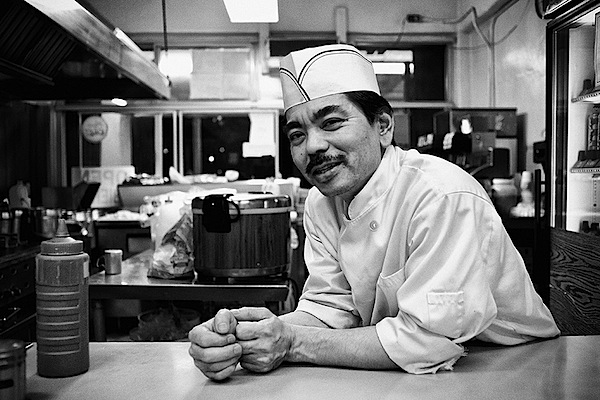
    6. Ask for permission

    shinji.jpg

    Although many street photography purists say that the only true street photography is candid, I would highly disagree with them. Feel free to go up to strangers who you think look interesting, and ask to take a portrait of them. People love getting their photos taken, and as long as you act courteous and casual about it, most people will accept. Feel free to ask to take portraits of many mundane subjects of everyday life like the waitress at the diner, the bellboy of a hotel, or even a parking lot attendant.

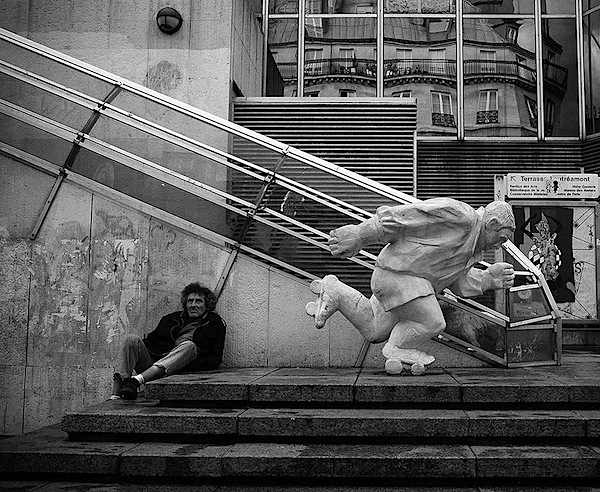
    7. Be respectful:

    skating.jpg

    This is one of the tricky grey lines when it comes to street photography. I personally try my best not to take photos of homeless people when they look too down on their luck. Although I do agree that there are tasteful images taken of homeless people which call people into helping these people, there are also many images that look like pure exploitation. Think of the cliché shot of a homeless person crouched over on the street, begging for money. Before you take these images, think about what message you are trying to convey. Are you shooting for the reason of building awareness of the atrocious situations that many homeless people live in? Or are you merely taking a photo of a homeless person for the sake of taking their photo? Nobody can be the judge—only you can decide.

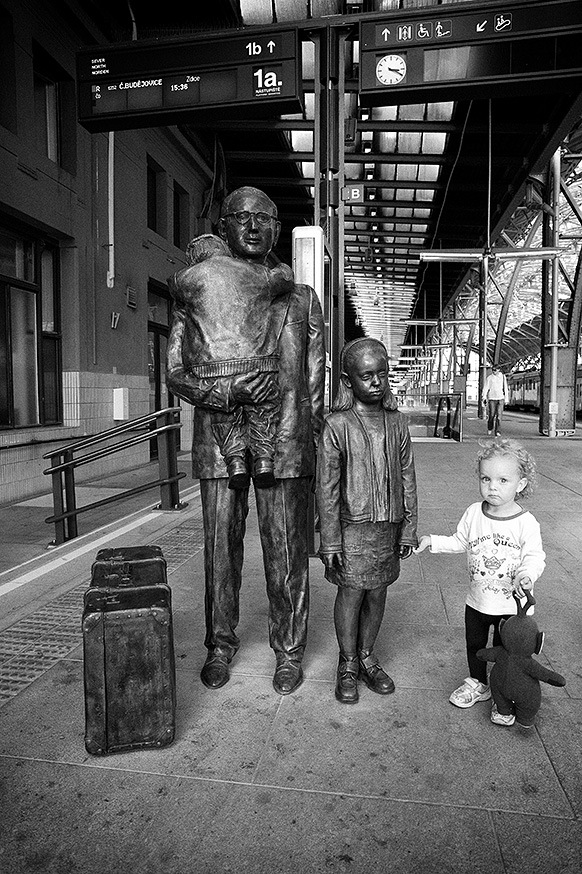
    8. Look for juxtaposition:

    adopted.jpg

    I feel that this is what makes street photography so unique and fascinating when compared to other genres of photography. Street photographs are able to convey the humor, irony, and the beauty of everyday life, by juxtaposing people with others and the environment. Look for signs with interesting messages that seem to be contradictory to the people standing around it. Be on the lookout for human heads that seem to be displaced by street lamps. Look for two individuals that seem to be differing in height, complexion, or even weight. Capture an array of emotions from people, whether it be happiness, sadness, or curiosity.

    9. Tell a story:

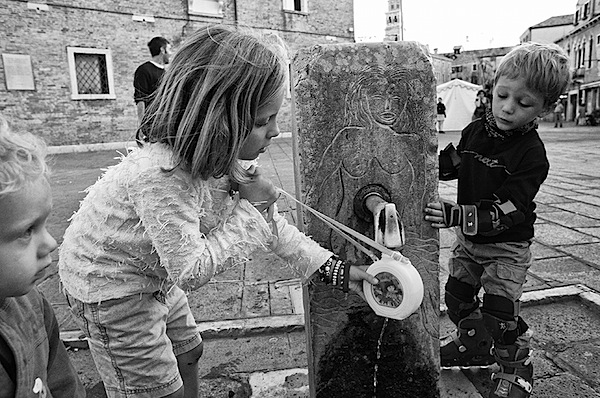
    thirst.jpg

    Imagine that you are a film director and that you are trying to make an interesting play. Who would you decide to play as your actors? What is your backdrop going to be. How are the actors going to be interacting with one another and the environment? What kind of emotion are you trying to convey—whimsical, curious, or gloomy? If a viewer looks at one of your photos, will they simply move on or will they take a minute or two and study your image, trying to figure out the intrinsic story? Does your image captivate the viewer and make them feel that they are a part of the scene? Ask yourself these questions the next time you are taking photos on the street.

    10. Just do it:

    together in the rain.jpg

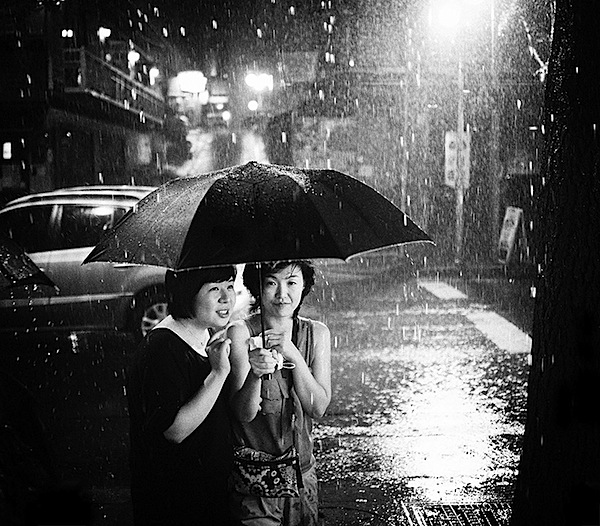
    This is the last but most quintessential point of all of becoming a street photographer. Reading all of these tips aren’t going to do you any good to become a street photographer. Photography is not done behind the computer screen, but on the streets with a camera in hand. Honestly when it comes down to it, all this obsession over cameras, lenses, and gear doesn’t matter. Grab your DSLR, point-and-shoot, iPhone, or whatever and hit the streets. The beauty of the world awaits you—don’t miss your chance.

  • What Mistakes do you Make most in your Photography?

    Over at the dPS Facebook page (please do connect with us there) earlier today I asked the following question:

    What mistake do you most commonly make or what problem do you most commonly come up against in your photography?

    The responses have been great so I thought I’d open it up for discussion here on the blog. Feel free to share your response here in comments below or over on Facebook.

    PS: I’m glad I’m not the only one with the problem of forgetting to switch a high ISO off when I’m taking a shot in low light.

    Post from: Digital Photography School – Photography Tips.

    dpsbook.png

    What Mistakes do you Make most in your Photography?


    Digital Photography School

  • How Would You Approach Photographing a Model?

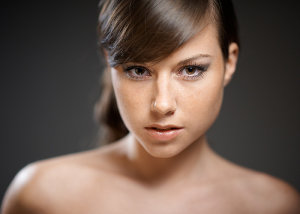
    Image by Paul Cox

    This question arrived in our inbox from a regular reader – Sammy – and I thought it might make an interesting community workshop where you, the readers of dPS, have a go at giving some good tips on how to approach the situation of working with a model for the first time.

    Dear dPS. I have long wanted to work in a studio environment with a professional model to test my portrait skills (my kids are completely sick of me posing them). So this week I booked a professional model to come and sit for me. When I booked her I was full of bravado – but now as the day approaches I’m completely losing it and am so nervous.

    I’ve been up front with her that this is my first time but don’t want to come off as a complete idiot – do you have any suggestions for working with a model for the first time? Perhaps some tips on how to make them at ease, posing tips and anything that won’t make me come across as a complete hack – or worse, a sleaze who is so desperate that he’ll pay for the company of a pretty girl (I promise I’m not)! Help!?!

    What advice do you have for Sammy with photographing a model for the first time?

    Post from: Digital Photography School – Photography Tips.

    dpsbook.png

    How Would You Approach Photographing a Model?


    Digital Photography School

  • 15 Must Have Photography Accessories Under $25*

    < 201008231308.jpgp>A Guest post by Kat Landreth from Pare and Focus. *All prices and estimates in USD.

    Photography can be an expensive hobby. Cameras cost a bundle and lenses for DSLRs often cost a lot more than the camera body. Once you come to grips with the money you spent on the bare necessities it can be daunting to think about spending another fortune on accessories.

    The good news is there are plenty of photography accessories that costs less than (US). I’ve put together 15 of my favorites, and they often cost a lot less than . But I don’t think of them as “cheap” or “budget” items. These are valuable tools I would want in my kit even if money was no object. The combination of value and low cost means they make great gifts too.

    1. White Foam Core At around this is probably the least expensive lighting equipment you’ll ever own. The white surface can be used to bounce light into shadows, softening hard contrasty light. Or, place it between your subject and the light source to cast shadows where you want them. You can even place it behind your subject for a clean distraction free background. Buy just one from a craft store for a few dollars, or get a pack of 5 boards on amazon.com for about .

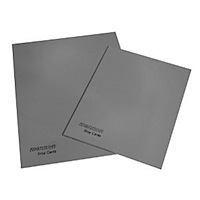
    31B1-WG8RcL._SL500_AA300_.jpg2. 18% Gray Card (AKA Medium Gray Card – Use your post processing time to get creative, not fixing basic exposure and white balance problems. A medium gray card helps you get it right “in camera” for just . An 18% gray card is designed to represent the average photographic scene by reflecting an average amount of light (18% give or take). Cameras are designed to reproduce average scenes, but not every scene in real life is average. Your camera can be fooled into under or over exposing pictures of very bright or very dark scenes. Using a gray card to set exposure will give you much more accurate results. You can also use an medium gray card to set a custom white balance for more consistent color in your photos.

    3. Spray Bottle The trick to shooting fresh and dewy spider webs, fruit, and flowers isn’t waking at the crack of dawn. It’s having a spray bottle handy. It might feel like “cheating” at first but when you see the results you won’t care anymore. You can’t argue with the price either. Fine mist spray bottles can be found for about one dollar.

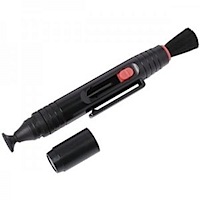
    31MnFMTtzqL._SL500_AA300_.jpg4. Lens Pen Leave the lens fluid and papers at home. The “pen” has a microfiber disk filled with dry lens cleaner on one end. The other end has a retractable brush. Dusting with the brush removes large particles of dust. Lightly rubbing the disk on your lens will remove smudges, fingerprints and spots. A half twist of the pen with the cap on cleans the disk. I swear by this thing. I bought one for a trip to dusty Africa and used it extensively. They’re easy to use, they work perfectly, and they’re pretty cheap (around ). I can’t believe I didn’t have one before.

    5. Cloth bag of rice/beans If you can’t or don’t want to carry a tripod around, having a bag of rice can be the next best thing. Use it to prop up your camera or rest your lens anywhere. Keep the cloth bag empty when traveling to save space and weight. When you get to your destination buy some rice or beans and fill it up. When you’re done, either eat the rice/beans, or give them to someone in need. You can buy dedicated “beanbags” filled with plastic pellets for exactly this purpose starting at about .

    6. Remote Shutter Release Make tack sharp photos and no fuss self portraits for around . A remote shutter release lets you take the picture without touching the camera. This reduces motion blur caused by camera shake. Since the cord is a couple of feet long, it can make taking self portraits a little easier too. If you spend some time on Amazon you may even find a wireless remote shutter release that gives you even greater flexibility in the same price range. The camera’s self-timer is a less flexible but free option.

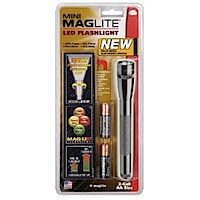
    51Yf6v+-cIL._SL500_AA300_.jpg7. LED Flash Light These things are multi tasking marvels. Experiment with light drawing and light painting at night. And while you’re out there in the dark, you can use it to see where you’re going. They’re not just for night photography though. LED lights can look pretty close to sunlight. If you’re shooting outside they can be an inexpensive stand in for an off camera flash. You can get a small LED Maglite for around .

    8. Nikon (or similar) Lens Caps I love my Canon, but they make the worst lens caps. Nikon caps are a lot easier to use. The pinchable area on the sides of the Nikon cap are at least twice as wide as the Canon caps. You can pinch from the center of a Nikon cap as well. This makes it easier to remove/replace the cap when a lens hood is in place. The easier it is to use the more likely I am to use it. The more I use the cap, the safer my lens is. They come in a variety of sizes (make sure you get the right size for your lens) and generally cost a few dollars.

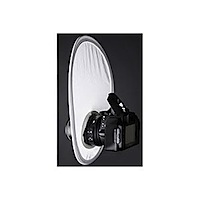
    21DcB4JfU-L._SL500_AA300_.jpg9. A Flash Diffuser (or Wax Paper) If you have to use the on-camera flash, you can at least soften its effects with a flash diffuser. These come in many styles but they all use a white translucent material to diffuse light. Want to try before you buy? Tape a ring of waxed paper around your pop up flash next time you use it. In principal this will do the same thing as a diffuser, though it’s not durable and certainly not professional looking. When you’re at home taking family snapshots it probably doesn’t matter if you look professional. But, fair warning, it might not be a good idea to let the bride catch you with wax paper on your camera at your next wedding gig.

    10. Filter Wrench If you have any screw on filters, one day, one of them will get stuck on your lens. It’s a sad but true fact of filter use. Filters often get stuck because the pressure from your fingers bends the filter a little when you try to unscrew them. Gripping harder to un-stick a stuck-on filter just makes it worse. A filter wrench distributes the pressure of your grip around the entire edge, gripping the filter tight without bending it. Get a filter wrench before you need one so you’re not tempted to force off a stuck-on filter and make it permanently stuck in the process. A set of two wrenches costs about .

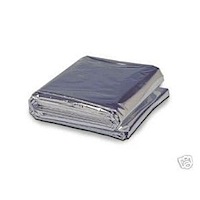
    21T+dJMsr+L._SL500_AA300_.jpg11. Reflective Emergency Blanket and/or Circular Reflector Both of these can be used to reflect light into shadows. The nice thing about the emergency blanket, aside from it being very cheap (a pack of four blankets costs a little over ), is that the mylar it’s made of is waterproof. Throw it over your gear in a sudden downpour, or toss it on the dewey ground when you need to get low. Circular reflectors can’t pull triple duty like the emergency blanket, but they can still be had for under and unlike the emergency blanket they can be held in place with one hand. Ideally, you would have both and at these prices that’s actually practical.

    12. Bulb Blower It’s important to blow off any large grains of sand and dirt before you wipe your camera or lens. You don’t want grains of sand to scratch your lens as you wipe it. A bulb blower delivers a powerful blast of clean air to blow away any dangerous particles. Skip the wimpy brush/blower combo they try to sell you in cleaning kits. The only thing they really do is shed bristled on your camera. Giottos makes a great bulb blower called the Rocket Blower for about .

    41wq8aCIw-L._AA300_.jpg
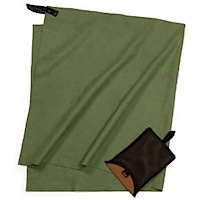
    13. Compact Backpacking Hand Towel This is a must have if you shoot outside. An absorbent lightweight backpacking towel can whisk drops of water away before they become a problem. It’s also nice just to give your gear a quick wipe down at the end of the day to prevent dust and grime from accumulating. Keeping dust and dirt off the outside of your camera may even help keep it from getting inside your camera when you change lenses. These towels take up very little room and they’re worth every penny of the they cost. *Note: I don’t use this for the front or rear element of the lens.

    14. A Flickr Account Use for archiving, getting feedback, showing off, and tracking your progress. A free account gets you 100MB of photo storage every calender month. For about a year you get unlimited uploads and storage space which is awesome if you want to archive your digital photos. I really like Flickr for the community (which you get access to wether you go pro or not). Photographers start “groups” to share photos and discussions with other, like minded photogs.

    Wether you want to ask questions, start a group or just have an online home for your photos Flickr’s got you covered.

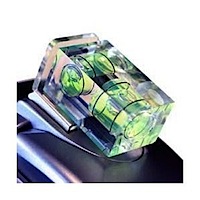
    31Uh34puYBL._SL500_AA300_.jpg15. Hot Shoe Mount Bubble Level Keep your horizons straight even when hand-holding. It’s just a small bubble level that slips into your camera’s hot shoe. Not having to constantly straighten and crop your photos could easily be worth the this bubble level costs.

    These make great gifts! Is there a budding photographer in your life? A gift basket stuffed with a lens pen, compact hand towel, and bulb blower is perfect for a traveler. Are they shooting family events and holidays? Lighting accessories like reflectors, diffusors, and white foam core really come in handy for portraiture. Just bought their first DSLR? A basket with an 18% gray card, filter wrench, and remote shutter release is better than any cheap “get started kit” sold at the camera store.

    I’m always looking for ways to do more with less. So, what are your favorite inexpensive photography accessories?

    About the Author: Kat Landreth runs a blog called Pare and Focus – it has simple, inexpensive tips to make digital photos look better. There are “in camera” tricks along side tutorials for the free image editor GIMP.

    Post from: Digital Photography School – Photography Tips.

    dpsbook.png

    15 Must Have Photography Accessories Under *


    Digital Photography School

  • Packing your Bags for a Photo Shoot

    You know I write everything from experience. No point in figuring things out and not passing on the info! So here is a list of simple things to remember (or in my case, forget) when packing up your bags for a photo shoot or wedding:

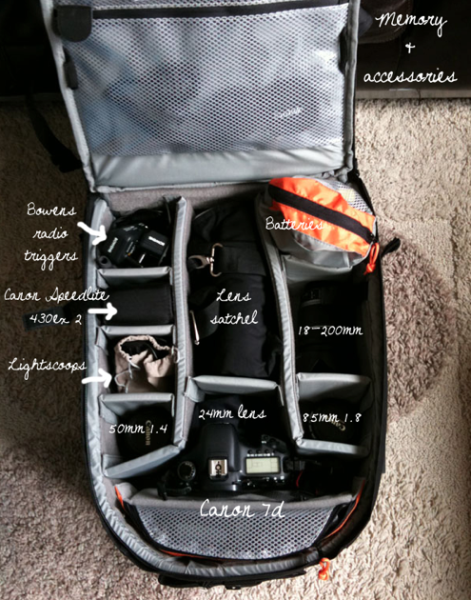
    • Choose your bag. I have a girly camera bag (from Jo Totes) and a big Lowepro Roller. I use them for different types of work. For example, I bring the roller fully packed with everything I need if I know I have an assistant to roll it around for me. It it’s just me or I know the weather is rainy (mud in the wheels!) I make sure to bring a bag I can wear on me.
    • Charge your batteries and pack the charger
    • Wipe and format the memory cards. Nothing more annoying than stopping a couple midway down the aisle so you can change your memory card and wait the 20 seconds for 8 gigs of last week’s photos to clear out.
    • Check that you have extra batteries for your flash and that you have them in a handy place for a quick change. If you’ve been using them for a while, it might be good to just change them before you head out so it doesn’t become an issue. On that note, ALWAYS make sure you trash used batteries. Even putting them in your pocket can be a no no because I assure you, you will forget if they’re old or fresh.
    • Make sure you’ve packed a lens cleaning cloth.
    • Business cards! Keep a little pile of cards in all your camera bags, handbags and put one or two in your pocket. If I notice that one of the bridesmaids has an engagement ring, I make sure to hand her a card and tell her to check the blog for her friend’s photos within a week.
    • A pen. Seems unimportant, but I find myself needing a pen at least once.
    • One of those little tiny folding umbrellas. But don’t put it back in your case once it’s gotten wet!
    • In all my camera bags, I keep a check list of these things so I can just quickly run through before heading out the door.

    Post from: Digital Photography School – Photography Tips.

    dpsbook.png

    Packing your Bags for a Photo Shoot


    Digital Photography School