Category: Uncategorized

  • Lower Saint Vrain Creek – Paddling and Evening Blue Hour Photography

    paddling St Vrain Creek

    I started my exploration of the lower St Vrain Creek in spring of 2004. I covered 7 miles of the river from highway 66 to the South Platte near Platteville. Most often, I launch at the Weld county road 19.5 just north of the Fort St. Vrain Power Station and a mile above the confluence. The best flow to paddle there is perhaps around 400 cfs, but there is still enough water to paddle at 100 cfs, especially, if you are just going downriver. You may encounter occasional log jam and one rocky and shallow spot near a high cliff before you reached the South Platte. There is a diversion dam with an easy portage about 1.5 mile above the county road 19.5.

    Paddling the St Vrain above the lowest 7 miles may be a little bit more problematic and challenging. A few years ago Mark Zen sent the following comments:

    big_thompson041105_8b My family and I have paddled the St Vrain from near Hygiene all the way to the confluence with the Platte. There are a few stretches you want to avoid – from 119 to Barbour Ponds (St Vrain State Park) We would take out at 119, and then put back in on the I-25 frontage road. You have to get back out near WCR 17, near a gravel quarry… We finally stopped doing that part of the river, due to the large number of portages, due to barbed wire across the river in many places. 8 portages??

    That is a similar reason we only paddle the Platte from Brighton to Ft Lupton, as some of the portages between Ft Lupton and Platteville are horrible. If there is enough water, the Adams County Fairgrounds all the way to Ft Lupton is a nice full day. There is one really bad portage near the dam on the Fairgrounds to Brighton piece. Just because you come around a blind corner.

    paddling St Vrain Creek

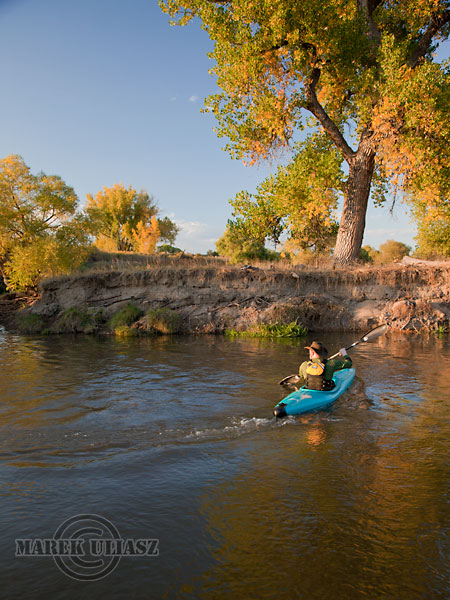
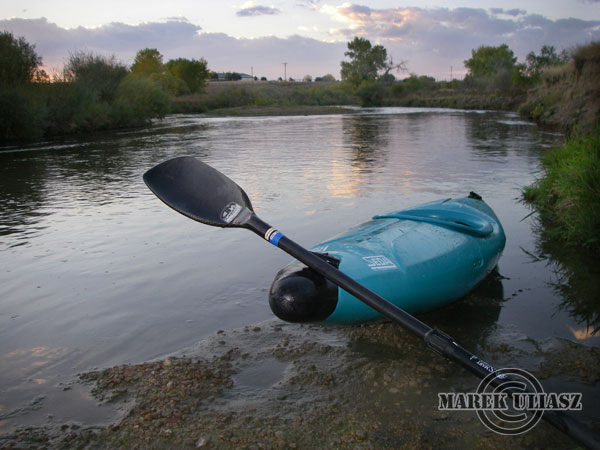
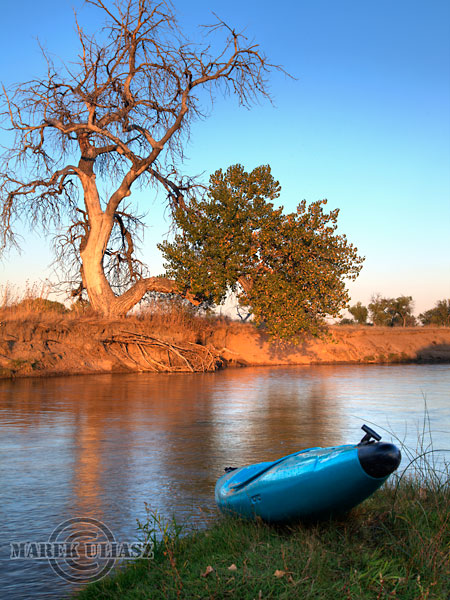
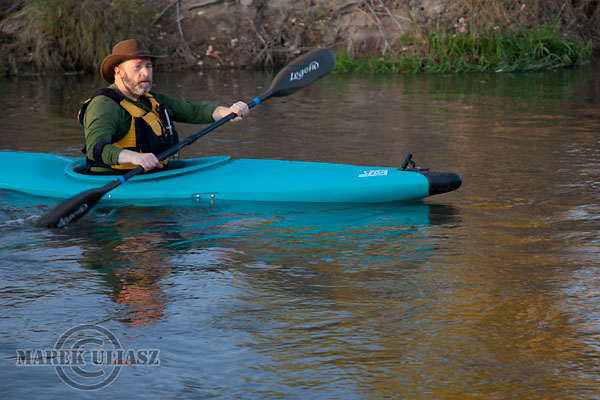
    Pictures in this post come from my recent early October paddling on the St Vrain Creek. I was testing my low water paddling rig: old Seda Cyclon whitewater kayak with an added fin and a heavy duty wildwater wing paddle. The kayak was tracking pretty well and I enjoyed upstream/downstream workout. I had enough room to pack a tripod and my Canon DSLR camera.

    paddling St Vrain Creek

    paddling St Vrain Creek

    The last two pictures are HDR (high dynamic range) images obtained by combining multiple frames shot with different exposure (4 frames above and 2 below) in Photomatix software.

    Evening Blue Hour

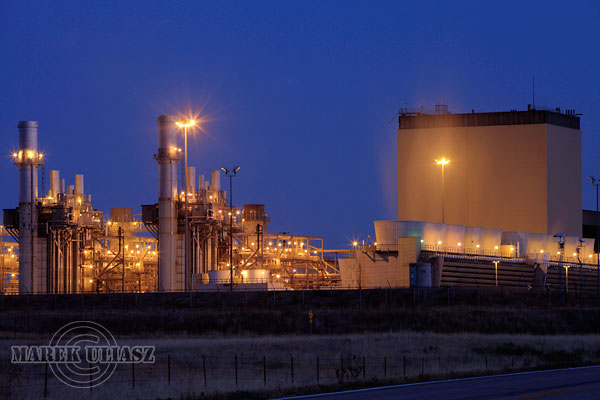
    Fort St. Vrain Power Station

    I finished my paddling at sunset and I was ready to shoot the nearby power station during evening blue hour. Evening Blue Hour refers to the period of twilight when there is neither full daylight nor complete darkness. It is the best time to photograph cityscape or industrial scenery with a lot of lights against the deep blue sky. The blue hour starts approximately 15 minutes after sunset and is lasting only 10 minutes, so it is really a short time window.

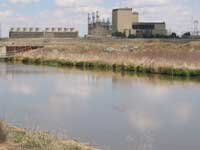
    Fort St. Vrain Power StationI see a few way to improve my picture of the power plant. Cold temperatures can add drama by making steam plumes from cooling towers visible. Some snow cover on the foreground wouldn’t hurt either. Finally, water reflections would be cool. The power plant is nicely visible from the diversion dam upstream (see a thumbnail of my 2004 picture). So, it looks like I have a plan for a winter night paddling …

    Fort St. Vrain Power Station was Colorado’s only Nuclear Power Plant and America’s only commercial High Temperature Gas Cooled reactor design. It was also the first commercial nuclear generating plant in the United States to be decommissioned. Currently, it operates combustion turbines burning natural gas.

    Related posts:
    Kayaking on Saint Vrain and South Platte Rivers near Platteville
    2009 South Platte River Marathon/
    South Platte River below Denver, Colorado – GPS/photo river guide


    paddling with a camera

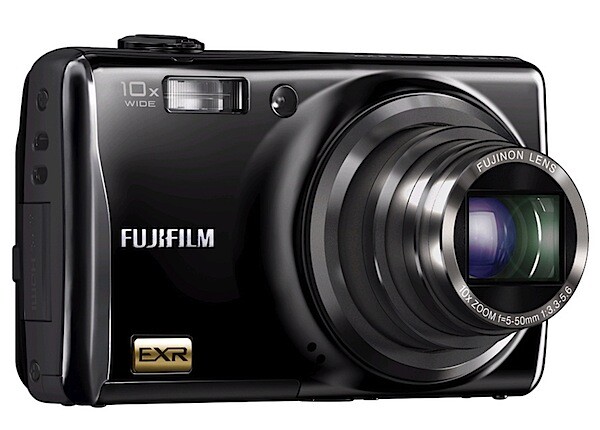
  • Fujifilm Finepix F80EXR [REVIEW]

    Digicams with 10x zooms seem to be driving the lower end of the market … and a good thing too, I say.

    F80EXR.jpg

    Available in black or silver, this little camera is deceptive, to say the least: built into a shiny, double coated lacquer finish, it is light, easily pocketable and thankfully dotted with only a few external controls. The top deck holds only the power button and zoom toggle, with the mode dial directly beneath; the viewfinder is mercifully brief.

    Features

    The CCD is larger than most, leading to hopes of reduced noise and improved image quality. Capturing 12 megapixels, the maximum image size is 40003000 pixels, leading to a final print size of 34×25cm. Movies: not as good as some cameras, the max res is only 1280×720 pixels at 30 fps.

    I’m not sure about the claimed contribution of Fujifilm’s EXR setting on the mode dial: in varying light levels, the camera will switch between High Resolution (HR), Wide Dynamic Range (DR) and then to High Sensitivity and Low Noise (SN) mode. In the right hands it could possibly be a big help … but as I said, I’m yet to be convinced.

    The mode dial also allows for auto, Program AE, manual exposure (direct control over aperture and shutter speed), scene position (a range of scene modes) and settings for two types of natural light (minus flash and a two exposure routine with/without flash). The whole scheme appears to be an attempt to deliver DSLR expertise without its complexity.

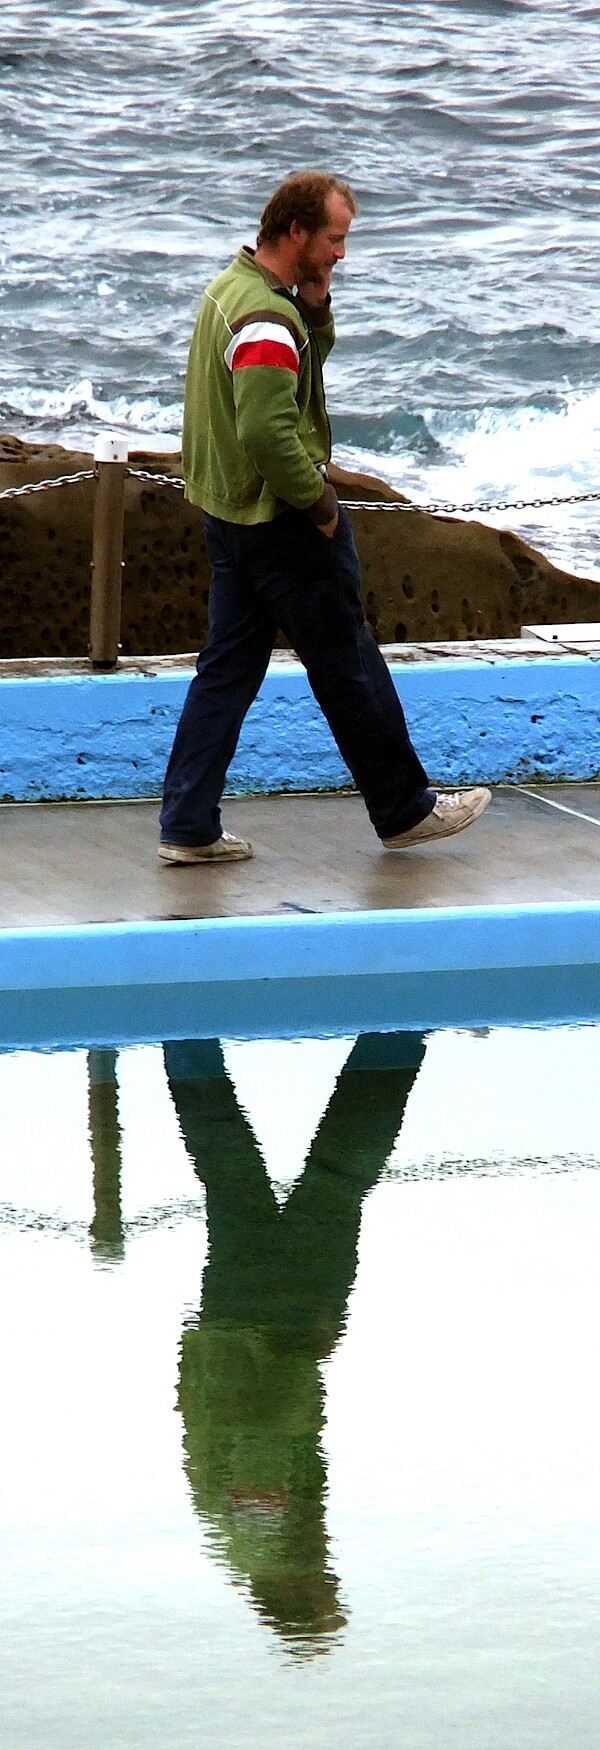
    Man and pool reflection 2.JPG

    Image stabilisation is delivered by a twin scheme: a mechanically stabilised CCD sensor and a juggling of ISO settings to provide faster shutter speeds.

    More: face Recognition technology for up to eight faces; a world first Pet Detection function that recognises up to 10 faces of cats or dogs. But be warned, it will not capture an animal profile!

    Fujifilm has always offered a series of film simulation modes; while I’m not sure of the benefits of knowing you’re shooting with a mythical roll of Velvia or Provia film were loaded, I guess some people will warm to it. But, for good measure, at least you can shoot sepia or B&W shots too.

    Startup Time

    I could shoot my first shot about four seconds after start; follow-on shots came in at about a second each.

    ISO Settings

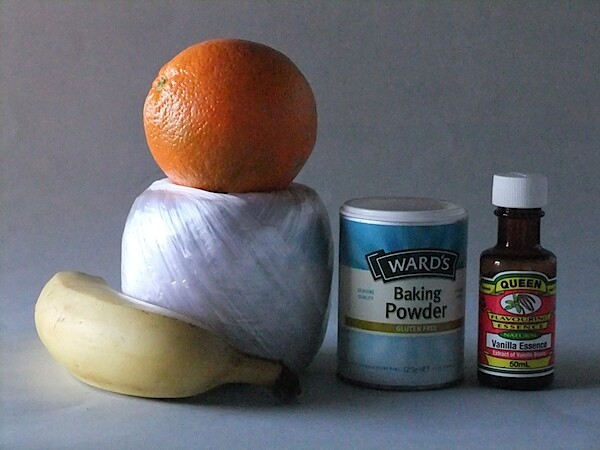
    Fujifilm FinePix F80EXR ISO 400 f5.3 1:30 sec.JPG

    At ISO 400 the camera showed excellent resolution, accurate colour and little sign of image noise.

    Fujifilm FinePix F80EXR ISO 800 f5.3 1:60 sec.JPG

    ISO 800 showed little change in any department.

    Fujifilm FinePix F80EXR ISO 1600 f5.3 1:125 sec.JPG

    At ISO 1600 we see a rapid drop in resolution and a jump in noise. Not a pretty picture!

    Distortion

    Fujinon are recognised as makers of fine lenses for the broadcast industry so it should come as no surprise to find the F80EXR’s optic exhibited no distortion at either end of the zoom. A fine performance.

    Comment

    For me, the F80EXR is a handy little camera and would act as a super companion to a well-fitted out DSLR. If you can buy it at the right price, the 10x zoom and large CCD would be attractive.

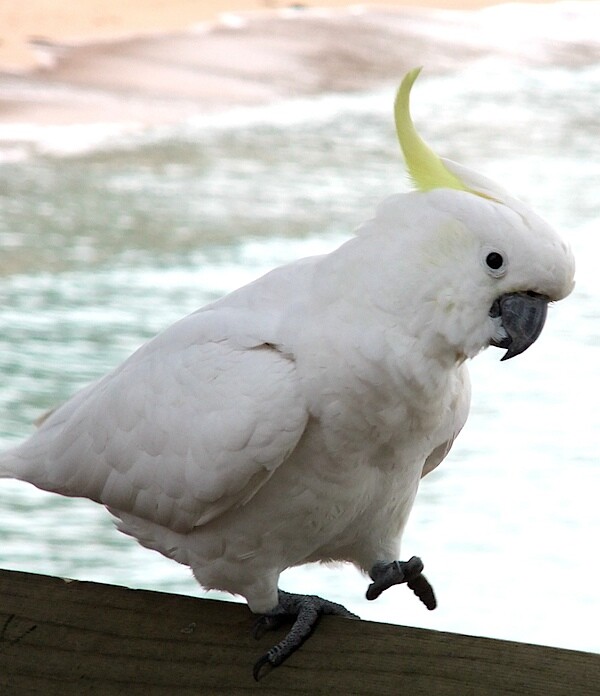
    Cockatoo 4.JPG

    Quality: excellent quality and I recommend shooting at ISO 400, especially if you’re using the zoom’s long end.
    Why you would buy it: a pocketable 10x is in your wish list.
    Why you won’t: you want better high ISO quality.

    Fujifilm Finepix F80EXR Specs

    Image Sensor: 10.2 million effective pixels.
    Metering: Multi zone.
    Sensor Size: 12.7mm CCD EXR.
    Lens: Fujinon f3.3-5.6/5-50mm (27-270mm as 35 SLR equivalent).
    Shutter Speed: 8 to 1/2000 second.
    Memory: SD/SDHC cards plus 40MB internal memory.
    Image Sizes (pixels): 4000×3000, 4000×2664, 4000×2248, 2816×1864, 2816×1864, 2816×1584, 2048×1536, 2048×1360, 1920×1080. Movies: 1280×720, 640×480 at 30 fps.
    Rear LCD Screen: 7.6cm LCD (230,000 pixels).
    File Formats: JPEG, Motion JPEG.
    ISO Sensitivity: Auto, 100 to 12,800.
    Interface: USB 2.0, AV, HDMI, DC.
    Power: Rechargeable lithium battery, DC input.
    Dimensions: 99×59×28 WHDmm.
    Weight: 183 g (without batteries and card).
    Price: Get a Price on the Fujifilm FinePix F80EXR at Amazon (currently 17% off).

    Post from: Digital Photography School


    Digital Photography School

  • Shoot the Bloggers: David Tejada

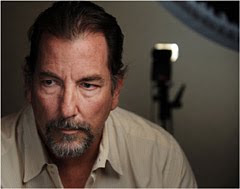
    While in Denver late this summer I got to hang out with David Tejada, a corporate photographer from the area and frequent blogger/teacher. (Dave needs no introduction for long-time readers of this site.)

    So I couldn’t pass up shooting him — and using his own cool DIY beauty dish to do so.
    __________

    Dave was kind enough to hang out with us at a Denver lighting class, so I did not want to waste the opportunity to shoot him while he was there. Being a fellow small-flash guy, it seemed appropriate to include some of the lighting in the frame.

    The key light is Dave’s own very nifty DIY dish, which you can learn how to make here. (Seriously — a CD spindle cover and a car mirror extender? Very MacGuyver.)

    Dave’s version is designed to perfectly fit an SB-800, but you could alter it to fit just about any speedlight. It is a really nice mod for close-in headshots — especially when you consider that it started out its life as a salad bowl.

    There is no ambient contribution to the photo. The detail in the shadows in from an Orbis, my go-to fill light, at about 2 1/2 stops down. This also gives the catchlight as the dish is at too high of an angle. The background is lit by the domed SB-800 seen in the back.
    __________

    I am kinda jealous of Dave right now, as he is gonna be visiting some of the coolest cities in Europe next year with a small-class hands-on lighting workshop.

    Well, I am jealous until I see his schedule anyway — 12 cities in 23 days. And especially considering the cities. Wait’ll Dave realizes he has only an hour or two to enjoy the Cours Mirabeau in Aix, which may well be the most beautiful street in the world.

    He’s gonna be pissed.

    My guess is, when he is done he will plan some time to go back for a proper visit.


    Strobist

  • How to: Track Ambient Automatically While Using Manual Flash

    Here’s a cool tip that some of you might not know about. If you are using manual flash (for consistency) you can still work in a quasi-auto mode in an environment where the ambient light level may be moving around on you.

    It works great for using manual flash against fast-dropping light after sunset, for instance. And you can control the flash and ambient very easily from your camera.
    __________

    First off: As always with manual flash, you’ll need to keep the flash-to-subject distance consistent. This either means shooting a relatively static set, or having an assistant track the subject with your flash.

    Use Aperture Priority

    In this mode, your aperture stays wherever you set it, and that means that your manual flash exposure will also remain constant. The shutter speed varies according to the ambient light. So it will track automatically.

    This also gives you a neat control function over both flash and ambient exposures.

    Let’s say that your flash is putting an exposure value of f/5.6 on your subject, and the ambient (say, for the sky in the background) is f/5.6 at 1/60th of a second.

    By setting the camera on AV f/5.6, it is going to choose a shutter speed at or very near 1/60th, which is just want you want. If you want to vary the sky value, simply do this with the exposure compensation dial. Your sky will track at your preferred lighting ratio — even as the ambient light drops down after the sunset.

    If you need to alter the exposure on your subject, simply adjust your aperture. Going to f/5.6 1/2 would drop the exposure on your (manually flashed) subject by half a stop. Going to f/4 1/2 would brighten them up. You get the idea.

    And all the while, the relative brightness of the ambient background would track at whatever ratio you previously chose. Which is pretty sweet when your ambient is dropping by the second as dusk turns to dark. Because that is when the color of the light can get really interesting (and fast moving) and you do not want to be wasting time getting exposure readings off the sky.

    And all the while you are keeping full control of your flash exposure, which is absolutely consistent.


    Strobist

  • On Assignment: Radio Silence


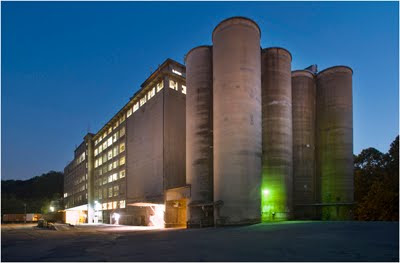
    Last Friday I went out just before sunset to set up and shoot a lit photo of the Wilkins-Rogers flour mill in Ellicott City, MD. It’s a behemoth of a building (at least by our local industrial standards) and I was shooting a exterior for their new website.

    My plan was to sculpt the building on the rear 45’s with flash. And to balance everything (flash, ambient dusk and interior lighting) for a cool, mixed image. At least that was the plan going in.

    Instead, this post is about what happens when things head south quickly.
    __________

    A Brief Window

    To appreciate the events that led up to my walking around the parking lot of this mill cursing like a sailor, it helps to understand just how tight the window is to make a three-variable photo. So let’s run that down first.

    There are three light sources in a flash-lit, dusk shot of an interior-lit building. You have the flash, which is constant and controlled by the aperture (of, of course, ISO/power level/distance.) You have the inside ambient, which is constant and at a fairly low level. And you have the outside ambient which will be dropping — and very quickly — by the time all three come together.

    Here’s how the three-way dance works. First, you choose an ISO/aperture combo that you can hit with your flash. Since my flashes (Profoto B600s) were to be ~100-300 feet away from the surfaces they were lighting, I went with ISO 800 at f/4. That ISO looks great on a D3, and combined with f/4 it gives me lots of range on the flash.

    Once you have the ISO and f/stop, you’ll need a shutter speed that gives you your (constant) interior lights the way you want them. And that is your exposure setting. You shoot at that setting as the fast-declining sky / outdoor ambient passes through that exposure range and go with the best shot during the crossover.

    It is not like shooting flash / sunset ambient mix, where you can shoot at a constant aperture and walk the shutter down to compensate for the sky. (More detailed post on that here.) Your exposure is determined by both the flash and the constant ambient level of the interior lights. And your post-sunset light is dropping fast. So the whole thing only works for a few minutes as they all come together.

    You can start testing your flash as soon as the ambient light level hits the target ISO and aperture at a speed at which you can sync. Here is a building flash test (from the position of the first strobe) at ISO 800, f/4, 1/125th of a sec. This is telling me that I can easily paint the building with flash. And now I have a few minutes to adjust my second light before the ambient drops to a shutter speed in the multi-second range at which I will balance all three.


    This was a welcome sight. I could evenly paint my end of the building at half power. I was good to go. I put a PocketWizard on the pack and started to walk to my shooting position, about 300 feet away. You can guess what happened next.

    I tried a test pop at the shooting position to get the look of the subtle back/rim light I was creating.

    Nothing.

    I tried, repeatedly. Nothing. No pops. Fresh batts. Nothing. Swap PWs. Nothing. Curse a little. Nothing.

    So I walked back towards the flash and the PW would not sync until I got about 50 feet from the flash. Even swapping out everything, I could not get the PW to best that 50 foot range.

    This is not normal for a PW +II, by a long shot. They routinely give me lots more range than that. But that is the thing about radio. Every now and then the Radio Gods are going to look down at you and press the “smite” button. And tonight, they had the button pushed down and on repeat.

    At this point I was walking around, muttering the same phrase to myself, more and more loudly. Suffice to say I sounded a lot like Sawyer from Lost [NSFW-audio].

    Do as I Say, Not as I Do

    Radio is a fickle lady. And occasionally it will get completely borked on you with no explanation whatsoever. I have learned to hedge my bets for really long-range remote syncing with multiple receivers and piggy-backed slaves. (Here is an example of both being used at extreme range.)

    And in this case I could have easily mounted an SB-800 on camera and stuck another SB set to optically slave near the Profotos. The SU-4’d SB-800s are way more sensitive than the slaves in the Profotos (and most other slaves, truth be told.) But I only had one ‘800 with me, and even in the dark it would not trigger the Profoto slave at ~300 feet.

    You’d think I would know to just keep a few extra ‘800s with me. Lord knows I use them enough. But they were at home in the gear closet. (Why would I bring speedlights to shoot a humongous building, amirite?)

    Indeed.

    Or, I could have bridged the PW receivers closer with a thick, 100-foot mini-to-mini sync cord (or a mini-extension cord) which I bought from Monoprice for under . That was sitting on the shelf in the gear closet about two feet from the SB-800s.

    Or, I could have had an assistant at the Profoto pack and had him/her press the test pop button some time within the ~8-second final exposure. (No assistant tonight.)

    In short, lots of easy but unavailable solutions. And since I had never been bitten before in this particular way, I was unprepared. And the clock was running fast. So I dropped back and punted.

    Light it Later

    At the last moment I decided to shoot it available light, with what can best be described as a poor man’s selective HDR. I shoot on RAW, which gives me the ability to alter the exposure after the fact. And in doing that, you can blend multiple exposures into one frame.


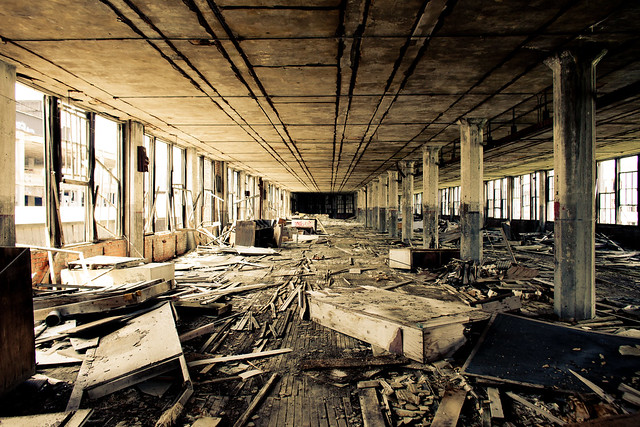
    Here’s a straight .jpg (top) from the RAW shot as it came out of the camera, and my final image below. The top exposure was chosen to balance the building and the sky as best I could when the interior lights were glowing. And combining multiple versions of a photo shot in RAW is way easier than you might think if you have never done it before.

    I bring the RAW image into Adobe Camera Raw and open it up to a brighter exposure before bringing it into Photoshop. Then, I bring in a darker version (say, for a better sky) and cut-and-paste it on top of the lighter version.

    You now have two layers — dark on top and lighter underneath. With your eraser brush set to a low opacity (I like ~20%) you can slowly and selectively erase the darker building on top to the lighter version below. You can sculpt it almost as if you were lighting it. But you can only work two-dimensionally, which is never really as good as lighting.

    Bear in mind that the straight .jpg up top of the duo is the compromise exposure. The imported dark version is darker and the light version is lighter. And going through a few rounds of this import-and-selective-erase process allows me to build a subtly toned exposure that is close to what I want — even without the flashes.

    A Little Perspective

    Because of the subject’s size and my shooting position, I had to shoot the building with my 18mm lens. Which is not great as far as barrel distortion goes. I got it as close as I could with the lens-distort filter.

    Ditto the after-the-fact shift applied, too. Not perfect (the view camera folks will certainly look down their noses at it) but fine in this instance for how the photo will be used. I am strongly considering getting a 24mm tilt/shift lens, which is much straighter on the barrel distortion, too.
    __________

    For the record, I decided to throw this near train wreck out into the open to make three points:

    1. I am not a purist when it comes to flash. Or anything, for that matter. Back me into a corner and I will bite, kick, throw sand — whatever I can do.

    2. Things do not always go well for me. Nor will they always go well for you. See #1 above.

    3. Be willing to drop back and punt. Even after multiple setbacks, you can often salvage a situation.

    I am going back to shoot the interiors soon, and I am really excited about that. I love having a job that gives me the privilege of access to interesting people and places. Especially smaller, interior places where radios work great.

    AndI fully expect that shoot to go off as planned. Or a lot closer than this one did, anyway.


    Strobist
  • Tweetography: how (and why) to improve your photography skills via Twitter.

    Twitter seems to be taking over the world (and by “seems to be,” I’m sure I mean, “totally already has”) and the realm of photography is no exception. My husband calls twitter “the stupid that stuck,” and I’m utterly amazed that something so remarkably stupid could be so perfectly AMAZING on every count.  I wish every day that I invented it. Unfortunately, I’m too smart to come up with something so stupid (read: awesome beyond all reason).



    Here are 5 reasons/ways to jump on the stupid wagon (of all awesomeness) and use twitter to increase your photography knowledge:

    1. Twitter: the mirco-forum

    Interesting twitter discussions can be reminiscent of a casual (and perhaps more easily accessible) online forum. Create a twitter buzz in your online photography forums of choice by dropping your twitter name in forum discussions (don’t be obnoxious) and by inviting others to do the same.  Cross follow, and then you can take the formality of a forum (or flickr) over to the self appointed micro forum that is twitter!

    You’ll quickly find yourself led to other budding tweetographers and you’ll soon find yourself learning and SHARING information like it’s going out of style!  Give, give, give. Share, share, share and you’ll find that others will quickly join in kind.

    It’s easy to get people to join in, or expand the breadth of, discussions via twitter (and a side benefit of this is the extra followers you’ll gain through all the @replies!).

    2. Twitter: the microjournal

    Twitter is also a wonderful way to track your progress.

    Tweet pictures and ask your followers for constructive critiques on them. 

    Also, link to articles you’re reading (or better yet, have written).

    Use a service like backupmytweets.com to protect your tweets and then refer back to them to see how far you’ve come!

    3. The Tweetup

    Network with other local photographers.  Find one online, and you’ll soon be led to more.

    Organize tweetups where you and other local tweetographers can organize shoots or simply go out for drinks together and talk shop.

    Side note: Local twitter friends are worth their weight in gold.  Aside from becoming dear, dear friends, mine have more than once bailed me out of a gear related bind, or provided last minute assistance on a complicated shoot.

    4. Twitter: the professional network

    Follow professional tweetographers (again, find one and you’ll quickly be led to more).

    The professional realm is in large part a tight knit community, and many photographers share tips and tricks (their own and eachother’s) via twitter.  Even more link to interesting industry articles, giveaways, how to’s and etc. There is an abundant wealth of knowledge for the novice or budding pro.  It’s also a great way (probably THE BEST resource of all) to learn about upcoming photography workshops in your area.

    Don’t be afraid to ask questions about your craft using @ replies.  You won’t always get a response, but often times you will!

    5. Live and die by the retweet

    Though this post is not a discussion on the art of drumming up followers on twitter, I will say this:

    Retweet pertinent information and tweet information that is retweetable.  Become best friends with tinyurl.com and share useful information. Because it makes you cool.  And because it drums up your following (read: educational network).

    For more information on increasing your twitter following, there are excellent articles on the web including this one by Kevin Rose for Tech Smart.

    If you found this article useful, you can follow me on twitter at twitter.com/natalienorton and of course Digital Photography School at twitter.com/digitalps.

    Happy Tweeting!

    Post from: Digital Photography School


    Digital Photography School

  • Shoot & Burn Vs Printing

    Things you need to consider carefully before you give away your images on disc

    Images and words By Gemma Carr

     Shoot & Burn Vs Printing 1Not so long ago to be a photographer meant that you had to invest in an expensive camera AND load that camera with film. Nowadays, with digital format, a photographer can do away with the expense of film and shoot to his or her heart’s content without the worry about the cost of film.
    Whilst there are countless benefits to shooting digital – hence why we are all here now in this digital environment – there are also some new “pickles” to deal with.

    The main “pickle” (I like that word) that I want to address today is that of releasing your digital negatives on disc Vs supply your clients with prints.

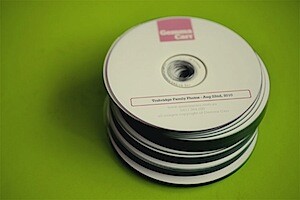
    Giving your images away on disc is what’s known in the industry as “Shoot & Burn”, effectively reducing the handling of print orders and giving the client access to all the images contained on the disc. This can seem like a great idea to save you time and it’s always very appealing to the client, lets face it, who wouldn’t want their images on disc? However, if not negotiated right, passing along a disc of images can lead to passing along of print profits, print quality control and the potential misrepresentation of you as a photographer.

    For example, have you noticed the variation of print and paper qualities between the labs you use? Chances are your clients, with disc in hand will find the most convenient and cost effective method of printing, rather than sourcing the best quality print option. By giving away images only on a disc, you never know if or how they will be printed and presented. Is this something you are comfortable with?

    After all, it’s your reputation and future business that’s at stake if the print option they choose isn’t up to your won exact standards.

     Shoot & Burn Vs Printing 2

    And what’s significant about a high quality printed photograph is also what sets is apart form an electronic image. As a photographer, the images you create are shared in many forms via email, facebook, slideshows etc. With so many electronic photo sharing options available, it’s easy to over look the importance of the printed image. Looking at an image on a screen is fantastic, but there’s nothing quite like the personal, tactile feeling of holding a print in your hand, turning the pages of an album, bringing a print closer to see the details. Even the scent of the photo paper can transport you. This is the power of the printed photograph and it would be so sad to overlook this significance.

    The main risks of only supplying digital negatives on disc:

    • Loss of quality control
    • Loss of potential income (in print sales)
    • People will come to expect it of you

    The benefits of retaining the digital negatives:

    • 100% quality control of prints, you know how your prints are being displayed (which should lead to more work).
    • Clients return back to you time and again for prints, keeping you fresh in their minds.
    • Ensures clients spend a set amount for your services.
    • Maintains your value as a photographer and your skills.

    The reality is that nowadays, clients will demand a disc or take their business elsewhere. There surely must be a compromise?

    The good news, yes there is!

     Shoot & Burn Vs Printing 3

    Here are some methods many professional photographers use:

    Printed Proofs – provide your clients with a physical set of proofs to select their favorites from.

    Minimum Spend – Release images on disc ONLY when clients meet a certain spend threshold. This could be bundles with a print or album package. This is a very effective way to bundle your print/disc combo. (I use this sales tool)

    Low Resolution Disc – Provide proofs on a disc in LOW RESOLUTION only, this way the selected shots will still be printed by you, to your quality standards.

    Online Gallery – this will allow your clients to view and share their photos on a computer, which is always handy. Yet to actually obtain any prints, clients will need to order via the online gallery. This also alleviates the expense of printing proofs.

    Watermark – protect your digital files with a copyright watermark, again clients will need to come back to you for prints.

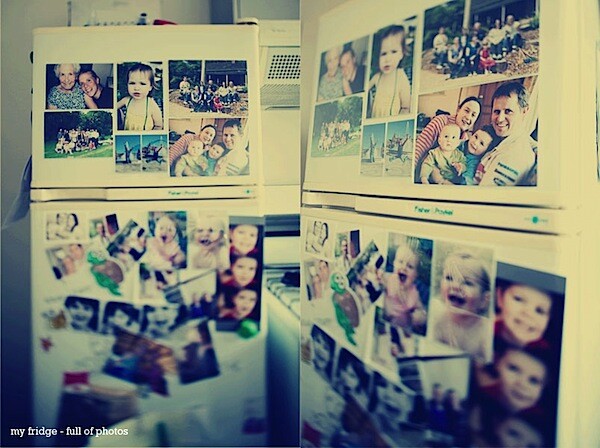
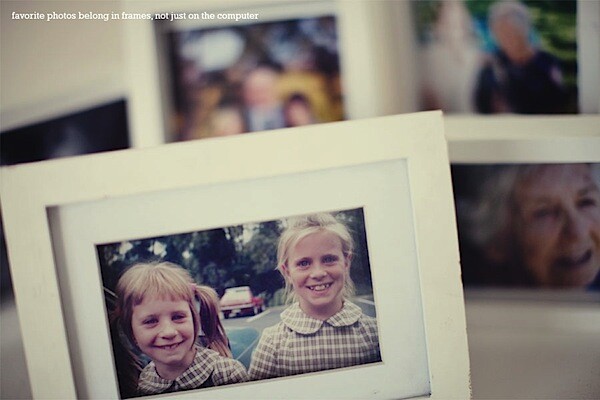
    So as we all try to find our best practices for this digital life, I hope that along with the gazillion files on your hard drives, you also have some favorite shots printed out and framed, stuck to the fridge and lining your office walls.

    I hope your clients have your images proudly displayed on their walls, printed and presented to your exact quality standards, with some watermarked images on their facebook as well.

    Let’s leave the pickles for tasty sandwiches.

    How about you? Have you got any suggestions or ideas to share on this topic?

    Gemma Carr is a Freelance Photographer from Melbourne. See more from her at her site GemmaCarr.com.au. Follow her on Twitter at @GemTweetAlot. This post was previously published in the members area of ACMP.

    Post from: Digital Photography School


    Digital Photography School