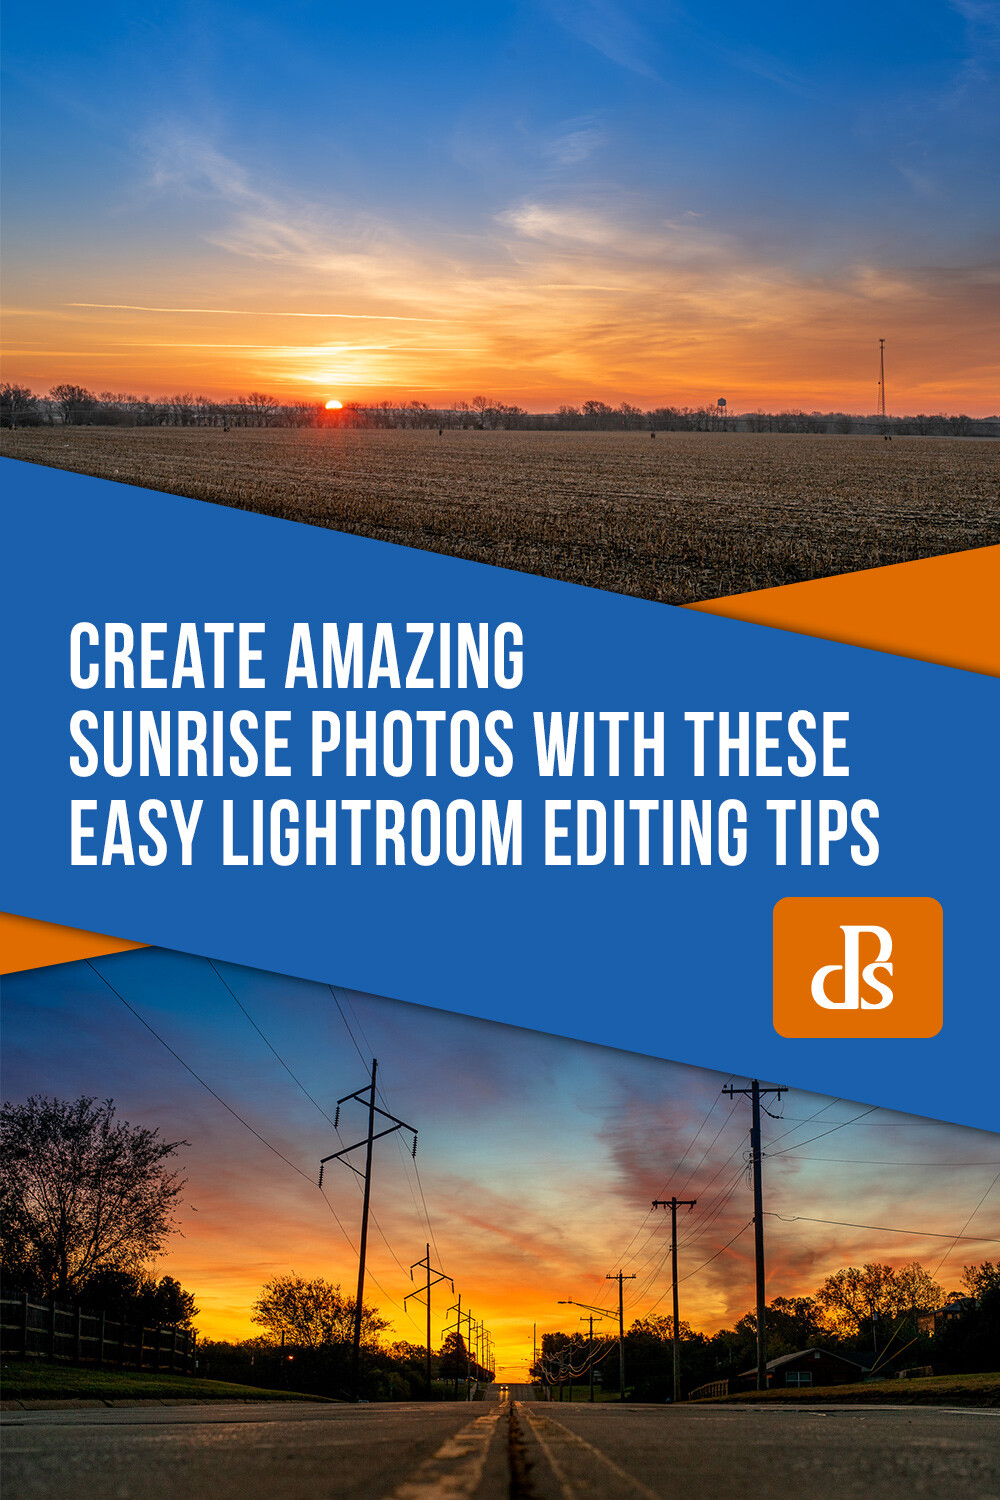
The post The Absolute Beginners Guide to Camera Settings appeared first on Digital Photography School. It was authored by Mat Coker.

When you bought your fancy camera with all its buttons and dials, you began a journey that few can endure.
Most people who buy a DSLR, never figure out how to use it. But the fact that you’re reading an article like this means that you’re determined to learn.
One of the most difficult phases of photography you’ll pass through is figuring out how your camera works. But once you understand even a little bit, the world of photography opens its doors to you.
If you’re new to photography, then this Absolute Beginners Guide to Camera Settings is for you.

The Olympus Tough TG-6 comes with auto mode, more than a dozen scene modes, as well as aperture mode (one of the most used settings by photographers). This photo was taken by a child using a DSLR in auto mode.
Photographs are made with light
Buying paint and canvas does not guarantee that you will produce a nice painting, nor does buying a camera guarantee a good photo.
Your camera is a complicated piece of technology designed to capture the moment you see with your eye and make a picture. However, the main ingredient it uses is not ink or paint but light.
A poor photograph may be due to a lack of creativity. But many creative photos are ruined due to a wrong combination of camera settings used to make a picture. The most important camera settings are about what the camera does as it makes a picture out of light.

Small steps
Sure, cameras differ in their capability and quality, but it’s not really the camera that is ultimately responsible for how the photo turns out. You must have control over the camera to make it do what you want it to.
Every time you snap a picture, you need to make some decisions that are affected by camera settings:
- Do I want my background to be in focus or not?
- Should I freeze the action or capture motion blur?
- Do I want my photo to be warm or cool-looking?
- Is it best to capture a series of shots in burst mode or just one photo at a time?
These decisions, and many more, are represented by “camera settings.” You select certain settings so that the camera knows what to do when it takes a picture.
There are many settings and I want to walk you through some of the most important.
The best way to learn something is by taking small steps. Learn one step, and don’t move on until you understand it. Bookmark this and other articles so that you can come back to them as you grow in your understanding.

This was my attempt to capture my son’s first steps with an advanced camera that I didn’t know how to use.
Auto mode
Let’s begin in Auto mode. Look for the dial on the top of your camera. You’ll either see the word auto or perhaps just a green box or icon.

What does Auto mode do? It means that your camera will make all the decisions for you and choose all the settings. All you have to do is take the picture!
When you put your camera in Auto mode, you’re basically saying, “I don’t know how to work this thing!” There is no shame in not understanding how your camera works. If you are determined, you will learn over time.
It is possible to take nice photos in Auto mode. Part of the reason that auto mode can work so well is that it frees your mind from the technical aspects of photography that you don’t understand yet. Auto mode allows you to focus on the creative elements and use of light that you’re more likely drawn to.

Auto mode exercise
Go ahead and put your camera in Auto mode. Get out into the world and take lots of pictures. As you sort through your photos, make a list of the problems you run into. It’s easier to learn photography and grow when you’ve got specific problems that you can ask questions about.
Problems with Auto mode
You’re going to run into lots of problems in Auto mode, but how come? Shouldn’t your camera be smart enough to take a great picture on its own?
First, your camera has no idea what it’s looking at. So, it doesn’t know what you’re taking a picture of and it doesn’t know what you want the picture to look like.
All it’s trying to do is take a picture with the right exposure. Exposure refers to how bright or dark your photo is and it’s all the camera really cares about in auto mode.
You may see an inspiring scene in front of you, but the camera doesn’t. All it’s trying to do is expose your photo properly, and even that doesn’t work well many times.

Common problems in Auto mode include motion blur.

Overexposed highlights are another major problem in Auto mode.
Over time, you’ll have a pretty good idea of what you wish you could make your camera do. You’ll say, “I wish I could tell my camera to…”
The good news is, there is actually a way to tell your camera what you’re taking a picture of and how you wish it would look.
How to tell your camera what you’re taking a picture of
If you tell your camera what you’re taking a picture of, you’ll increase the odds of getting a better photo.
The way to tell your camera what you’re taking a picture of is to use the scene mode option on your camera. Scene mode covers the most popular photography situations such as landscape, portrait, close-up, sports, etc.


When you select the appropriate scene, you’re telling your camera what you’re photographing. Your camera will choose a combination of settings that are best suited to that situation. It’s going to choose roughly the same settings that an experienced photographer would use.

You can use Sports mode when photographing quick moving kids, or when you’re photographing any action. There will still be imperfections in your photos, but you’re more likely to freeze the action.

Freeze quick-moving subjects with Sports mode.

Portrait mode will help your camera achieve an out-of-focus background. That background blur is referred to as bokeh.

Landscape mode will favor a greater depth of field in your photo. This will keep more of the foreground, midground, and background in focus. It tends to make colors more vibrant too.
Your camera will have all sorts of scene modes to explore. Consider the situation you’re in and see if your camera has a scene mode to help you out.
But still, your photos might not turn out great. Why? Because ultimately your camera is most obsessed with making your photo bright enough. And you might be pointing it at a scene that is really hard for the camera to capture properly.
Light and creativity
When you put your camera on Auto mode, it has to balance three main settings in order to make a picture out of light.
The three settings are ISO, aperture, and shutter speed. Each of these three settings contributes to the overall brightness or exposure of your photo. But aperture and shutter speed have creative effects as well.
Aperture contributes toward brightening or darkening your photo, but will also help make your background out of focus, or keep it in focus.
Shutter speed contributes toward brightening or darkening your photo, but will also help freeze the action or make your photo blurry.
ISO contributes toward brightening or darkening your photo but doesn’t really have its own creative effect.
I’ll show you how to begin taking control of aperture, shutter speed, and ISO settings so that you can get a predictably good photo. I mean a photo that is bright enough without being too bright, a photo where the action is captured as you wish and the background is in or out of focus as you desire.
A little more like the photo on the right than the photo on the left!

Make one decision
The good news is, you can take some control of your camera without the burden of having to take full control. You can take control over one of the three main settings that are part of the exposure triangle. But how do you choose which one?
You can make this decision by asking yourself what’s more important; freezing the action, or blurring the background?
If you’re taking pictures of birds, sports, or other quick-moving subjects, you’re likely most concerned with freezing the action. If you’re taking a portrait, you’re most likely concerned with an out-of-focus background or, bokeh.
In order to achieve an out-of-focus background, we’ll begin with a setting called aperture.
Aperture Mode
If you’re most concerned with whether or not your background is in focus, choose Aperture mode (also known as Aperture Priority).
- For Nikon and most other cameras, turn your dial to A.
- For Canon, turn it to Av.
- If you’re using a Fuji, you control the aperture with a ring on the lens.

When you put your camera on Aperture mode, you’re telling your camera that you want to control the aperture but you want the camera to control the shutter speed and ISO.
You use aperture to control whether or not your background is in focus, but what exactly is aperture?
To understand aperture, think about your kitchen sink. Picture turning the tap on full-blast. The water will come rushing out of the tap. But you could also turn the tap on gently so that there is a slow trickle of water.
That’s what aperture is, except with light.
Open your aperture up and get a strong flow of light coming through your lens. Close the aperture, and you’ll only have a trickle of light.
The creative effect of aperture
Open up your aperture and your background will be more out of focus (great for portraits). Close your aperture a bit and your background will be more in focus (great for landscapes).
The aperture is measured in numbers such as 1.8 or 3.5 or 5.6 or 8 or 11, etc. The smaller the number, the more open the aperture. The larger the number, the more closed.

This was an aperture of f/4. The background is out of focus. The more you bring your subject away from the background, the more out of focus the background will look.

The aperture was set to f/11 for this photo so that the background is more in-focus.
The smaller the number and the more open the aperture, the more light that comes in and the more out of focus the background.
The larger the number and the more closed the background, the less light that comes in, and the more in-focus the background.
When you’re in Aperture mode, you use the scroller on your camera to open and close the aperture.
Choose Aperture mode when you’re most concerned about whether or not your background is in focus.

If you close your aperture a bit, then you’ll have a greater depth of focus in your photo. This photograph was made at f/5.6, but I would even recommend f/11 for landscape photos. Closing your aperture will help to keep both the foreground and background in focus.

If you want your background to be blurred, then open your aperture as much as you can. That might be f/3.5 or f/5.6 on the lens that you’re using. If you have a 50mm lens then you can open all the way to f/1.8.

The other way to help your background to go blurry is to step closer toward your subject.

The closer you get to them, the more the background goes out of focus.
ISO
Remember, ISO doesn’t exactly have a creative effect.
So what is ISO and when do you use it?
ISO is a magical setting that helps your camera to see in the dark.
So you would set your ISO according to the lighting conditions that you’re in.
- Is it a bright sunny day? Then set your ISO to 100 or 200.
- Perhaps the sky is overcast? Set your ISO to 400 or 800.
- Are you in dim indoor light? Set your ISO to 1600 or 3200. Maybe even 6400!
You have two main options when it comes to ISO:
- Set it to Auto and let the camera figure it out.
- Take control of it yourself.
I recommend playing in Aperture mode with your ISO set to auto. That way, you can experiment with aperture and let the camera figure out ISO and shutter speed for you. In a moment, we’ll look at shutter mode. In that case, I recommend leaving your ISO on auto as well. Take control of ISO when you feel comfortable with the other settings.
A word of caution about ISO
The higher you raise your ISO to help capture the light, the more noise or graininess will be introduced in your photo – especially in low light. The noise or grain is intensified all the more if you brighten your photos in post-processing (with a program such as Lightroom).
I don’t always mind a little noise or graininess in my photos. Noise and graininess are normally considered an imperfection in our photos. To me, it reflects the graininess or imperfection of everyday life and the moment by moment struggle that we have as photographers when we take pictures.
My photos are filled with imperfections, as am I in real life. If everything in my photo looks good except for the grain, then I am happy. I have an old iPhone that I keep around just for its nostalgic graininess.

The grain or digital noise is easily seen in this high ISO photo. Generally, the newer the camera and the larger the sensor, the less of a problem you’ll have with noise.
Shutter Mode
If your main concern is freezing the action, then you should choose Shutter mode (also known as Shutter Priority).
- Nikon – set your dial to S.
- Canon – set your dial to Tv.
- Fuji – look for the dial with numbers like 125, 250, 500, etc.

If the aperture is how much flow of water is coming out of the tap, then shutter speed is how long the water comes out for.
Aperture controls how much flow of light comes into the camera, while shutter speed controls how long that flow comes in for.
The quicker the shutter speed, the less light that comes in.
The slower the shutter speed, the more light that comes in.
It’s generally the case that in bright light you should have a quicker shutter speed, and in dim light, you need a slower shutter speed. The danger with a slower shutter speed is that your photo may become blurry.
Why will your photo become blurry with a slow shutter speed?
Consider shutter speed being how long it takes for your camera to take a picture. A quick shutter speed means that the photo is taken so quickly that the action is frozen in the photo. But a slower shutter speed means that the camera takes longer to take the photo and any movement in the scene becomes smeared across the photo.
Two circumstances lead to a blurry photo. The first is that you have moved the camera while taking the picture – often referred to as camera shake. Maybe your hand shakes, or the camera vibrates as you take the photo.

You must hold the camera still and consider using a tripod when your photos turn out like this.
Another possibility is that your camera is perfectly still but your subject is moving. If the person you’re photographing is moving, they may be smeared across the photo.

But even if you put your camera on a tripod, a moving subject may cause motion blur.
So what does it take to freeze the action?
You’ll notice that shutter speed is measured in fractions of a second. You’ll see numbers such as 1/125th or 1/2000th. Basically, the smaller the fraction, the more likely you are to freeze the action.
So 1/2000th will likely freeze the action, but 1/60th likely will not.

Shutter speed of 1/40th of a second. The camera was held still so that the background was sharp, but the motion is blurred.

A shutter speed of 1/500th of a second froze the motion of her hair as she turned.

A shutter speed of 1/2500th froze him as he bounced in the air.
Slow shutter speed creative effects

These silky waterfalls were captured using a slow shutter speed. ISO 100, 1-second shutter speed

The panning technique uses a combination of slow shutter speed and following the movement of your subject with the camera. The shutter speed was 1/20th of a second.
Other articles to explore
You now have enough knowledge to control the amount of background blur in your photo and to freeze or blur the action. You can also use ISO to help your camera see better in the dark.
Now it’s up to you to practice one little bit at a time until you’re comfortable and ready to move on.
Here are some more advanced concepts that may help you down the road.
- Stops
- Light Metering
- Exposure compensation
- White balance
- Raw vs JPEG
Many people find it harder to master the introductory stage of camera settings than the advanced stages. Advanced techniques are easy to learn once you know the basics. Don’t be discouraged, and feel free to leave questions in the comment section below.
The post The Absolute Beginners Guide to Camera Settings appeared first on Digital Photography School. It was authored by Mat Coker.


 CMOS and enhanced processing system. This produces an image sized at 9504 x 6336. For landscape and commercial photographers, the a7r IV features a 240MP pixel-shift mode.


You must be logged in to post a comment.