
International Smoke, San Francisco’s newest restaurant in the lobby of the Millennium Tower
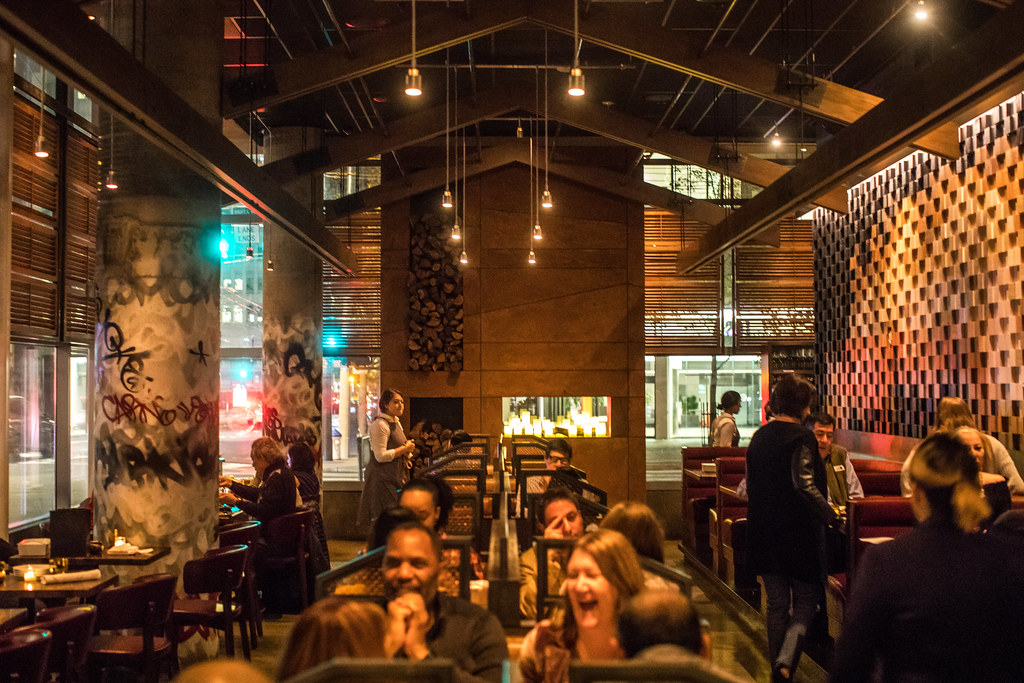
Last night mrsth, the four kids and I had the opportunity to dine at San Francisco’s newest restaurant hot spot from celebrity chefs Ayesha Curry and Michael Mina, International Smoke. The restaurant is the latest lobby tenant in the great leaning tower of Millennium at 301 Mission Street in San Francisco’s SoMA district.
Only a week old, International Smoke is already solidly booked for months. The good news though is that they take walk ins at the bar and have several tables that can seat up to six in the bar. Before getting into my thoughts on the food, I will say that with a big family (six of us) one of my frequent disappointments is when too many diners are crammed into a small table at a bar. In the case of International Smoke this is not the case for their 6 tops. They are large, roomy and comfortably accommodated our large group. There are also several 4 tops in the bar and of course you can also dine seating at the bar itself. We luckily got the last table in the bar last night just before dinner service started at 5:30 pm.
The bar also has several televisions which can be viewed from almost every seat and which were appropriately tuned in last night to the Warriors 124-116 win over the Philadelphia 76ers during dinner.
Although barbecue features prominently on the International Smoke menu, it would be misleading to call it a “barbecue” restaurant. While definitely a place for carnivores, the barbecue has a more modern and international presentation and the menu also includes many non-barbecue offerings.
Many of the offerings are also fairly theatrical in nature, not quite what you’d find at say Edith’s down in Cabo San Lucas, but they incorporate smoke prominently to give you your fun little dinner show to go along with the food. In addition to serving two of our dishes (the smoked burrata and instant bacon) in glass encased smoke filled canisters, they prepare the Wagyu Shaking beef in a hot skillet tableside and use a cooking torch to caramelize the sugar while serving the ribs. It’s always nice to get a little extra pizzaz at the table when taking the kids out.
So let’s get into the cocktails and food.
I started off the evening with the Curry Up Now cocktail, because, well Steph Curry right? Plus I like bourbon. The drink is made with Wild Turkey 101 Bourbon, Madras Curry, Amontillado Sherry, and Corazon Bitters. It was served in a beautiful Waterford crystal style tumbler over one of those giant ice cubes you get at fancy bars these days. Although I’m not sure that Steph drinks one of these things every day at cocktail hour, it was a well balanced, slightly sweet bourbon based cocktail and it worked just fine for me.
We also tried the Rhinestone Cowboy, made with Hangar One Kaffir Lime Vodka, Espolòn Blanco Tequila, and Coconut Calamansi, refreshing served over that nice soft crushed ice that you also find at fancy bars these days.
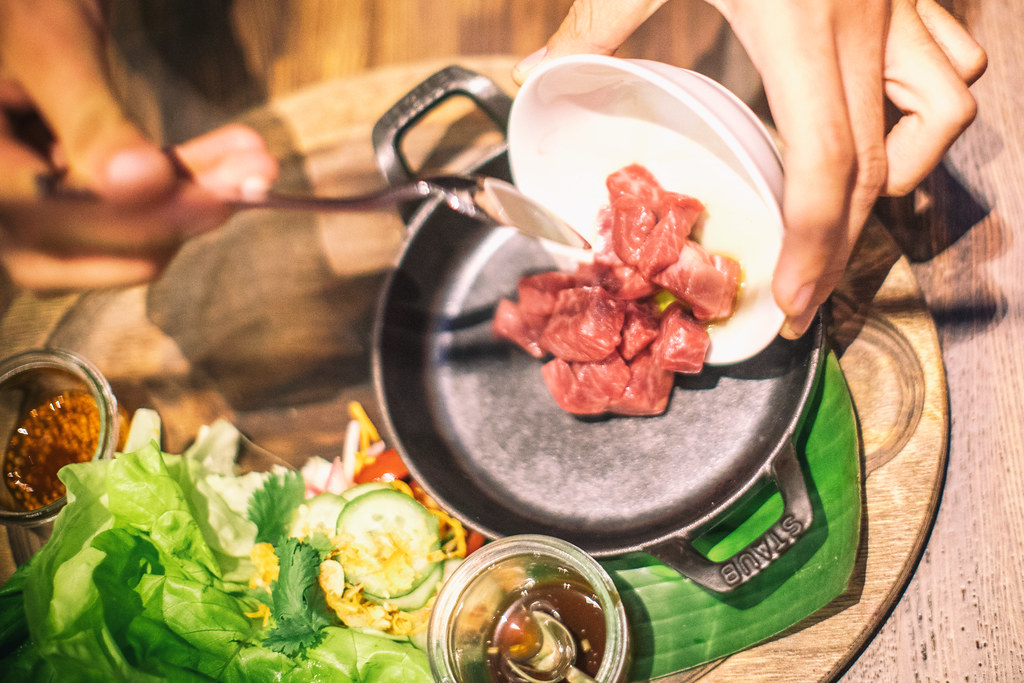
International Smoke’s Wagyu Shaking Beef
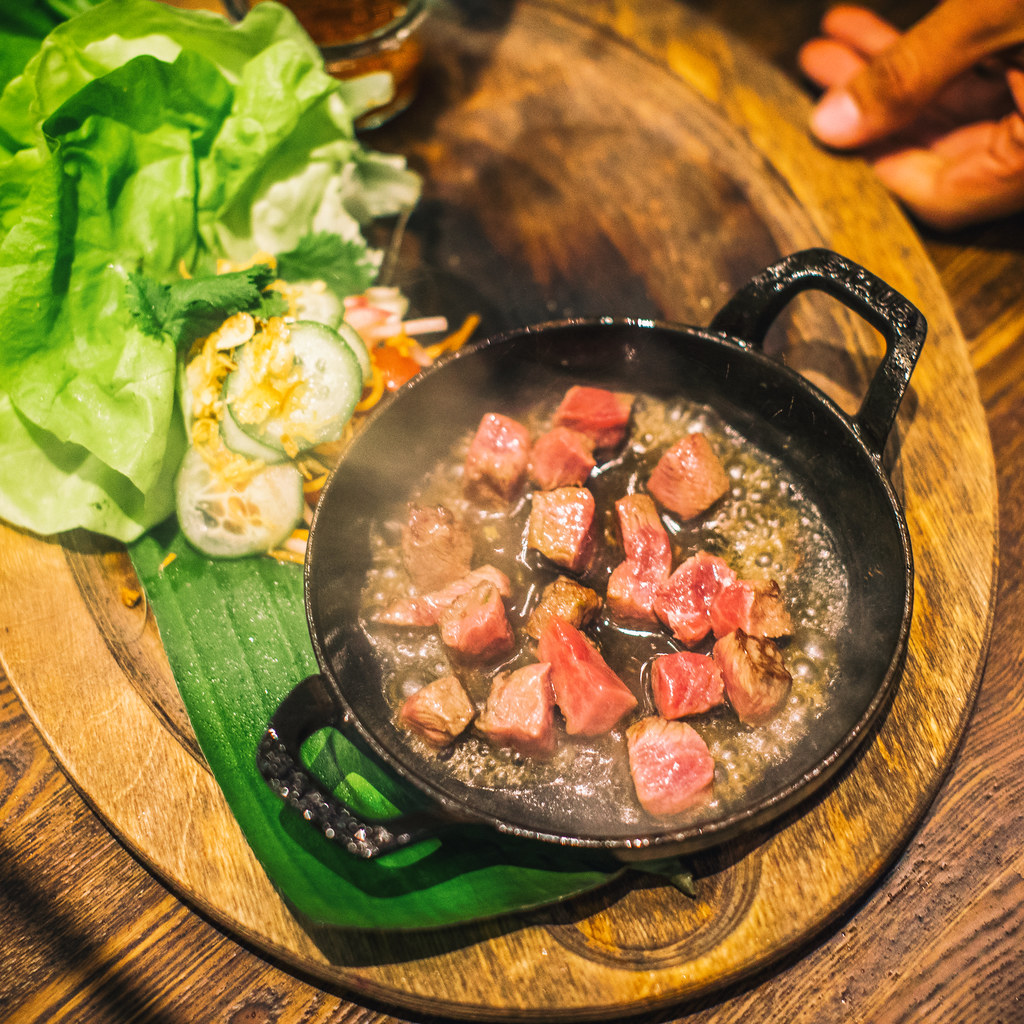
International Smoke’s Wagyu Shaking Beef
Our first dish was the aforementioned Wagyu Shaking Beef, cooked in that black hot skillet tableside. It comes with lettuce and you make little lettuce wrap taco like things. This was a favorite. The beef was delicious, cooked slightly rare and very juicy. They added a marinade to the beef as it was cooking. It’s Wagyu so it’s bound to be tasty, but as expected for things labeled Wagyu, it’s also expensive and you wish you got a lot more of it. I would probably order this again, and probably again, and again.
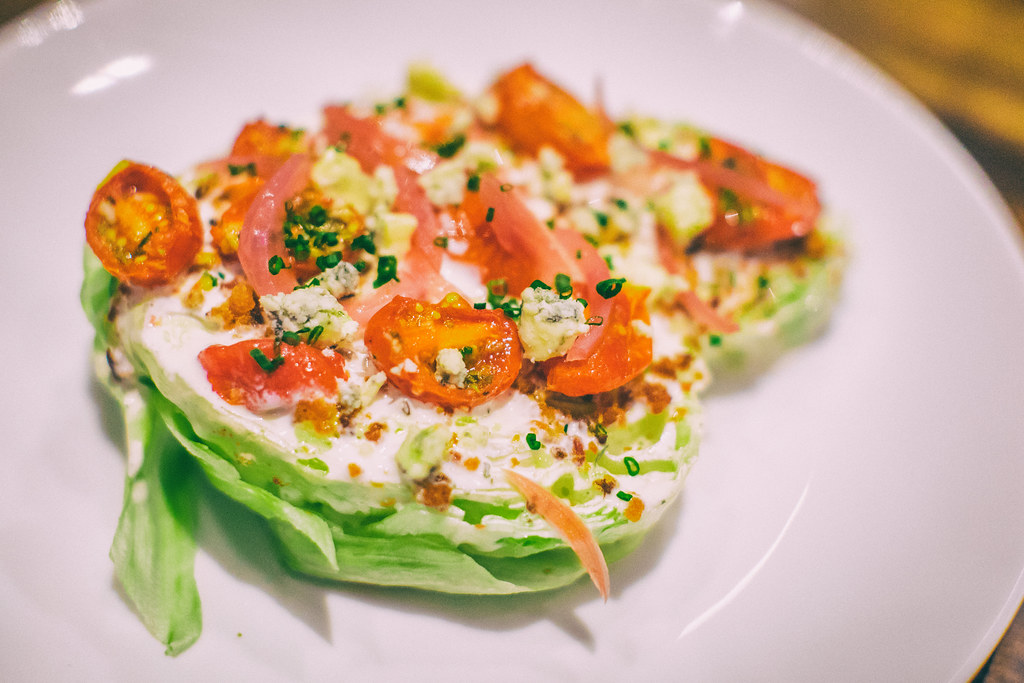
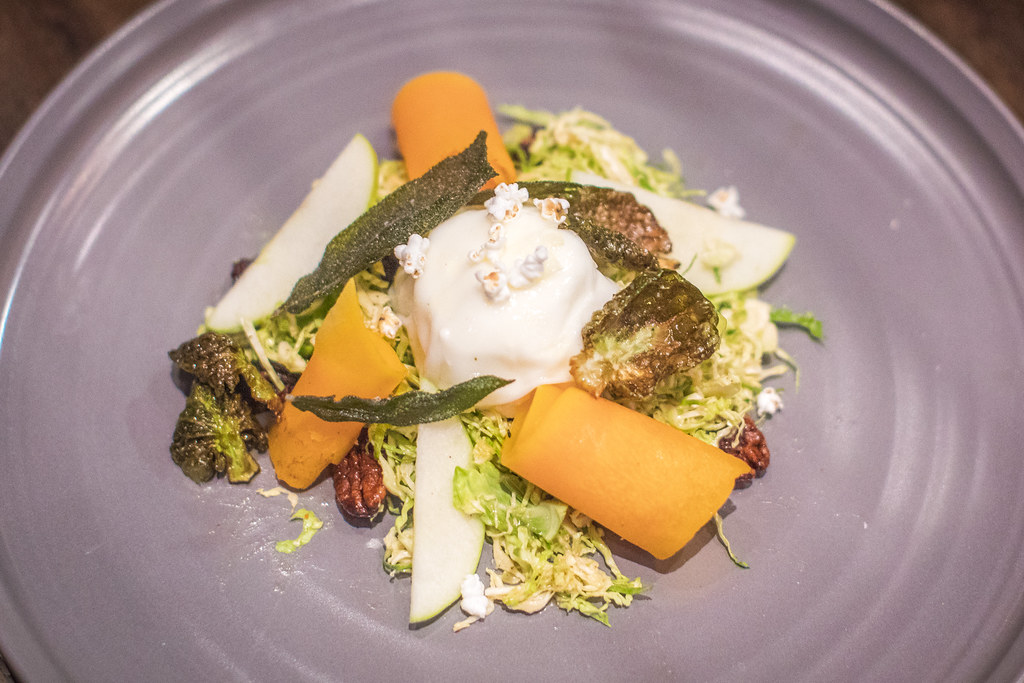
Next up was International Smoke’s take on an all time classic, the wedge salad. It’s prepared cut in half with everything served up on top. Again, a little small, but delicious and a beautifully balanced mixture of dressing, bacon, onions and tomatoes.
The burrata was served at the same time as the wedge and came in the previously described smoke filled canister. The aha moment comes as the canister lid is lifted and the smoke disappears into the air, leaving you with a very creamy piece of smoke flavored cheese. The brussel sprouts went well with the cheese and it was a nice bit of salad before getting into the meats.
We also ordered a mixed pickle jar which is a myriad of pickled vegetables. At $ 6 it felt like a bargain on the menu and if you like pickled veggies I’d recommend it. I liked the pickled onions the best.
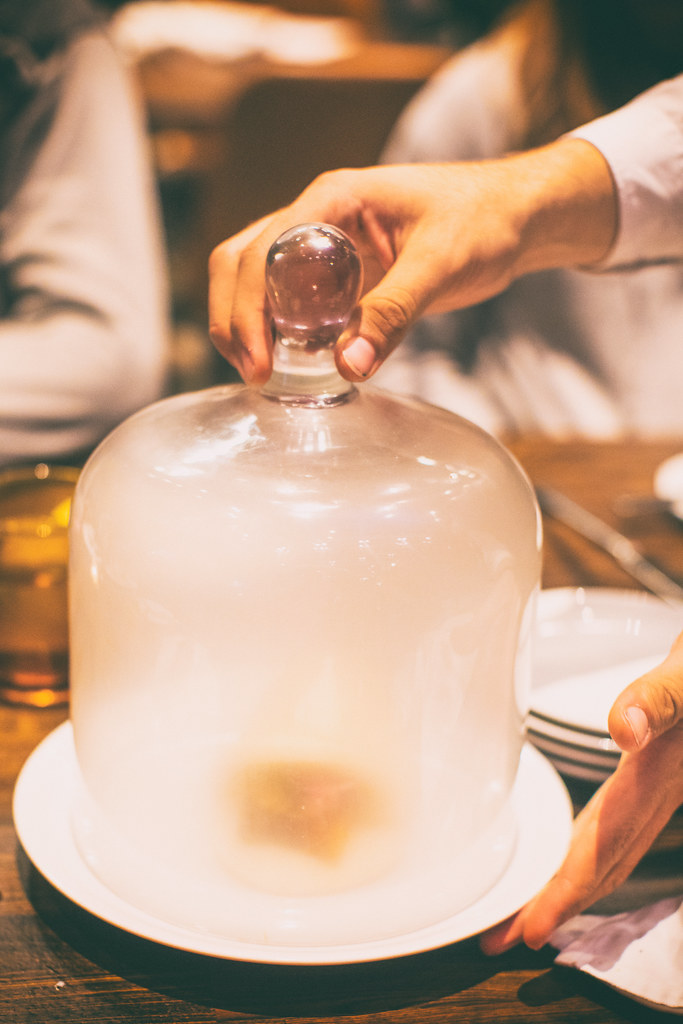
The big reveal, Kalua Style, Instant Bacon, International Smoke
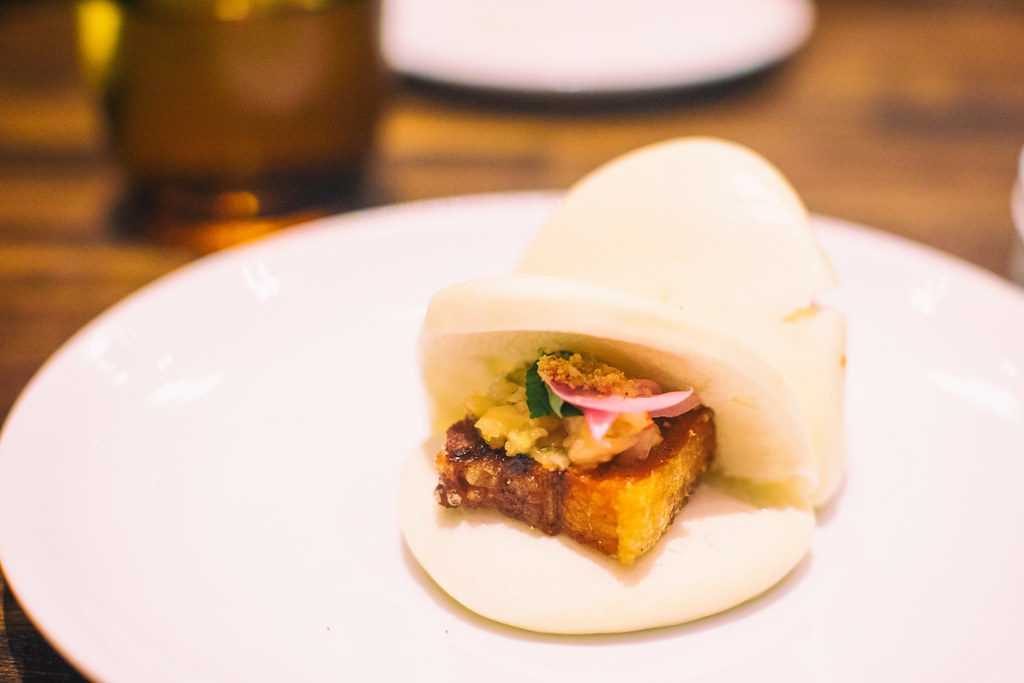
Kalua Style, Instant Bacon, International Smoke
The Kalua “Instant Bacon” is more like a pork bun than anything, served in another one of those smokey canisters with the big reveal — a very rich piece of pork served in a bun — again very tasty, but two to a plate a bit on the small side.

Smoked Pork Shoulder, International Smoke
We tried two orders of the Trio Sampler smoked pork shoulder. This consisted of an American pulled pork slider, Cuban Mojo Tostones and Korean Scallion Crepes. The American pulled pork slider was the favorite (especially with the kids) but I liked the Cuban Mojo Tostones the best myself. I did not care for the Korean Scallion Crepes.
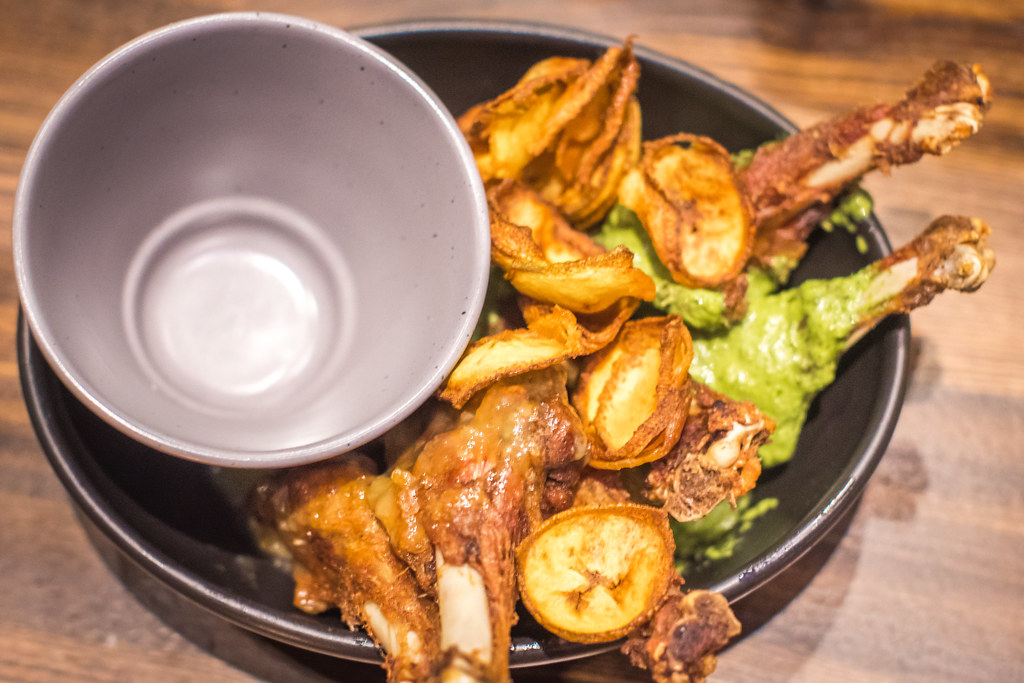
Double Duck Wings, International Smoke
The double duck wings were up next. These were ok but my least favorite dish of the evening. They were pretty basic and a bit bland. The sauce they came in was tasty and interesting, but I would not order this again. We didn’t eat most of this dish and took it home with us in a box. I tried it again for breakfast this morning and it tasted a little better cold, but still not a favorite.
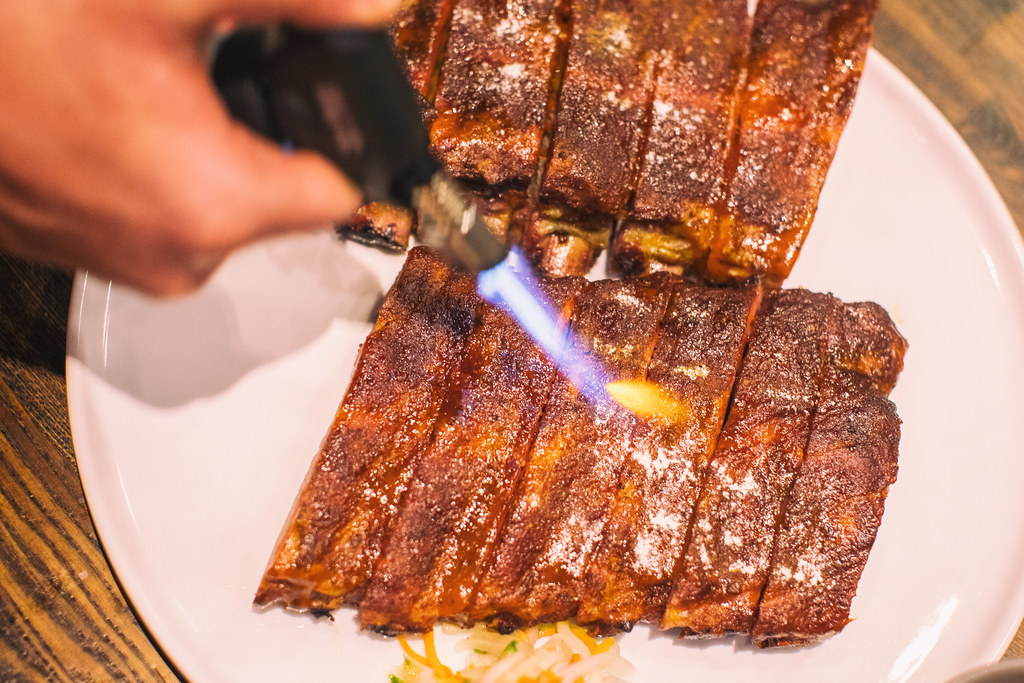
Smoked Pork Ribs, St. Louis Cut, International Smoke
Up next was the main event, a full slab of the smoked pork ribs. As previously mentioned, they bring these out with a cooking torch and torch the sugar on the ribs right there tableside. As far as ribs go these were perfectly adequate but nothing spectacular. The ribs probably had too high a bar to live up to in my mind though. When I read “St. Louis Cut” on the menu the only thing I could think about from then on was how much I love the ribs at Pappy’s in St. Louis. Those juicy, beautiful bone dripping ribs at Pappys, or if not Pappy’s at least all of the great sauces at St. Louis’ latest downtown barbecue spot Sugarfire with one of the best neon signs ever.
International Smoke’s ribs were just fine, but they were not as good as what you’d get at the best spots in St. Louis, or Kansas City, or Texas or Alabama. Again, I’m spoiled having experienced some spectacular barbecue over the years though. I probably should have known San Francisco celebrity chefs would be no match for hardcore pitmasters who’ve been doing their thing for 30 years.
Along with the ribs we ordered the french fries, which were pretty much the same basic fries you’d get anywhere and three sides of the mac and cheese.
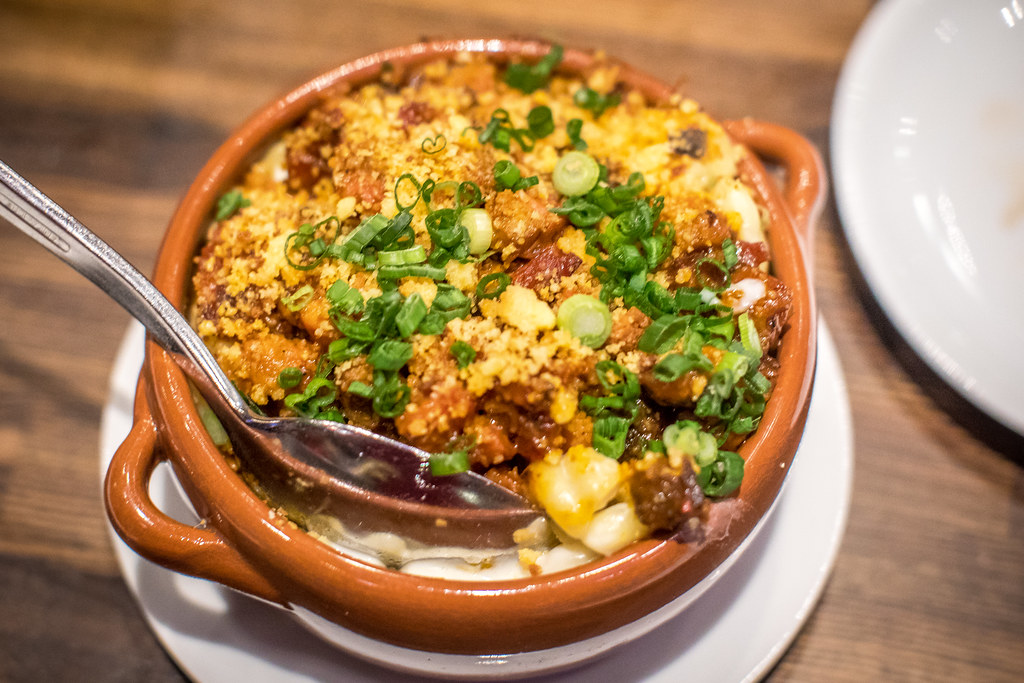
Smoked Rib Tip Mac and Cheese, International Smoke
The mac and cheese was interesting — actually it was my favorite dish of the evening, but I’m a big mac and cheese fan. It’s served with rib tips and cornbread crumble on top. It was very good. I was very happy with this dish… but… would I rather have International Smoke’s mac and cheese or the buffalo chicken mac from Homeroom? See, again, it’s a high bar in my opinion, so while I was perfectly happy with this dish it was probably doomed from the start in my mind.
Anyways, there you have it. We ordered too much food for dinner so didn’t have room for dessert. Apparently my youngest daughter Kate was promised ice cream earlier in the day, however, so we stopped by Fenton’s on the way back home to pick up a half gallon of toasted almond. I’m sure International Smoke’s ice cream is probably just fine, but I doubt they hold a candle to Fentons. 
More on International Smoke from Business Insider, SF Eater and the San Francisco Chronicle.
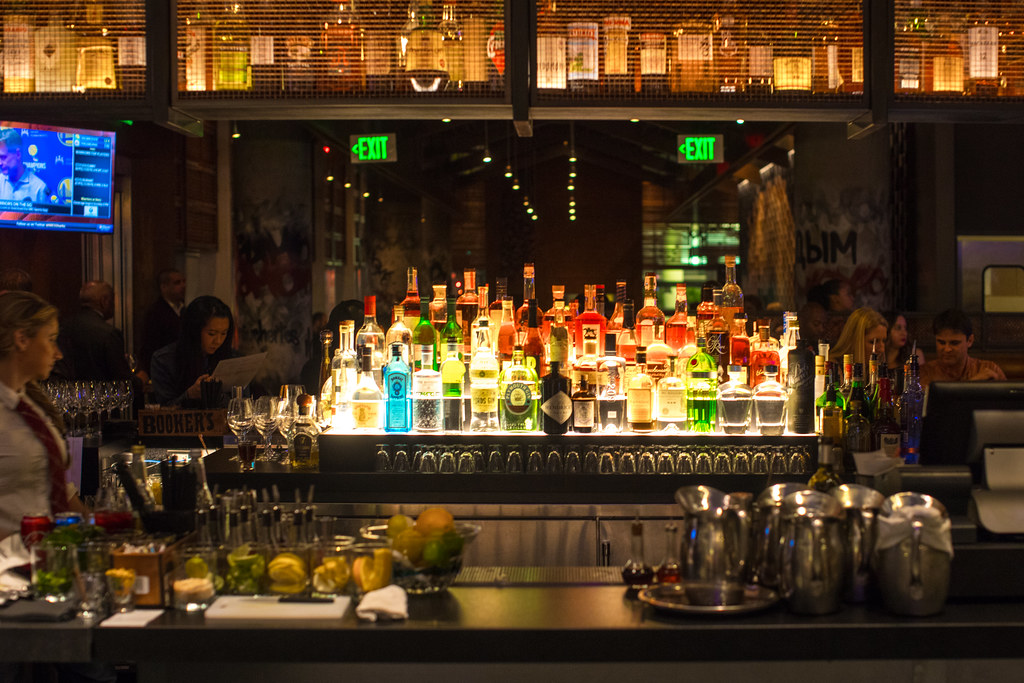
Bar at International Smoke
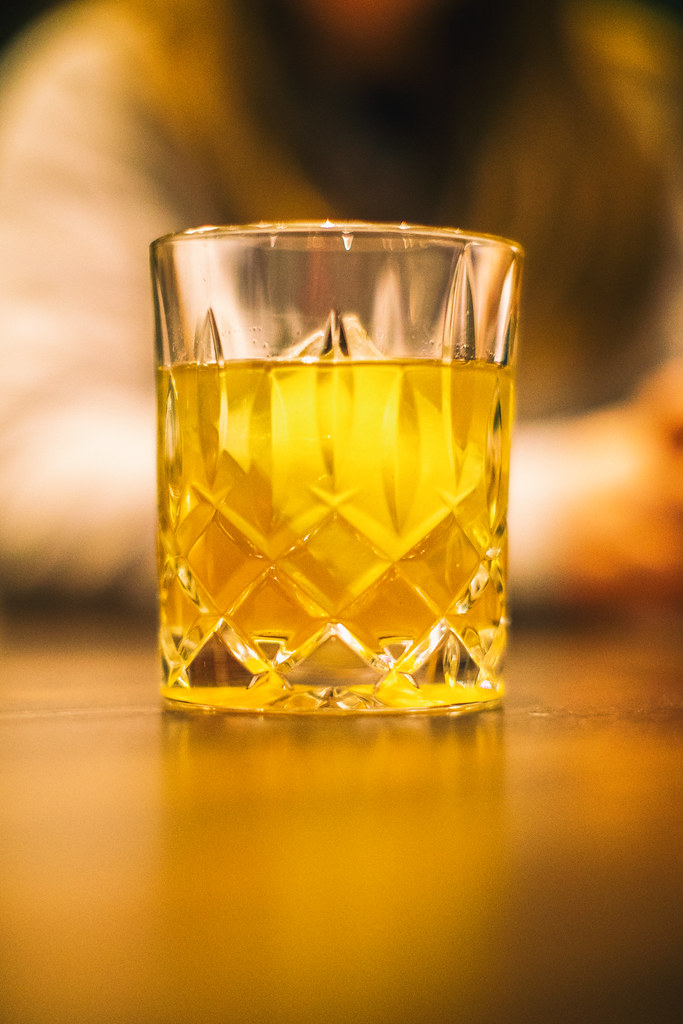
Curry Up Now cocktail

Front desk at International Smoke
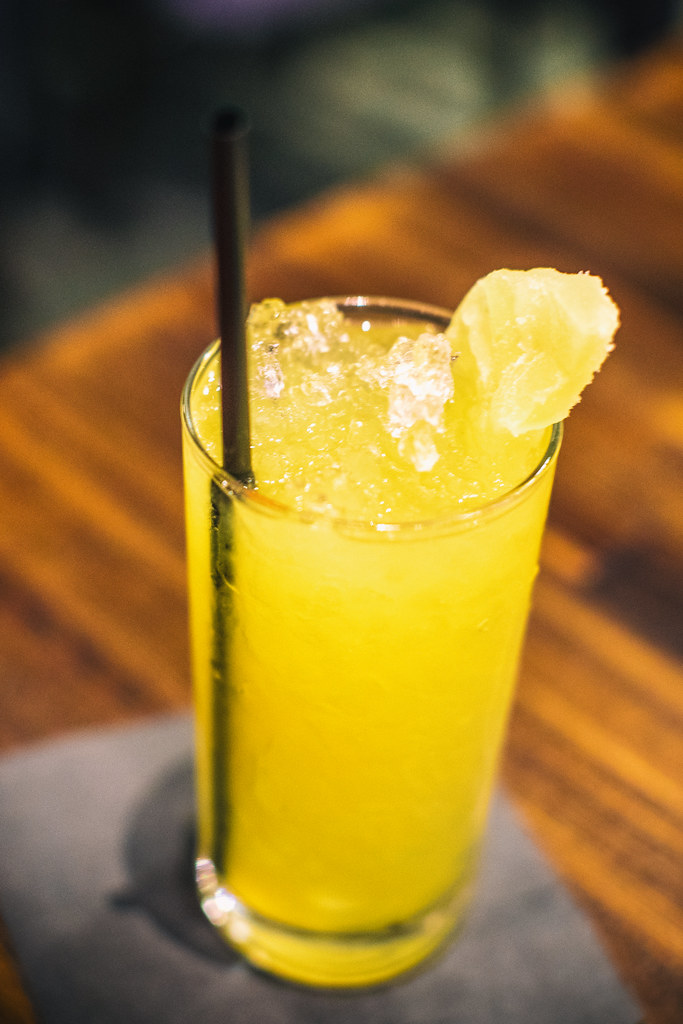
Like a Rhinestone Cowboy
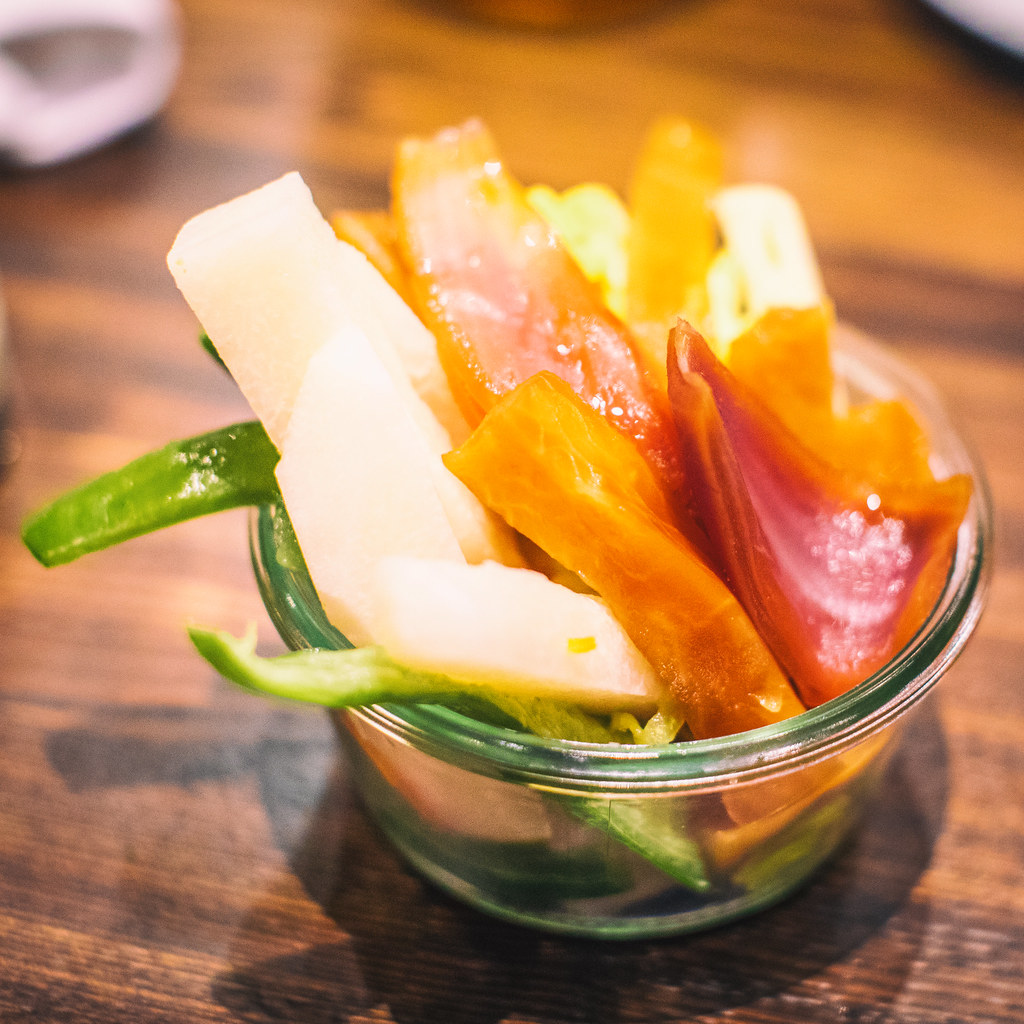
Pickles at International Smoke
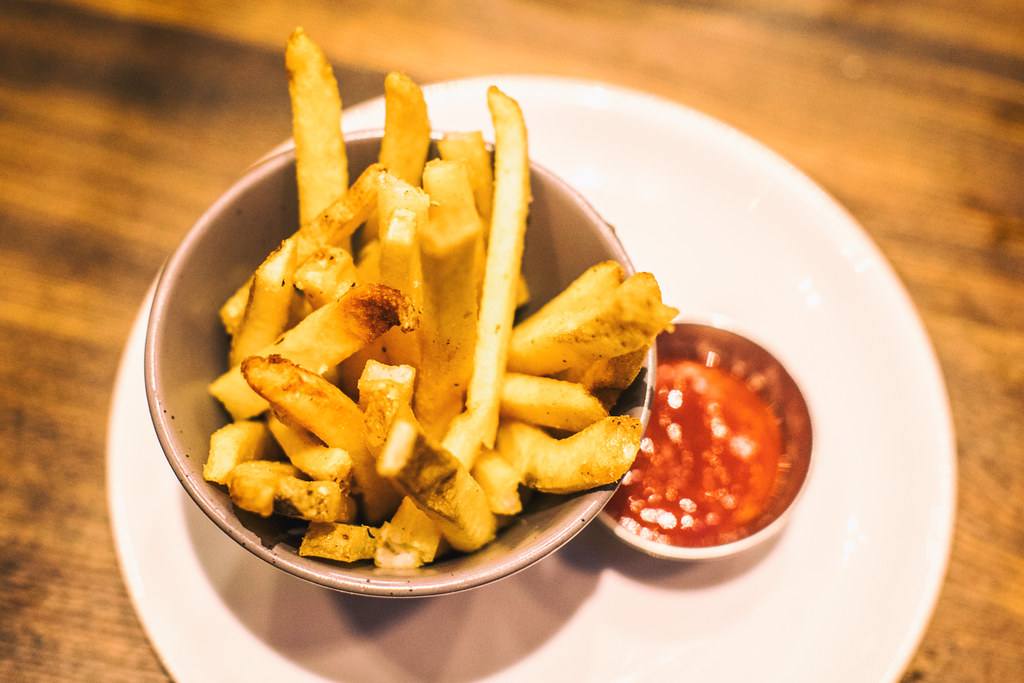
French Fries, International Smoke
Thomas Hawk Digital Connection


You must be logged in to post a comment.