The post How to Put Some “Sparkle” in Your Photos with Sparkler Photography appeared first on Digital Photography School. It was authored by Rick Ohnsman.
Sparklers are fun, festive, and can add, well…Sparkle to your photos! Getting good sparkler shots will test your skills too, teach you new ways of operating your camera and allow you to make some “hot shots” people will admire. So let’s look at the tools, techniques, and tips for sparkler photography as well as give you some ideas to try.

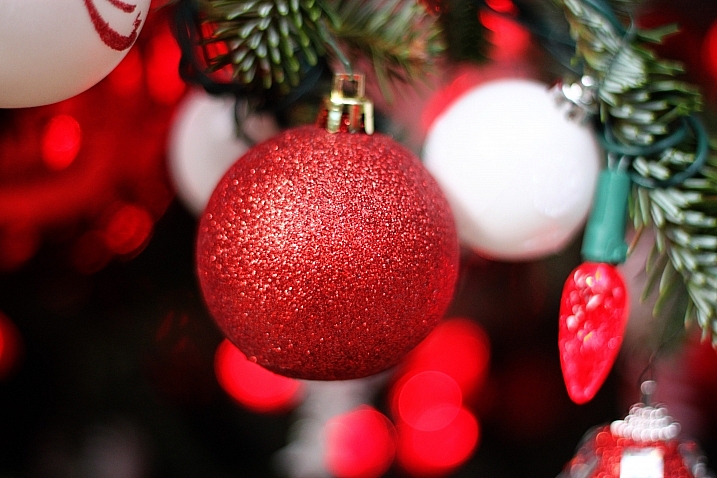
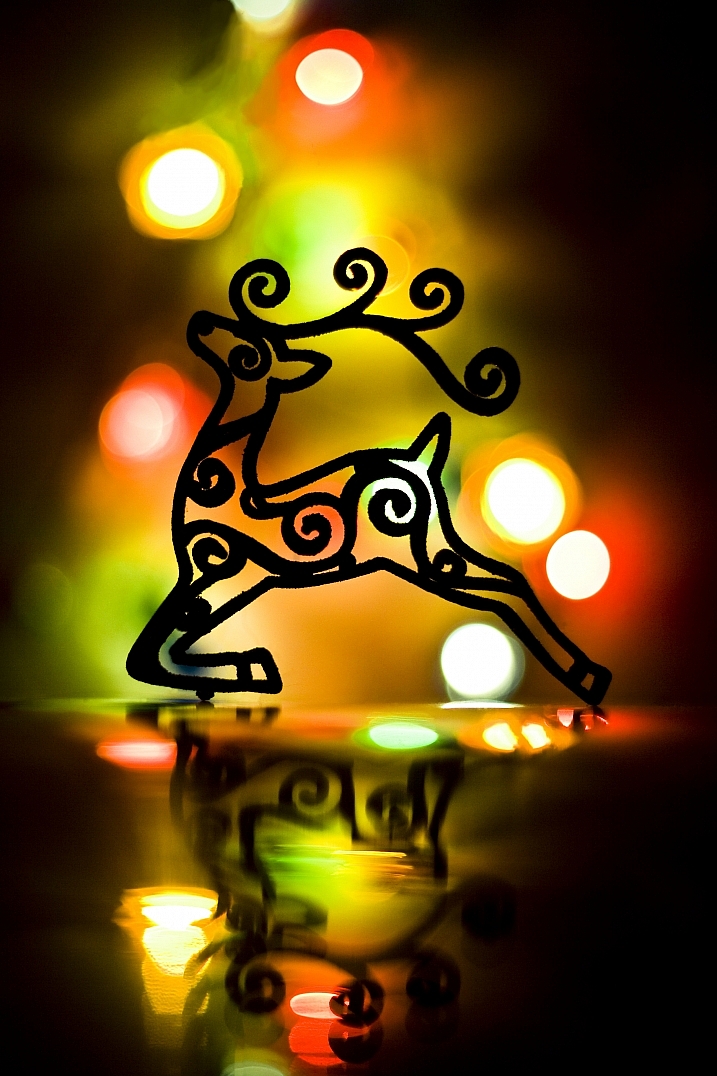
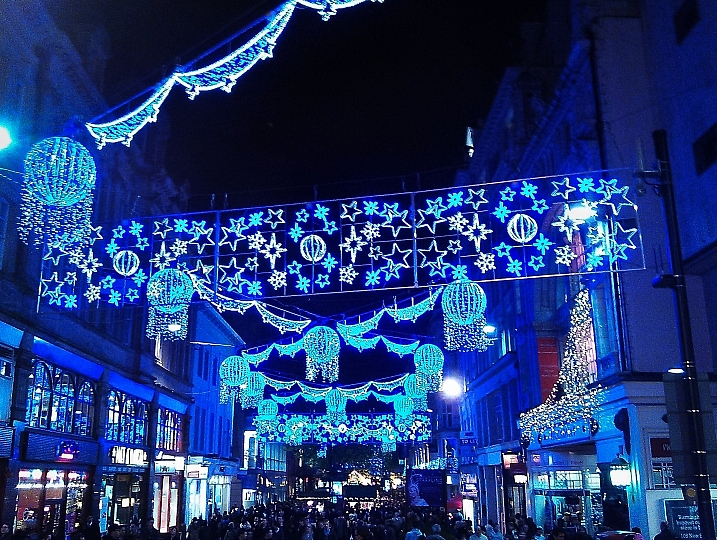
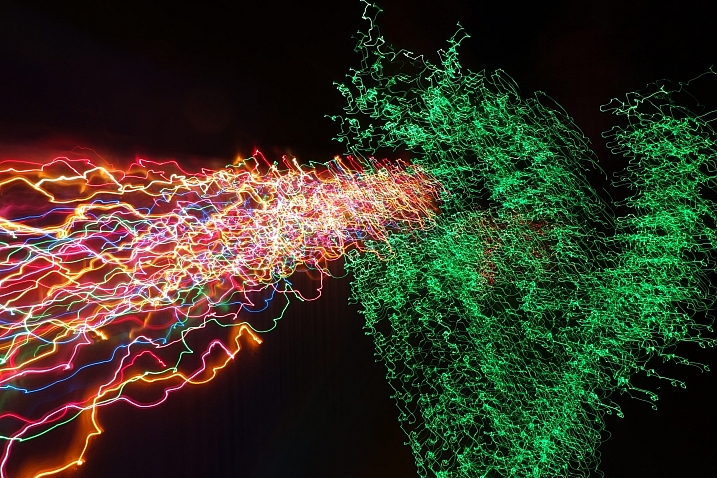
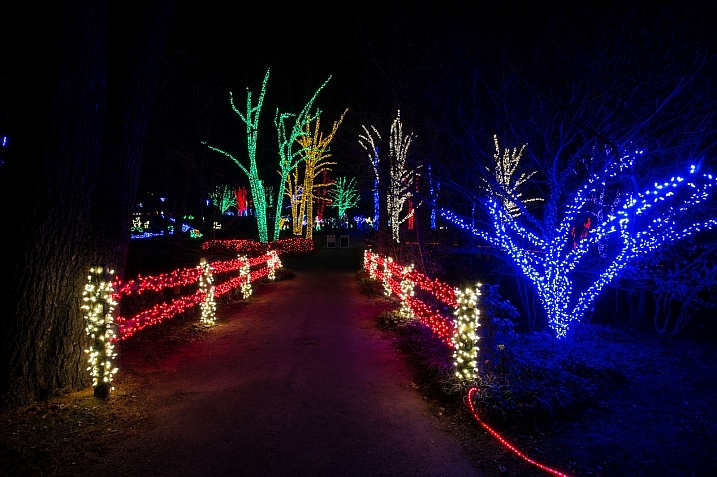
4 seconds, f/11, ISO 100
Playing with fire – Safety First!
If you play with fire, __________________ (complete the rest of that common saying). You’ve heard that, right?
“Play with fire and you’ll get burned.”
That’s NOT what we want to happen! So, Safety First!
These things ought to be common sense, but I’d be remiss if I didn’t list some precautions. After all, you are playing with fire.
- Sparklers are HOT! The best sparklers for photography, (those with metallic nature and metal wire handle), burn between 1000 and 1600 degrees Centigrade, (that’s 1,800-3000 F)! Even after they burn out, the sparkler will be red hot for some time. Use them with great caution.
- Flying sparks can burn you and your photo equipment. I have pitted glasses used as props in my shots with the sparks and the same can happen to your lens if too close. Stay back and zoom in, keeping your camera out of the range of flying sparks. Put a UV filter on your lens for extra protection.
- Make your shots in a safe area with no flammable materials nearby. Sparkler photography is best done outdoors with cement, pavement, or other non-flammable surfaces underneath. I have read too often of photographers setting areas on fire (even historic sites!) by improperly using fireworks. I have also read of weddings where the bride’s dress was set on fire with a sparkler and all kinds of other sad and ugly stories. Don’t be that idiot! Have a bucket of water, perhaps even a fire extinguisher, nearby just in case. A water bucket can also be useful for disposing of expended but still hot sparklers.
- Be careful when lighting sparklers. Often they take a bit to light, and standard paper matches could burn your fingers as they burn down. A long fireplace-style lighter works well. Light one at a time, never a bundle of them.
I could go on and if you search for “sparkler injuries” you might decide not to try this at all, but the point is, be smart, be safe, and above all…be careful!

What you need
Camera – Full manual control of exposure and manual focus is pretty much required. Automatic modes won’t cut it for good sparkler photography and autofocus will cause much frustration.
Tripod – You will be shooting long exposures, often several seconds, and you can’t possibly hold your camera still enough for that time. Also, unless you have an assistant, you will also be busy with the sparkler. Your camera needs to be on a stable tripod.
Sparklers – I’ve found the best sparklers for photography are the metallic type with wire handles. Those with bamboo handles and a paper end produce a different-looking spark pattern, a lot of smoke, and are not well-suited to photos. You can also buy sparkers of different sizes.
Consider the amount of time it will take to make the shot you want as well as the distance you will be from the camera. Standard size (#10) sparklers work fine for shorter effects up close. Consider the bigger ones if you need more time or will be far away. I stock up during the Fourth of July season here in the U.S. If you have to buy online in the off-season, search for “Smokeless Sparkers” and you will find sites that sell the proper type in various sizes.
Props and People – The right props in a photo can help “tell a story” which the sparklers enhance. (See the shots in this article). Have those ready and be sure to consider their flammability. If you will have people in your shot, especially if they are children, be sure you carefully instruct them in the safe use of sparklers. Their safety is your responsibility! Also, consider the clothing people wear. Obviously, easily flammable clothing is a big NO. Dark colors will help them “disappear” in the shot if that’s what you want while lighter colors will help them show up. Again, if you have any doubts about being able to use sparklers in your photography and doing it safely, just don’t do it – period.

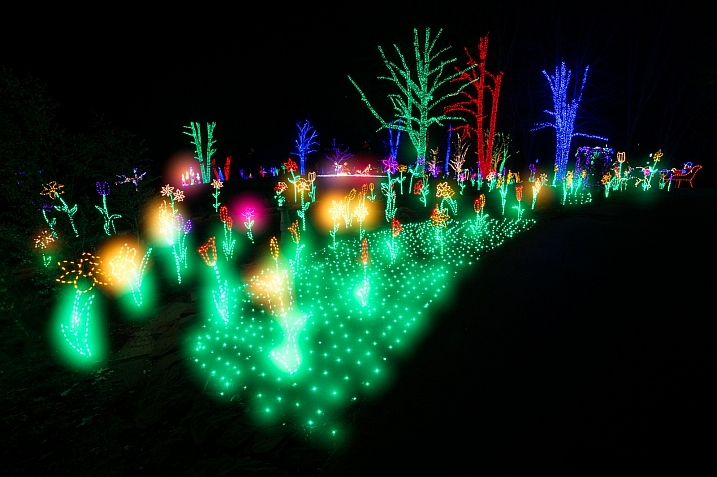
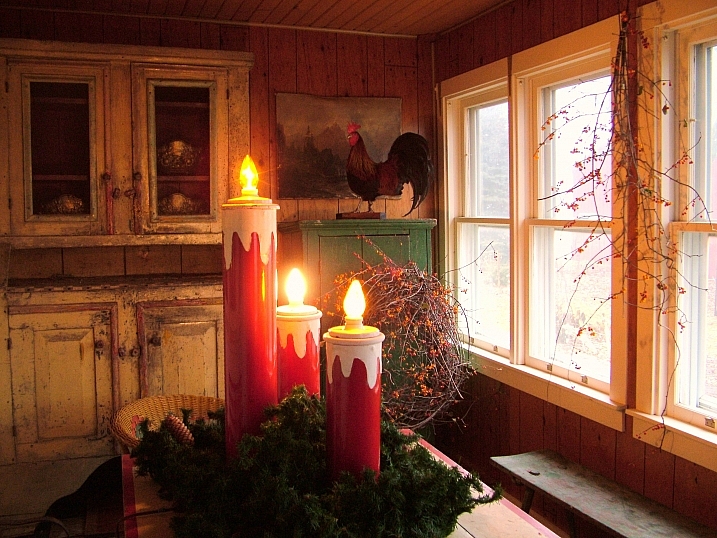
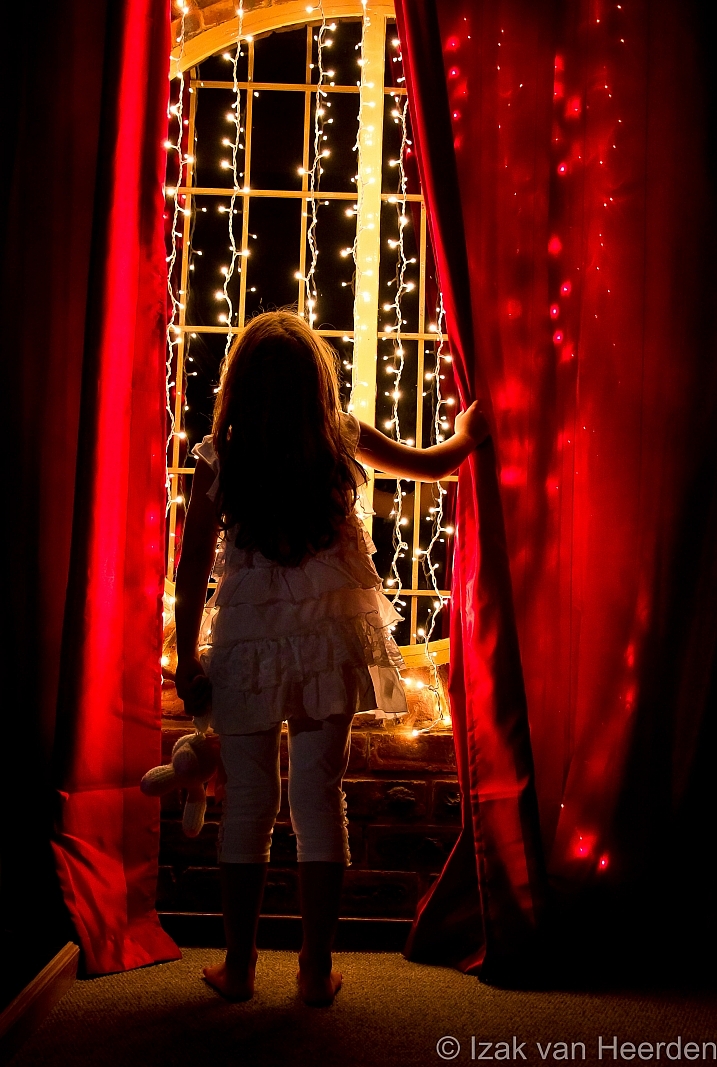
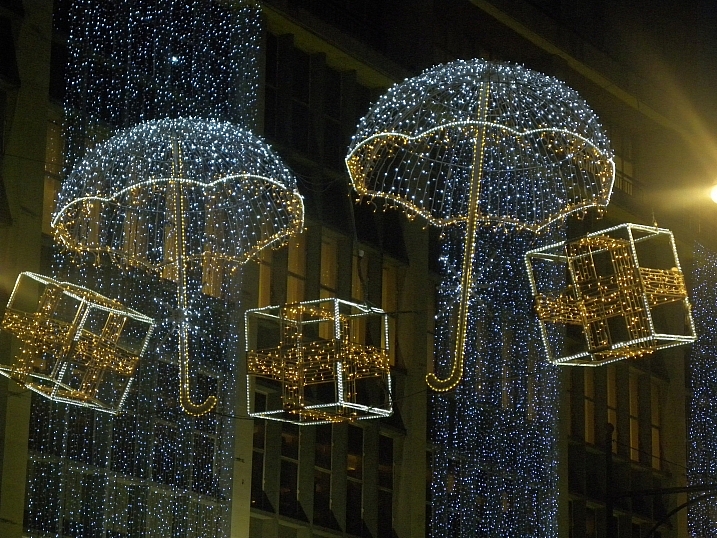
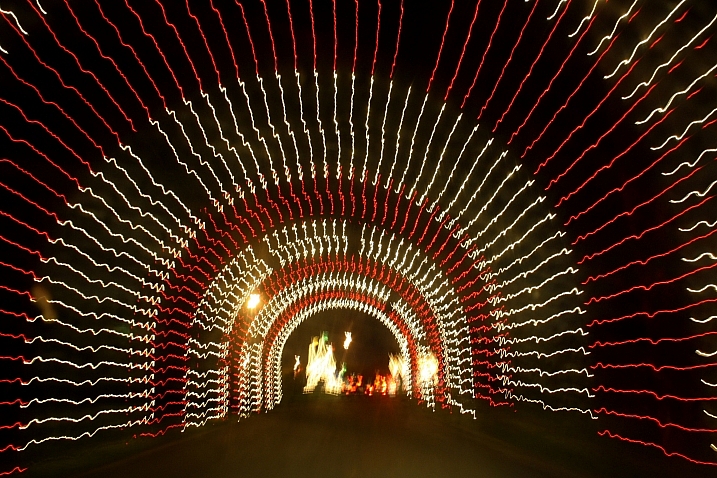
4 seconds, F/14, ISO 400 – Flash Fill light was also used here
Remote trigger for your camera – If you are any distance from your camera, (especially if you are working alone), you will need a way to fire the shot remotely. You might get by with the timer, tripping the shutter and then running into the shot, but I like to be able to do multiple shots using just one sparkler. (They are hard to extinguish and re-light. If you need to run back to the camera to make another exposure, your sparkler will likely burn out by the time you can do that.)
I use a Yongnuo RF602C radio trigger with my Canon 6D and so can work from a distance, repeating the shot several times in the duration of just one sparkler. A wired remote could work too, depending on the length of your cord and distance from the camera to subject.
Flashlight (aka “Torch”) – You will most likely be working in the dark, so being able to set your camera, adjust focus, and do what you need to without too much fumbling will require a flashlight. We also discuss other uses for the flashlight along with Flash below.
Flash and Orange (CTO) Gels – This is optional, depending on the shot you’d like to make. We’ll get into using flash with your shots a bit later.
Bucket of Water and Fire Extinguishers – I discussed why previously but will repeat it. Have a place to put still hot sparklers after they burn out and also a means to quickly douse a fire in the chance things go bad.

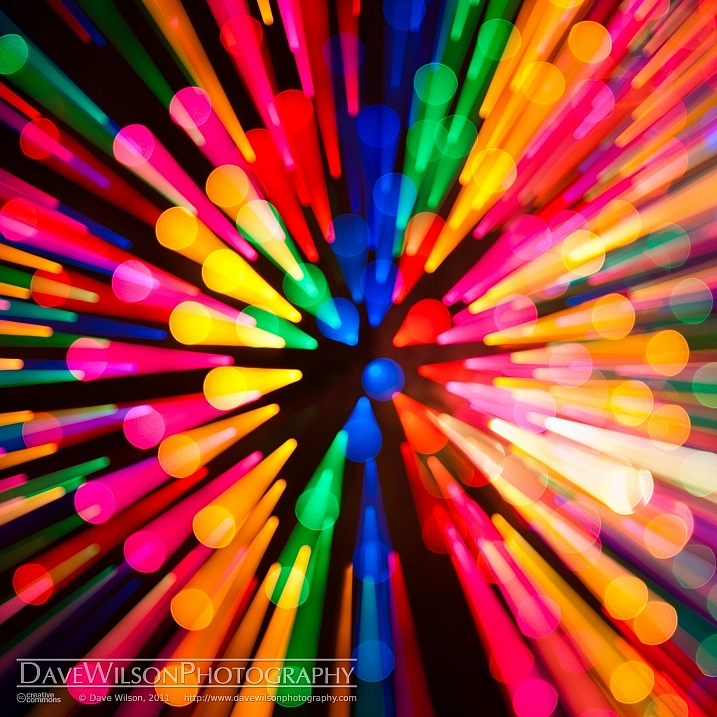
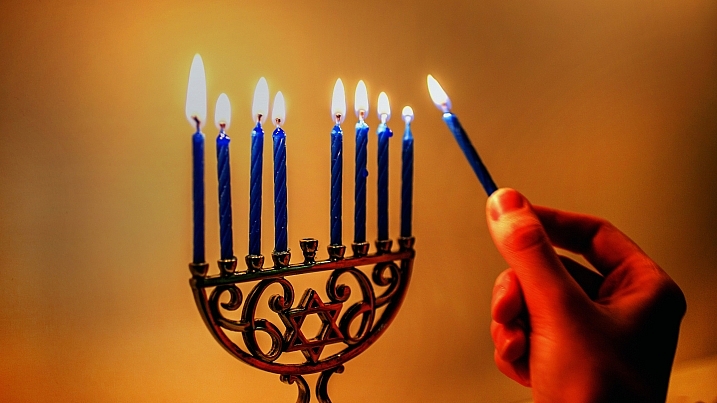
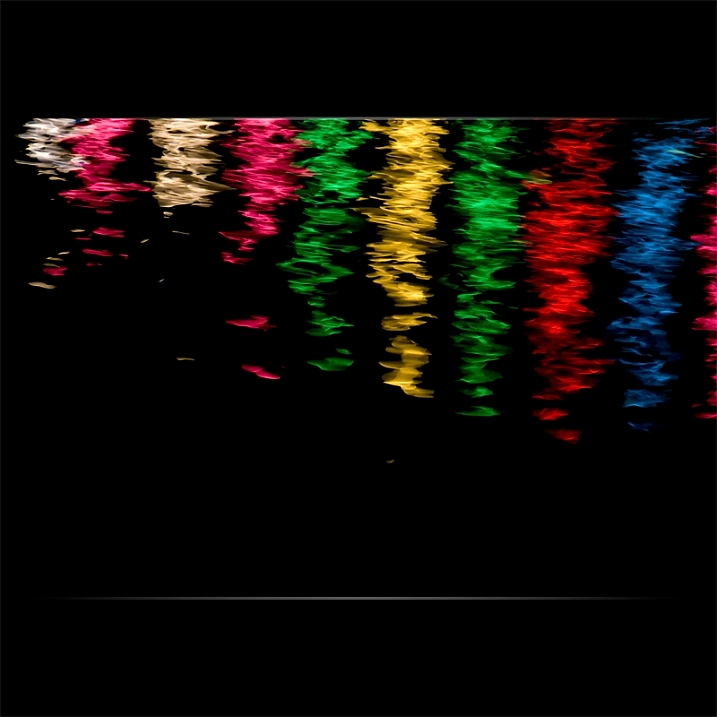
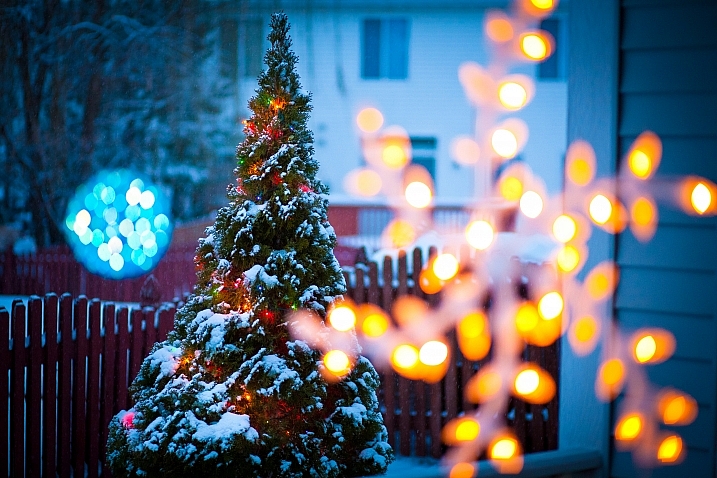
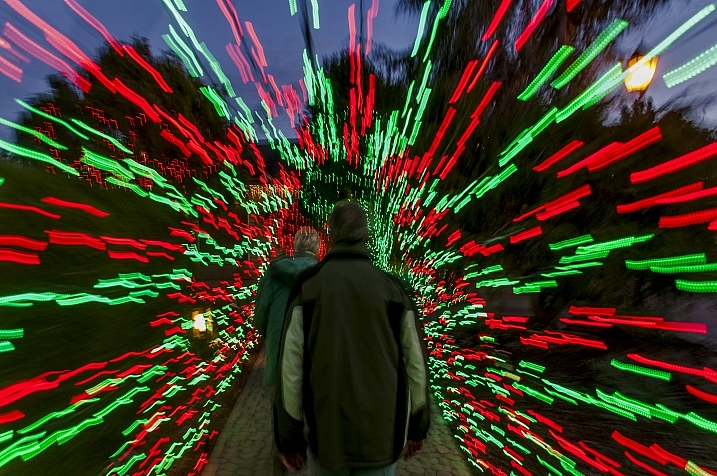
2.5 sec. f/11, ISO 100
Long exposure and camera settings
You will want full control over all your camera settings, so Manual Mode is a must. You will also want to be able to set and lock focus, so Manual Focus is needed. Shooting Raw (not .jpg) images will free you from having to worry about white balance and also give you greater latitude for adjusting exposure in editing if you aren’t right on.
As for the specific camera settings, that will take some experimentation. Start with ISO. You’ll be taking long exposures and keeping the ISO low. ISO 100 is fine and will help limit image noise. The desired depth of field will help determine your aperture, and that in combination with your shutter speed, (which will need to be long enough to accomplish whatever action you’ll be capturing) will determine your exposure. Sparklers are brighter than you may think and I achieved many of my shots with the light of the sparkler alone.
Take a look at the sample photos included in this article for which I’ve listed the camera settings. Note that ISO is almost always 100, aperture between f/8 and f/11 with the shutter speed determined by the duration of the action I’m capturing. Sometimes, rather than guessing how long you will need, it might be a good idea to use the Bulb mode for your shutter. Click the shutter once to open it as you start the action, then close it when finished.

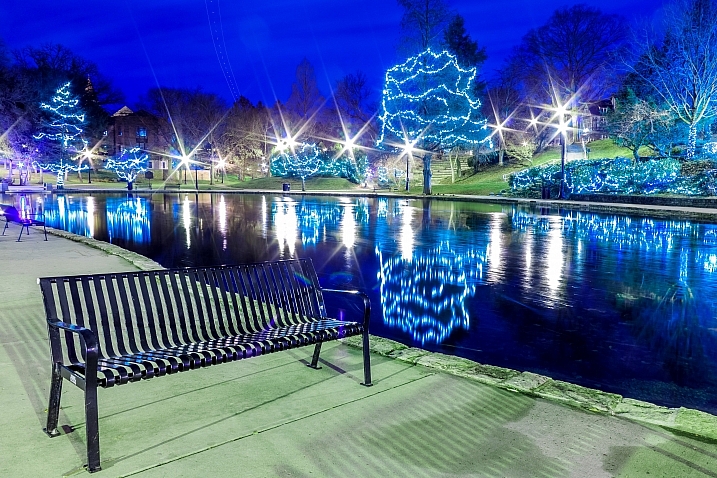
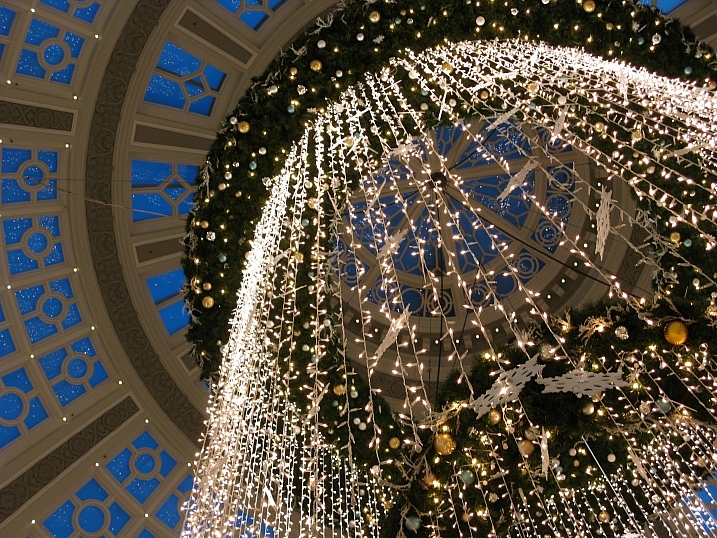
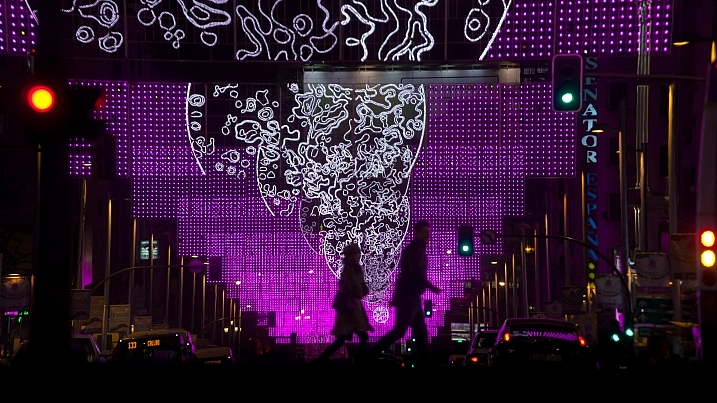
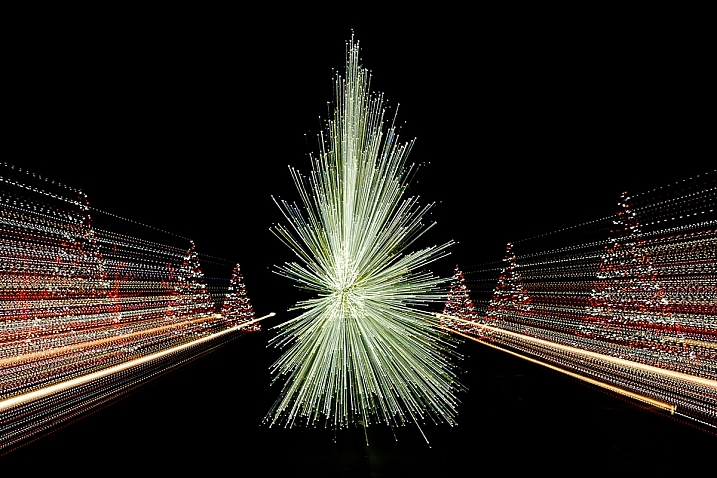
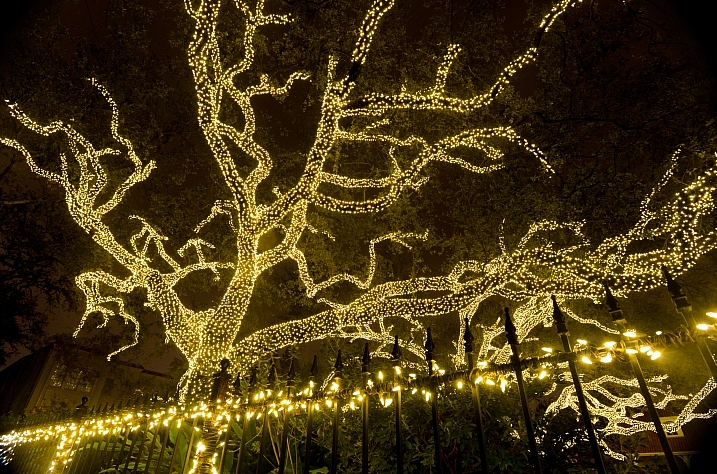
0.5 sec., f/8, ISO 100
Use with still-life photography
Your imagination is your only limit to how you can use sparklers to put some pizzaz in your shot. I am a fan of using them in Still Life photography for several reasons:
- Use the sparkler to contribute to the theme and story you’re telling with a photo. Note the images in this article where sparklers add to the festive or holiday feel of the image.
- Consider how the light of the sparkler plays with the other props or people in the scene. Glass which allows the sparkler light to shine through. Reflective objects or things that might look good backlit can make for interesting shots. You will often be able to make the shot with the light of the sparkler alone.
- Back to the safety factor – With still-life images, you can be more in control of the situation, the location, and the other variables when working with inanimate objects. Working with people increases the hazard.
- If an object moves, (and is lit well enough) during a long exposure, it will be blurred. I like the sparkler to be the moving object while the other objects in my scene are static and thus sharp even with a longer shutter speed.
- Multiple takes are usually necessary to get a “just right” shot. I often make multiple shots even during the duration of one 35-second burn of a small #10 sparkler. After it’s exhausted and I toss it in the water bucket, I chimp my shots, decide what I might do differently or better, adjust and make another series. Still-life subjects don’t care while your model might not be as patient with many multiple takes.

1/160 sec, f/3.5, ISO 800 – The sparkler was added with the technique described below
Use in wedding photography
Using sparklers in conjunction with wedding photography has become popular and can make for some nice images. A personal confession here – I’ve done wedding photography and find it scary enough. Add fire to the mix – as well as some potentially inebriated guests wielding that fire! – and the fear-factor goes up exponentially for me. I’m not saying don’t do these kinds of shots if that’s something you’d like to add to your wedding photography repertoire. Do your homework and read up on how other wedding photographers are using sparklers. Then, as you should with all wedding photography, do it with due diligence and the safety of your clients utmost in mind.
That said, read on in the Special Effects Section below to learn how you can include sparkler effects in your wedding images through some creative editing while not having to have them physically present during the wedding shoot.

This sparkler shot was done independently – 14 seconds, f/11, ISO 100, and then layered over the dance shot below
Writing with fire
Another popular effect done with sparklers is to “write” or “draw” with the light trail created when a sparkler moves during a long exposure. (Interesting that in the Greek roots of the word “photography,” Phos means light and graphi means writing.) During a long exposure, a sparkler can be used to “write” words, draw pictures, or trace the outline of an object. A tip when writing letters or words; usually the subject doing the “sparkler writing” will be facing the camera and for them, (so the letters appear proper to the camera), they would need to form backward letters. Make it easier for them by letting them write as they normally would and then flipping the image later in post-production.

I’ve also made some fun shots, such as that of the bicycle in this article, by “outlining” the basic shapes of the object with the sparkler during a long exposure. For this kind of thing, you might want to look into longer-burning sparklers such as #20 types which burn for about 2 minutes. They even sell extra-long #36 sparklers which will burn for up to 3 ½ minutes. Get what you need to accomplish the shot you’ll be making.

80 seconds, f/11, ISO 100. I probably could have traced the bicycle just once to simplify the shot and use a shorter exposure
Mixing ambient light and using flash
What you want to show up in your shot will determine your exposure settings and other techniques. Sometimes, all you want to show up is the sparkler itself. If that’s the case, put your camera on a tripod, put the unlit sparkler (or a stand-in object) where you expect the sparkler to be, use your flashlight and focus on that spot. Then turn off the autofocus so the focus is locked on that spot. You will want to shoot in the dark, have a dark background, and wear dark clothes if you or your subject will be in the shot moving the sparkler. Make a shot without lighting the sparkler with the ISO at 100 and adjust the aperture, so the resulting image is totally black. Shutter speed will be dependent on how long you expect the action to take.
Now, leaving all the settings there, light the sparkler and make the shot. Evaluate the shot to see what adjustments might be necessary. Once you have it dialed in, repeat as needed with another sparkler. If you are shooting relatively short, say under 5-second exposures, you may get multiple shots during the 35-second burn of even a small #10 sparkler.
Now, say you want your subject to appear in the image with the sparkler. A still-life object might work just fine with a similar technique with the light of the sparkler enough to illuminate the subject. The cocktail glasses and flag shots here were done in that fashion. The bicycle shot was too, though a long 80-second exposure was needed to trace the subject fully.
The New Year 2017 shot needed a little help from a flash. The 4-second exposure was about right for the static sparkler placed behind the glasses, but it’s placement behind the glasses, and the amount of light it cast, wasn’t enough to illuminate the other objects in the scene, so some fill-flash was used.

2.5 sec, f/16, ISO 100
Say you want to see your subject holding the sparkler, perhaps drawing with it, or maybe show a wedding couple in the shot with sparkler effects in the shot too. Set up the shot as before with enough shutter duration to capture whatever motion you want with the sparkler. Then, just before completing the exposure, pop a flash on your subject to illuminate and freeze them.
If your camera and flash support second curtain sync, that’s a great way to do this as the flash will be automatically triggered just before the exposure is completed. If not, or if perhaps you want to put the flash off camera, you can also manually trigger it with the test button. It takes a bit more timing and luck, but being able to put the flash where you want it and timing the flash to your action might be worth it.
Another option, since you will be making a long exposure, is to use a flashlight to “light-paint” your subject. As with the flash, if you want the sparkler to produce a trail but the person or subject to be frozen, illuminate them with the flashlight at the end of the exposure.
I mentioned the use of a CTO (Color Temperature Orange) gel with your flash. Because most sparklers burn with a warm gold light the much bluer light of the flash won’t match them. Putting a piece or two of CTO gel over your flash allows its light to better match that of the sparkler. Carefully crafted, you will be able to make it look like it was the sparkler lighting the subject when in fact the flash was doing the work.

1 second, f/11, ISO 100
Special effects with sparkler shots
I mentioned a wedding shot where it had the sparkler effect but without actually having the sparkler there. Here’s how you do it:
- Shoot your sparkler shots on a dark background. Then in post-production, adjust the black so the only thing visible is the sparkler and light trail itself.
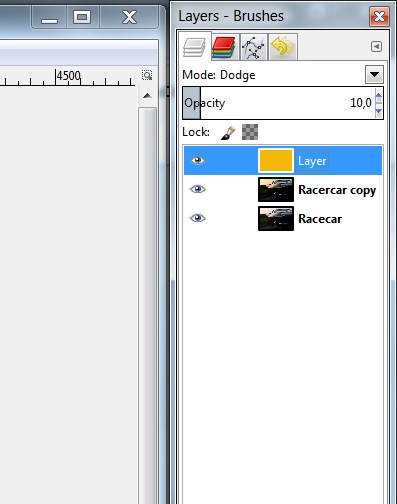
- Open the image you want in Photoshop, say the wedding shot.
- Open the sparkler shot as a separate image. Then “Select All” and “Copy” that shot.
- Go to the wedding shot and then “Paste” the sparkler shot over it on a separate layer.
- Change the blending mode on the sparkler layer to “Screen.” The black will become transparent, leaving the sparkler trail over your wedding shot.
- Adjust the placement, size, and so forth on the sparkler overlay to put it where you like.
- Using masking tools on that later, mask out any of the sparkler effects you don’t want to show.

Sparker effected added using Screen Blending mode with the sparkler on a separate layer.
The beauty of this technique is you can make your own “stock images” with various sparkler effects and have them available later when you might want to add them to other images. The other advantage is you don’t have the hassle and risks of using sparklers around your subjects.
If you don’t want to mess with sparklers at all but still want the effects, you can also buy “sparkler effects” packages and alphabets which you can use with this same technique.
So, have fun, be safe, and put some sparkle in your photos! Then, be sure to share them with us in the comments below.

The post How to Put Some “Sparkle” in Your Photos with Sparkler Photography appeared first on Digital Photography School. It was authored by Rick Ohnsman.