On now at SnapnDeals you can get 100 of my custom Presets 50% off. Deal ends soon, don’t miss out so grab it here.
Photographers don’t have a lot of extra time to edit. As a full-time photographer myself, I rely heavily on any tools that save me time in the editing process. One of the tools I use is Lightroom presets.
What are Lightroom presets?
A preset is a pre-determined position all (or some) of the of sliders in Lightroom (they are pre-set, get it?) In other words, you can edit a photo to your liking, and then save that exactly combination of slider positions for future use on another image.
First things first: how do you create a Lightroom preset?
Very easily! Once you have a photo edited the way you want it you need to save those settings.
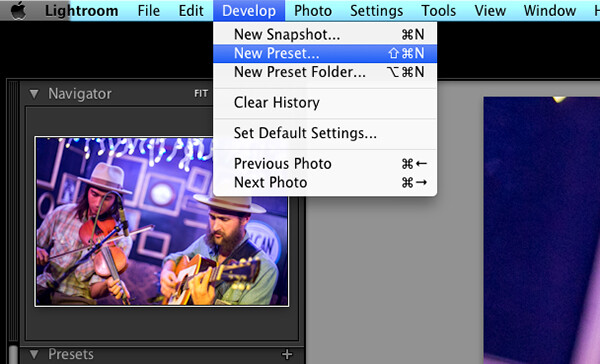
Step 1: Click “Develop” then “New Preset”
Step 2: Give your preset a title
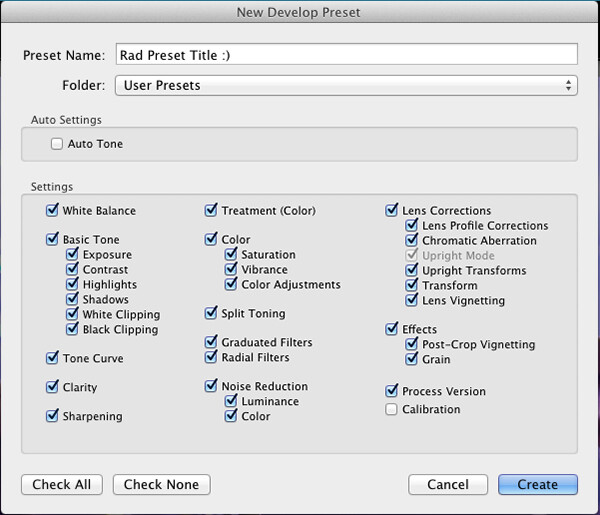
Name your new Preset
Step 3: Choose the folder you want the preset stored in, or create a new folder.
This is a good idea to separate your presets by type. You would be surprised how many random presets you end up with over a few years. Consider creating folders based on the type of edits they are.
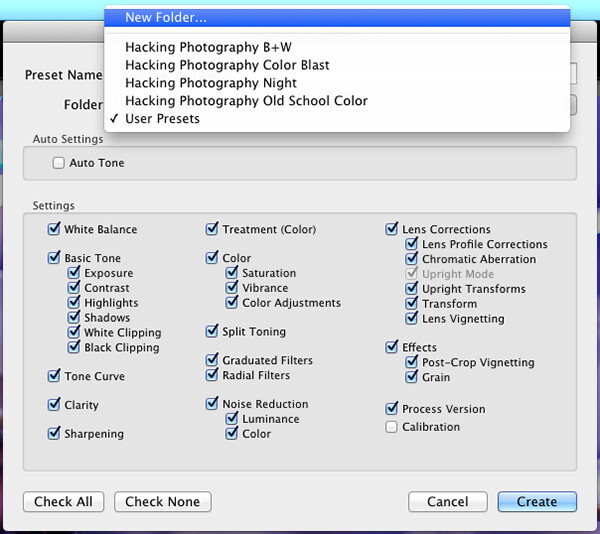
Choose the folder to save it in
You can see I’ve named my presets by color blast (big colors), night, old school color, and black and white. Now I can quickly find the preset I’m looking for based on what type of edit I want to do.
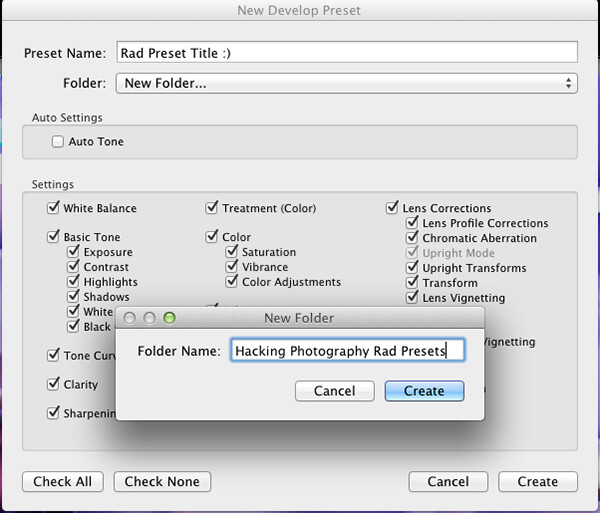
Or make a new folder and give it a name
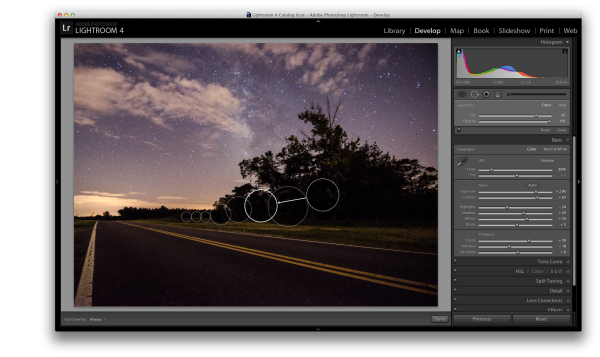
Step 4: Click the boxes you want applied to this preset and click “create” to create your preset
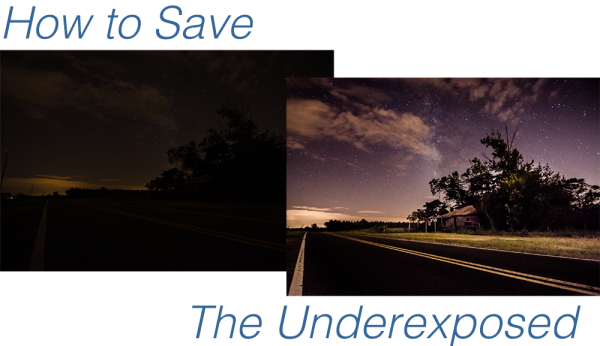
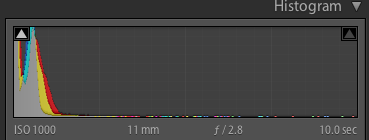
Sometimes you don’t want every box checked when you create a preset. Imagine you just edited an underexposed photo and had to increase the exposure two full stops (+2 on the exposure slider) to get it correct. This preset would look great on underexposed photos in that set, but would overexpose photos that had the correct exposure.
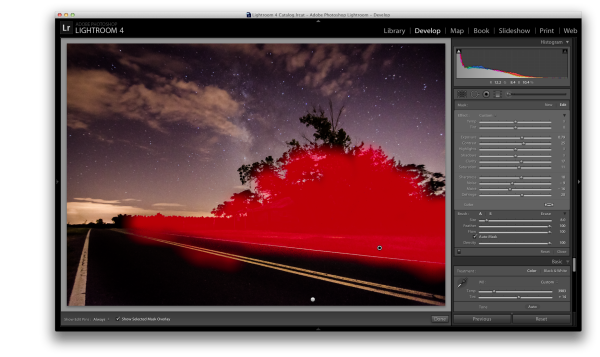
Another scenario is that you create a preset that only applies a slight vignette to your photos. Unchecking every box except the “vignetting” box would create a preset that would keep the ‘look’ of any photo you are editing and only apply that vignette to it. Pretty cool!
Step 5: You’re done, the preset is complete.
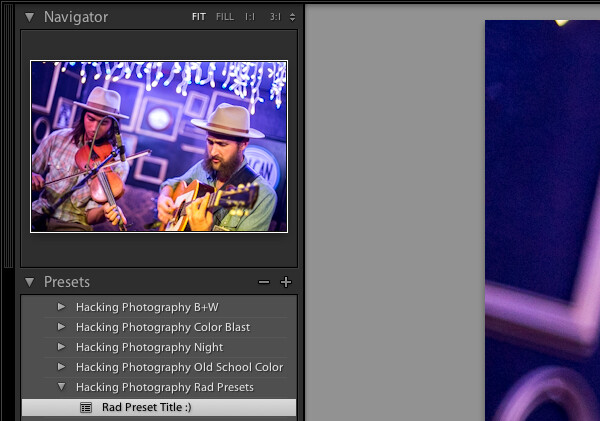
There’s your new Preset
The preset is complete and waiting in the folder you just created. Just open the folder and click the preset title to apply it to future photos.
Lightroom presets save time by enabling batch editing
Imagine shooting 300 images in an area where the lighting isn’t changing and stays consistent. You edit the first image to your liking and save the settings as a preset. Instead of individually editing the remaining 299 images one by one, you can apply that preset and achieve the same ‘look’ as the previous photos.
The next time you want that type of ‘look’ on a photo with a similar lighting setup you can just apply a preset in one click. It will move all the sliders to those exact positions so the edit style stays the same.
The best part about this is batch editing your photos all at once. You can edit a single image and then apply that preset directly to as many photos as you would like in just one click.
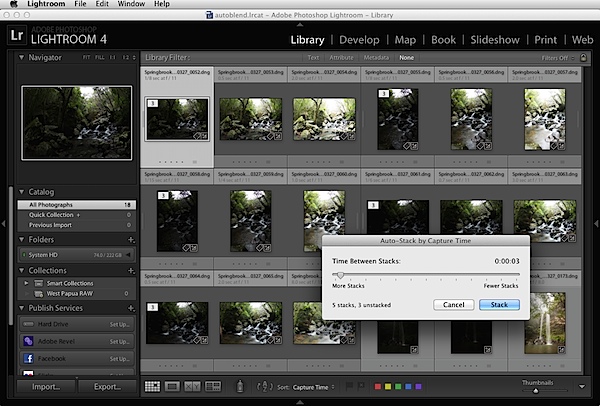
How do you batch edit photos?
Select all the photos you want to apply the preset to, right-click the any of the photo thumbnails, and follow this path:
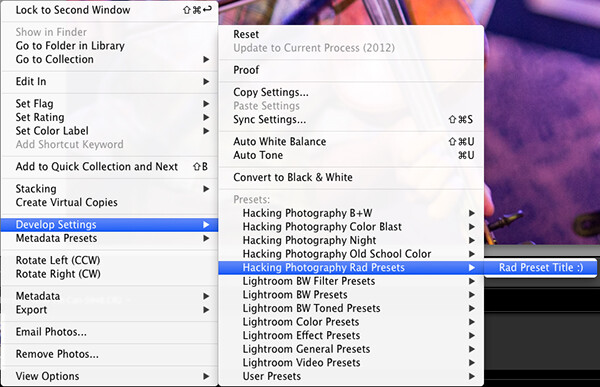
That will apply the preset automatically to all the images you selected in one click.
For a walk through on how to do this watch this video as I go through all the steps:
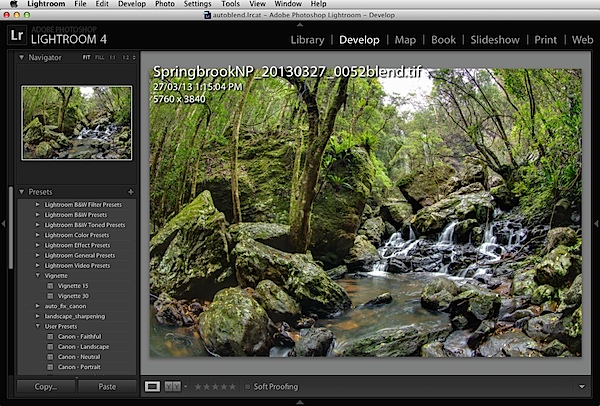
Lightroom presets also save time with the live preview feature
When you hover over the preset names the image thumbnail in the top left corner will give you a preview of what that image will look like with that preset. As you scan your mouse over the list you will be able to tell if a certain preset will look good or not. If it does, you can click once and be done with the image.
Lightroom presets give you a great starting point
Instead of manually editing a photo from scratch, you can apply a preset to make a big change and edit from there. It’s like getting a big head start.
Lightroom presets can do a one-click edit
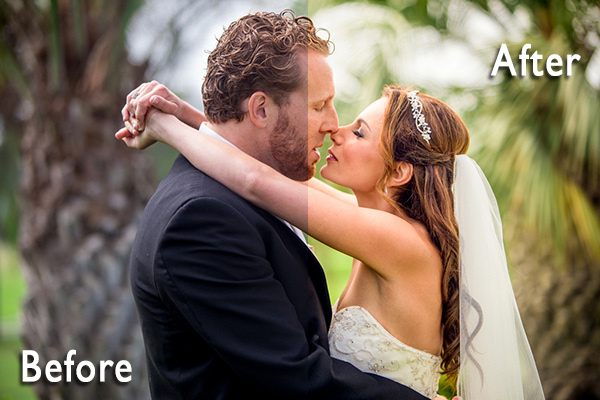
If I’m hitting a blank spot on where I want to take an image I will hover over my presets and see if I like any of the previews. Sometimes I love it and it’s a one-click edit. Sometimes I like the look but know it needs a little tweaking. Either way it can save a lot of time. Check out a few one-click edits below from some of my presets.
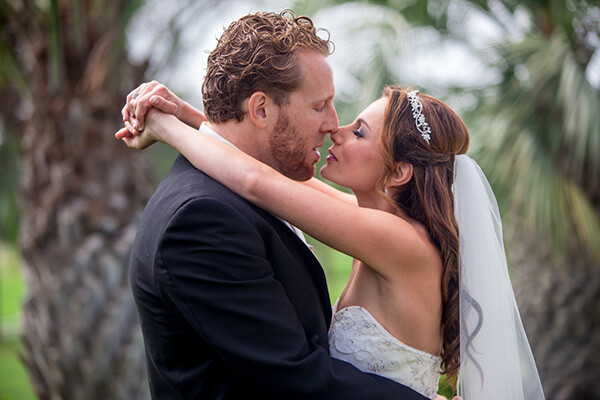
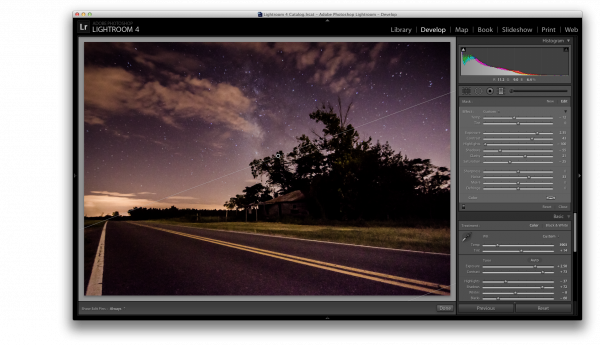
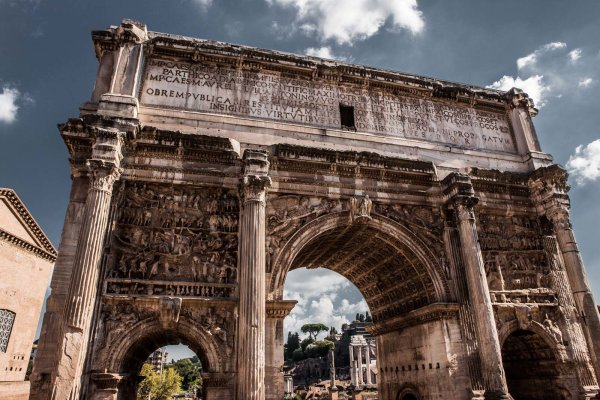
Straight out of camera
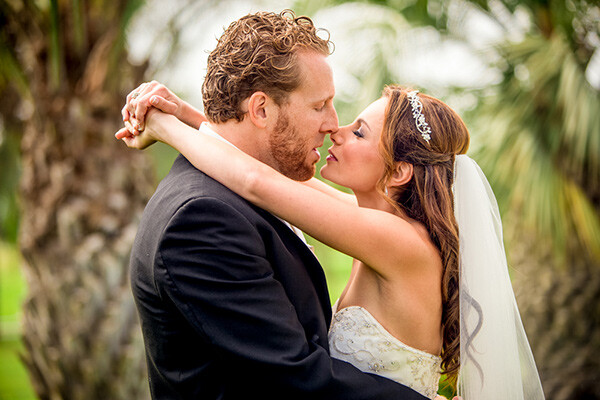
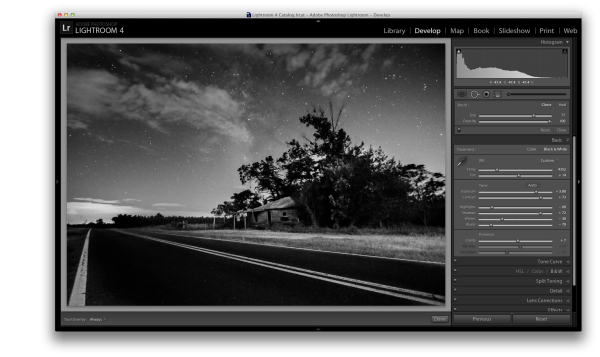
After one-click preset

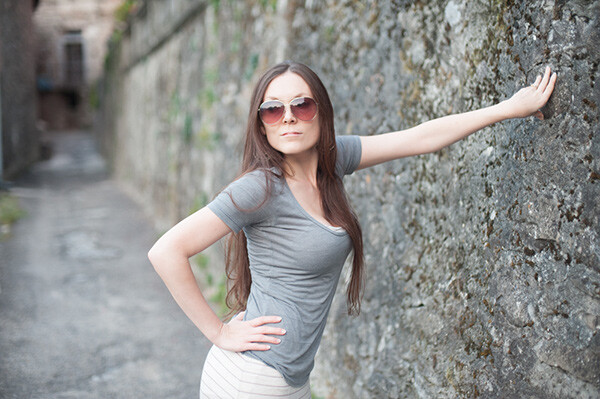
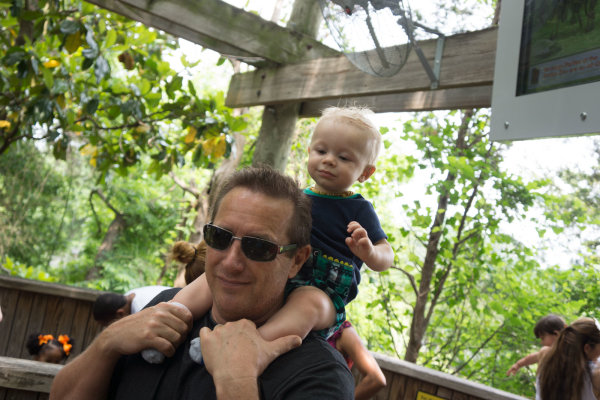
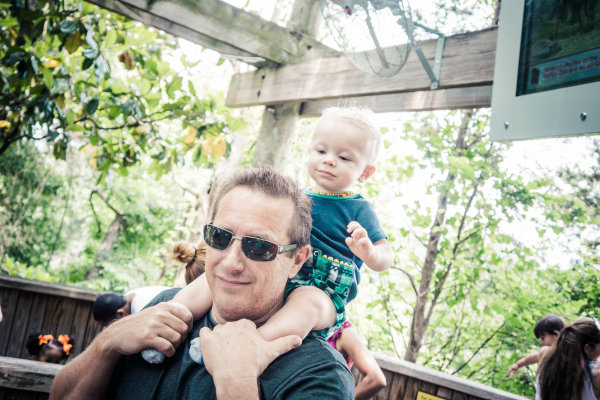
Straight out of camera
After one-click preset
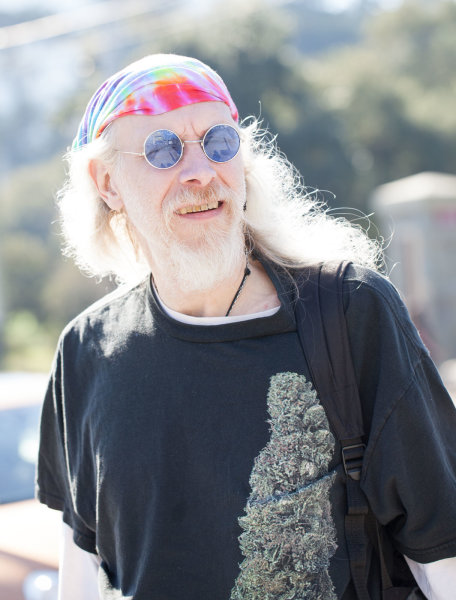
Straight out of camera
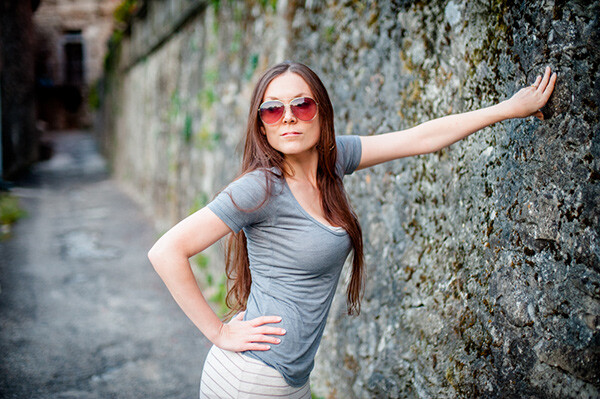
After one-click preset
I hope you’ve seen how much Lightroom presets can help speed up your editing time and supply you with some very creative edits. I’d love to hear your thoughts in the comments below.
For more information on Lightroom presets check out these:
- A Concise Guide to Lightroom Develop Presets
- 4 Quick Tips For Getting The Most Out of Lightroom Presets
- How to Add an Opacity Slider to Lightroom Develop Presets with The Fader Plug-In
Don’t want to make your own presets? On now at SnapnDeals you can get 100 of my custom Presets 50% off. Deal ends soon, don’t miss out so grab it here.
The post Save Tons of Editing Time with Lightroom Presets by Mike Newton appeared first on Digital Photography School.
 Over on our sister site – SnapnDeals – we have a great offer running right now – it gets you 30% off of an incredible collection of Lightroom presets by DPS contributor James Brandon. You’ll also receive a free copy of his newest ebook “10 Tips For Improving Your Photography Today.”
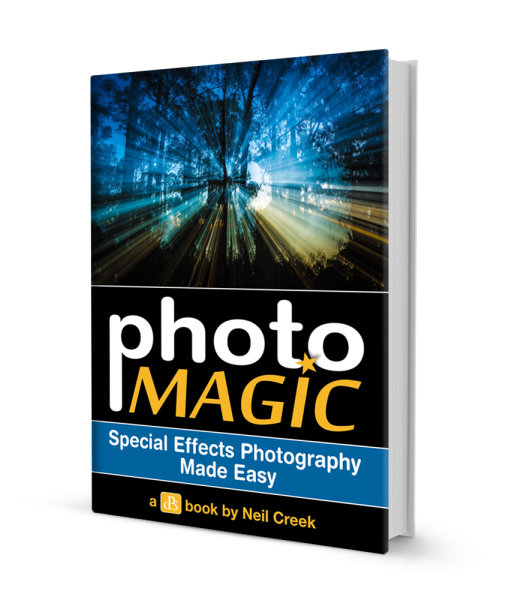 Just on 3 weeks ago we announced our brand new eBook – Photo Magic – a guide to taking 11 special effects/trick photography techniques.
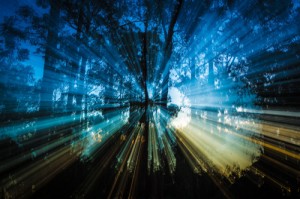 Zoom Effect
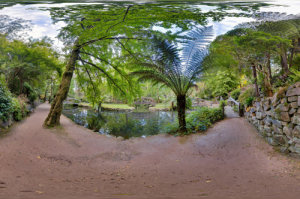 360 Panorama
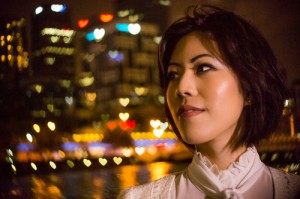 Aperture Masks
 Flour Hair Flick
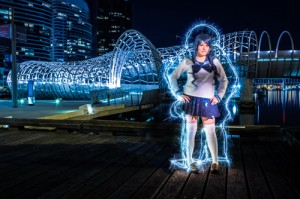 Light Painting Sparklers
 Light Painting Steel Wool
 Little World
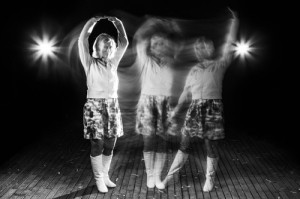 Mixing Ambient and Flash
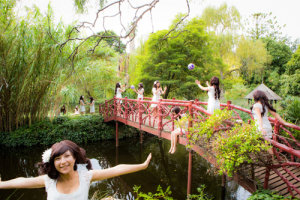 Multiple Exposures
 Star Trails
 Water Droplets

 Over on our sister site – SnapnDeals – we have a great offer running right now – it gets you 30% off Phil Steele’s Headshots and Portraits course.
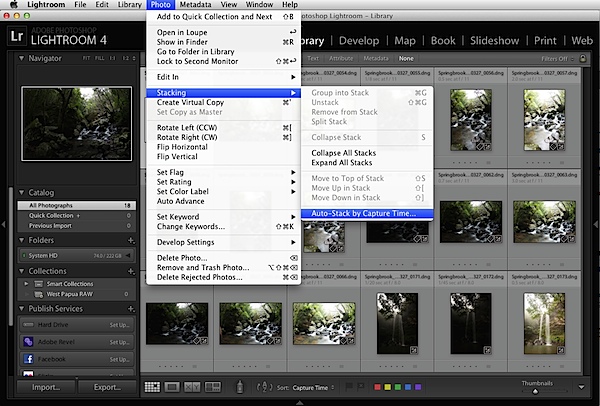

You must be logged in to post a comment.