A Guest Post by Lithuanian Photographer Tadas Naujokaitis.
Birds are very interesting creatures, but it’s not so easy to photograph them. Wild birds usually don’t pose where you want and, moreover, it’s often difficult to get close enough to take quality pictures. But if you know some basics of bird photography, it becomes much easier to capture amazing moments of the birds’ life.
Equipment
It’s not necessary to have an expensive camera of lens, however the proper equipment lets to take bird photos easier.
Lens
Most birds are quite shy, so you need at least 200mm (300mm is better) to take pictures of them. Longer focal length not only lets to photograph birds from larger distance, it also gives more blurred background. However more millimeters (or larger aperture) means more expensive, larger and heavier lens. Knowing all that, I think that 400mm f/5.6 lens is the best, if you want to have as much millimeters as possible, not too small aperture and still want to be mobile. Of course, you can make magnificent bird images with 100mm or less, just you should find more courageous birds or compose them to landscape.

Grey Heron is landing far enough where it feels safe, but with 400mm it’s possible to capture it with all the details.
Camera
In bird photography, almost all DSLR’s will make a good job. However, if you’re planning to photograph birds in flight, pay attention to fps (frames per second), high ISO results and AF (autofocus) system’s accuracy. If you don’t have a DSLR camera, then bird photography becomes a bit more difficult (especially due to slow AF), but don’t give up – a good photographer, I believe, will make better bird photos with mobile phone than a poor one with the most expensive equipment.
Tripod, monopod, flash, even remote control sometimes help much, but usually aren’t necessary.
Camera settings
It’s very important to know what settings to choose in certain situation to get most from your camera.
Exposure
In bird photography lens with long focal length are usually used, so it’s very important to set not too long exposure, if you don’t want that camera shake would cause blurry pictures. The rule is to set expose not longer than focal length of your lens. For example, if your lens focal length is 400mm, you need to set at least 1/400 exposure to get sharp images. However, it is valid only if you have a full-frame camera. If your have a DSLR with smaller sensor (e.g. APS-C DSLR – with 1.6 crop factor), you need to multiply millimeters of your lens from the crop factor. This time that would be (400 x 1.6 = 640) 1/640 exposure. If you don’t have a DSLR, you usually won’t need to multiply anything – the focal length, written on your camera lens, usually already is multiplied (actually it’s 35mm equivalent). Today, most lens or cameras have image stabilization (IS, VR…), and that helps much in low light conditions. Using it, you can set as many steps longer exposure, as you find in your lens/camera specifications, and get sharp images. For instance, if there is a 2 steps 400mm lens stabilizer, you can set 2 steps longer exposure (1/400-1/200-1/100, with APS-C camera: 1/640-1/320-1/160). When using tripod, of course, these rules to minimize camera shake are not so important.
If you want so freeze action, set 1/1000 or shorter exposure, if you would like to show movement, use 1/60 or longer.
Aperture
As you may already knew, aperture controls DOF (depth of field). That means, if you want a more blurred background, set the largest aperture (the smallest number). However, when using telephoto lens, some parts of bird’s body may appear out of focus, so pay attention where exactly you are focusing (that usually is the bird’s eye). If necessary, close aperture a bit.

When photographing these young Swallows I needed to set f/8 aperture to get both birds in focus.
ISO
In bird photography, as in anywhere else, the lower ISO speed, the better. However, it’s much better to set ISO 800 or 1600 and get a sharp picture, than ISO 200, and get the blurry one.

This photo of Black Redstart was made with ISO 2000, because there wasn’t much light, and I believe it was worth it.
Some other notes
When photographing birds, three modes work the best. If you want to control aperture (depth of field), choose Av (aperture priority) mode. For shutter speed controlling (especially useful when photographing birds in flight) use Tv (shutter priority) mode. If you exactly know what settings you need, choose M (manual) mode.
If you photograph dark bird in light background or want to get more details from dark areas, set the positive exposure compensation value, if you want to avoid overexposed areas, set the negative one.
I recommend you to always shoot in RAW, if possible, because later you can easily fix such things as WB (white balance) with computer.
Ways to photograph birds
The next step is to learn, how to get to the birds closer, so then you will be able to take quality pictures of them.
So you can:
Don’t do anything exceptional
Some birds are courageous and let you to come close enough. The best example is Mute Swans.

Move carefully
Many birds let you to come close enough if you simply don’t make any sudden movements.
Stalk
Sometimes this really works, just make sure that bird doesn’t see you when you are getting close and then, very carefully, take picture.
Lie without any movements
Birds sometimes come surprisingly close, when you lie. Just find a good place or put some food and be patient!
Hide
When photographing a shy bird or wanting a small bird to come very close for a quality photo this is the best technique. You can hide using hunting blind, camouflage net or the blind you made yourself from surrounding materials. The lower is blind, the more courageous birds feel. If you use surrounding materials to camouflage the blind or to hide yourself, that is another advantage. You can hide near various objects, which attracts birds. Also, you can put some food where you want for birds to come. Sunflower’s seeds are the best food in most cases. If you want that bird would sit on the twig or something similar before taking food, put that twig above the food.

Here you can see the photo of Great Tit and how it was made.

Sometimes it’s enough to put some sunflower’s seeds on the grass! And this is the result.
It doesn’t matter which way you choose, be patient. Don’t wander from one bird (birds) to other (others), if you didn’t succeeded from the first time. Sometimes it’s a good idea to go back next day and try again.
The Image
Now, lets talk about the image itself. We know what equipment we need, what camera settings to choose, how to get to the bird closer, now it’s time to find out how to make the image of the bird look attractive.
The light
Everything starts with a good light. The best time for photography is morning or evening because the light is soft and has a pleasant hue, shadows are not so distinct, it’s easier to get details from very bright and dark areas.

In this example you can see that this White-winged Tern has both black and white feathers, but because it was photographed in the evening, there are no pure white or black areas.
Composition
It is usual to leave some space in the direction the bird is looking or flying. Rule of thirds sometimes helps too. Simply try some different framing to see when you get the best result. In addition, try to avoid any distracting elements, when you are taking the picture. And one more thing to mention: when you are taking the photo of the bird, try to be in it’s eye level.
The bird’s sitting place and the background
It’s the best, when the place, where the bird sits, shows bird’s natural habitat. It can be almost anything because birds live in very different habitats. The background shouldn’t be distracting and usually it looks better when it isn’t the sky (but not always!).

Capture something more

Ethics of bird photography
Birds are wonderful creatures. When you are taking photos, don’t harm them. I strongly advice you not to photograph birds near nests (except when the distance is large and bird isn’t sensitive to disturbance – there are only very few such species). Even if you don’t harm birds, you can show the place of the nest for predators. The life of bird is more important than a photo.
Conclusion
Bird photography is exciting and full of adventures. I hope after this article it will be easier for you to take beautiful bird photos.
About the Author: Tadas Naujokaitis lives in Lithuania. See more of his work at www.tadasnaujokaitis.tk and connect with him on his Facebook page.
Post originally from: Digital Photography Tips.
Check out our more Photography Tips at Photography Tips for Beginners, Portrait Photography Tips and Wedding Photography Tips.
An Introduction to Bird photography

Digital Photography School
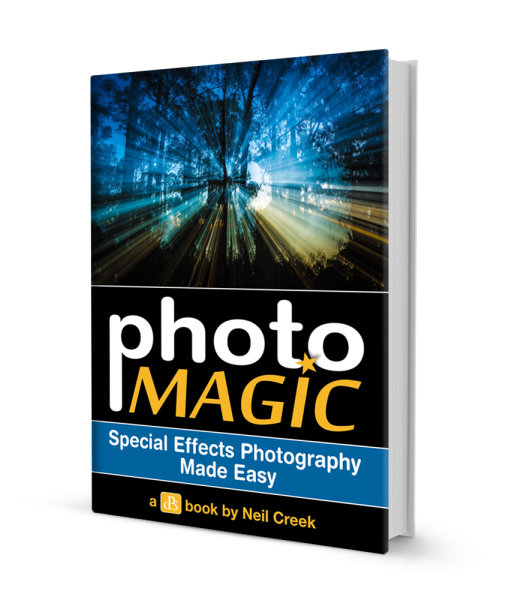 Just on 3 weeks ago we announced our brand new eBook – Photo Magic – a guide to taking 11 special effects/trick photography techniques.
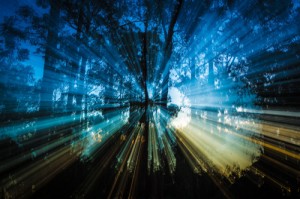 Zoom Effect
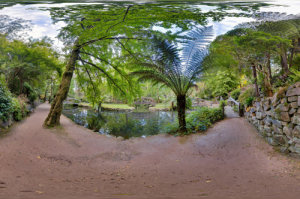 360 Panorama
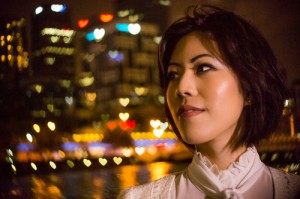 Aperture Masks
 Flour Hair Flick
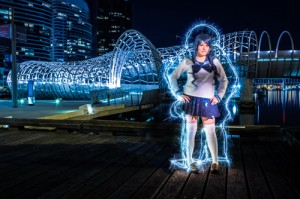 Light Painting Sparklers
 Light Painting Steel Wool
 Little World
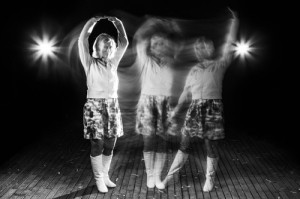 Mixing Ambient and Flash
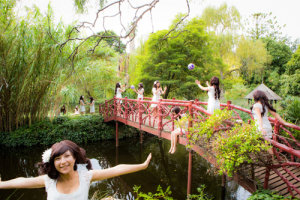 Multiple Exposures
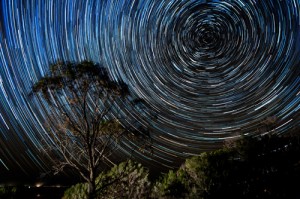 Star Trails
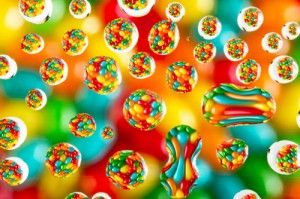 Water Droplets

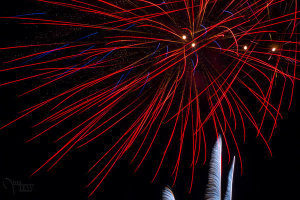
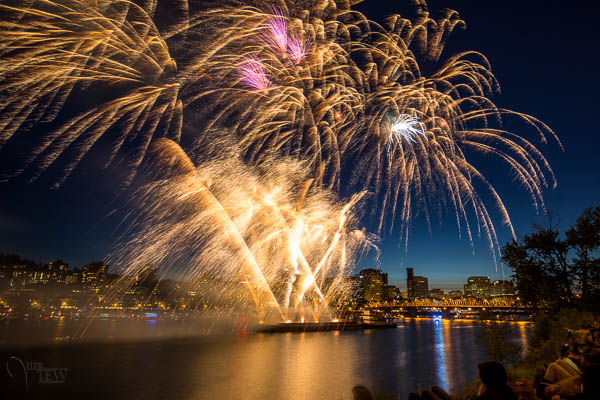
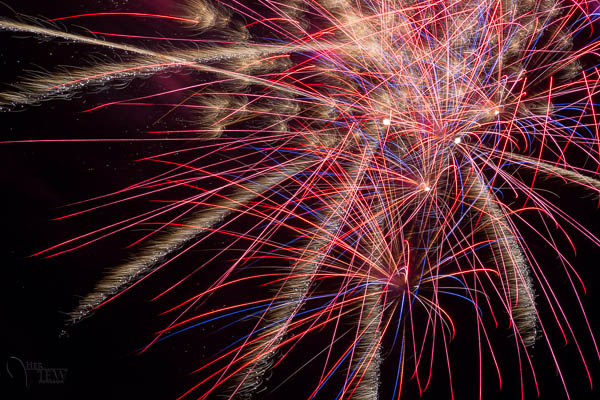 #5 set your camera on Manual mode for exposure and set your aperture to f5.6 or f8. Those apertures are pretty optimal for fireworks as the light streaks are controlled by the size of the aperture. Closing down more will make the light trails thinner, opening up more will make them wider and possible too over exposed. Do some tests but all the times I’ve done fireworks I keep coming back to f8 as my preference.
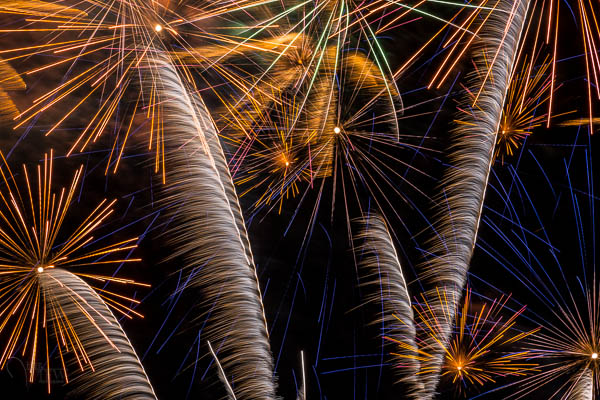
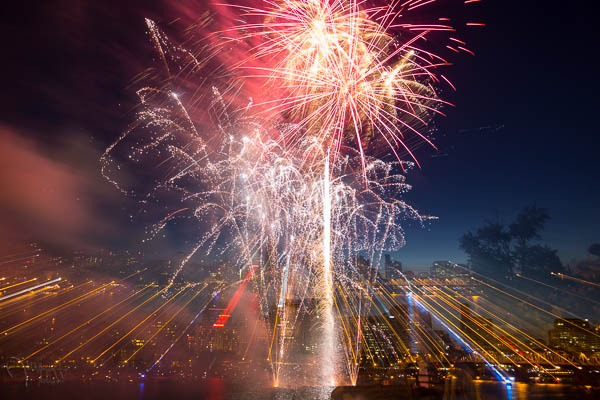


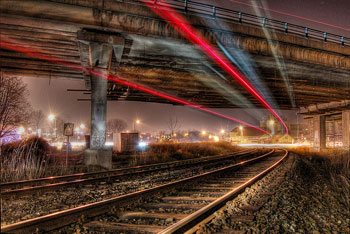 Photo by stevacek
 Photo by MarvinOS
 Image by MarkyBon
 Image by Loving Earth
 Image by vividiti
 Image by Lush.i.ous
 Image by Aeloux
You must be logged in to post a comment.