RSS
 

Posts Tagged ‘Photography’

4 Ways to Get Inspiration from the Streets to do Better Wedding Photography

14 Jul

Be inspired by decisive moments on the streets to create better wedding photography.

If you are reading this article you must have some interest in street photography, or maybe you are starting as a professional wedding photographer, but most likely you are interested in both fields. This will give you some ideas on how to draw inspiration from street photography that you can use in your wedding work.

A street photographer can be anyone going out to wander the streets of a city with their camera, in order to make photographs that tell the human story of daily life as it occurs on the streets. A wedding photographer on the other hand, is one that is hired to capture memories, tell the love story, and the unfolding special day in a family’s life. The wedding photographer is a professional with enormous responsibility to find, and deliver the right frames, that will recreate trusted memories, decades after the big day is over.

A clear personal artistic voice is what separates one photographer from another. That voice is who you are, but that voice of yours needs constant care and development, in order for it to be a dominant factor in your photographic style as a professional photographer. Competition, changing trends, and the release of new gear also have their own voices that can influence your photography. Maintaining a balance between your inner world and the outer influences is key to success as a street-wedding photographer.

The following tips came from the world of street photography and are perfectly suited for the wedding photographer. If you master them on the street, you can go to a wedding with confidence, and sing your own song with your camera.

1 – Planning versus reacting

Wedding photography tips
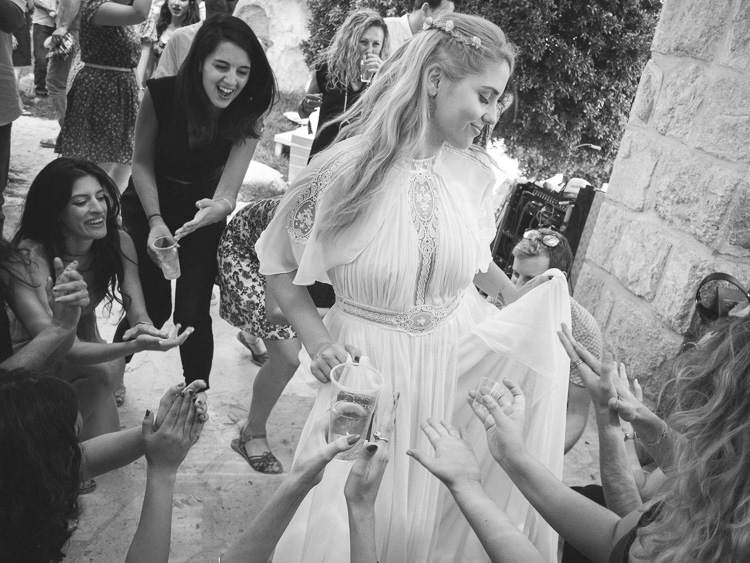
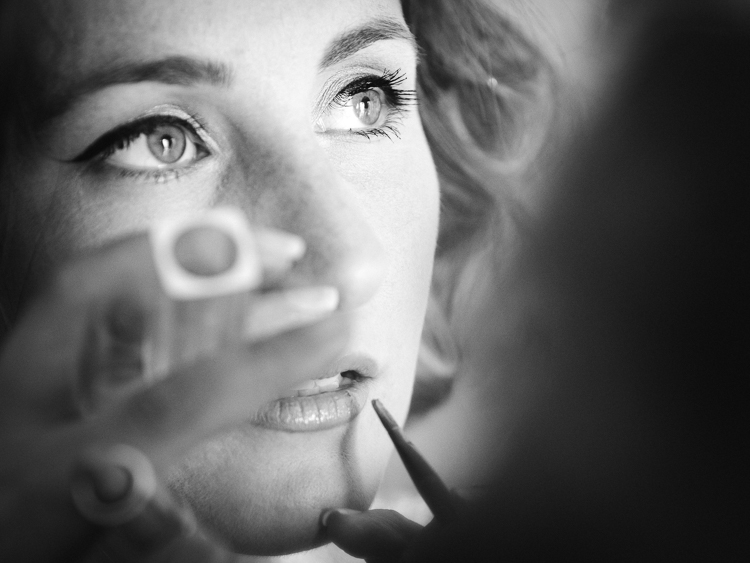
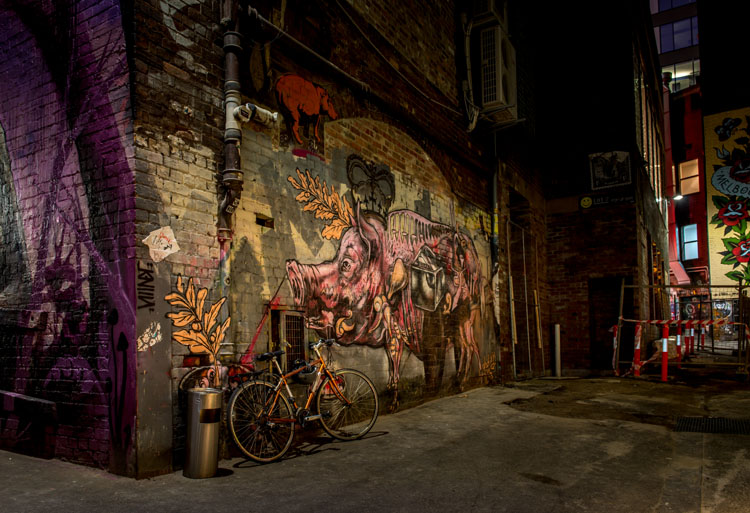
What it takes to make great decisive moment photographs is, that first of all you need to see them before they occur. The longer before the better, it will give you the time to plan your composition, and work towards a frame that will be exciting and tell a story. In order to see things before the happen it takes looking around your subject, and constantly look at the surroundings of the bride, rather than focusing your attention only on her. This way you will be able to notice other elements and people that make your frame more interesting and communicative. Even as short as two or three seconds can be long enough for a street photographer to plan a good frame.

If you look around and plan your next shot you have a greater chance of catching the decisive moment, rather the one that follows.

2 – Create emotion

wedding photography tips motion
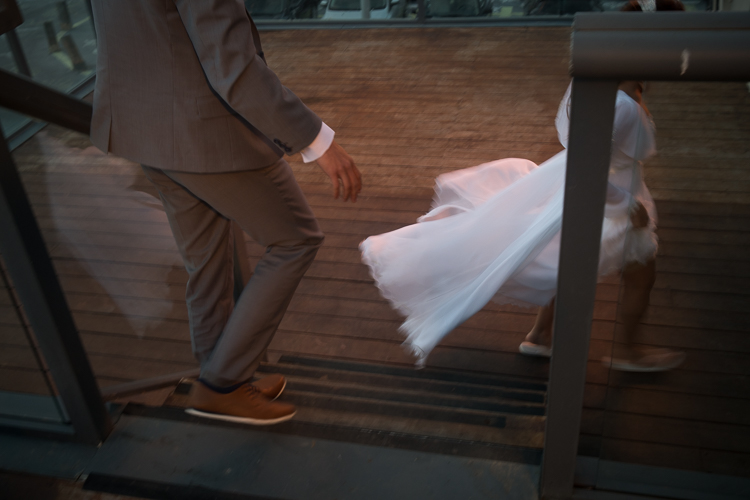
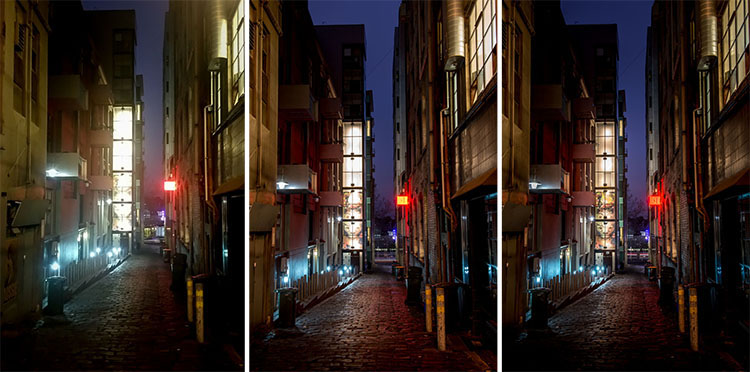
Freezing and blurring the movement of objects and people are two ways to communicate emotion in a photograph. It is a property that is unique to still photography, and is a big part of the photographic language. But often many photographers think that a wedding photograph has to be sharp and in focus, and the end result is often a precise documentation of reality, rather a poetic description of the moment. Give yourself the time it takes on the street to fully understand how the blurring and freezing of motion is being read and perceived by the viewers.

Master motion techniques then bring them into the weddings you photograph.

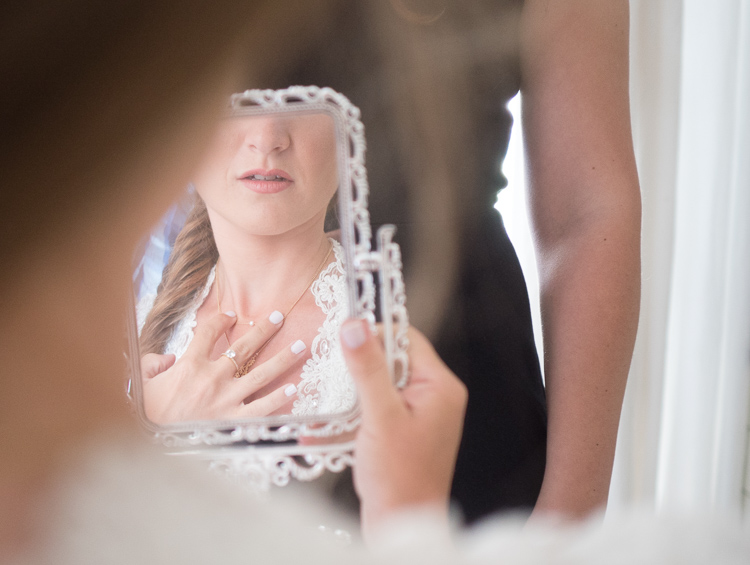
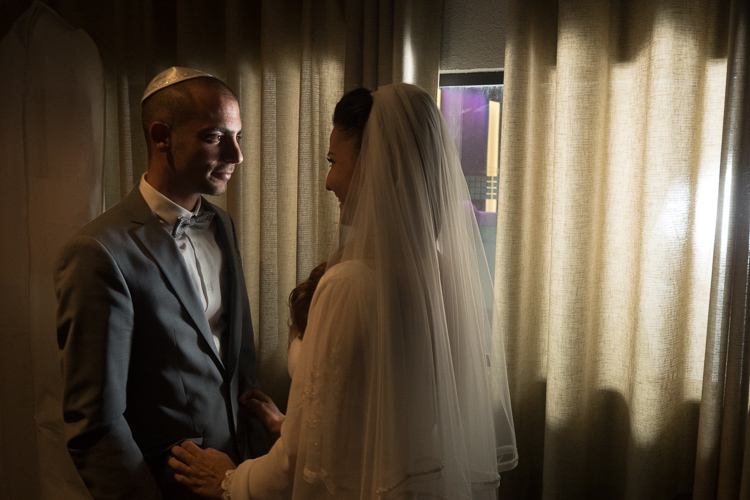
3 – Understand the way light can work for you

wedding photography tips light
Explore the way light falls on things, and the way it looks in your street photographs. When your are under the stress and responsibility of a wedding day the thinking side of your brain often takes over, and shuts down the creative side. You may see the wedding as a checklist of photographs to be taken, images of subjects, rather than decisive moments to tell a story.

One way to keep the creative brain in charge of things is to remind yourself constantly to work with the light, see light, change it if necessary, and let go of the subjects. If you are photographing the bride getting ready, she is the subject whether you think about it or not, now it’s time to think about light.

4 – Responsibility and integrity

wedding photography tips

Whether you work for yourself as a street photographer, or as a professional wedding shooter, you should be able to sleep well at night. You should never publish street photographs that might hurt someone’s feelings or cause them damage. However, that being said, you should also remember that the act of photographing people on the streets doesn’t harm them in any way, and have no fear to do your art.

There is another side to the coin of responsibility, that is integrity. when you are hired to photograph a wedding be sure to have shown only photographs that were made by you, that are a good representation of your style and voice. Be sure to let your clients know that they are going to get artistic street-wedding photographs if that is what you want to give them!

googletag.cmd.push(function() {
tablet_slots.push( googletag.defineSlot( “/1005424/_dPSv4_tab-all-article-bottom_(300×250)”, [300, 250], “pb-ad-78623” ).addService( googletag.pubads() ) ); } );

googletag.cmd.push(function() {
mobile_slots.push( googletag.defineSlot( “/1005424/_dPSv4_mob-all-article-bottom_(300×250)”, [300, 250], “pb-ad-78158” ).addService( googletag.pubads() ) ); } );

The post 4 Ways to Get Inspiration from the Streets to do Better Wedding Photography by Ouria Tadmor appeared first on Digital Photography School.


Digital Photography School

 
Comments Off on 4 Ways to Get Inspiration from the Streets to do Better Wedding Photography

Posted in Photography


DEAL: How to Take Your Landscape Photography to the Next Level

12 Jul

It’s Day 6 of our 7 Day Mid Year Sale, and for the next 24 hours you can grab a copy of The Complete Photography Tutorial Ebook by Richard Schneider at 61% off.

NewImage

Richard’s guide normally sells for US$ 99. But he’s made it available to the dPS community for just US$ 39, today only.

At over 250 pages, this may be the most in-depth ebook on how to capture amazing photography anywhere whether it be countryside landscapes or cityscapes!

It also comes with bonus Lightroom Presets to help you make your photos pop.

Richard has worked as a photography educator for over 10 years, as well as a pro landscape photographer.

He wrote The Complete Photography Tutorial Ebook to help people learn the core concepts of photography quickly and avoid the same mistakes he made.

Now you can learn everything you need to get started and capture your own stunning photos.

Grab your copy today for just US$ 39 – 61% off.

But remember this offer only lasts for 24 hours.

googletag.cmd.push(function() {
tablet_slots.push( googletag.defineSlot( “/1005424/_dPSv4_tab-all-article-bottom_(300×250)”, [300, 250], “pb-ad-78623” ).addService( googletag.pubads() ) ); } );

googletag.cmd.push(function() {
mobile_slots.push( googletag.defineSlot( “/1005424/_dPSv4_mob-all-article-bottom_(300×250)”, [300, 250], “pb-ad-78158” ).addService( googletag.pubads() ) ); } );

The post DEAL: How to Take Your Landscape Photography to the Next Level by Darren Rowse appeared first on Digital Photography School.


Digital Photography School

 
Comments Off on DEAL: How to Take Your Landscape Photography to the Next Level

Posted in Photography


A Beginner’s Guide to Minimalist Photography

12 Jul

Minimalism is splitting the world in two. Love it or hate it, it’s a style with a very defined outline, one that has its roots in in the painted arts of the 20th century and that continued to branch out in other domains. These days, minimalism is especially present in design, fashion, and photography. A simple scout around websites such Continue Reading

The post A Beginner’s Guide to Minimalist Photography appeared first on Photodoto.


Photodoto

 
Comments Off on A Beginner’s Guide to Minimalist Photography

Posted in Photography


2016 iPhone Photography Award winners announced

12 Jul

$ (document).ready(function() { SampleGalleryV2({“containerId”:”embeddedSampleGallery_2881453112″,”galleryId”:”2881453112″,”isEmbeddedWidget”:true,”standalone”:false,”selectedImageIndex”:0,”startInCommentsView”:false,”isMobile”:false}) });

The organizers of the iPhone Photography Awards (IPPAWARDS), one of the longest running mobile photography contests, have announced the winners of the 2016 competition. The grand prize this year goes to an image titled ‘The Man and the Eagle’ by Chinese photographer Siyuan Niu.

“The brave and wise Khalkhas live along the mountains in the south of Xinjiang and are companions with the eagles. They regard eagles as their children and train them for many years to hunt. This 70 year old man is rigid and solemn in front of family and friends, but when he is with his beloved eagle, the corner of his mouth would curve up. When the eagles reach mating age, although he is very reluctant, the man releases the eagles back into nature so that they can thrive. A mild heart and exquisite love are covered by his weather-beaten face. He is a tough man with a tender heart.”

The contest covers a wide range of categories and winning images were selected from thousands of submissions made by photographers from 139 countries. In the gallery above you can see the grand prize winning shot and some of the category winners. Head over to the IPPAWARDS website to see all winning images.

Articles: Digital Photography Review (dpreview.com)

 
Comments Off on 2016 iPhone Photography Award winners announced

Posted in Uncategorized


Deal 3: Save $401 on The Complete Landscape Photography Pack

10 Jul

It’s Day 3 of our Summer Sale and if you’re interested in the art of landscape photography – this offer is for you!

Day 03 fb ad
InFocus Deals are offering dPS subscribers their Complete Landscape Photography Pack with a massive 89% discount!

For US$ 49 you’ll get US$ 450 worth of learning materials in The Complete Landscape Photography Pack – a mammoth savings of US$ 401!

Take a look at what’s in this amazing Landscape Photography pack:

Get full details of the bundle over at the InFocus Deals Page

This bundle is huge and will help you improve your Landscape Photography for sure!

But of course, as with all our deals this week, an offer this fantastic can’t last forever.

So, don’t miss out. Lock in the unbeatable savings of US$ 401 today.

googletag.cmd.push(function() {
tablet_slots.push( googletag.defineSlot( “/1005424/_dPSv4_tab-all-article-bottom_(300×250)”, [300, 250], “pb-ad-78623” ).addService( googletag.pubads() ) ); } );

googletag.cmd.push(function() {
mobile_slots.push( googletag.defineSlot( “/1005424/_dPSv4_mob-all-article-bottom_(300×250)”, [300, 250], “pb-ad-78158” ).addService( googletag.pubads() ) ); } );

The post Deal 3: Save $ 401 on The Complete Landscape Photography Pack by Darren Rowse appeared first on Digital Photography School.


Digital Photography School

 
Comments Off on Deal 3: Save $401 on The Complete Landscape Photography Pack

Posted in Photography


4 Tips for Better Child Photography by a Mom

10 Jul

Elena Shumilova and her family moved to the country and she started photographing her two sons. Then she put her images online and something magical happened – the world loved them! She has over 50 million views of her images and counting.

In the first video below you can see how she captures the natural moments of her children’s lives in such a way as to captivate the world. Then watch the second to get four tips you can use to do the same and do better child photography of your own kids, grandkids or neighbors.

Mom Captures Childhood of Her Sons

4 Expert Tips for Child Photography

You can see more of Elena’s images of childhood here.

Are you inspired? Go take some photos of the children in your life and share them below!

googletag.cmd.push(function() {
tablet_slots.push( googletag.defineSlot( “/1005424/_dPSv4_tab-all-article-bottom_(300×250)”, [300, 250], “pb-ad-78623” ).addService( googletag.pubads() ) ); } );

googletag.cmd.push(function() {
mobile_slots.push( googletag.defineSlot( “/1005424/_dPSv4_mob-all-article-bottom_(300×250)”, [300, 250], “pb-ad-78158” ).addService( googletag.pubads() ) ); } );

The post 4 Tips for Better Child Photography by a Mom by Darlene Hildebrandt appeared first on Digital Photography School.


Digital Photography School

 
Comments Off on 4 Tips for Better Child Photography by a Mom

Posted in Photography


Weekly Photography Challenge – Laughter

09 Jul

Real, natural emotions captured with a camera can be challenging like getting photos of real laughter.

How to approach people photography is up to you. There are two basic approaches:

  1. The sneak attack with a long lens where the subject is unaware of being photographed
  2. The direct approach where the subject is engaged with you and the camera
Meena Kadri

By Meena Kadri

Dennis Brekke

By Dennis Brekke

Weekly Photography Challenge – Laughter

How you decide to approach it is up to you. Do you prefer to be inconspicuous and wait for the right moment, observing people from afar. Or do you like to be part of the action, maybe even take part in or help cause the laughter.

Do you find, like I do, that children are quicker to laugh than adults? Perhaps because they have less inhibitions? Or maybe they’re just sillier?

Either way – go take some photos of people laughing, and have some fun yourself!

Pauleon Tan

By Pauleon Tan

Thomas Hawk

By Thomas Hawk

Atli Harðarson

By Atli Harðarson

Becca.peterson26

By becca.peterson26

Elizabeth Pfaff

By elizabeth pfaff

BMiz

By BMiz

Share your images below:

Simply upload your shot into the comment field (look for the little camera icon in the Disqus comments section) and they’ll get embedded for us all to see or if you’d prefer upload them to your favourite photo sharing site and leave the link to them. Show me your best images in this week’s challenge. Sometimes it takes a while for an image to appear so be patient and try not to post the same image twice.

googletag.cmd.push(function() {
tablet_slots.push( googletag.defineSlot( “/1005424/_dPSv4_tab-all-article-bottom_(300×250)”, [300, 250], “pb-ad-78623” ).addService( googletag.pubads() ) ); } );

googletag.cmd.push(function() {
mobile_slots.push( googletag.defineSlot( “/1005424/_dPSv4_mob-all-article-bottom_(300×250)”, [300, 250], “pb-ad-78158” ).addService( googletag.pubads() ) ); } );

The post Weekly Photography Challenge – Laughter by Darlene Hildebrandt appeared first on Digital Photography School.


Digital Photography School

 
Comments Off on Weekly Photography Challenge – Laughter

Posted in Photography


3rd annual International Drone Photography Contest winners announced

09 Jul

$ (document).ready(function() { SampleGalleryV2({“containerId”:”embeddedSampleGallery_9559387122″,”galleryId”:”9559387122″,”isEmbeddedWidget”:true,”standalone”:false,”selectedImageIndex”:0,”startInCommentsView”:false,”isMobile”:false}) });

Dronestagram has announced the winners of its third annual International Drone Photography Contest. Three winners were selected in each of the following categories: ‘Travel,’ ‘Sports Adventure,’ and ‘Nature Wildlife.’ According to National Geographic, which was one of the contest’s sponsors, Dronestagram received 5900 entries from photographers across 28 countries.

The Dronestagram contest seeks out the best photographs taken with a drone, and deliberately looks for images that couldn’t have been taken any other way. According to Dronestagram marketing and development head Guillaume Jarret who spoke with Nat Geo, ‘A great drone picture is a picture that you immediately identify as a drone photo. It is taken at a low altitude, near the target of the picture.’

The winners are:

Travel category: 

  • 1st place: Francesco Cattuto’s “Basilica of Saint Francis of Assisi in Umbria, Italy”
  • 2nd place: Todd Kennedy’s “Cable Beach”
  • 3rd place: Karolis Janulis’ “Summer camp of Gran Canaria”

Sports Adventure category:

  • 1st place: maxseigal’s “Moab Rock Climbing”
  • 2nd place: losmanesdeldrone’s “Complejo Acuático Norte de Santander”
  • 3rd place: High Angle Shot’s “Chugach Mountain Range, Alaska”

Nature Wildlife category:

  • 1st place: mbernholdt’s “Kalbyris forest Denmark”
  • 2nd place: Szabolcs Ignacz’s “Swarm of sheep”
  • 3rd place: Jonathan Payet’s “Piton de la fournaise, Volcano”

Via: Dronestagram

Articles: Digital Photography Review (dpreview.com)

 
Comments Off on 3rd annual International Drone Photography Contest winners announced

Posted in Uncategorized


DEAL: Save 72% off Lightroom Editing System for Travel Photography

08 Jul

Travel lightroom presets
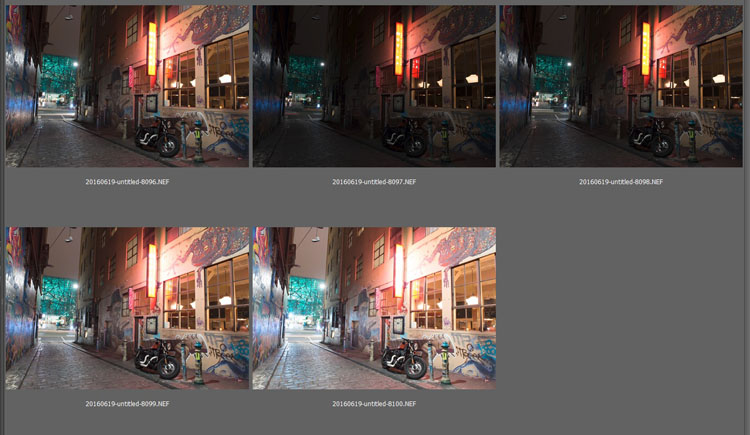
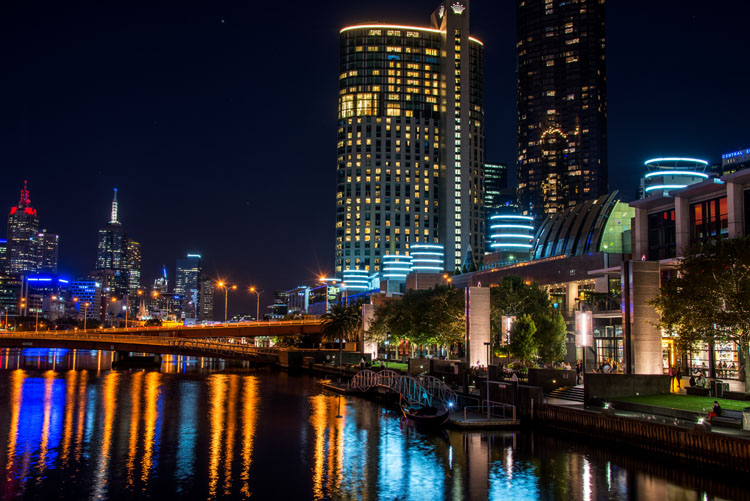
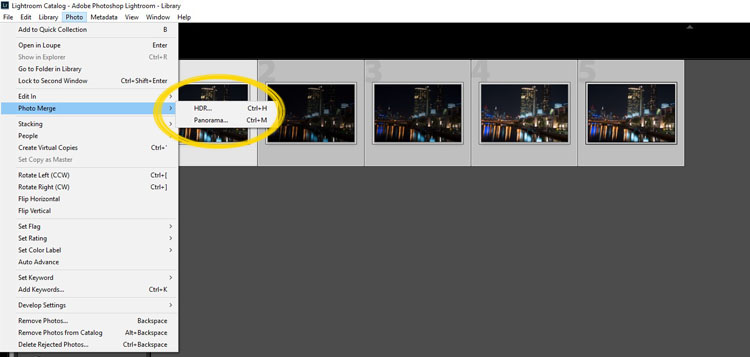
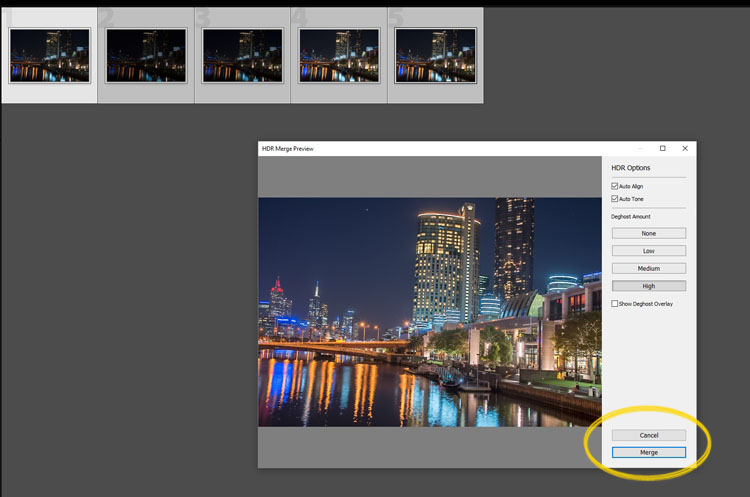
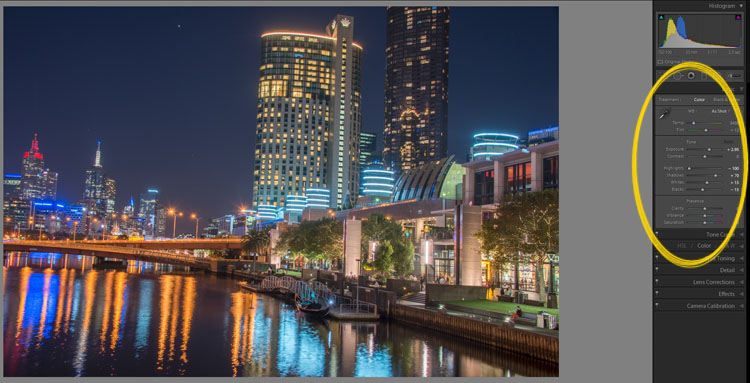
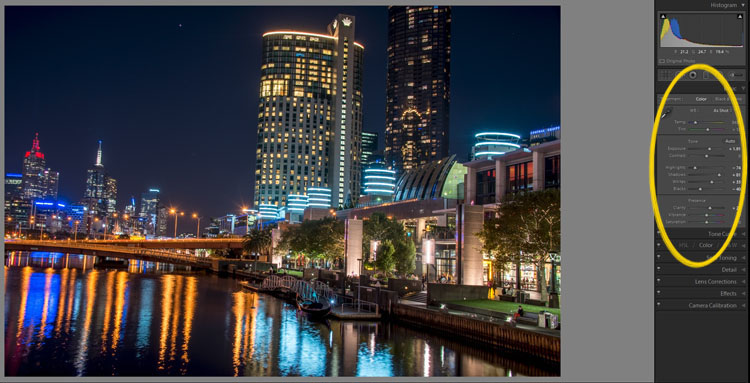
It’s day 2 of our Summer Sale and today we have a special Adobe Lightroom Presets Travel pack* for you with a 72% Saving.

This “system” normally sells for $ 176, but it’s being offered to dPS readers for the special price of $ 49 USD – a massive 72% saving.

One of the best parts about travelling is documenting your trip with pictures. But what’s not so great is pending hours weeding out the stinkers from the keepers. And editing them to look as awesome as possible.

What if you could systemize and cut the editing process in half?

And reduce the struggle, endless fiddling and overwhelm with all the features and options of Lightroom editing tools?

Well, now you can thanks to the Lightroom Rapid Editing System for Travel Photography.

Pro travel photographer Viktor Elizarov got tired of drowning in digital images. And spending more time processing pictures than taking them.

So he searched for a better way. And after a year testing different approaches and systems with lots of trial and error – the Rapid Editing System was born.

And he wants to share it with you.

Learn how to automate 80% of your editing process so you save time on repetitive tasks. And have more free time to spend on fun tasks (like taking pictures).

Viktor’s system features a large collection of Lightroom Presets specifically for travel photography. And will help take your photos from good to great – fast.

Viktor normally sells his system for $ 176, but he’s offering it to dPS subscribers for the special price of $ 49 – a 72% saving.

Here’s everything you get:

  • 90+ page eBook with step by step tutorial on how to use Lightroom Rapid Editing System
  • 20 1-Click LANDSCAPE Style presets
  • 20 1-Click CITYSCAPE Style presets
  • 20 1-Click PEOPLE Style presets
  • 10 1-Click Fall Colors Style presets
  • 10 1-Click Winter Colors Style presets
  • 10 1-Click Spring Colors Style presets
  • 10 1-Click Summer Colors Style presets
  • 41 TOOLKIT adjustment presets
  • “Reset All” preset that reverts your image to its original state
  • Documentation and Installation Instructions
  • Source RAW and JPEG photos used in the tutorials

If you love travel photography – or just want to speed up your post processing – don’t miss out.

But hurry! This valuable offer for the Lightroom Rapid Editing System for Travel Photography only lasts 24 hours – secure it for yourself and save 72% today only.

*Note: You’ll need a copy of Adobe Lightroom installed to use these presets.

googletag.cmd.push(function() {
tablet_slots.push( googletag.defineSlot( “/1005424/_dPSv4_tab-all-article-bottom_(300×250)”, [300, 250], “pb-ad-78623” ).addService( googletag.pubads() ) ); } );

googletag.cmd.push(function() {
mobile_slots.push( googletag.defineSlot( “/1005424/_dPSv4_mob-all-article-bottom_(300×250)”, [300, 250], “pb-ad-78158” ).addService( googletag.pubads() ) ); } );

The post DEAL: Save 72% off Lightroom Editing System for Travel Photography by Darren Rowse appeared first on Digital Photography School.


Digital Photography School

 
Comments Off on DEAL: Save 72% off Lightroom Editing System for Travel Photography

Posted in Photography


Tips for HDR Night Photography to Retain Maximum Image Detail

07 Jul

Night photography is very popular, and if you go out to take photos on on any given night here in my hometown of Melbourne, you will find other photographers doing the same thing. Night photography can create magical images and you are able to see things with the camera, that you can not see with your eyes alone. Your camera can do a better job at taking in the lights than you can.

leannecole-night-photography-nightHDR-start

HDR image of Docklands, Melbourne.

Taking photos with your phone, or on a compact camera, is never going to give you those amazing results you see of night photos. You really need to do long exposures; set your camera up on a tripod and do exposures from a couple of seconds, to several minutes.

One major problem with taking photos at night is the sharp contrast between the highlights and shadows. If you try and get detail in the shadows, you will often blow out your highlights. If you do expose for the bright parts, then you won’t get any detail in the rest. Most people don’t mind this. However, if you want your night images to really sing, you should start looking at what you can do to make them stand out.

Comparing shots with different exposures

Here is a side by side comparison of images all taken at the same time, but with different methods. The first was taken with a phone, the second is a single exposure, the one the camera says is correct. Lastly, the third image is an HDR using four out of five bracketed shots.

leannecole-nightphotography-comparison

Three images of the same scene, (left) phone, (middle) camera correct exposure, and (right) HDR.

Hopefully you can recognize the difference and appreciate just how unique each approach is.

Photos with your phone

You see a lot of people in the city taking photos with their phones. If it is all you have, then you have to be content with what you get. However, you are never going to get amazing night photos simply with a phone or most compact cameras. Often the photos are too grainy, you will only get a few of the highlights, and none of the depth that a longer exposure will give you.

To get great night photos you need to have a camera on which you can control the ISO, aperture and shutter speed.

The first image (below) was taken with the Samsung Galaxy Note 4. It is not a bad image for a phone, but it is noisy and not as sharp.

leannecole-night-photography-phone

Image taken with phone of Melbourne at the Casino.

Using a DSLR or Mirrorless Camera

When you can control what your camera is doing, then you can use a low ISO, the aperture you want, and get a shutter speed of a couple of seconds to several minutes. You will get a lot more detail doing this, however, you do need more equipment.

A tripod or somewhere solid to set your camera is important to prevent camera shake. If you want to do exposures longer than 30 seconds you will need a remote shutter release, that will allow you to lock your shutter open for however long you choose to expose. Both are pieces of equipment that you will use a lot so they are worth getting.

This image was taken with a DSLR at the correct exposure, according to the camera.

leannecole-night-photography-3

Single image of Melbourne at the Casino.

Bracketing

Bracketing your photos is thought to be a process that people only do for HDR. However, photographers have been using this technique for a very long time. In the days of film, you would have had to work it out for yourself, but most digital cameras have the ability to take bracketed exposures, and do the calculating for you.

The process involves taking a series of photos, usually three or five. When you do this, you are taking one image that is the correct exposure, and additional images that are under and overexposed. The amount of time for each image changes, while aperture and ISO remain the same, and the shutter speed is altered by the camera.

There are good reasons for bracketing, one being that it gives you more options. Sometimes the exposure the camera says is the right one, is in fact not. The overexposed image or the one that is under can be the better choice.

leannecole-nightphotography-bracketed

Five bracketed photos ready to use.

There are, of course, disadvantages to bracketing. You end up with many more images, especially if you are doing five each time. If you are shooting in RAW you may encounter storage problems. However, I find that the positives far outweigh the negatives.

High Dynamic Range (HDR)

HDR has been popular for a few years and we have all seen those hyper real images that some people create. They have given the process a bad name, but if it is used in the situations it is meant for, it can be very effective.

High Dynamic Range is used to correct the problem of having very bright and overly dark areas. Cameras do not work the same way as our eyes, and they cannot make the necessary adjustments that your brain and eyes do. Your camera will either expose for the highlights and make the shadows too dark, or it will do the opposite.

HDR software takes the well exposed highlights and shadows, and puts them together in one finished image so that nothing is lost in either area. You can do it manually (using luminosity masking or layer blending), but there is good software out there which can do it for you.

Here is an HDR image of the same scene above, using four of five bracketed shots. Notice how much more detail is retained in the highlights.

leannecole-night-photography-hdr-example

HDR night image of Melbourne at the Casino.

HDR Software

There are many different types of software that can process your HDR images for you. The most popular has been Photomatix Pro, though Lightroom and Photoshop can also be used, and they have improved significantly over the years.

Lightroom does a fairly decent HDR image and I often use it. However, you do have to be careful that the image is processed properly. Sometimes it misses spots, but most of the time it is effective.

Lightroom HDR

It is easy to use Lightroom’s Merge to HDR. Select the images you want to process and highlight them. Go to Photo > Photo Merge > and click on HDR (you can also find it by right clicking with the images selected).

leannecole-night-photography-101

Selecting photos and merging for a HDR in Lightroom.

A separate window will come up. You can select whether you need deghosting or not (use it if something has moved between shots like trees or people). If you have used a tripod to take the image then you shouldn’t need deghosting, although it doesn’t hurt to use it regardless.

leannecole-night-photography-102

Lightroom loading the photos ready for you to click Merge

Watch for the Merge icon to come up and then press it.

Often the image will appear at the end of the folder, sometimes just after the images. You may have to search for it (sort by file name and it should appear next to your originals).

Once it is done you will see that it does not look great.

leannecole-night-photography-103

What the image looks like when Lightroom has processed it using Auto Tone.

Lightroom shows you the adjustments that it has made using Auto Tone, but there is no reason why you can not change them.

I have found that it will often have the exposure up too far, but you are able to turn that down slightly. You can turn the shadows down a little, and you usually need to add more black to the image. Compare the image above and below and you can see what changes have been made.

leannecole-night-photography-104

What it looks like after you have made changes to the adjustments.

Once you have the image as you want it, you can do further adjustments in Lightroom or press Ctrl+E and continue editing it in Photoshop.

Long Exposure Night Photography

There is nothing wrong with doing long exposures as well. You do not need filters, but you can do images that are more than 30 seconds. Using a tripod and a remote shutter release, you can put your shutter speed on Bulb, and try taking some exposures for a minute or longer.

leannecole-night-photography-longexposure

A one minute exposure of Melbourne at the Casino.

You do have to be careful that you don’t blow out the highlights too much. Try different times and see what you can get.

Examples

Night photos taken with any of these techniques can give you great results. You should try them all and see which ones you like, and what works best for your style.

Following are some more night shots with descriptions of how they were done.  Good luck and be safe out there.

leannecole-night-photography-example3

Hosier Lane in Melbourne, HDR image with 4 images.

leannecole-night-photography-hdr-example2

HDR image of laneway in Melbourne.

leannecole-night-photography-example4

Single image at docklands with a one minute exposure.

googletag.cmd.push(function() {
tablet_slots.push( googletag.defineSlot( “/1005424/_dPSv4_tab-all-article-bottom_(300×250)”, [300, 250], “pb-ad-78623” ).addService( googletag.pubads() ) ); } );

googletag.cmd.push(function() {
mobile_slots.push( googletag.defineSlot( “/1005424/_dPSv4_mob-all-article-bottom_(300×250)”, [300, 250], “pb-ad-78158” ).addService( googletag.pubads() ) ); } );

The post Tips for HDR Night Photography to Retain Maximum Image Detail by Leanne Cole appeared first on Digital Photography School.


Digital Photography School

 
Comments Off on Tips for HDR Night Photography to Retain Maximum Image Detail

Posted in Photography