As a photographer, you are a storyteller. The nouns are your subject matter; the verbs are the color and contrast that keep the story moving. A cast of characters all working together to get your point across. Instead of proper grammar, you ensure proper exposure. Instead of spelling errors, you watch for tack-sharp focus. For those times when the story is especially important and meaningful, or for when one image doesn’t say it all, there is the photographic essay. With blogging and social media, photo essays are more popular than ever: humorous or emotionally relevant, sparking debate or encouraging compassion, each with a story to tell.
I’ve mentioned before that taking on a photo project is one of my favorite ways to reignite my love for photography, but beyond that, it’s a great way to get your message across and have your work seen by a larger group. A photo essay is intriguing; it’s something to talk about after people hear that you’re a photographer and want to know about the glitz and glamour of it all. It’s the perfect thing to tell them after you’re done going on and on about all of the red carpets, the celebrities, the fame, and the fortune. It also can be extremely satisfying and kick-start your creative wonderment.
By definition, a photographic essay is a set or series of photographs intended to tell a story or evoke emotions. It can be only images, images with captions, or images with full text. In short, it can be almost anything you want it to be. Which is where I struggle most–when the options are limitless. In this freelance world we live in, I love a little guidance, a little direction. Ideally, someone to tell me exactly what they want and promise to be thrilled with whatever I produce, for my fragile artist ego can’t take any less. While I continue my quest for that, I offer you these 5 tips for creating your own, completely without bounds, photographic essay:
1) Let it evolve on its own
Each time I’ve had a very specific concept in mind before I started shooting, it’s never been the end result. An example: for a hot minute, I offered a “day in the life” session to my clients. I was photographing so many of the same clients year after year that I wanted to be able to offer them a different spin on the portrait sessions I was doing for them. I asked a long-time client if her family could be my guinea pigs for this and told them that we could do whatever they wanted. We went out for ice cream, had a mini dance party in their living room, and I photographed a tooth that had been lost that very morning. Then, very last, I photographed the two young daughters with notes they had written, which to be honest, I’m not even sure how they had come about. I rushed home after the session and edited those last note pictures first just because they were so different from what I usually shoot, and posted them on my personal Facebook page the heading Notes Girls Write.


Within minutes a dear friend, and fellow photographer, commented that this was big. Bigger than just the two pictures. She and I would spend the next year working on a photo essay that became a blog, that in turn became a book entitled Notes Girls Write. We photographed hundreds of women of all ages with their notes, each one later expressing having their portrait taken with their own words was an extremely powerful moment for them. Beyond my beautiful children, the fact that I can make a bed with hospital corners like no one’s business, and the award I won in the 4th grade for “Most Patient”, Notes Girls Write is one of my proudest accomplishments. It evolved on its own, starting from a few similar photographs that struck a cord in viewers and becoming a large and powerful project, one of the biggest markers in my career so far.


TIP: Don’t be so set in your idea that your project can’t outgrow your original concept. Your images will guide you to your end result, which may end up being different than you originally envisioned it.
2) If you think there’s something there, there’s likely something there
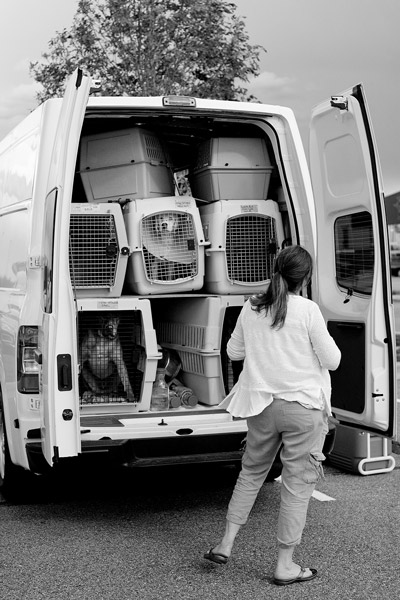
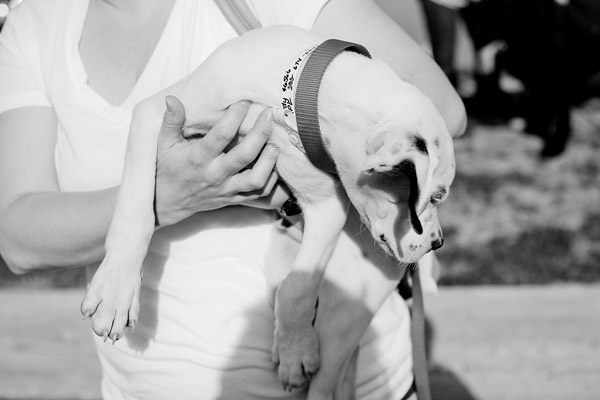
For the last year I have been a “foster mom” with a dog rescue group. Volunteers transport dogs that would otherwise be put down from overpopulated shelters, or seized from terrible situations, to my area, where dog adoption rates are much higher. These dogs live in foster homes while they receive medical care and basic training so that they can be adopted out to loving homes. It’s incredibly rewarding. Especially when I had hardwood floors.
I knew from the first time I met the transport van I wanted to document what it looked like: a van full of dogs that just narrowly escaped death arriving to temporary homes where they will experience a level of love and care which they’ve likely never known. I tear-up every time I see it. I am also put to work every time I am there, so taking photos while holding onto a 100 pound German Shepard is tough. It’s going to take me several trips to have enough images to do anything with, but that’s fine. I have no idea what I will be doing with these photos. I know they will find a home somewhere: maybe with the rescue group to raise awareness, or to help bring in volunteers, or maybe they will do nothing more than document my own story with volunteering, or perhaps something more. I’m not sure yet, but the point is that I have the images, ready for their time, whenever that is.

TIP: If you think there is something to it, there likely is. Even if it’s just a personal passion project. Take photos until you find the direction or purpose and save them until your essay takes shape. You may not end up using all, or any of the images, but in continuing to take photographs, your project will be defined.
3) Shoot every single thing
I’m the “World’s Worst Over-Shooter”. Need one image? Let me take a hundred so we know we have it. Luckily for my bad habit, the photographic essay needs over shooting. Whether you know what your plan is, or have no idea want your end result will look like, the more coverage you have, the better. This is one of the few times I push my luck and ask my subjects to work for me until they never want to see me again (I only photograph people though, so if you are photographing mountains or something, you have the added advantage of not pushing people until they cry or yell). Don’t be shy. Shoot everything you know you don’t need, just in case you need it. Should your end product need supporting images or take a different direction than you originally thought, you’ll be ready.
Take advantage of digital (if that’s how you shoot) and fill a memory card. You may end up trashing everything, or you may not. I had no idea that my Notes Girls Write project would span for as long as it did, but because I didn’t turn down anyone who was interested in the very beginning I ended up with some shots that told complete stories and expanded on the original concept.

TIP: Think big. If you are shooting an essay where mountains are your subject matter, see the mountain in pieces and photograph the surrounding trees, rocks, and whatever else. This will save you having to return to the beginning of the project for supporting shots, or having to reshoot if your essay takes a different turn than you planned.
4) Ask for help with image selection
I struggle with this one–I let my personal feelings get involved. Throughout our Notes Girls Write project I was constantly picking images based on my personal feelings–the subjects that I had connected with more, and the girls that I knew were most interested in the project. This is where it is so helpful to have someone else help. Someone who has no personal feelings towards the images and will help you pick based only on the strength of the image and not your own feelings. Even if people were not involved as subjects, you tend to have personal feelings toward images that the general public may not see the power behind.
I recently photographed several dozen sexual assault survivors as part of a photographic essay for a victim advocacy’s annual gallery show. This event is meant to put faces on the survivors and raise awareness, and has been a large local event for years. I was thrilled to be selected to be the exclusive photographer, though this was one of the hardest projects I’ve ever taken on. The photo sessions themselves, whether five minutes or 30, were extremely emotional for the survivors and in the time I spent with them, I often learned a lot about their journey and experience. This made it difficult for me to pick which final images would be used for the show, based only on the power of the image and not my personal feelings. In the end several select friends helped me narrow each survivor’s images down, and the subjects themselves selected which would be the final image used, as ultimately this is their story.

TIP: All creative work is personal, and looking at photographs we take ourselves is incredibly hard to do with clear eyes. We see the mistakes, the personal feelings, the shot that could have been better. It’s impossible to always set these aside so when working on a project that is incredibly important to you, or large in scale. Have others help you decide what images to use for your final pieces. Bring in people who are interested in photography and people that aren’t. People that know about your subject matter and people that don’t understand it at all. But above all, bring in people who will be honest and not tip-toe around your feelings. Lastly, also bring a thick skin.
5) Tell your story, in fact shout it from the rooftops if you can
Maybe your original idea for your photographic essay was to post it on your blog. Awesome, nothing wrong with that, but are you sure it can’t be more? Shop it around, who can it help? Does this benefit a group, an organization, or a person? Could it inspire people? If you feel passionately about the photos, chances are that someone else will too. Your photographic eye doesn’t stop when your shooting is done. If you felt compelled to take the time to create a photographic essay, there are likely “readers” for your story.
TIP: This isn’t the time to be humble. Taking on a photo essay is a large endeavour. While there’s nothing wrong with having it be something you only did for your own personal growth, showing it around can be helpful both in experience and longterm benefit. Post it on social media, find appropriate places your essay could be displayed, and think about how it helped you. Every single photo essay I have done has led to an outstanding connection, or more work, and there is nothing wrong with getting those things along with the personal gain of accomplishing something you’re proud of.
The ideas are truly for a photographic essay are limitless. Truly.
Want a few more ideas for projects, try these?
- Using a Photography Project to Spark your Creativity
- Photography projects that make you feel alive
- Jumpstart Your Photography – Start a 365 Project
- 8 Photo Projects in Your Own Backyard
Have you ever done a photographic essay? What is your experience? Share with in the comments if you have, or have considered it. If you haven’t, what are you waiting for?
The post 5 Tips for Creating a Photo Essay with a Purpose by Lynsey Mattingly appeared first on Digital Photography School.

Digital Photography School
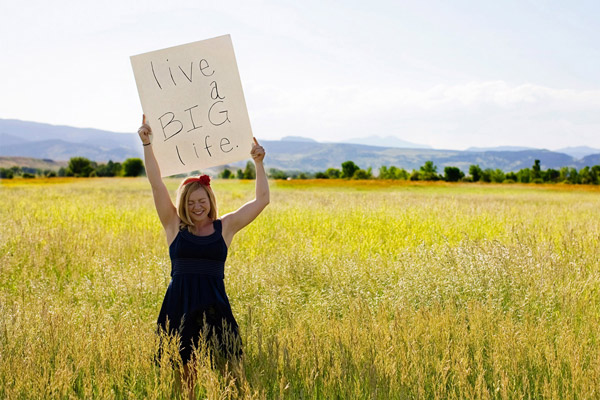
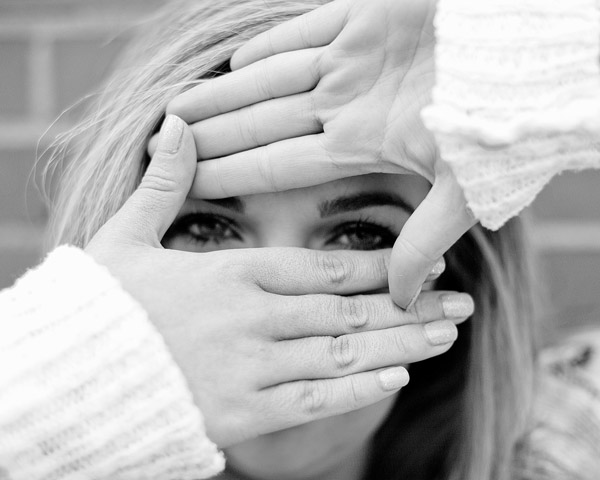
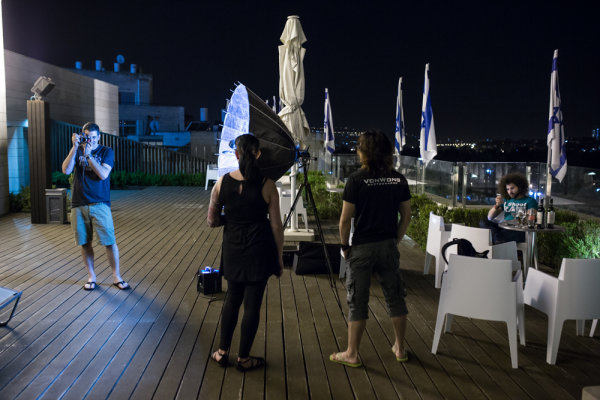
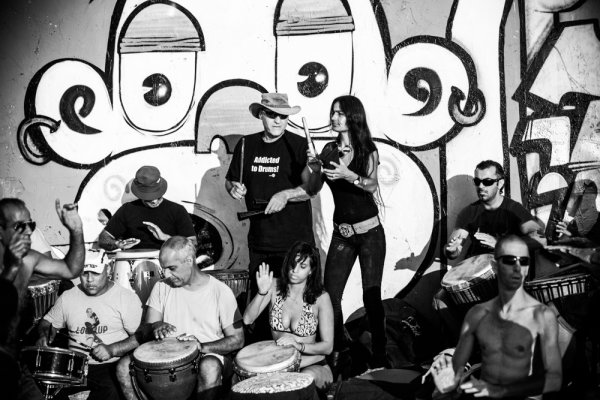
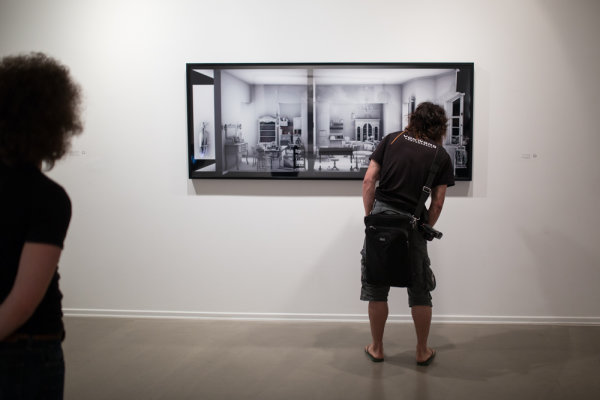
 Extra photos for bloggers: 1, 2, 3
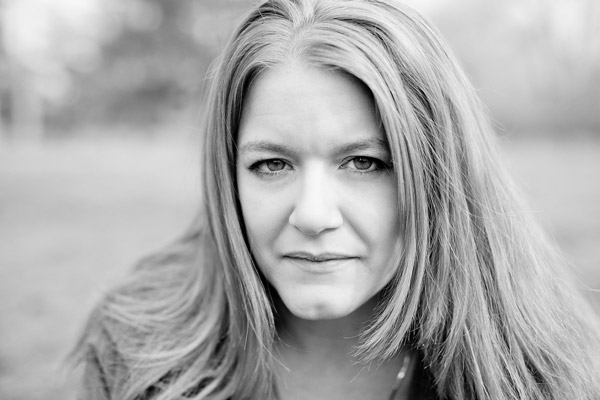
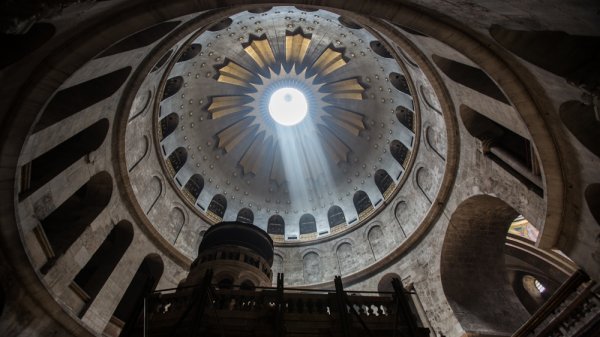
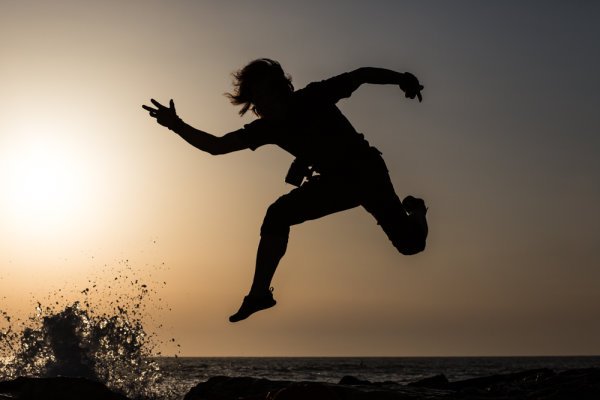
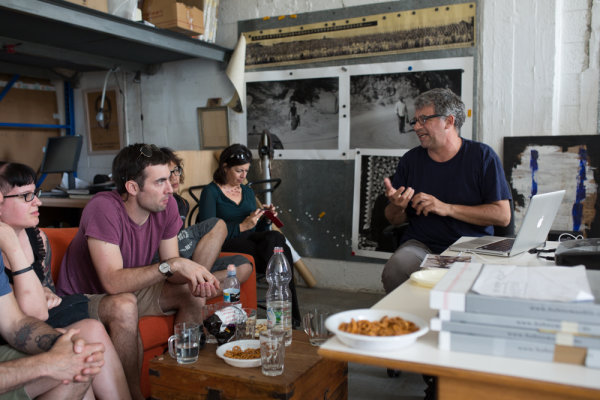


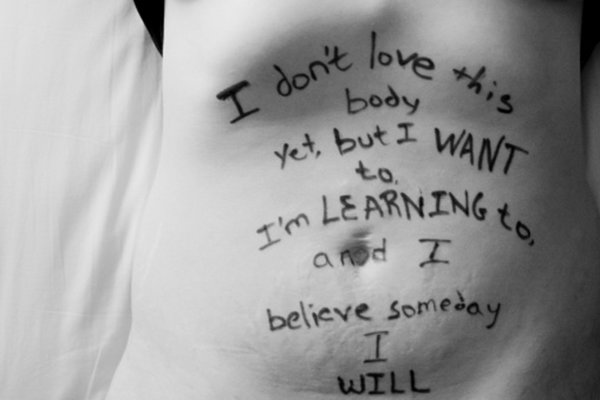
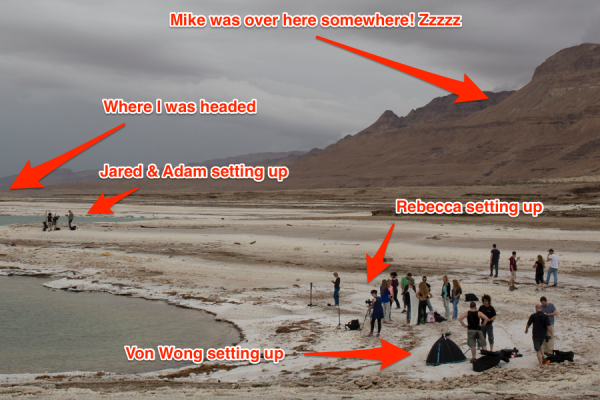
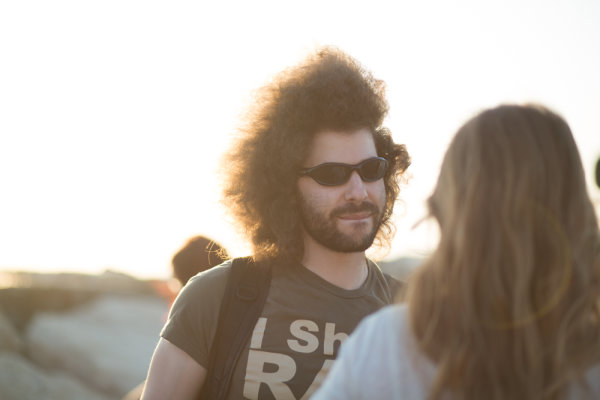
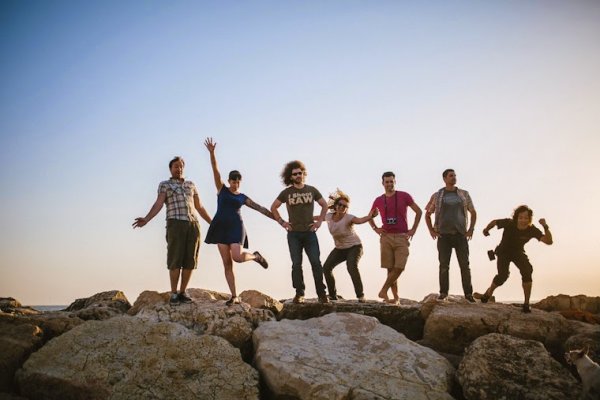
 Extra photos for bloggers: 1, 2, 3
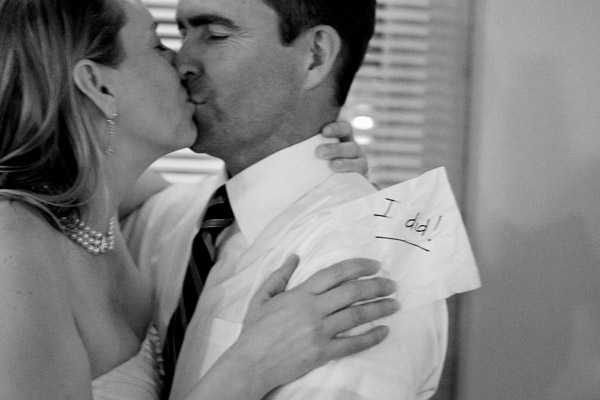
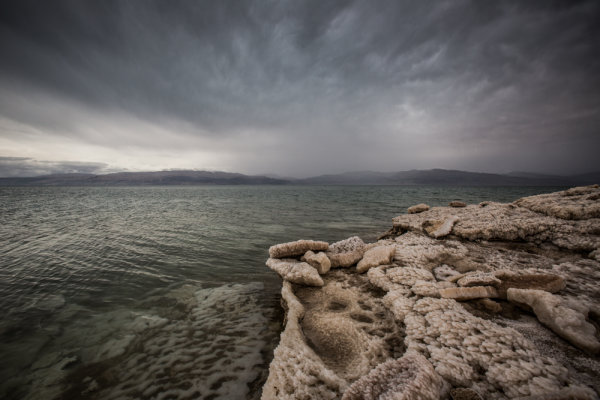
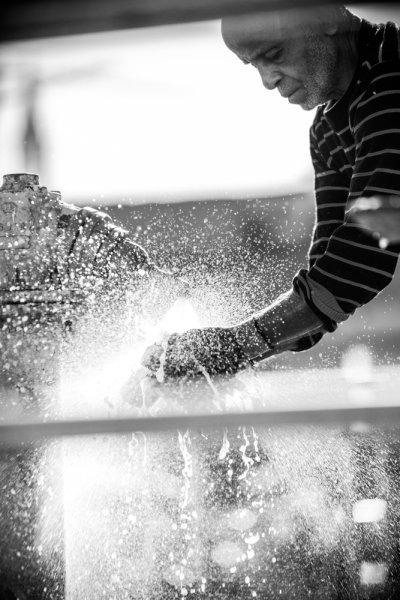
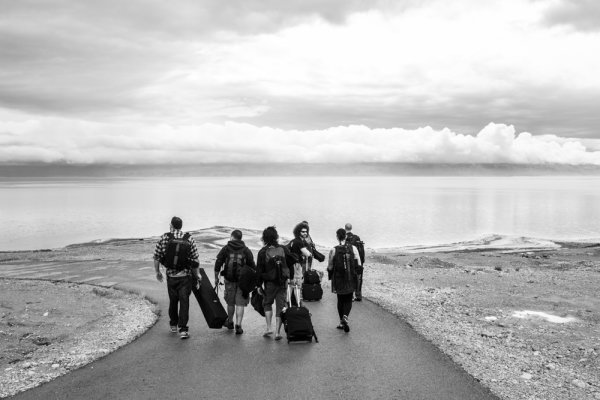


You must be logged in to post a comment.