It’s the middle of August here in Atlanta, and that means that the kids are back in school. It’s a bit earlier than most places, but regardless of where you live the rites of fall will soon be in full swing. Here in the South, one of those rites plays itself out every week– not in cathedrals of brick and stained glass windows, but in those made from steel beams, cement bleachers, and 6,400 square yards of well-tended grass. Yes, it’s high school football season. And in the South that means an almost religious zealotry. If you think I’m kidding, give me a call and come for a visit. Make sure to bring your camera, though, because you’re not going to want to miss this.
The Right Gear
I’m not going to spend a lot of time here discussing camera bodies. Some of the photos in this article were taken six or seven years ago on a used Nikon D70, while later images were shot with a Nikon D300 or D700. As long as you are photographing with a reliable DSLR, your bigger concern is going to be the glass. As much as you may covet that 400mm lens you see NFL sideline photographers shooting with on TV, it is possible to get really great shots at this level with a few basic pieces of equipment. As with any sporting event, you are going to want a good mix of wide-angle and zoom images. When I first started shooting sports I was using one body and one lens– the 70-200mm f/2.8. I was able to shoot and edit creatively enough to get that variety of necessary focal lengths. As things progressed, I was able to add a second lens– the 24-70mm– to the arsenal. With these two lenses I was able to get everything cropped properly in the camera, without having to rely on destructive post production. If you can only afford one fast lens right now, definitely opt for the longer zoom.
Fast lenses are also going to be important once the sun goes down because most high school sports have a prohibition against using flash. I’ll confess to occasionally firing my flash, but be careful with your angle. You don’t want to blast a player with flash full in the face and possibly change the outcome of the game.
Since flash is not going to be an option, you will most likely need a monopod for keeping your camera steady– particularly at slower shutter speeds after the sun goes down.
As with any type of shoot, make sure you have all of the necessary backups– batteries, memory cards, etc. Make sure you also have a plan for when it starts raining. This isn’t an “IF” it starts raining. Into every sports shooter’s life some rain WILL fall. Be prepared for it. The Think Tank Hydrophobia or the OP/TECH USA Rainsleeve should do the trick

Trust me. At some point it’s going to rain.
Getting In
Unless you are a credentialed photographer from a media outlet or the school’s contracted photography company, chances are you’re going to have to pay to get in. The good news is that it’s usually less than $ 10. You might be able to talk your way in, but the money goes to a good cause, so don’t be a tightwad.
Get There Early
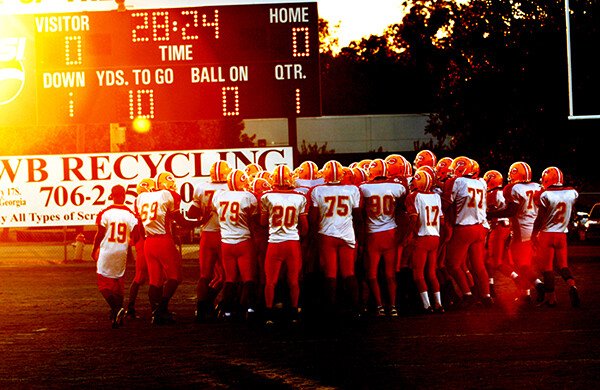
You are also going to want to get there early. The teams take the field to warm up anywhere from one to one and a half hours before game time. Warm-ups are going to give you one of your best opportunities for quality shots. For starters, the light is better. The sun hasn’t set and you’re going to have a really great quality of natural light– particularly if you shoot with the sun at your back. Players also tend to move a little more slowly in warm-ups than in the actual game. You’ll have an easier time capturing motion, and more of an opportunity to isolate individual players. In some cases, you may even be able to actually walk out onto the field to shoot and not be restricted to the sidelines. If you do walk out onto the field, PLEASE BE CAREFUL! There are probably 150 kids and coaches out there warming up. They are big, fast, and not paying attention to you. Their job is to play football– not give you a good photo op.
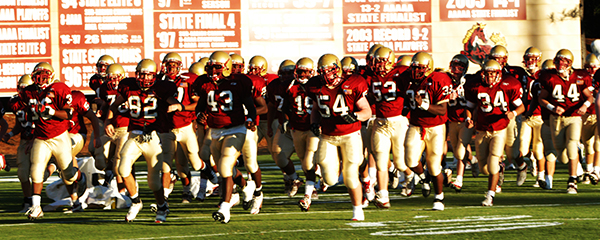
Get there early and take advantage of the sun while you can.
Know the Sport
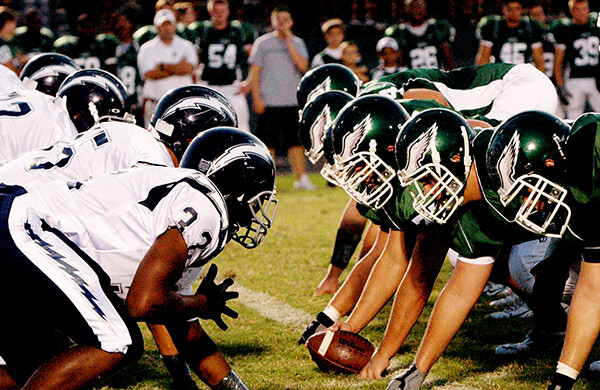
The biggest key to getting quality photos of any sport is to have a solid understanding of the game and how it is played. These games have an ebb and flow all their own. You are going to want photos of both the offense and the defense. Is it a running play or a passing play? What are the odds they’re going to fake the punt on 4th down? Do you need to be on the sideline or the end-zone? The home side of the field or the visitors’? Remember that there is a big difference between shooting as a media photographer and shooting as a parent. As a reporter or school photographer, you are there for “the big picture.” As a parent, you are mostly concerned with getting photos of your son, and he’ll be easy to track with that big number on his back. In either case, the more you understand the subtleties of the game the better prepared you will be.
Focus
When I say “focus” I’m not just talking about your photography. As noted above, these kids are big and fast and strong, and are trained to run through anything in their way. I once saw a photographer stand his ground on the sidelines, despite the fact that a player was being pushed out of bounds right at him. I watched as his camera, lens, and monopod all went flying in three different directions and he flew in a fourth. He was wheeled off the field with cuts to his face and a leg that had been broken in two places. No photograph is worth that. Focus on where you are and what is going on around you.
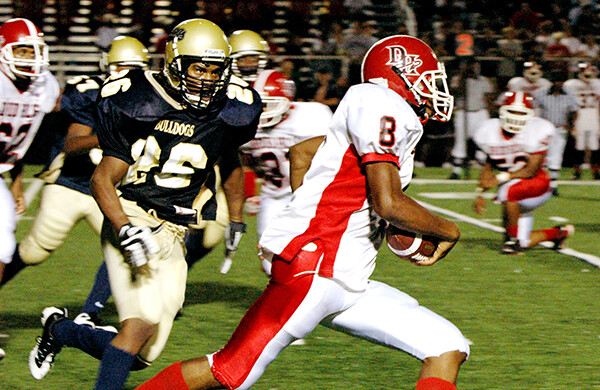
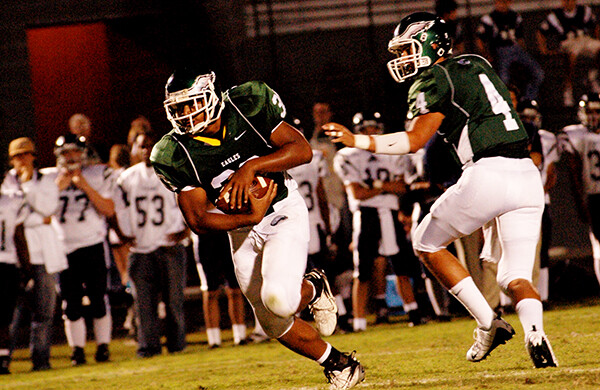
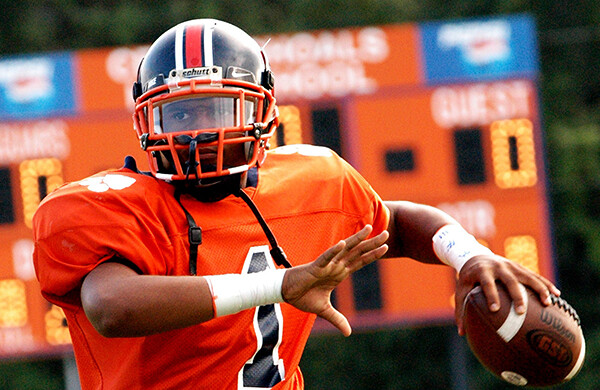
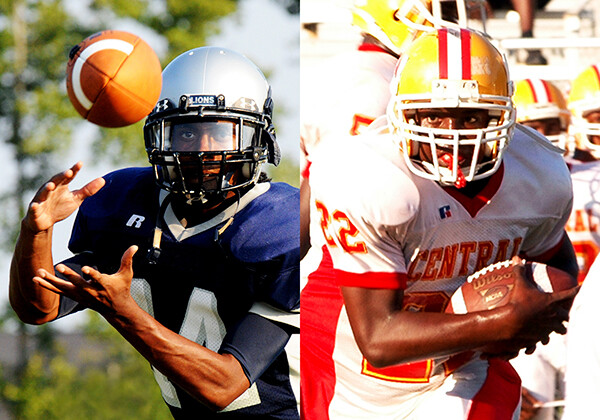
Now let’s talk about the other kind of focus. It’s an action sport and you want action photos. Whereas you would ordinarily focus on the eyes for a portrait, these kids are all wearing helmets and you’re not going to have that option very often once the game starts. Your camera’s auto-focus works by looking for contrast. Football uniforms are usually going to have a lot of contrast between the color of the jersey and the color of the numbers. If you can get the eyes, great. If not, your best bet is to try locking on either those numbers or the ball once players start moving.
Camera Settings
As with any photo shoot, there is not necessarily a “right” or “wrong” exposure. But this is a sport, after all, and if you come home with 250 blurry photos you aren’t going to be happy. Keep in mind that since shutter speed controls ambient exposure, the faster your shutter speed is the better your chances of freezing the action. I generally like to start with a shutter speed of 1/500 and adjust my aperture and ISO accordingly until I get the look I want. Since this is an outdoor sport, your lighting is going to be changing over the course of the game. What started out with great natural light before the sun went down is going to finish in the dark under less-than-ideal stadium lights. That may mean slowing down your shutter speed to let in more light, as well as opening up your aperture or raising your ISO. This is going to take some practice. Be prepared for some trial and error.
Vantage Point
First and foremost, let the light guide you. I know…sounds all dramatic and stuff, but really. Take advantage of the sun while you can
Obviously, the closer you are to the action the better your photos will be. As noted earlier, having a solid understanding of the game will definitely help you decide where to be. This is one reason why you hardly ever see a veteran sports photographer standing still for very long. Be aware that some places are going to have restrictions on where you can and can’t stand, regardless of your press credentials. “The Box,” for example, is the area on the sideline between the 20-yard lines. This area, for a variety of reasons, is supposed to be off-limits for anyone other than players, coaches, trainers, etc. A game official who is a stickler for the rules could penalize the team for your presence in the box. If that happens, start running and don’t look back.
There is a natural tendency to shoot a football game primarily from “your team’s” side of the field. If you’re a parent, this is where you know people and feel comfortable. Try going around to the other side of the field once in a while. From this vantage point, you will not only capture the action, but your own team’s colors and sideline will add a great element to your background.
Be Creative. Keep Your Eyes Open
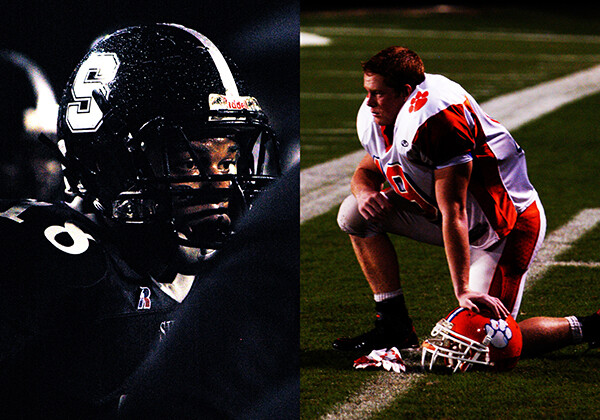
It’s football, but that doesn’t mean you can’t be creative with your angles and composition. If you’re the parent of a player, find a way to focus on your athlete and make them stand out. If you are selling game photos on your website, getting creative will only help your sales. I tend to think in terms of portraits. Changing angles resulted in getting this quarterback against a perfect background.
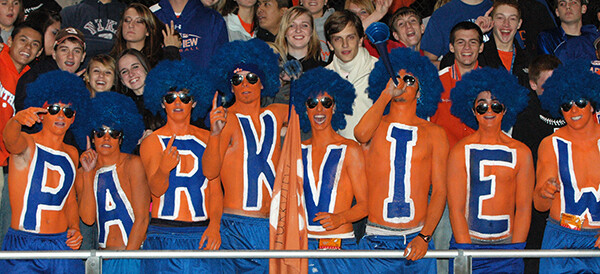
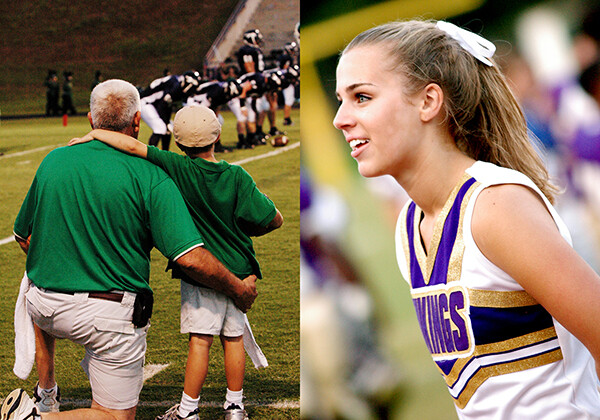
Don’t fall into the trap, though, of assuming that everything worth photographing is right there on the field in front of you. Spend some time in the stands. Shoot the crowd reactions. Photograph the band and the cheerleaders. Capture the traditions. There is so much more going on in that stadium than just a football game. Turn your back on the action once in a while and take a look around you. There are stories everywhere. Learn to keep your head on a swivel.
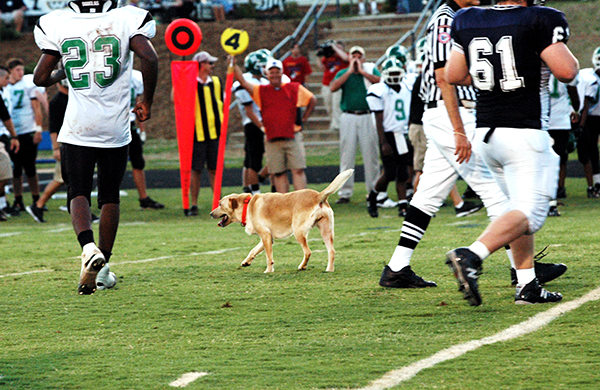
Pay attention. You never know who might drop in.
Spray and Pray…to Motor Drive or Not to Motor Drive?
As with so much of what we do, five photographers will give you five different answers. When I first started shooting high school sports I was doing so with a slow camera that didn’t have the buffer speed for just leaning on the motor drive and hoping for the best. That was probably a good thing. I learned to both compose my shots and choose my moments a little more carefully. I developed a pretty fast shutter finger, and, I think, a better eye for sports action. Even now, though, with better equipment, I tend to leave my camera set for single clicks.
Etiquette
If you are covering a particular team over the course of a season, introduce yourself to the coaches. Your job will be easier if they know who you are and why you are there. These kids may be big and strong, but they are still kids and these coaches are looking out for them. Play your cards right with the coaches and there’s no telling what kind of access you might get.
Being nice to coaches gets you all kinds of access.
If a coach or official tells you something, listen to them. If they ask you to move, you move. You’re in their house and you have to play by their rules.
No flash. It may sound silly to you, but you have no idea what the consequences might be. There may be college scouts in the stands, and you blinding the receiver with your flash might have an impact on whether that kid gets a scholarship or if he’s even recruited at all.
If play stops for an injury on the field, show some respect and PUT YOUR CAMERA DOWN. While it might make for compelling photography, it is entirely possible that you just witnessed the end of a child’s life-long dream or his chance of going to college. You don’t want him or his parents seeing that on your website. This is high school, not the NFL. Be sensitive and keep it in perspective.
Any seasoned photographer will tell you that photographing sports is not easy, and football may be one of the hardest. With with a little practice and preparation, though, you’ll see your images start to improve quickly and steadily.
Post originally from: Digital Photography Tips.
Check out our more Photography Tips at Photography Tips for Beginners, Portrait Photography Tips and Wedding Photography Tips.
How to Shoot High School Football

Digital Photography School


You must be logged in to post a comment.